Gluten-Free Perogies Recipe: Delicious and Healthy Option
Hey there, health enthusiast! Today, I’m thrilled to share with you my latest gluten-free recipe that is getting all the rave in my kitchen – Gluten-Free Pierogis! This recipe is perfect for those who are on a gluten-free diet or have celiac disease, but also for anyone who just simply loves good food.
Made with high-quality ingredients such as tapioca flour, potato starch, and cornstarch, these pierogis are packed with flavors that will delight your taste buds. Whether you’re looking for a comforting dish on a chilly day or something that can be easily packed and reheated for lunch, these Gluten-Free Pierogis are definitely the way to go.
What I love about this recipe is how it can be versatile and adapted to fit different dietary needs. For instance, if you’re trying to keep off dairy in your diet, you can easily swap the cream-style cottage cheese with vegan cream cheese or omit it entirely. Additionally, feel free to add your own spin by stuffing the pierogis with mushrooms, bacon or cheddar cheese to create an exciting new flavor profile.
So what are you waiting for? Whether you’re a seasoned home chef or just starting out in the kitchen, this Gluten-Free Pierogi recipe is easy to follow and guaranteed to impress family and friends alike. Let’s get started!
Why You’ll Love This Recipe
Hey food lovers! Are you looking for a gluten-free, dairy-free and organic recipe that takes your taste buds on an Eastern European trip? Well, you have come to the right place! This Perogies recipe is perfect for all those who love polish pierogi but crave a healthier twist to it. Trust me; your taste buds will thank you for this fantastic recipe.
But wait, there’s more! Not only is this recipe free from gluten, dairy, but it’s also vegan-friendly. With substitutes like xanthan gum and tapioca flour, we’ve managed to achieve a similar doughy texture as its wheat flour fellow. So if you are someone with lactose intolerance or opting for a plant-based diet, this recipe still has got you covered!
Not only is this dish healthy and delicious, but it is also super versatile! You can make it as a snack or serve it as an appetizer at dinner parties. It’s a great comfort food that you can enjoy with family and friends during any festive occasion.
So why will you love this recipe? First – it’s free from gluten and dairy so that everyone can enjoy it. Second – it’s vegan-friendly so that plant-based eaters don’t feel left out. Third – it has all the goodness of Polish pierogi without sacrificing your health. Fourth – it’s versatile and easy-to-make, making it perfect for any occasion.
If that doesn’t convince you to give this recipe a try, I don’t know what will.
Ingredient List

Let’s take a closer look at the ingredients you’ll need to make these delicious gluten-free perogies. Don’t worry, there are no hard-to-find items here! Everything can be found at your local grocery store.
Dry Ingredients:
- 2 cups tapioca flour
- 1 cup cornstarch
- 1 cup potato starch
- 1 teaspoon xanthan gum
- 2 teaspoons salt
Wet Ingredients:
- 1 large egg
- ⅓ cup water
- ½ cup milk (use almond or soy milk to make it dairy-free)
- ⅓ cup cream-style cottage cheese (or cream cheese or cheddar cheese)
If you are following a vegan diet, you may substitute the egg, milk and cheese for vegan alternatives.
These ingredients will be the building blocks of your pierogi dough. It is important that you measure each ingredient accurately to ensure you end up with the perfect texture. With these simple ingredients in hand, let’s move on to making the dough!
The Recipe How-To
Step 1: Making the Dough
To start, in a large bowl, mix 2 cups of gluten-free flour blend, 1/4 cup of rice flour, 1/4 cup of potato starch, 1/4 cup of cornstarch, and 1 tsp of xanthan gum.
Next, in a separate small bowl, whisk together 1 large egg, 1/2 cup of water, and 2 tbsp of olive oil.
Add the wet ingredients to the dry ingredients and stir until a dough forms. Knead the dough on a floured surface until it becomes smooth and elastic.
Step 2: Making the Filling
While you’re making the pierogi dough, prepare the filling. In another bowl, mix together 3 cups of boiled mashed potatoes, 1 1/2 cups of cream-style cottage cheese, and 1/2 cup of shredded cheddar cheese. Add salt to taste.
If you want a meaty filling, you can add crumbled cooked bacon or diced cooked mushrooms according to your liking.
Step 3: Shaping the Pierogi
Get back to the pierogi dough after it has rested. Roll out the dough to about 1/8-inch thickness. You can use your favorite cookie cutter or use an upside-down glass to cut out circles from the dough.
Scoop a small amount of filling (about 1 tbsp) onto each circle. Fold over to form half-circles and press down on edges to seal well.
Step 4: Cooking
Bring a large pot of salted water to boil over high heat. Working in batches, drop several pierogies into boiling water at a time. Cook for about 2-3 minutes or until the pierogies float to the top.
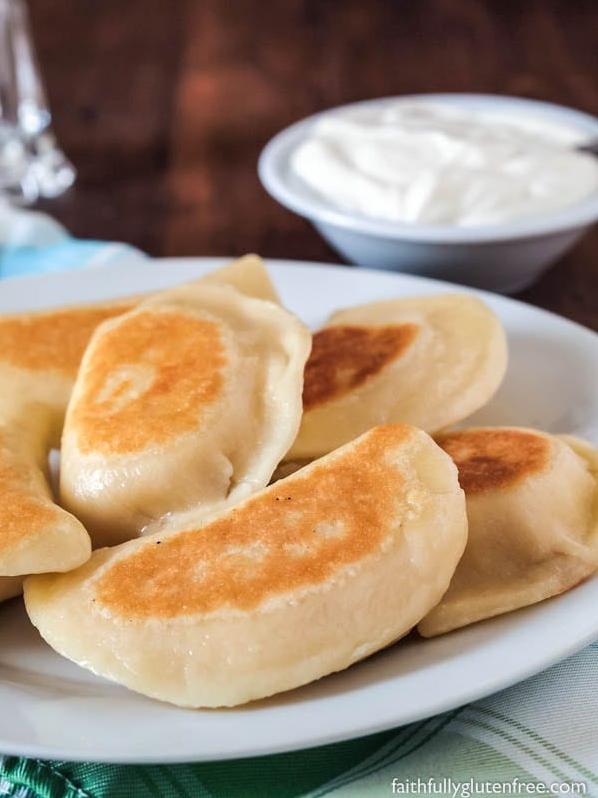
Use a slotted spoon to scoop out the cooked pierogies and transfer them onto a lightly-oiled plate. You can either serve them hot or allow them to cool before sautéing them with some butter or onions.
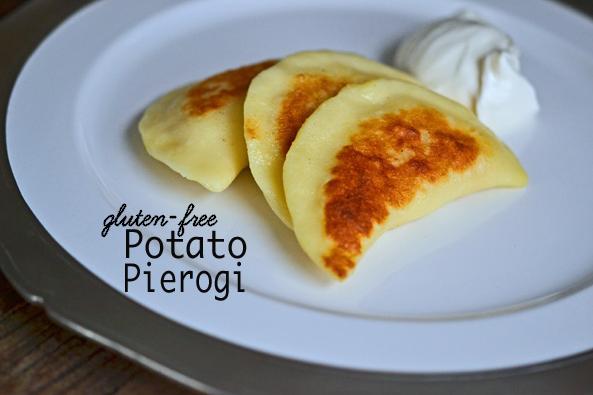
Enjoy these delicious gluten-free perogies with sour cream on the side!
Substitutions and Variations
Hey, listen up guys! I’m here to tell you that with this Gluten-Free Perogies recipe, there is absolutely no need to worry about being stuck with the same old taste. You can experiment and add some kick to your dumplings or even customize them according to your dietary needs.
First things first, let’s talk about flour substitutions. If you don’t have access to gluten-free flour or prefer a different type of gluten-free flour than the ones specified in the ingredient list, go ahead and try substituting the combination of tapioca flour, potato starch, and cornstarch for any other gluten-free flour in equal amounts.
For those of you who are lactose intolerant or vegan and looking for a dairy-free option, you can swap cow milk with any plant-based milk such as almond, coconut or soy milk. Also, if you’d like a dairy-free version of these perogies, cream-style cottage cheese can be replaced with vegan cream cheese or cheddar cheese.
If you’re feeling adventurous and want to add some flavor to your gluten-free perogies, there’re plenty of options available. You may fill them with veggies like mushrooms, spinach or even sweet versions with fruits. Or else exchange the cottage cheese filling by seasoned mashed potatoes mixed with bacon bits or grated cheddar cheese.
Lastly, steaming and pan-frying aren’t your only cooking options. Polish pierogi can be boiled and served hot while dry roasting gives them a crispy texture.
So folks! Get cracking! Experiment and mix up your perfect gluten-free pierogi recipe by taking advantage of these substitutions and variations.
Serving and Pairing

Welcome to the serving and pairing section of the Gluten-Free Perogies Recipe! Now that you’ve successfully prepared your delicious pierogi from scratch, it’s time to decide how best to serve and pair this dish.
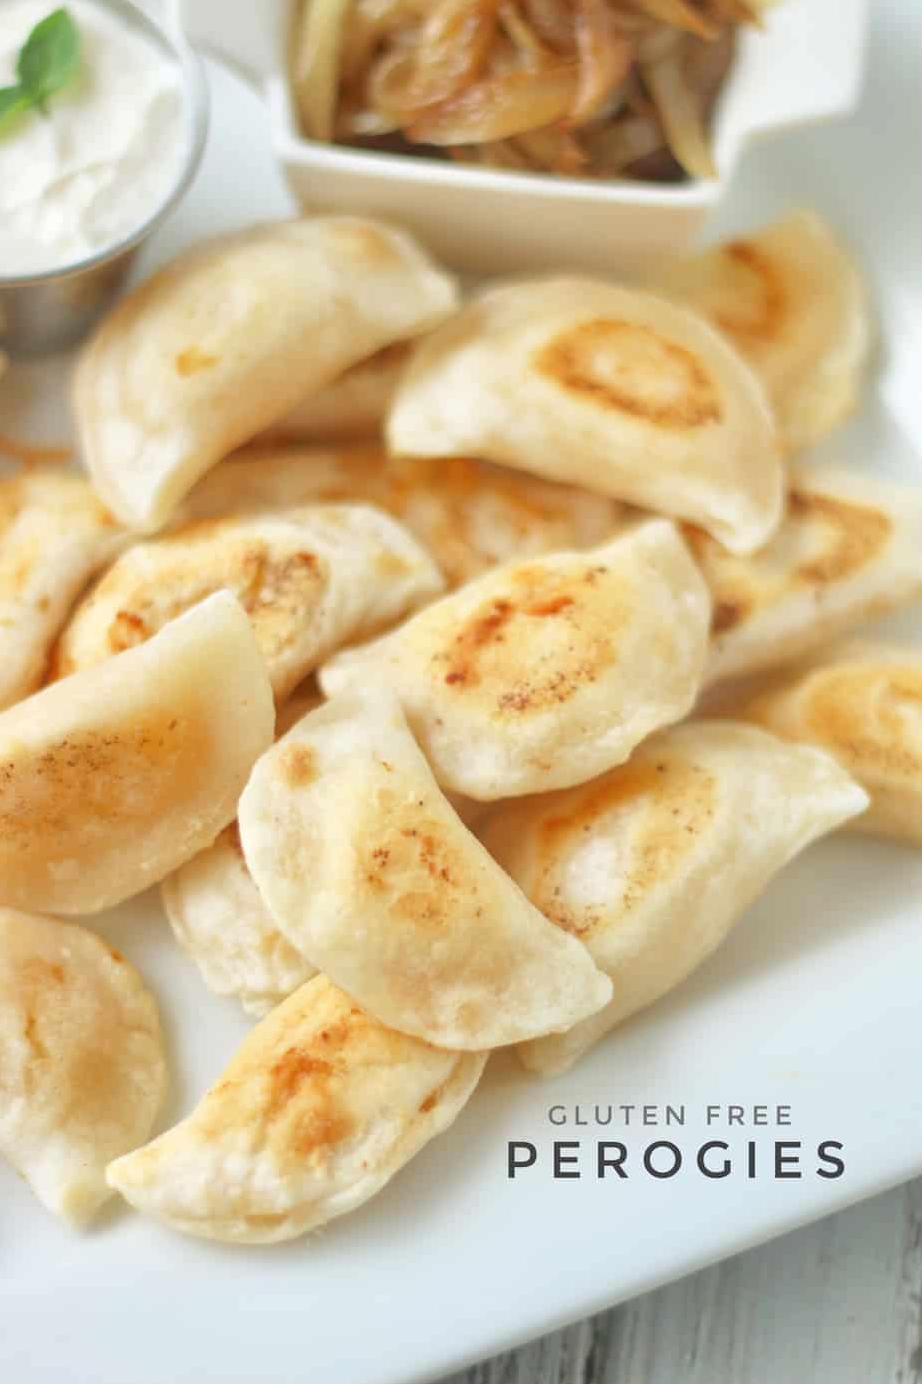
When it comes to serving, there are several options you can choose from. One of the most traditional ways to serve pierogi is with a dollop of sour cream on top. The cool and tangy sour cream complements the warm and savory flavors of the potato and cheese filling perfectly. You could also try serving your perogies with a side of bacon bits or fried onions for some extra flavor and crunch.
In terms of beverages, you might want to consider pairing your pierogi with beer for an authentic Polish dining experience. The crisp effervescence of a lager or pilsner pairs well with the hearty texture and flavors of the perogies. If you prefer wine, opt for a light red like a pinot noir or a white wine like a sauvignon blanc.
For vegetarians, pair gluten-free perogies with some roasted vegetables, such as carrots or bell peppers. This will provide a colorful, nutritious and flavorful accompaniment. You could also serve your perogies with a fresh salad for added texture and taste.
In conclusion, there’s no right or wrong way to serve and pair your Gluten-Free Perogies. Whether you decide on traditional toppings or go for something more innovative, remember that experimentation is key to achieving perfect harmony. Enjoy cooking!
Make-Ahead, Storing and Reheating
Listen up, foodies! You’re going to love how easy it is to prep ahead and store these gluten-free perogies. They’re perfect for those busy weeknights when you don’t have the energy or time to cook from scratch.
First things first, let’s talk about making ahead. If you want to prepare these pierogi in advance, simply follow the dough recipe as directed and assemble them accordingly. Once you have the filled pierogi ready, place them on a well-floured surface and cover them with a damp cloth or plastic wrap to prevent the edges from drying out.
At this point, you have two options: either freeze or refrigerate your gluten-free perogies. For freezing, place them in a single layer on a baking sheet so that they don’t stick together, then transfer them to an airtight container or freezer bag once fully frozen. You can store these pierogi for up to 2 months.
As for refrigerating, just pop them into an airtight container or resealable plastic bag and store in the fridge for up to 3 days.
Now let’s talk about reheating. Whether you’ve stored them in the freezer or fridge, cooking these free pierogies is super easy. To cook from frozen, just bring a pot of salted water to a boil and add your pierogi. Cook for 5-7 minutes until they float to the surface – this means they’re fully cooked! Alternatively, if you’re short on time, you can pan-fry your pierogi in a bit of butter or oil until crisp and golden brown.
For reheating from the fridge, simply boil your pierogi until they float to the surface – this should take only 2-4 minutes because they won’t be frozen like before.
Finally, serve these bad boys with all of your favorite perogi fixings like sour cream or even some crispy bacon if you’re feeling extra indulgent. You can even get creative with the fillings and make vegan pierogi or potato and cheese pierogi, the possibilities are endless! These pierogi are going to be a crowd-pleaser for sure, so make enough to go around!
Tips for Perfect Results

When it comes to making a perfect gluten-free perogy, there are some useful tips that can help you create the perfect dish. As a nutritionist and food blogger, I have come up with some helpful tips for ensuring that your gluten-free pierogis come out perfectly every time.
First, invest in a good quality gluten-free flour blend. This is the key ingredient in making sure that your dough is stretchy and elastic enough to hold the filling without tearing or falling apart. I recommend using a flour blend that contains rice flour, tapioca flour, potato starch and xanthan gum as these ingredients work together to create a great texture for your pierogi dough.
Another important tip is to make sure that you measure your ingredients accurately. Gluten-free flours often require more liquid than regular flours so it’s important to measure each ingredient precisely to ensure the correct dough consistency. Also, make sure to mix the ingredients well so that everything is evenly distributed.
When forming your dough, it’s important to work quickly and use extra flour as opposed to excess water when rolling out your circles. This will prevent your dough from becoming too sticky or overly moist which can lead to tough perogies.
If you are struggling with getting the right consistency for your gluten-free dough, then try adding some psyllium powder or additional tapioca flour. These ingredients will help give the dough some elasticity without compromising its structure.
Finally, don’t be afraid to experiment with different fillings such as potato and cheddar cheese, sauerkraut or mushrooms. For a vegan option, you can use vegan cream cheese or even cashew cream as the filling.
By following these simple tips, you can create perfect gluten-free perogies every time!
Bottom Line
in a persuasive tone:
In conclusion, these gluten-free perogies are the perfect comfort food for anyone looking to indulge in a delicious yet healthy recipe. By using only gluten-free and dairy-free ingredients, you can enjoy this classic Polish dish without any guilt or negative effects on your health.
With this recipe, I have provided you with easy-to-follow instructions, helpful tips, and substitutions to customize your perogies to your liking. Whether you want to make vegan pierogies or add some bacon and cheddar cheese to your potato filling, the possibilities are endless.
So why settle for store-bought perogies full of additives and preservatives when you can make your own healthy and flavorful ones at home? With this gluten-free perogie recipe, you can satisfy your cravings without compromising your health goals.
So go ahead and give it a try! Trust me; your taste buds will thank you.
Gluten Free Perogies Recipe
Ingredients
- 1 cup cream-style cottage cheese
- 1 large egg
- 3 tablespoons milk
- 1 tablespoon oil
- 1/2 cup water
- 1/4 cup potato starch
- 1/2 cup cornstarch
- 1/2 cup tapioca flour
- 1 1/2 cups rice flour
- 1/4 cup soya flour
- 3 teaspoons xanthan gum
- 1 teaspoon salt
Instructions
- Place first five ingredients in a blender and blend until smooth. Pour into a medium sized bowl.
- Sift and mix dry ingredients together and add to liquid mixture.
- Knead well with hands until dough is smooth.
- Cover and let stand while you make the filling.
- Roll thin on an oiled surface. Cut with 2 1/2 inch round cutter. Place teaspoonful of filling on each piece and seal edges tightly together.
- Drop perogies into boiling salted water. Boil for five minutes after the perogies float to the top of the water.
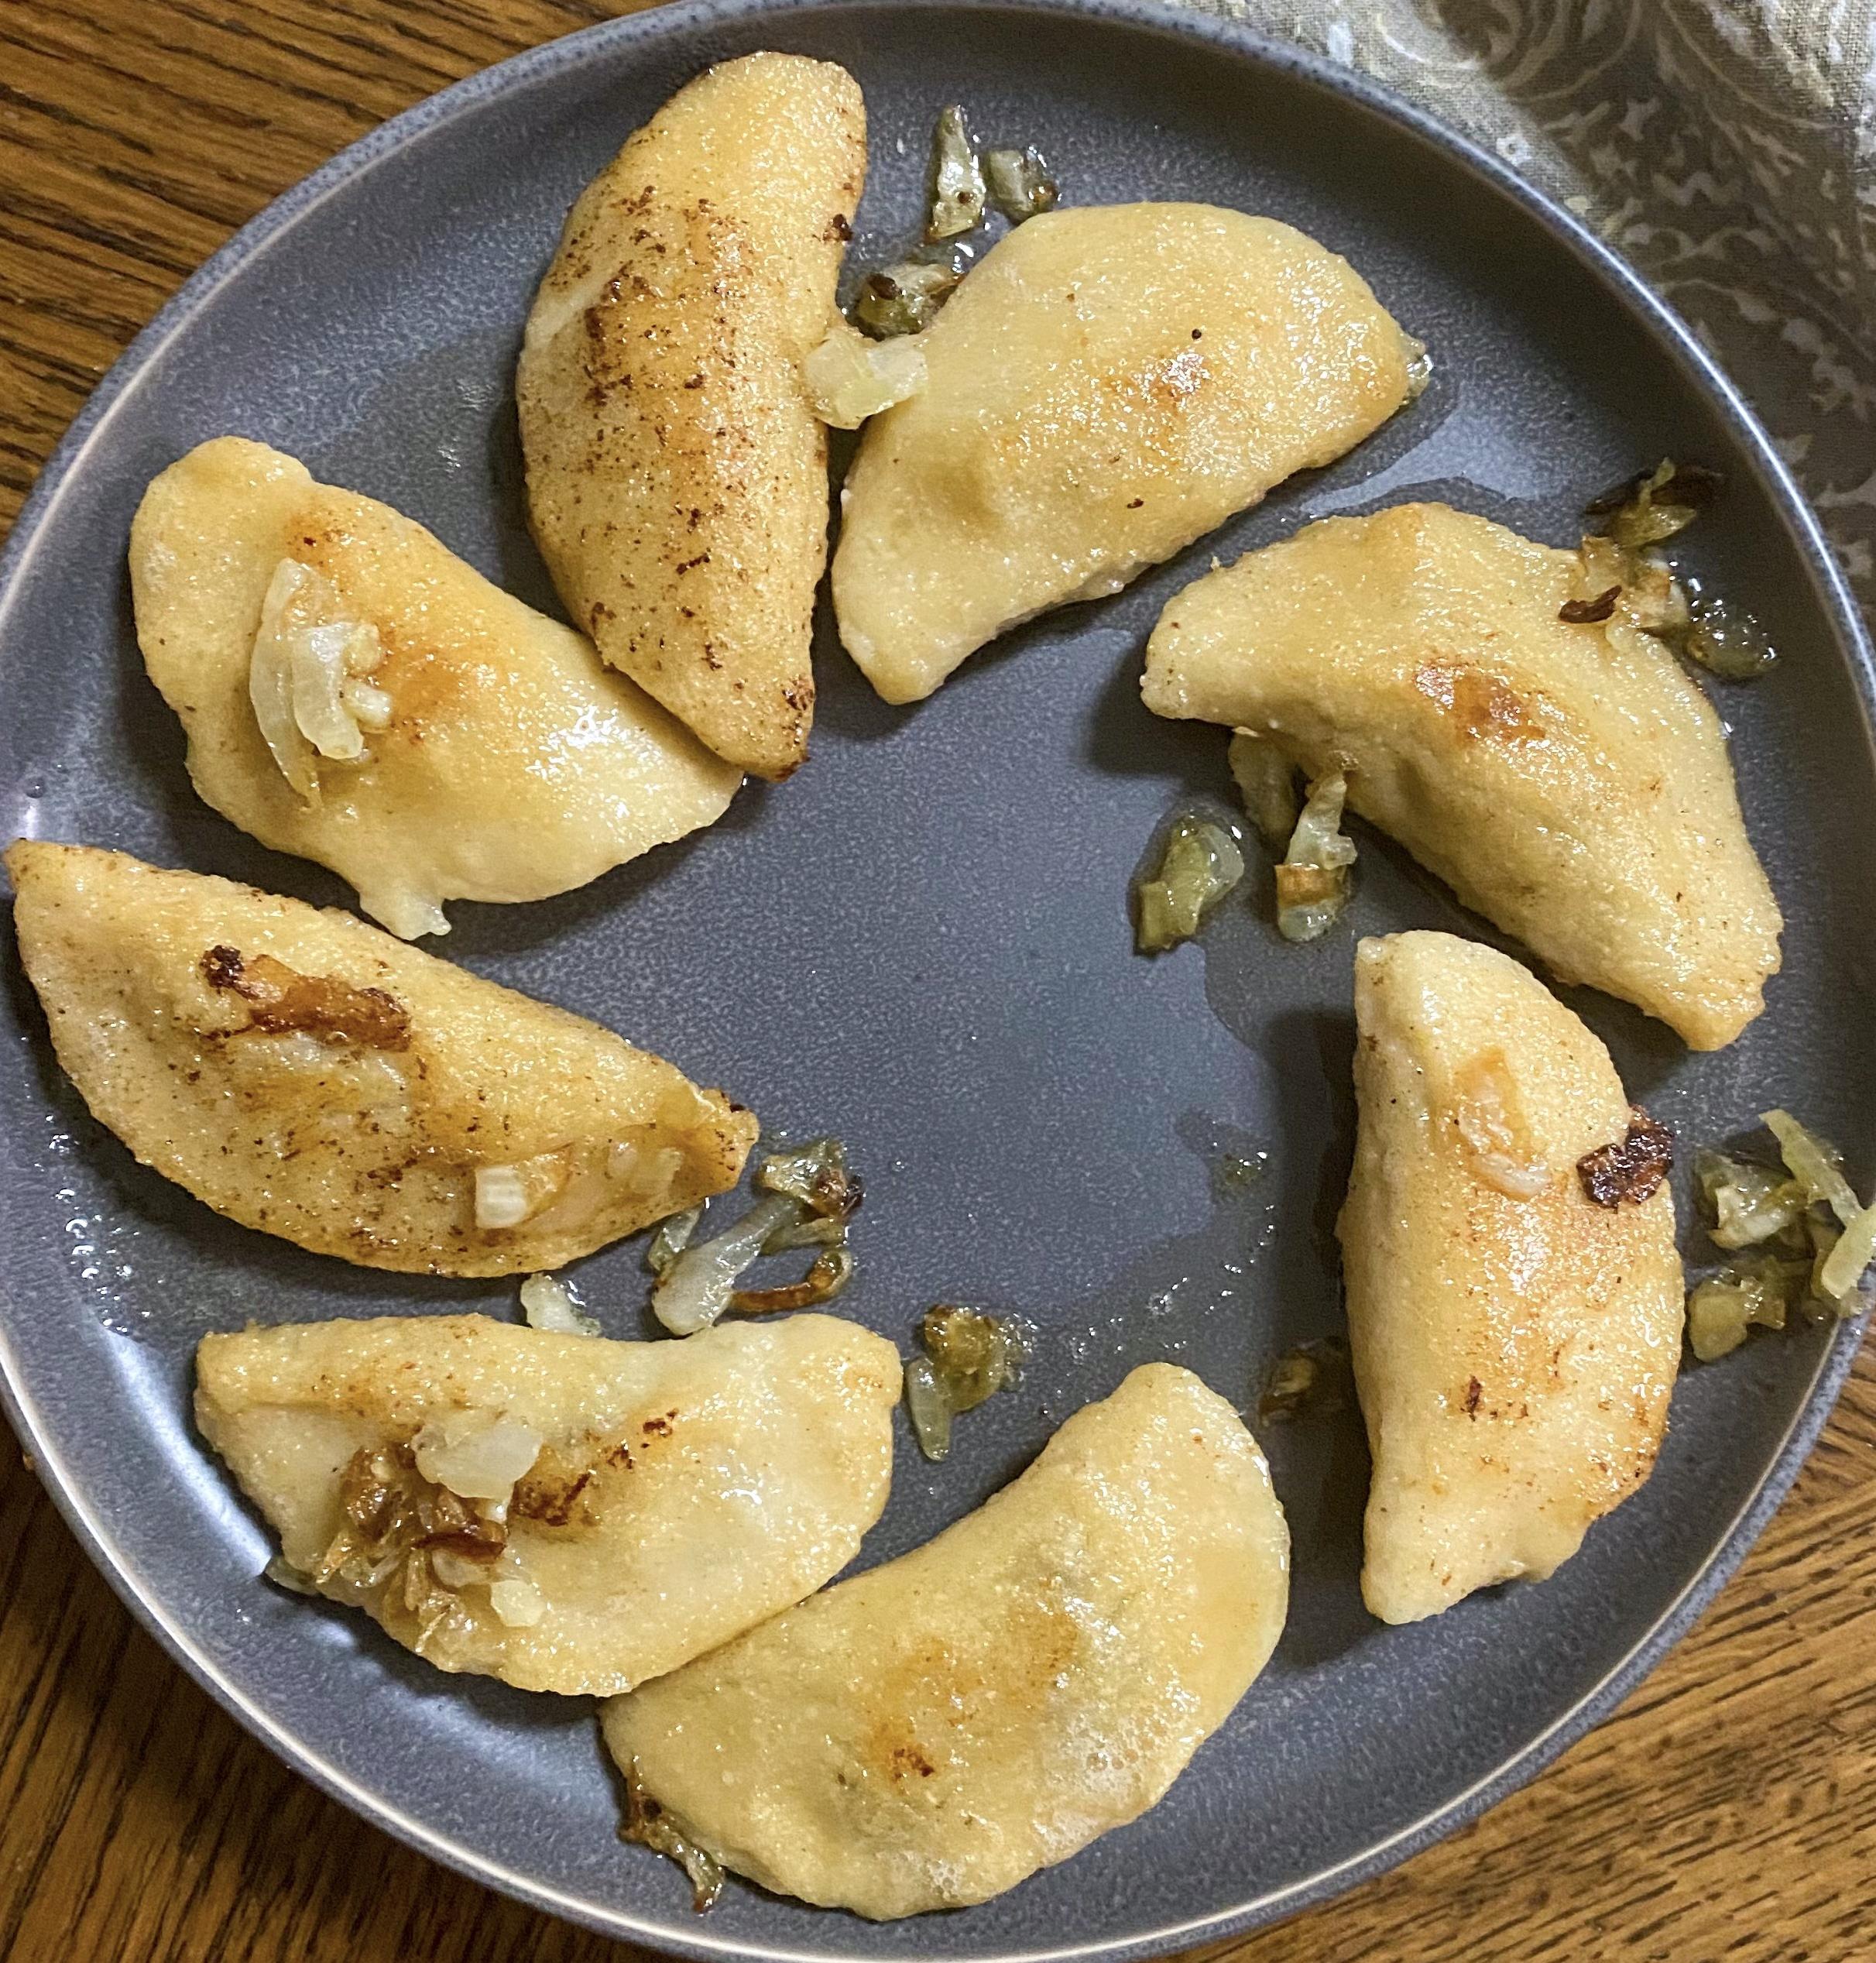
- Toss in melted butter and serve with onion, bacon bits and sour cream.
Add Your Own Notes
Nutrition
Recommended Recipes Just For You
None found