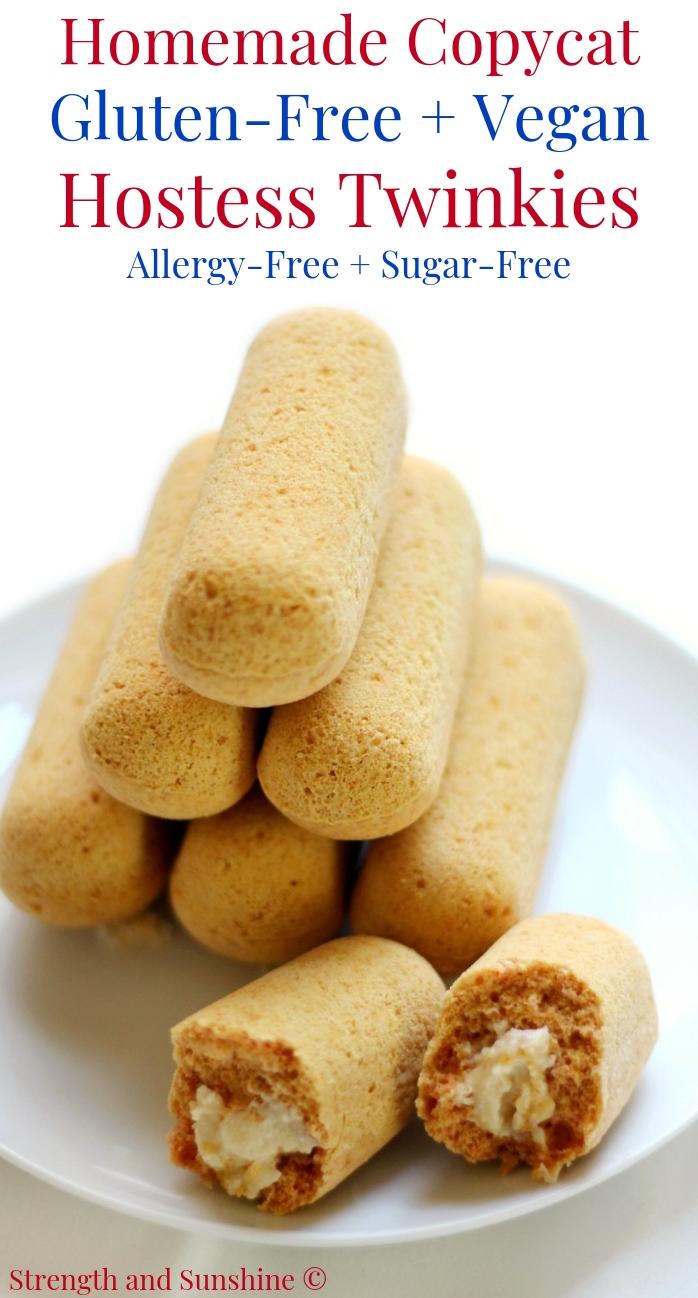
No Gluten, No Problem: Delicious Twinkie Cake Recipe
Are you tired of feeling limited in your dessert options due to dietary restrictions? I know the struggle of trying to find a sweet treat that is both delicious and fits my needs as a nutritionist. That’s why I’m excited to share with you this gluten-free and dairy-free Twinkie Cake recipe!
This recipe has all the flavors of traditional Twinkies, but without any of the gluten or dairy. And don’t worry- just because it’s free of these ingredients doesn’t mean it lacks in taste or indulgence. In fact, this cake is so delicious that you won’t even realize it’s missing any traditional components.
Not only is this cake perfect for those with dietary restrictions, but it’s also great for those who simply want to try a new, healthier take on a classic snack cake. By using ingredients like coconut flour and grapeseed oil, this gluten-free Twinkie Cake recipe provides a less dense, more flavorful texture than traditional snack cakes.
So go ahead, indulge in a guilt-free dessert with this homemade Twinkie Cake recipe. Trust me, your taste buds will thank you for it.
Why You’ll Love This Recipe
Are you tired of missing out on your favorite snacks and desserts simply because you’re trying to eat healthy or have dietary restrictions? Look no further than this gluten-free Twinkie cake recipe.
There are so many reasons why you’ll love this recipe, starting with the fact that it’s gluten-free. Gluten intolerance or Celiac disease should not hold you back from enjoying delicious food, especially snack cakes like Twinkies. With this recipe, you can enjoy a treat without any worry about gluten.
Moreover, unlike store-bought Twinkies, this homemade version contains no dairy, making it an excellent option for those who are lactose intolerant or vegan. Swap out the traditional ingredients for healthier alternatives such as coconut flour, grapeseed oil, and agave nectar.
But just because it’s a healthier version doesn’t mean you’re compromising on taste. The cake is still light and spongy with a delicious vanilla flavor that will satisfy anyone’s sweet tooth. The marshmallow creme filling is fluffy and completely addictive, leaving you wanting more with every bite.
Plus, if you make it yourself, you have total control over the quality and ingredients of the cake. You won’t be eating any preservatives or questionable additives that are present in store-bought snacks.
In conclusion, whether you’re gluten intolerant, lactose intolerant, vegan, health-conscious or just love Twinkies-like snacks, give this recipe a try. It’s easy to make and provides a scrumptious alternative to satisfy any craving.
Ingredient List
Here is the ingredient list that you’ll need to make this delectable Gluten Free Twinkie Cake recipe:
Dry Ingredients:
- 1 cup gluten-free flour
- 1 teaspoon baking powder
- ½ teaspoon baking soda
- ¼ teaspoon salt
Wet Ingredients:
- 3 eggs, separated
- ¼ cup grapeseed oil
- 1/4 cup agave nectar
- 1 tablespoon vanilla extract
- 1 tablespoon lemon juice
Cream Filling Ingredients:
- ½ cup shortening
- 2 cups powdered sugar, divided
- ⅓ cup hot water + ¼ teaspoon cream of tartar
- 1 teaspoon vanilla
- Pinch of salt
You can easily find these ingredients at any grocery store. When purchasing gluten-free flours or free flours, make sure to read the labels carefully and look for any allergen warnings. There are a variety of gluten-free flours available such as chickpea flour, coconut flour, and almond flour.
Next, I’ll share how to put all these ingredients together to make this delicious Gluten-Free Twinkie Cake!
The Recipe How-To

To make the gluten-free Twinkie cake batter, start by preheating the oven to 325°F. In a medium mixing bowl, whisk together ⅔ cup of gluten-free flour blend (that contains chickpea flour and coconut flour), ¼ teaspoon baking soda, and ¼ teaspoon salt.
In another mixing bowl, beat together 2 large eggs yolks, ½ cup of sugar, 2 tablespoons of grapeseed oil, 1 tablespoon of agave nectar and 1 tablespoon of vanilla extract until thick and pale yellow with a hand mixer. Then add half of the dry ingredients mixture to the yolk mixture and mix.
In a separate large mixing bowl, beat three large egg whites until they form stiff peaks. Then add the remaining half of the dry ingredients’ mixture to the egg whites and fold using a spatula until just combined.
Fold half of the egg white mixture into the yolk mixture. Repeat this process with the rest of the egg white mixture until a smooth and light cake batter forms.
Baking the Cake
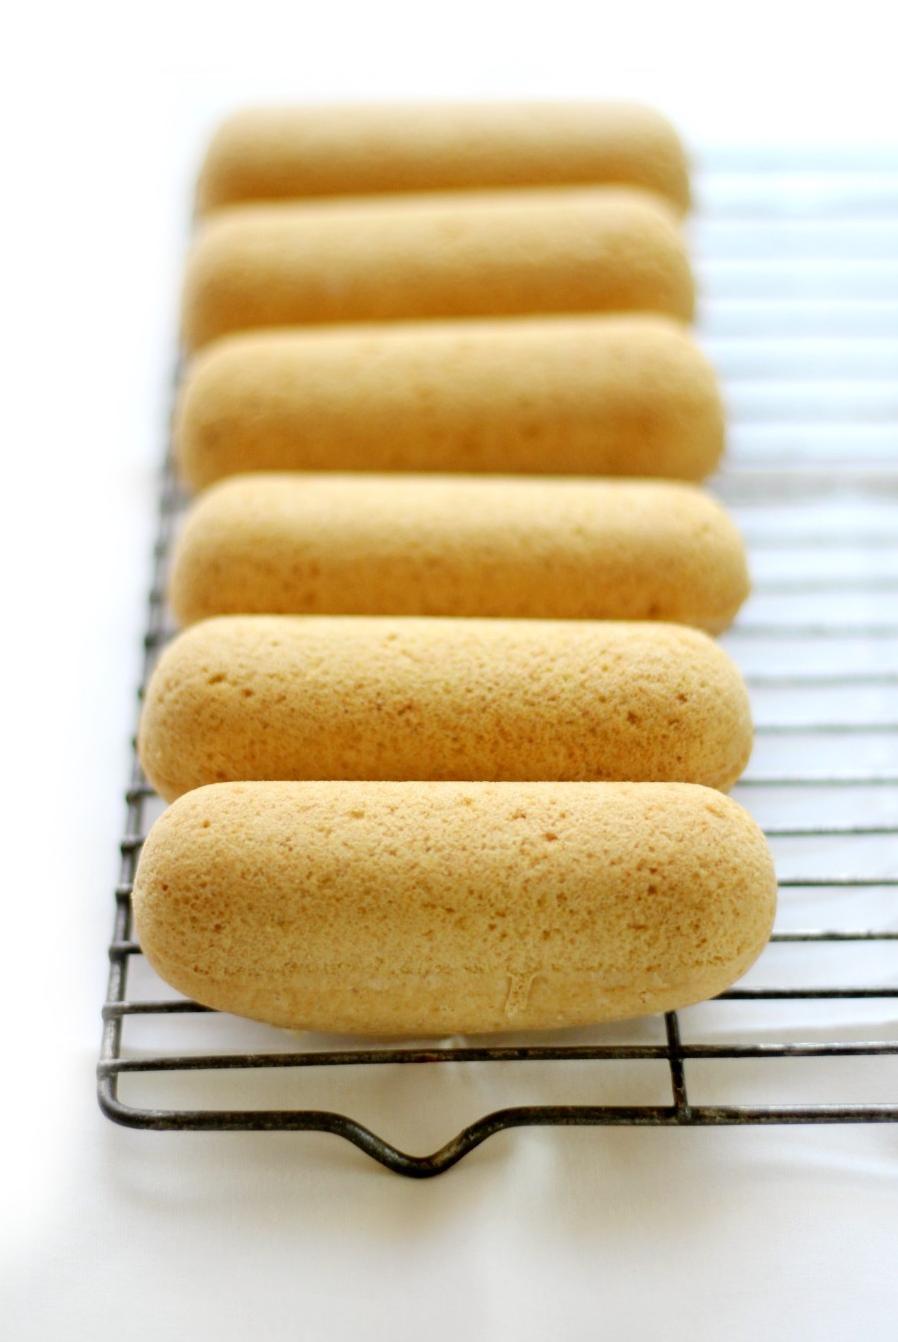
Pour the cake batter into a greased Twinkie-shaped mold pan, filling each cup about two-thirds full.
Place in the preheated oven and bake for approximately 15-18 minutes or until a toothpick inserted comes out clean.
Making Twinkie Filling
While the cakes are baking, prepare the marshmallow creme filling. In a small saucepan on medium-high heat, mix ⅓ cup water, ¾ cup of sugar, ¾ tablespoon cream of tartar and bring to boil while whisking continuously for 3-4 minutes until it turns into syrup consistency.
In another mixing bowl beat shortening using an electric mixer on high speed. Then slowly beat in syrup in three parts, mixing for few seconds between each addition to ensure that the filling is creamy, light and fluffy.
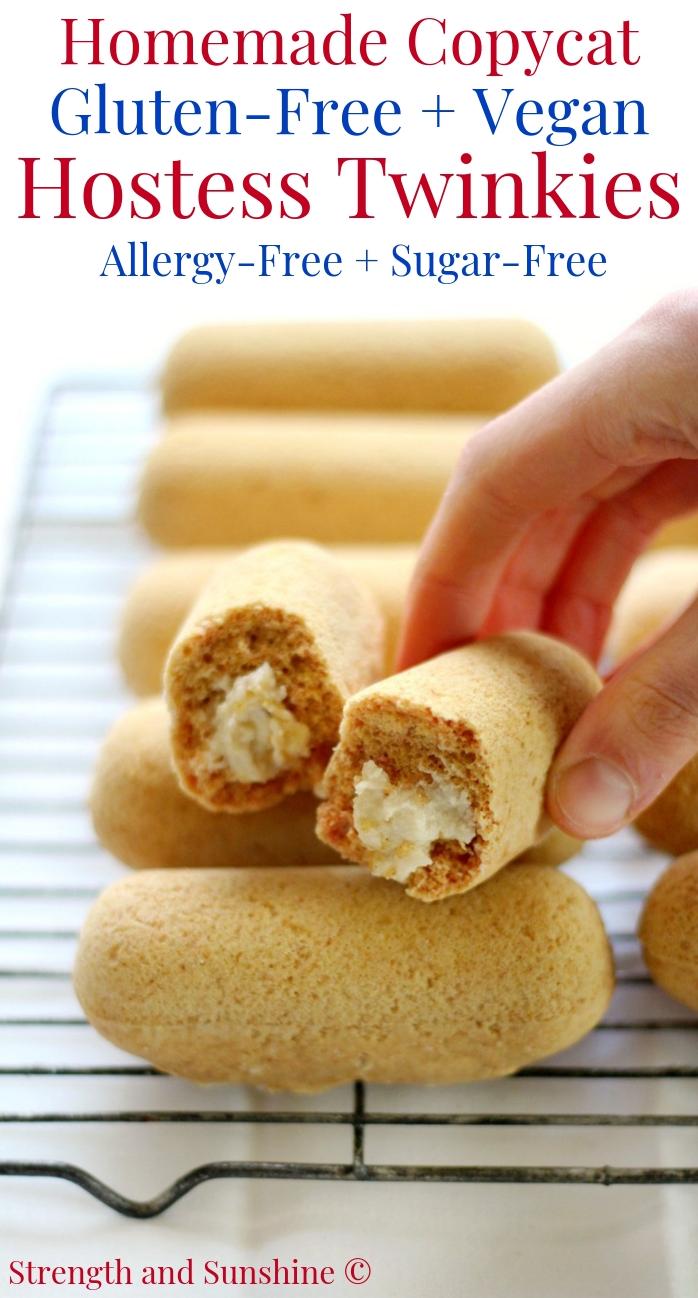
Once cakes are cooled completely, use a pastry bag to pipe the Twinkie filling into each of the gluten-free Twinkie cakes by poking 3 holes on the bottom of each cake using a chopstick, and squeezing out till you see filling begin to come out of either side.
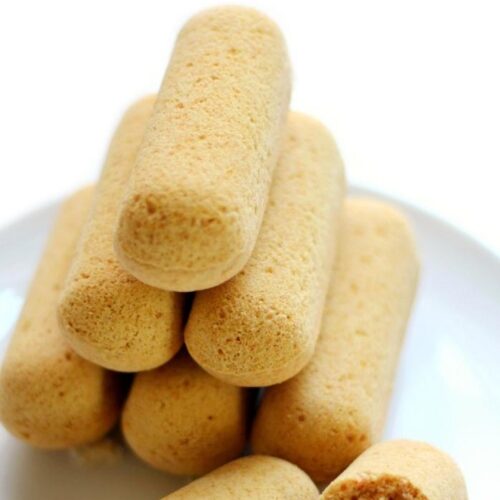
And Voila! Enjoy your delicious gluten free Twinkie cake with fluffy white filling just like the real thing, but made with gluten-free flour blend!
Time-Saving Tips
If you don’t have much time or patience, you can bake this recipe in a regular rectangular baking pan and simply cut it into snack cakes after baking.
You can also make the Twinkie filling ahead of time for easy assembly later.
Quick Recap
- Mix ⅔ cup of gluten-free flour blend (that contains chickpea flour and coconut flour), ¼ teaspoon baking soda, and ¼ teaspoon salt in a large mixing bowl.
- Beat 2 large eggs yolks,
Substitutions and Variations
There are plenty of ways to mix up this gluten-free Twinkie cake recipe and make it your own. Here are a few ideas:
– Flour substitutions: If you don’t have gluten-free flour on hand, you can swap it out for chickpea flour or coconut flour. Chickpea flour is a great option for making the cake less dense, while coconut flour will give it a slightly denser texture.
– Sugar substitutes: Agave nectar works well in this recipe, but you can also use honey or maple syrup instead. Keep in mind that these alternatives may slightly alter the flavor of the cake.
– Vegan options: For a vegan version of this Twinkie cake, you can substitute the buttermilk with almond milk or another non-dairy alternative. Use shortening instead of butter and eggs, and try using aquafaba (the liquid from a can of chickpeas) as an egg substitute.
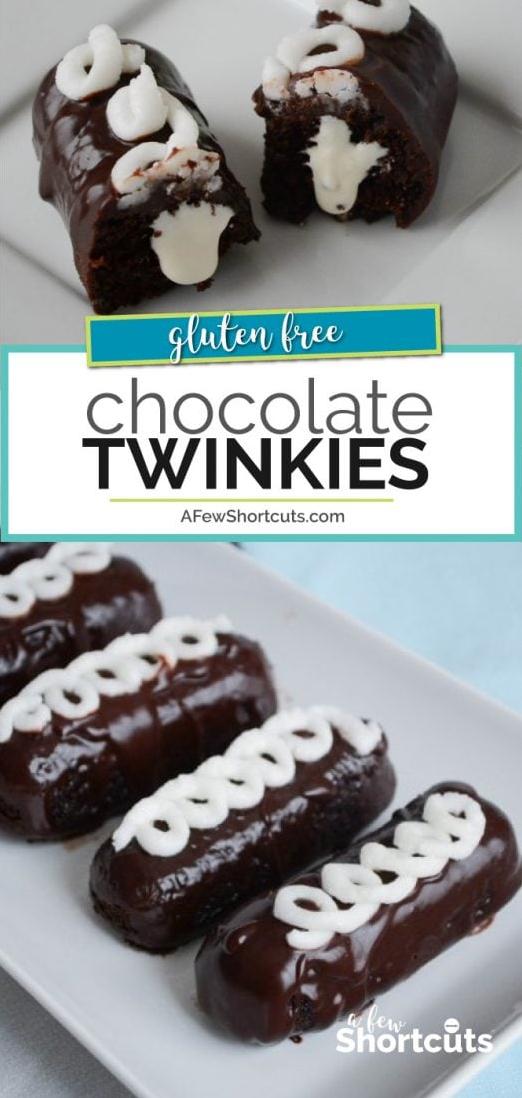
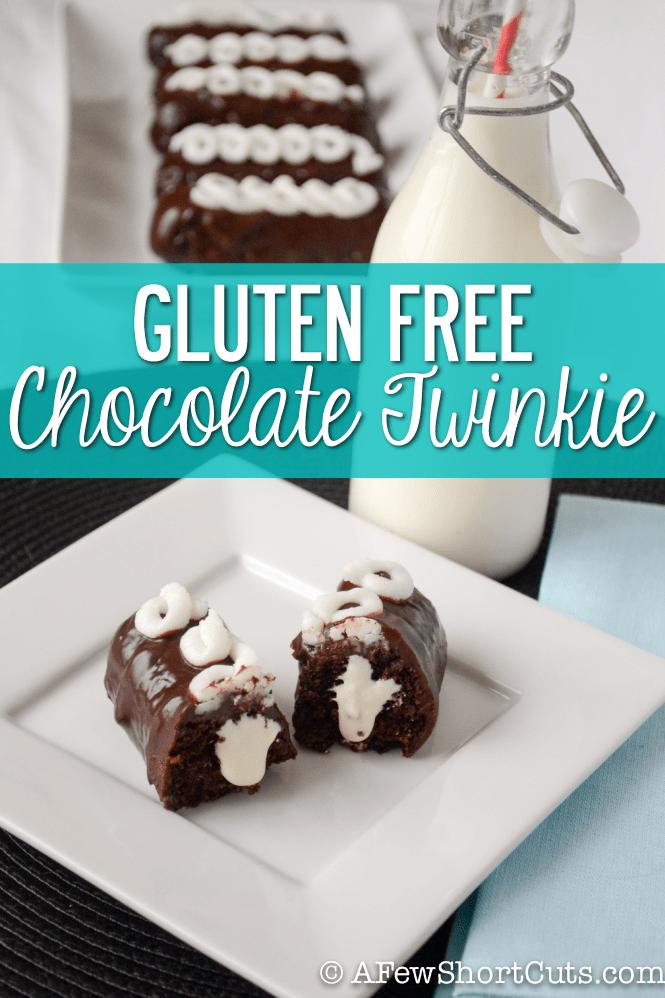
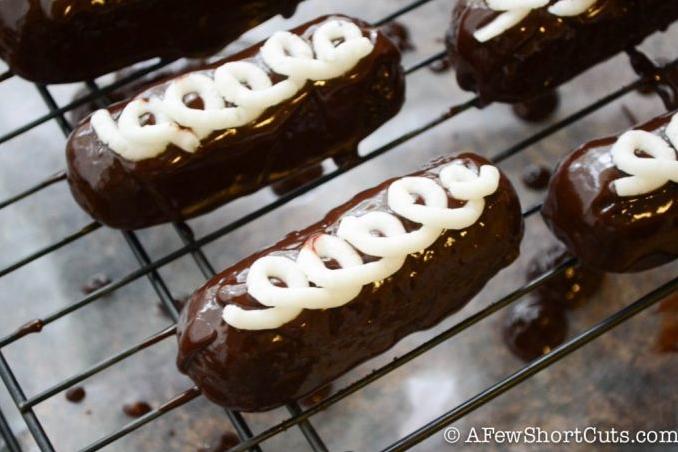
– Flavor variations: If you’re a fan of chocolate, you can add cocoa powder to the batter to make chocolate Twinkies. You can also mix in some fruit puree or extract to change up the flavors.
No matter what substitutions or variations you choose, be sure to adjust the measurements accordingly and keep an eye on the baking time to ensure the perfect cake texture.
Serving and Pairing
Now that you have baked your Gluten Free Twinkie Cake, it’s time to serve and pair it. This cake is perfect to serve as a dessert after a special meal or as a sweet treat for an afternoon snack.
To serve, you can slice the cake into pieces and dust some powdered sugar on top to add an extra touch of sweetness. You can also add some fresh berries or whipped cream on top for an even more decadent dessert.
When it comes to pairing your Gluten Free Twinkie Cake, you can’t go wrong with a cup of coffee or tea. The vanilla flavor of the cake pairs well with the earthy notes of coffee, while the sweetness of the cake is balanced out by the bitterness of black tea.
For a fun twist, consider pairing your Gluten Free Twinkie Cake with a glass of almond milk or coconut milk. These dairy-free alternatives bring out the nutty and tropical flavors of the cake and offer a refreshing contrast to its sweetness.
Overall, this Gluten Free Twinkie Cake recipe is versatile enough to be enjoyed at any time of day, so feel free to get creative with your serving and pairing options.
Make-Ahead, Storing and Reheating
Nowadays, everyone seems to be leading busy lives and are always seeking convenience whenever possible. Hence, having a recipe that can be prepared in advance or stored for future consumption is a great time-saver. The Gluten Free Twinkie Cake Recipe is no exception.
If you plan to make the Gluten Free Twinkie Cake in advance, feel free to bake the cakes ahead of time and store them in an airtight container at room temperature for up to 3 days or refrigerate for up to 1 week. If refrigerating, it is essential to let the cakes come to room temperature before serving.
To prolong the storage time of the cake, freeze them by wrapping each cake tightly with plastic wrap and storing them in an airtight container. They can be stored for up to 2 months in the freezer. Thaw the cakes overnight in the refrigerator before heating them up.
Reheating the gluten-free twinkies cake is easy and convenient. Simply preheat your oven to 350°F, wrap the cakes loosely with aluminum foil, and place them on a baking sheet. Heat for 8-10 minutes or until heated thoroughly.
If you prefer a softer texture on the outside of your twinkie cake, reheating it using your microwave could work as well. We recommend microwaving on high for about 10-15 seconds at a time until you have reached your desired level of warmth.
Keep in mind; however you decide to reheat your Gluten Free Twinkie Cake, try not to overdo it as overheating will leave you with dry cakes that crumble easily instead of having fluffy and moist treats!
Tips for Perfect Results
Now that you have everything you need to make this delicious Gluten Free Twinkie Cake, here are some tips to ensure that your final product comes out perfectly.
Firstly, make sure to read the recipe carefully and measure all of your ingredients accurately. Gluten-free flours can be finicky when it comes to measurements, so be precise. Measuring cups and spoons should be levelled off carefully for accurate results.
Secondly, when combining the wet and dry ingredients, don’t overmix the batter, as this can lead to a denser cake. Mix only until everything is just combined.
Thirdly, add the eggs to the batter one at a time and mix until fully combined before adding the next egg. This will help prevent lumps and ensure a smooth texture.
Fourthly, preheat your oven and set it to the correct temperature to avoid any errors in baking time. Check your cake frequently while it’s cooking as baking times may vary depending on your oven.
Finally, let the cake cool completely before attempting to cut into it. Gluten-free baked goods tend to be less dense when cooled which makes them easier to cut without falling apart.
Follow these tips and you will end up with an absolutely delicious Gluten Free Twinkie Cake!
FAQ
Now that we have gone through all the sections of this gluten-free Twinkie cake recipe article, it’s time to address some common concerns and questions that you may have. In this section, we will be answering the frequently asked questions about vegan, dairy-free, and gluten-free baking. Let’s delve into these questions and find out how we can make this gluten-free Twinkie cake a success for everyone, without compromising on taste or texture.
Will gluten-free flour work in a cake?
Fortunately, a multitude of organic flours that are exempt from gluten – such as soy, rice, chestnut, buckwheat, corn, potato, and chickpea flour – can be utilized to create baked goods like pastries, breads, and cakes. You can conveniently find a wealth of recipes available that utilize these alternative flours.
What are the tips for baking a gluten-free cake?
When it comes to gluten-free baking, there are a few things to keep in mind to ensure your cakes come out perfectly. To start, consider baking your gluten-free cakes at a slightly lower temperature than you would with regular wheat cakes. This is because gluten-free flours tend to brown more quickly and take longer to absorb liquid. By adjusting the temperature, you’ll be able to achieve a more even bake. It’s also important to weigh your ingredients accurately for best results.
Why is my gluten-free cake so dense?
When it comes to gluten-free baking, creating airy and light cakes can be a challenge. Gluten is responsible for creating air pockets in batters , thus yielding fluffy results. However, gluten-free flours and grains do not have this crucial element, often leading to denser and heavier baked goods.
How do you make gluten-free cake less dense?
When preparing baked goods without gluten, it’s crucial to add additional liquids to the flour mixture for a more pleasant texture. But, we need to ensure that this extra moisture evaporates during the baking process or it will result in a sticky consistency. To achieve this, we should increase the baking time.
Bottom Line
In conclusion, if you’re looking for a delicious and healthy gluten-free snack, this Gluten-Free Twinkie Cake Recipe may be just what you need. Not only is it easy to make, but it’s also dairy-free and free of any artificial ingredients, making it a perfect treat for those with dietary restrictions.
With its fluffy texture and sweet vanilla flavor, this cake recipe is sure to satisfy your cravings without compromising your health. And with various substitutions and variations available, you can customize this recipe to suit your tastes and preferences.
So why not give this Gluten-Free Twinkie Cake Recipe a try? Whether you’re in the mood for a quick snack or need a dessert for a special occasion, this recipe is sure to impress your family and friends. And the best part? You won’t have to sacrifice taste or health to enjoy these delicious homemade twinkies.
So go ahead, indulge in these guilt-free treats and enjoy every bite!
Gluten Free Twinkie Cake Recipe
Ingredients
- 3 cups gluten-free cake flour
- 1 teaspoon baking soda
- 1/2 teaspoon salt
- 1 cup shortening
- 2 cups sugar, divided
- 1 cup buttermilk
- 2 teaspoons vanilla
- 1/2 teaspoon almond extract
- 6 egg whites, room temperature
- 1 teaspoon cream of tartar
- 2 teaspoons very hot water
- 1/2 teaspoon salt
- 2 cups marshmallow creme (1 7-ounce jar)
- 1/2 cup shortening
- 1/3 cup powdered sugar
- 1/2 teaspoon vanilla
Instructions
- Not the one? See other Twinkie Cake Recipes.
- < 60 mins Cakes.
- Low Cholesterol Cakes.
- Preheat oven to 350 degrees F.
- Grease the edges of two 9-inch OR three 8-inch round cake pans and line the bottoms with wax paper.
- Combine flour, baking soda and salt in medium bowl.
- Beat shortening and 1 1/3 cups granulated sugar in a large bowl until light and fluffy.
- Add flour mixture alternately with buttermilk, heating well after each addition.
- Blend in vanilla and almond extract.
- Beat egg whites in separate bowl at medium speed with electric mixer until foamy.
- Add cream of tartar and beat at high speed until soft peaks form.
- Gradually add remaining 2/3 cup granulated sugar, beating until stiff peaks form, and fold into batter.
- Pour batter evenly into prepared pan and smooth with cake spatula.
- Bake 30 to 35 minutes or until toothpick inserted in center comes out clean.
- Cool layers in pans on wire racks for 10 minutes.
- Loosen edges and remove to racks to cool completely.
- Fill layers with Twinkie Creme Filling.
- For Twinkie Creme Filling: Combine the salt with the hot water in a small bowl and stir until salt is dissolved.
- Let this mixture cool.
- Combine the marshmallow creme, shortening, powdered sugar, and vanilla in a medium bowl and mix well with an electric mixer on high speed until fluffy.
- Add the salt solution to the filling mixture and combine.
- Makes 1-1/2 cups of creme filling.