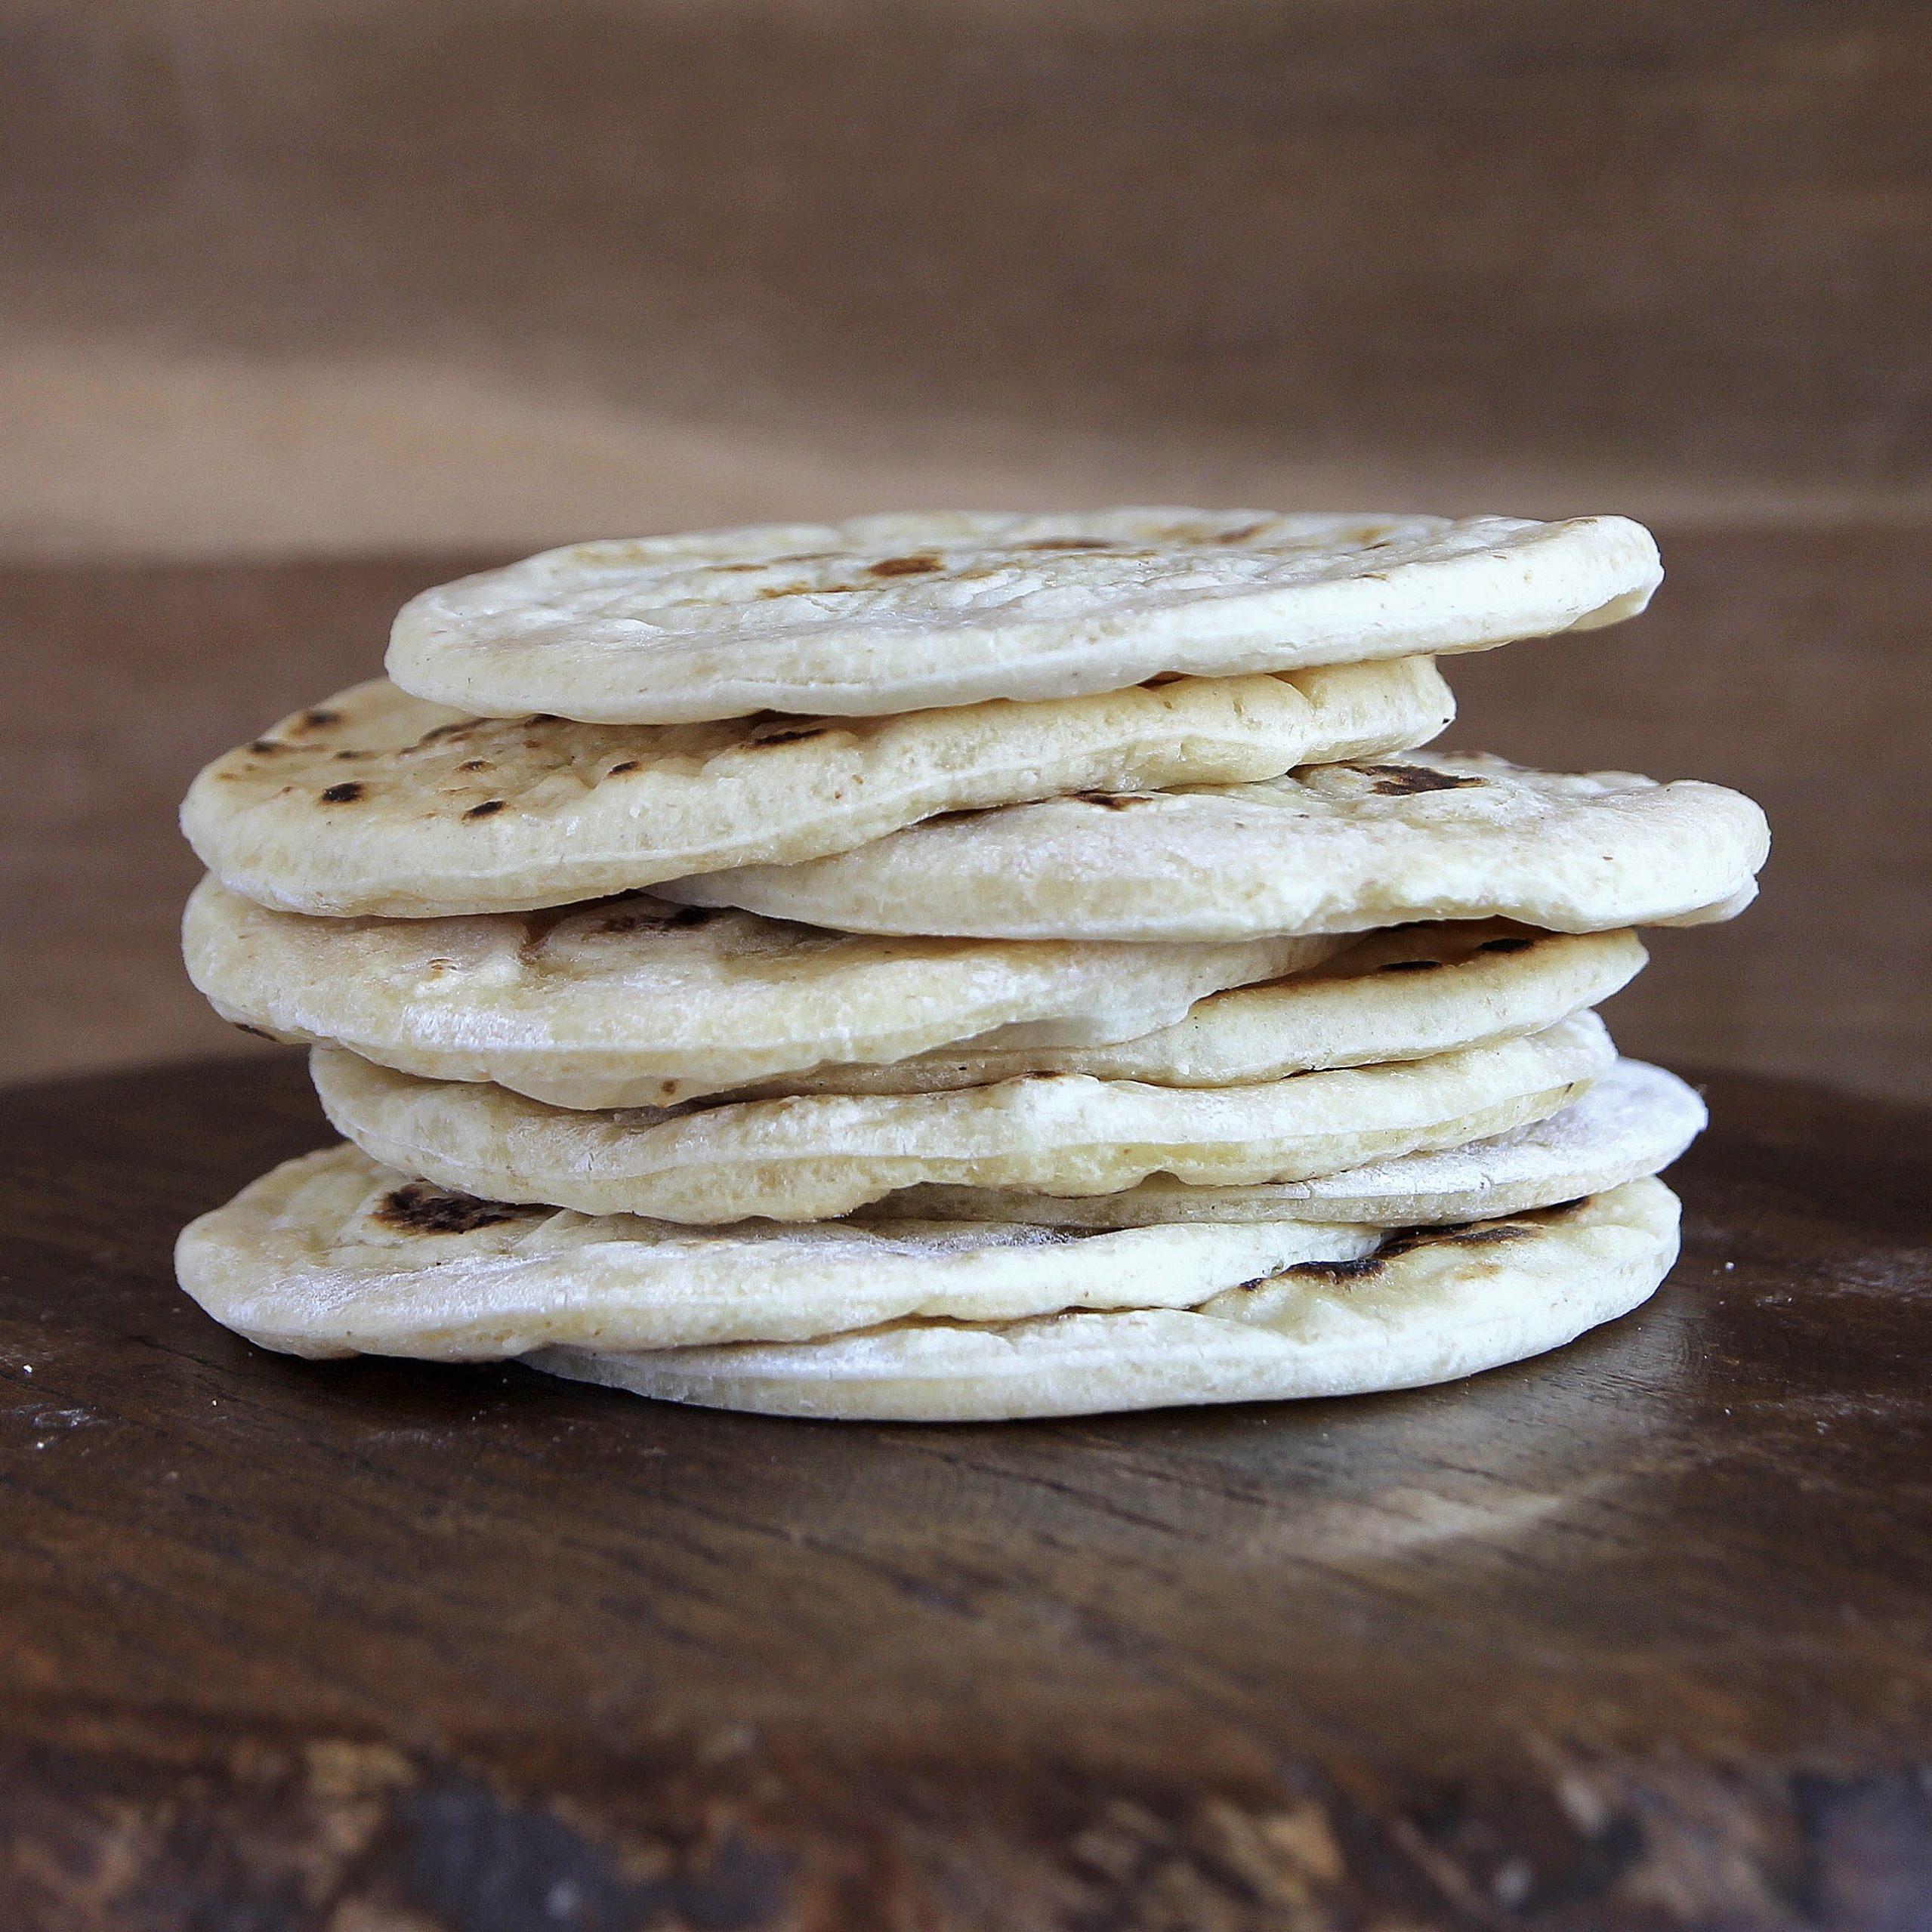
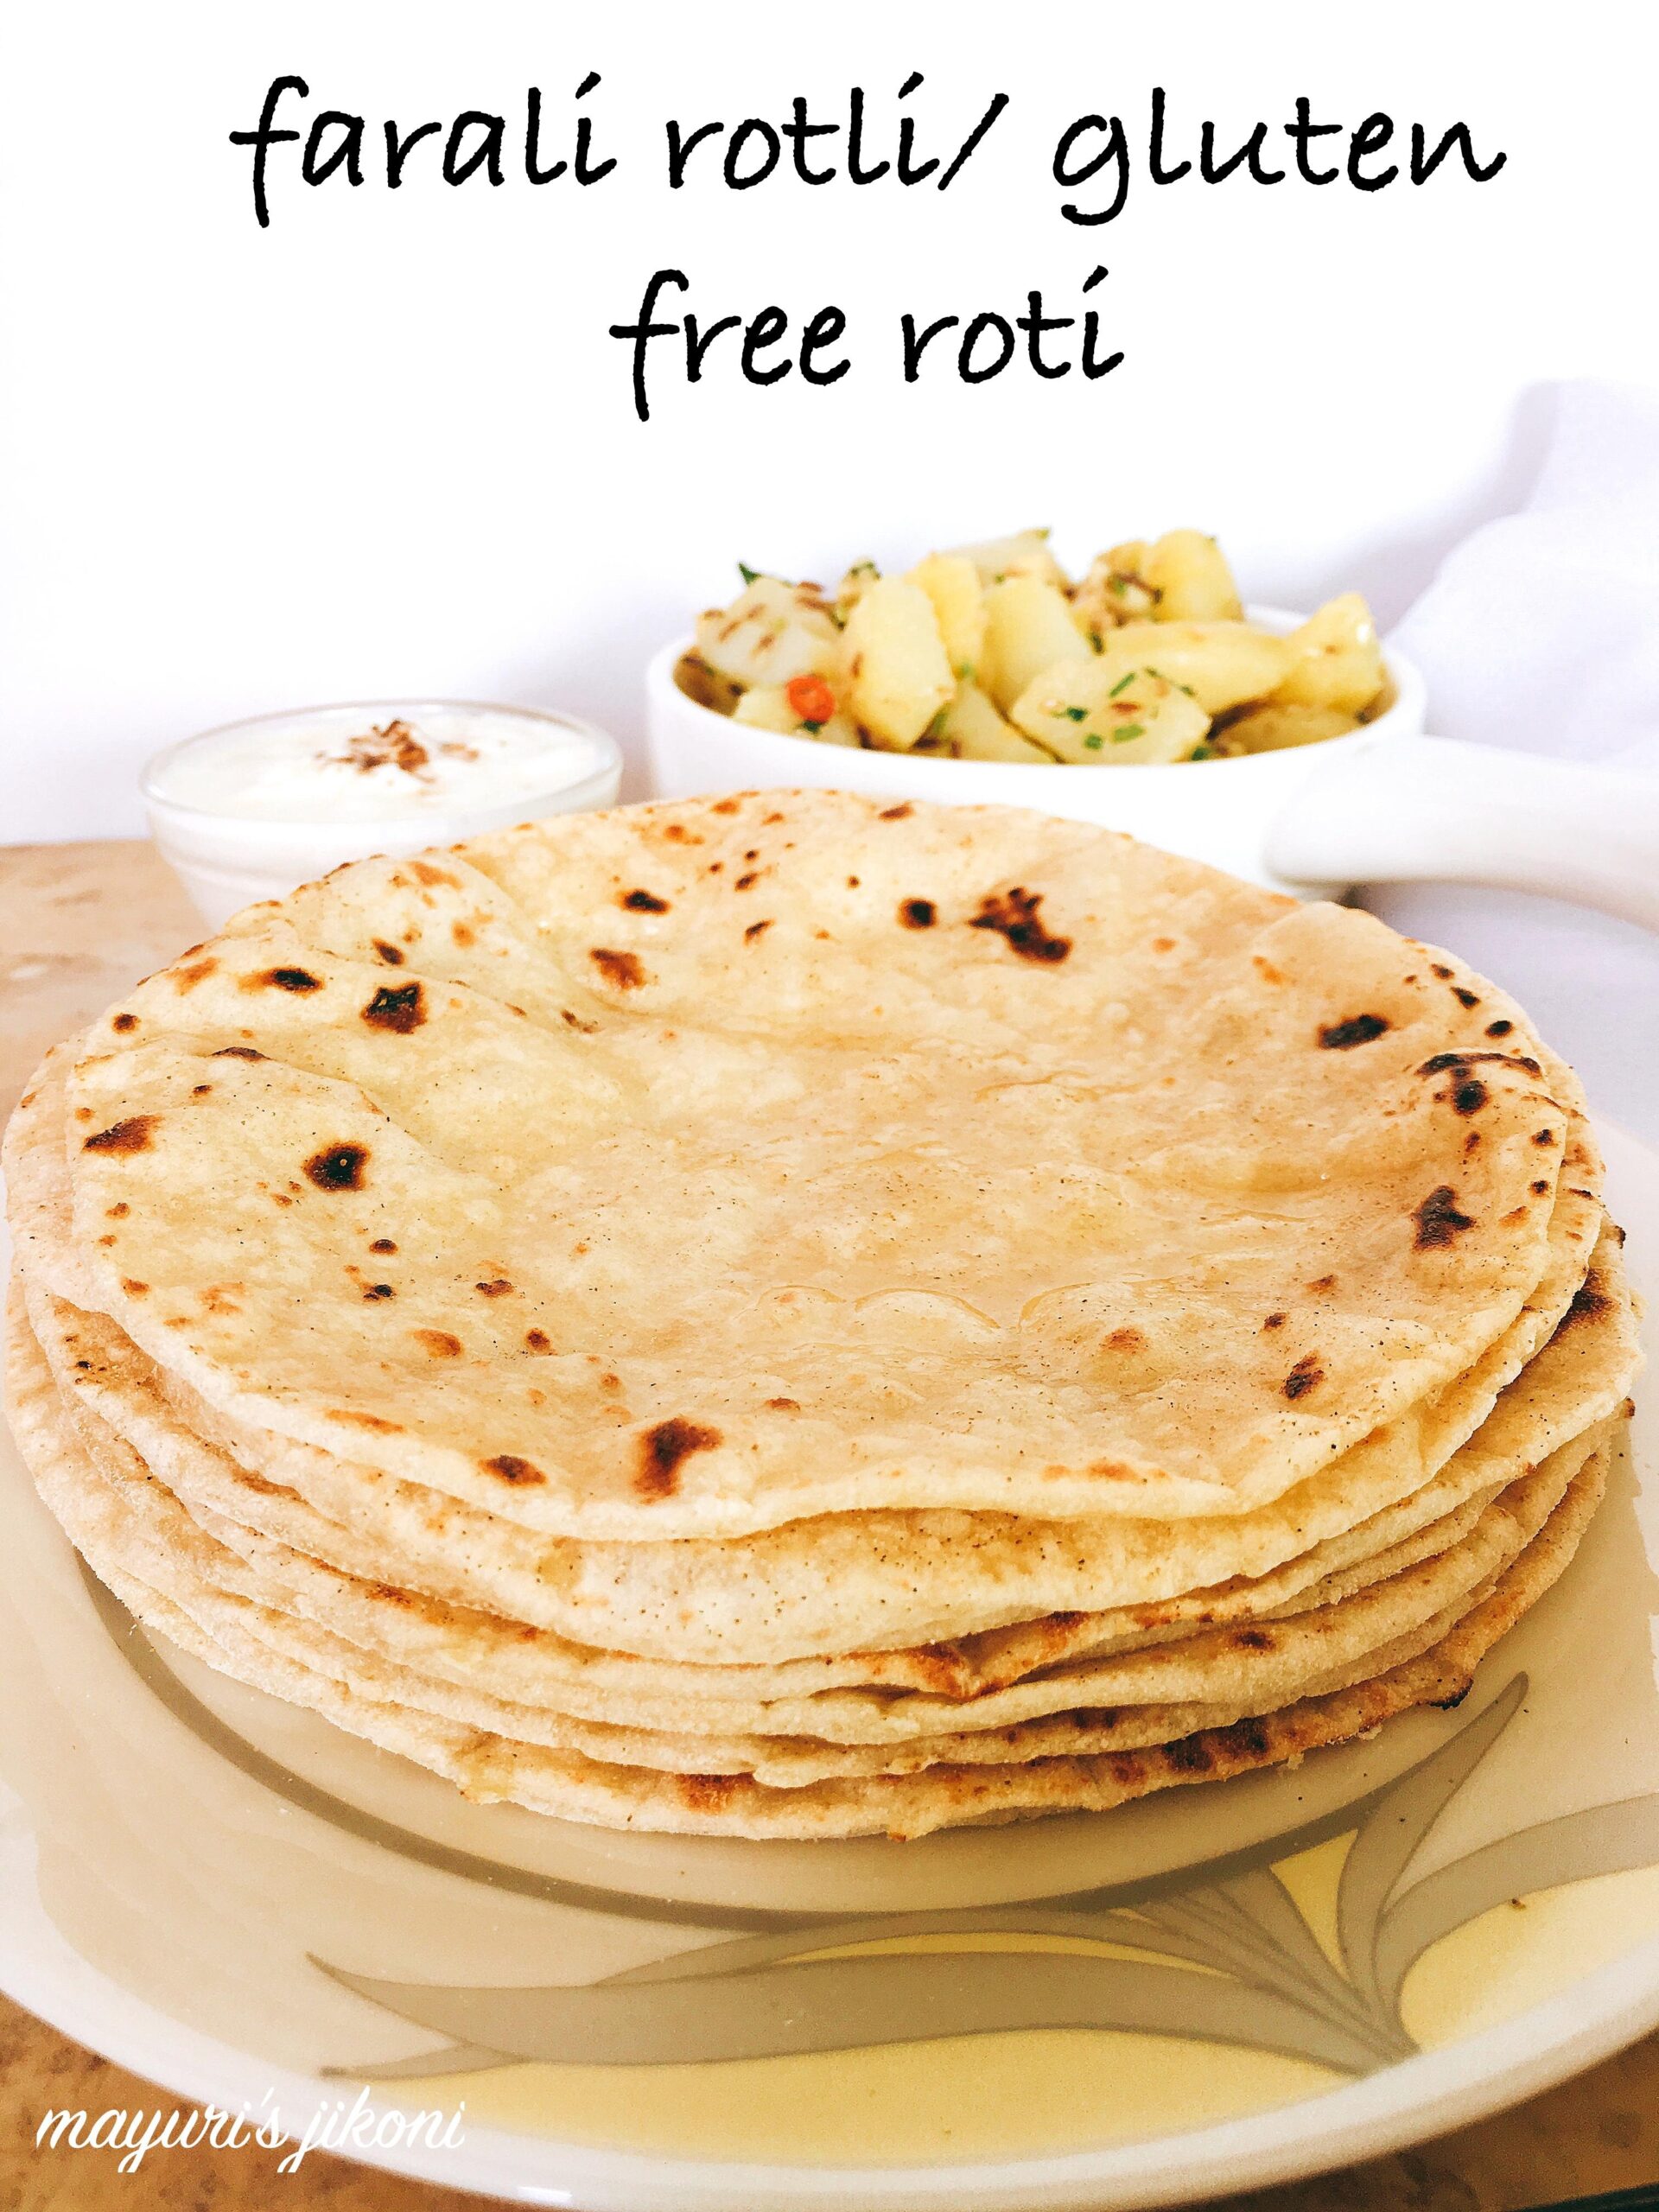
Make Your Meals Healthier with This Gluten-Free Roti Recipe
Greetings food lovers! I am thrilled to share with you my latest gluten-free recipe for Roti. For those who are new to it, “Roti” is a traditional Indian flatbread that is typically made with wheat flour. However, this recipe is specially designed for our gluten-free friends who want to enjoy the same delicious Roti without compromising their dietary needs.
I understand that finding gluten-free options can be challenging, and some of them may not always taste as good as the real deal. But this recipe will change your perception of gluten-free flatbreads forever! With a perfect balance of ingredients, this Roti recipe yields soft, pliable and tasty flatbreads that you won’t believe are gluten-free.
So whether you are celiac or simply want to switch up your diet, this gluten-free Roti recipe has got you covered. In just a few simple steps, you’ll be dishing out savory and satisfying flatbreads that everyone at the table will love. So let’s get started and learn how to make the perfect gluten-free Roti together!
Why You’ll Love This Recipe
Do you miss having warm, fluffy rotis or chapatis with your meals since going gluten-free? I have the perfect solution for you – my gluten-free roti recipe!
What makes this recipe so special is the combination of gluten-free flours used. It’s created using a mix of amaranth, quinoa, and cassava flour, making it not just gluten-free but also nutritious. You are getting a great combination of minerals, vitamins and fiber from these flours that is usually missed in wheat flour.
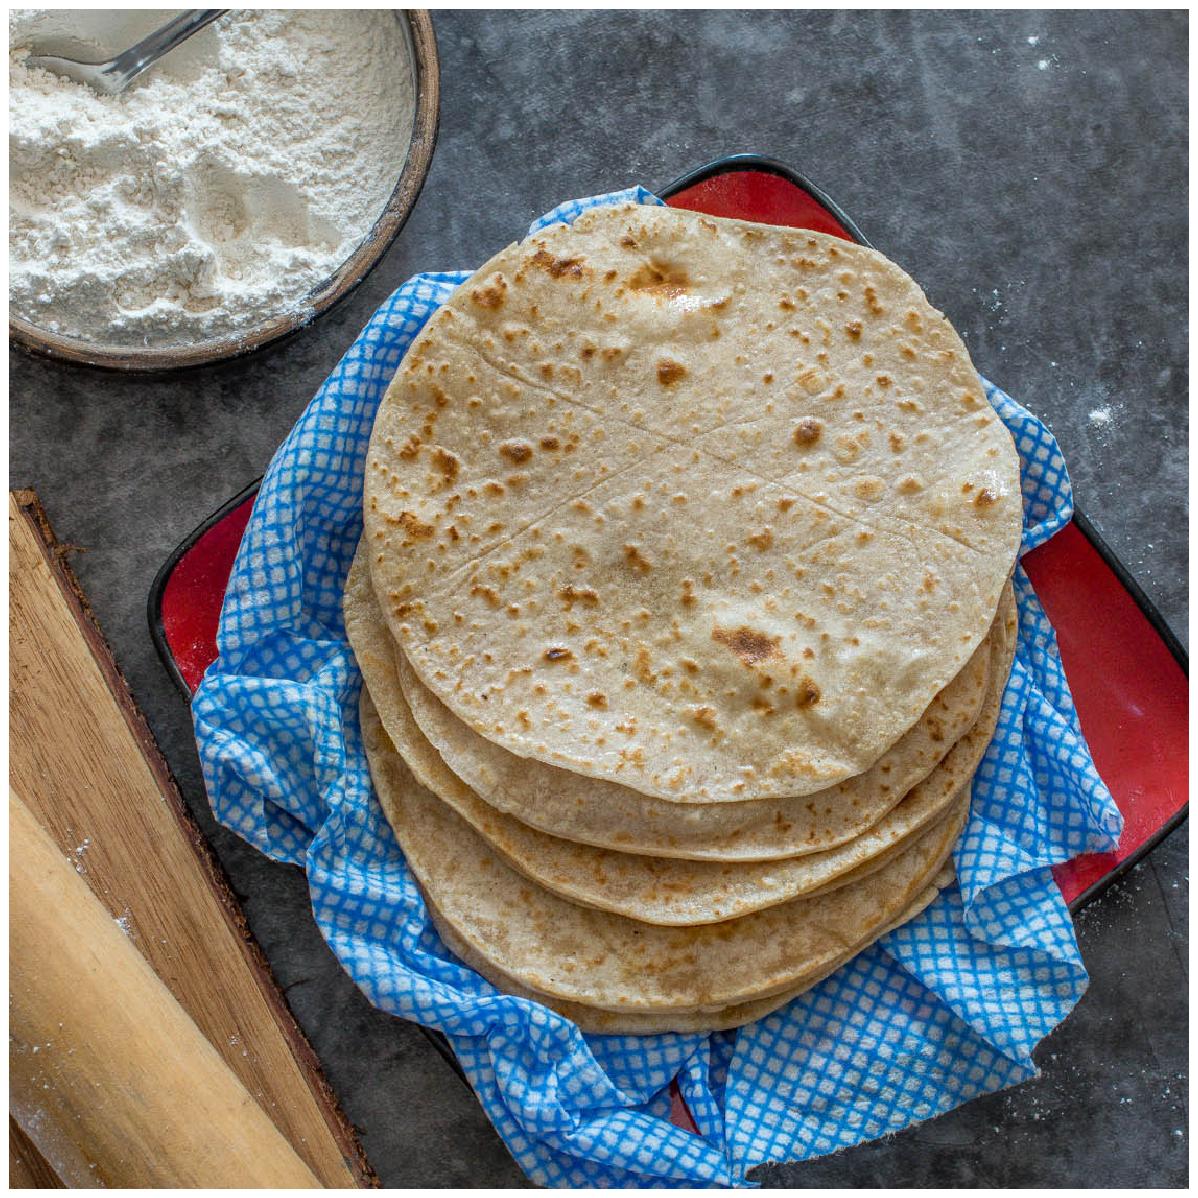
And the best part? This recipe can even compete with the traditional wheat flour rotis in terms of texture and taste. The blend of different flour varieties in this recipe makes the final product soft and easy to roll out, producing the same results as a wheat flour roti.
Not only does this recipe accommodate dietary restrictions, but it’s also easy to make – taking just 1 hour from start to finish. You don’t need any fancy ingredients or gadgets.
This is an excellent option not only for individuals with food restrictions but anyone looking to incorporate more healthful ingredients into their diet without compromising taste and texture.
With this recipe in your arsenal, you’ll never have to miss out on Rotis or Chapatis again!
Ingredient List
Let’s start with the flour. This recipe calls for a blend of gluten-free flours: cornflour, amaranth flour, rice flour, quinoa flour, cassava flour, millet flour, and sorghum flour. Each of these flours contributes its unique flavor, texture, and nutrition to the roti.
You will also need to use a binder to keep the dough together. I highly recommend using psyllium husk powder or potato starch as they are the best options to substitute gluten.
Next, you need some liquid. You will need 2 cups of warm water for the recipe.
Don’t forget the important seasoning! Add 1 tsp of salt in the mix to give your roti the savory taste we all love.
Finally, you’ll need 2 tbsp of olive oil or butter for a touch of flavor and moisture.
Here’s your full ingredient list:
- 1/2 cup cornflour
- 1/2 cup amaranth flour
- 1/2 cup rice flour
- 1/4 cup quinoa flour
- 1/4 cup cassava flour
- 1/4 cup millet flour
- 1/4 cup sorghum flour
- 1 tbsp psyllium husk powder or potato starch
- 2 cups warm water
- 1 tsp salt
- 2 tbsp olive oil or butter
The Recipe How-To
Now comes the exciting part of our gluten-free roti recipe article, the recipe itself! Get ready to make some delicious, soft and healthy rotis that will impress everyone at your dinner table. Trust me, this is going to be much easier than you think.
Ingredients
Here is a list of all the ingredients you’ll need to make 8-10 gluten-free rotis:
1 cup of gluten-free Cornflour½ cup of Amaranth flour½ cup of Rice flour2 Tbsp Potato Starch2 Tsp Psyllium Husk powder1 tsp Salt1 Tbsp Olive Oil⅔ cup of Warm Water (adjust as needed)
Step 1: Preparing the Dough
To make the dough, mix all the dry ingredients in a large mixing bowl including gluten-free cornflour, amaranth flour, rice flour, potato starch and psyllium husk powder. Stir all these ingredients together with a spoon or whisk until they are well-combined.
Then add olive oil and warm water gradually while mixing continuously until smooth dough forms. If required, add more warm water in small amounts until the dough becomes non-sticky, and soft enough to knead.
Technique tip: Kneading can also be done in a food processor or KitchenAid with a dough hook if you don’t prefer kneading by hand.
Step 2: Shaping and Cooking the Rotis
Now it’s time to shape and cook our rotis. Here’s how:
- Divide the dough into equal portions depending upon how many rotis you want to make.
- Take each portion of dough and roll it into a ball between your palms then press down gently.
-
Next, on lightly-floured parchment paper or flat surface, use a rolling pin to flatten the dough ball into a circle, about 6-7 inches in diameter.
Technique tip: To prevent sticking, dust the surface and the rolling pin with gluten-free flour.
-
Heat a skillet or griddle( preferably gf-skillet) over medium-high heat.
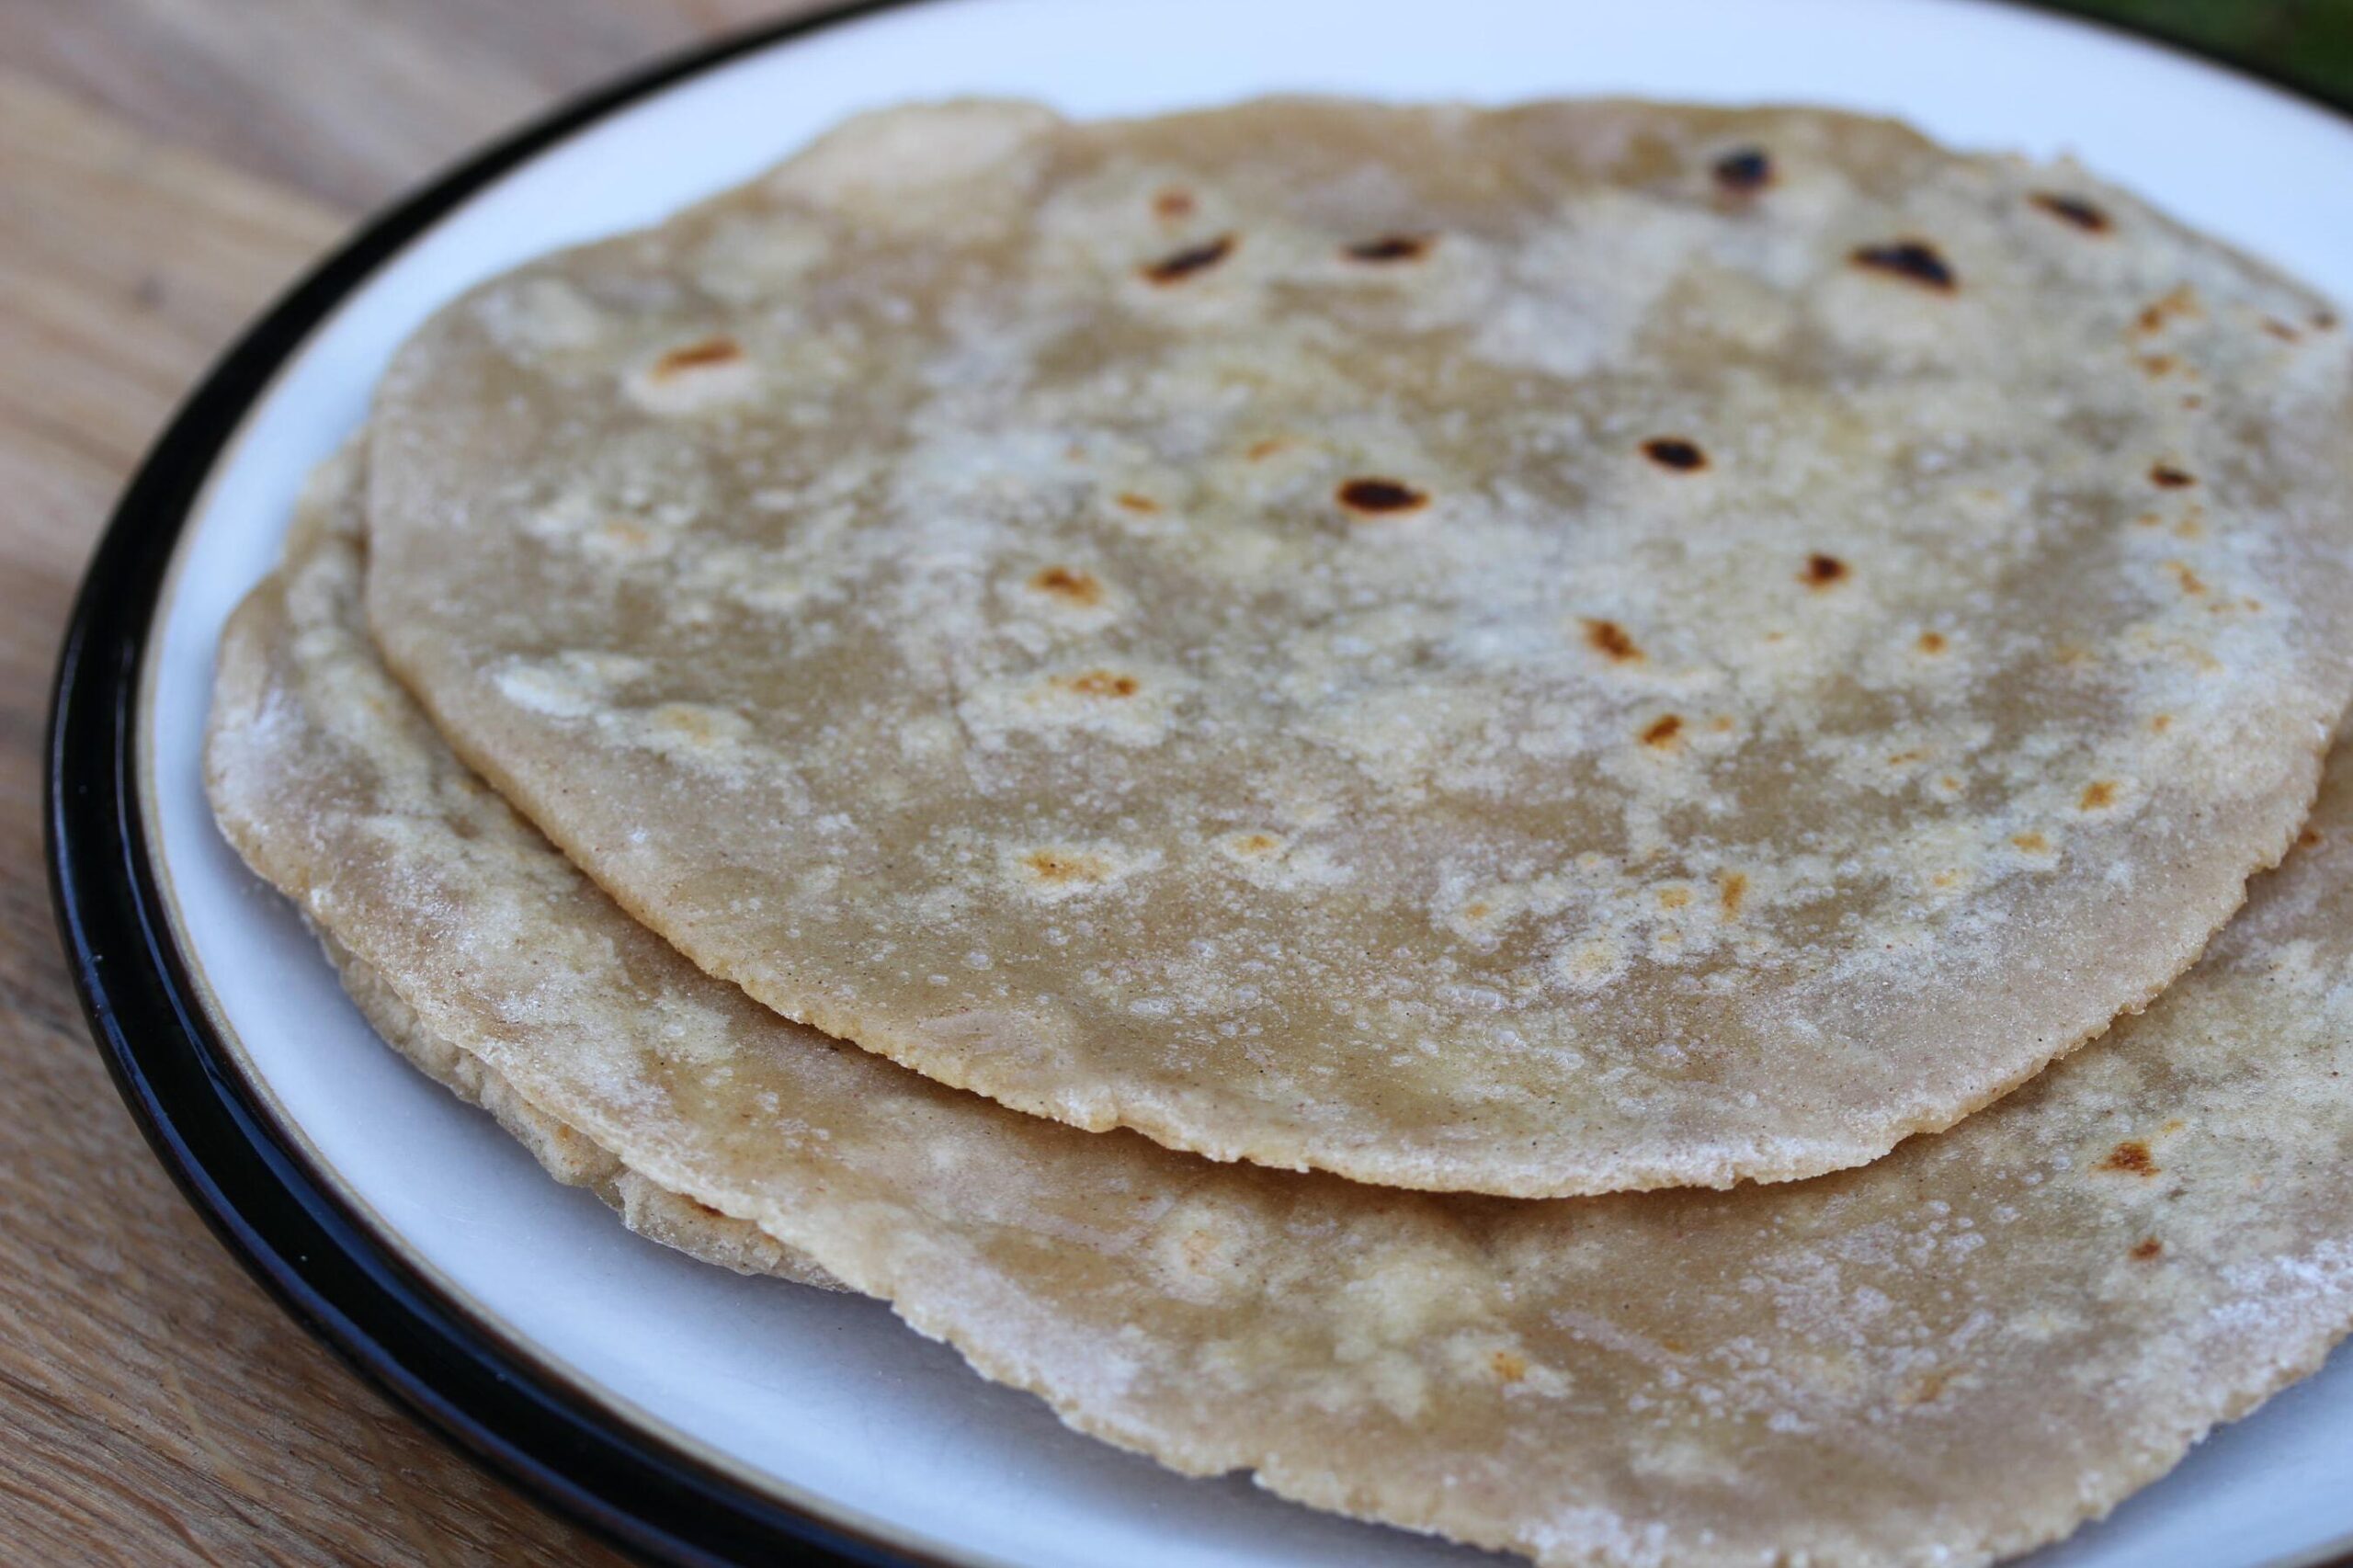
- Place the rolled-out roti on the hot skillet and cook for 30 seconds to 1 minute on each side or until slightly browned and the dough is cooked through.
- Repeat for each roti until they’re all done.
Voila! You have now made healthy gluten free rotis perfect for pairing with your favorite curries!
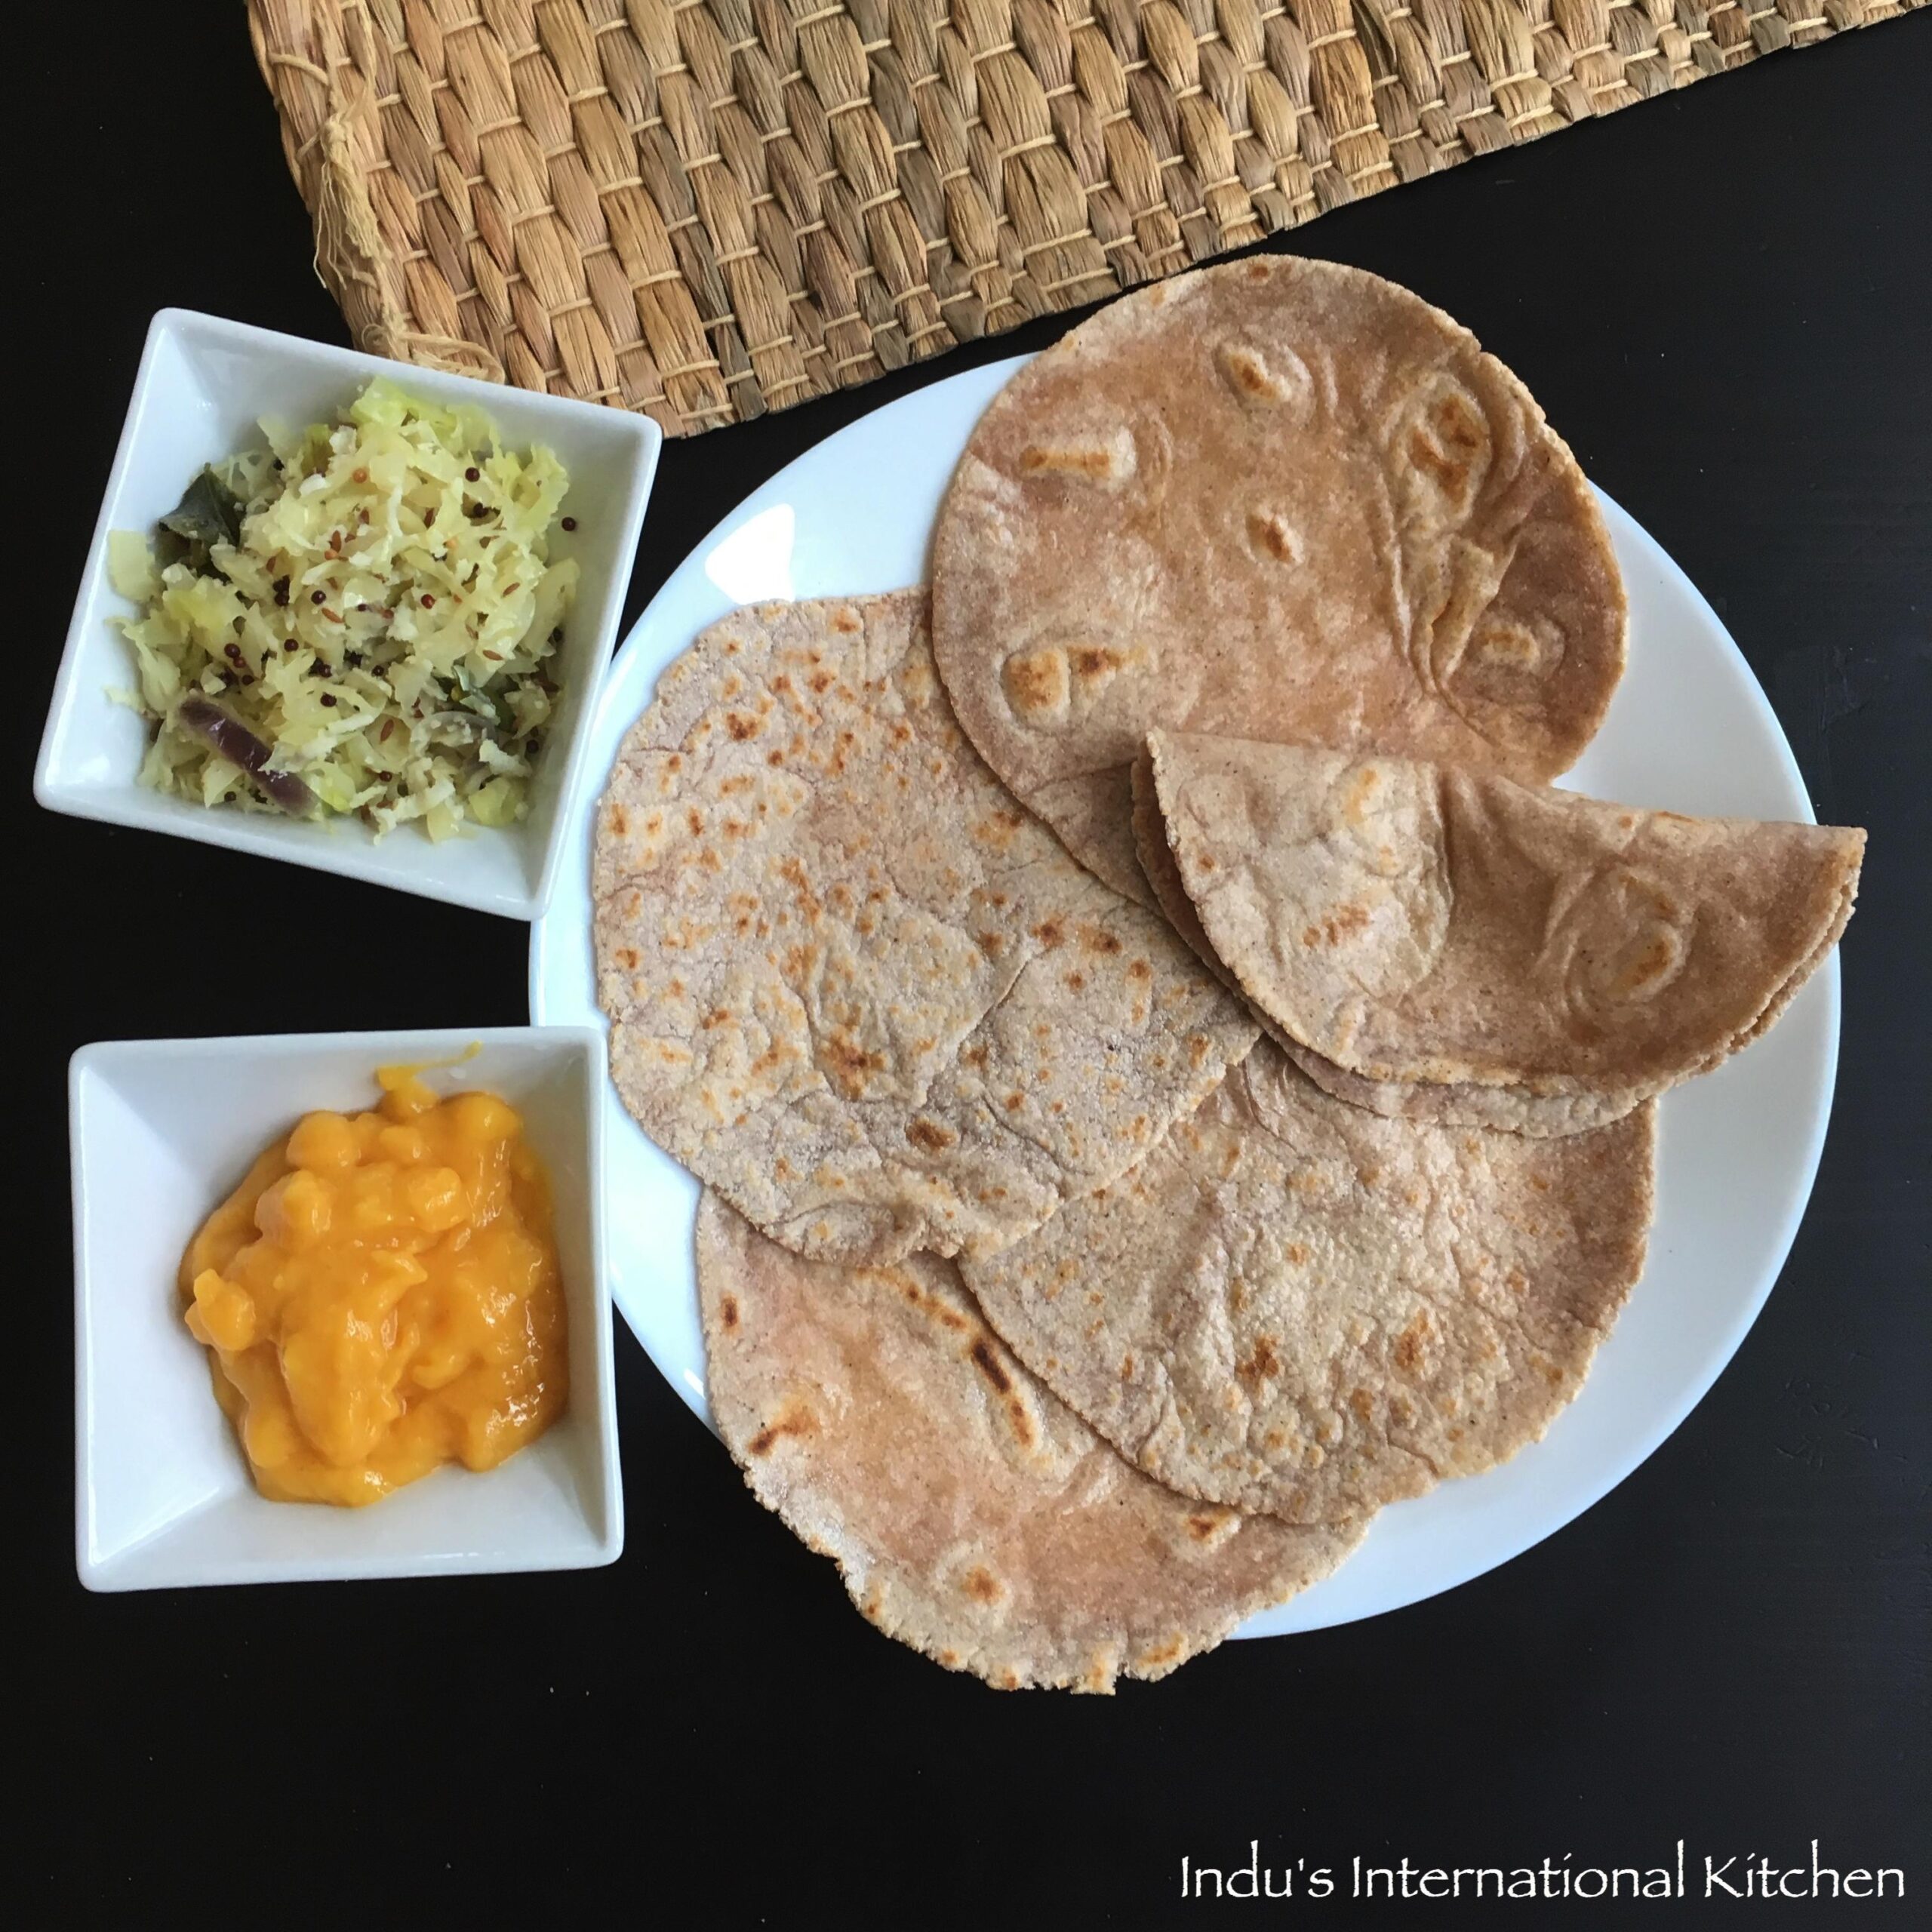
Step 3: Serving and Pairing
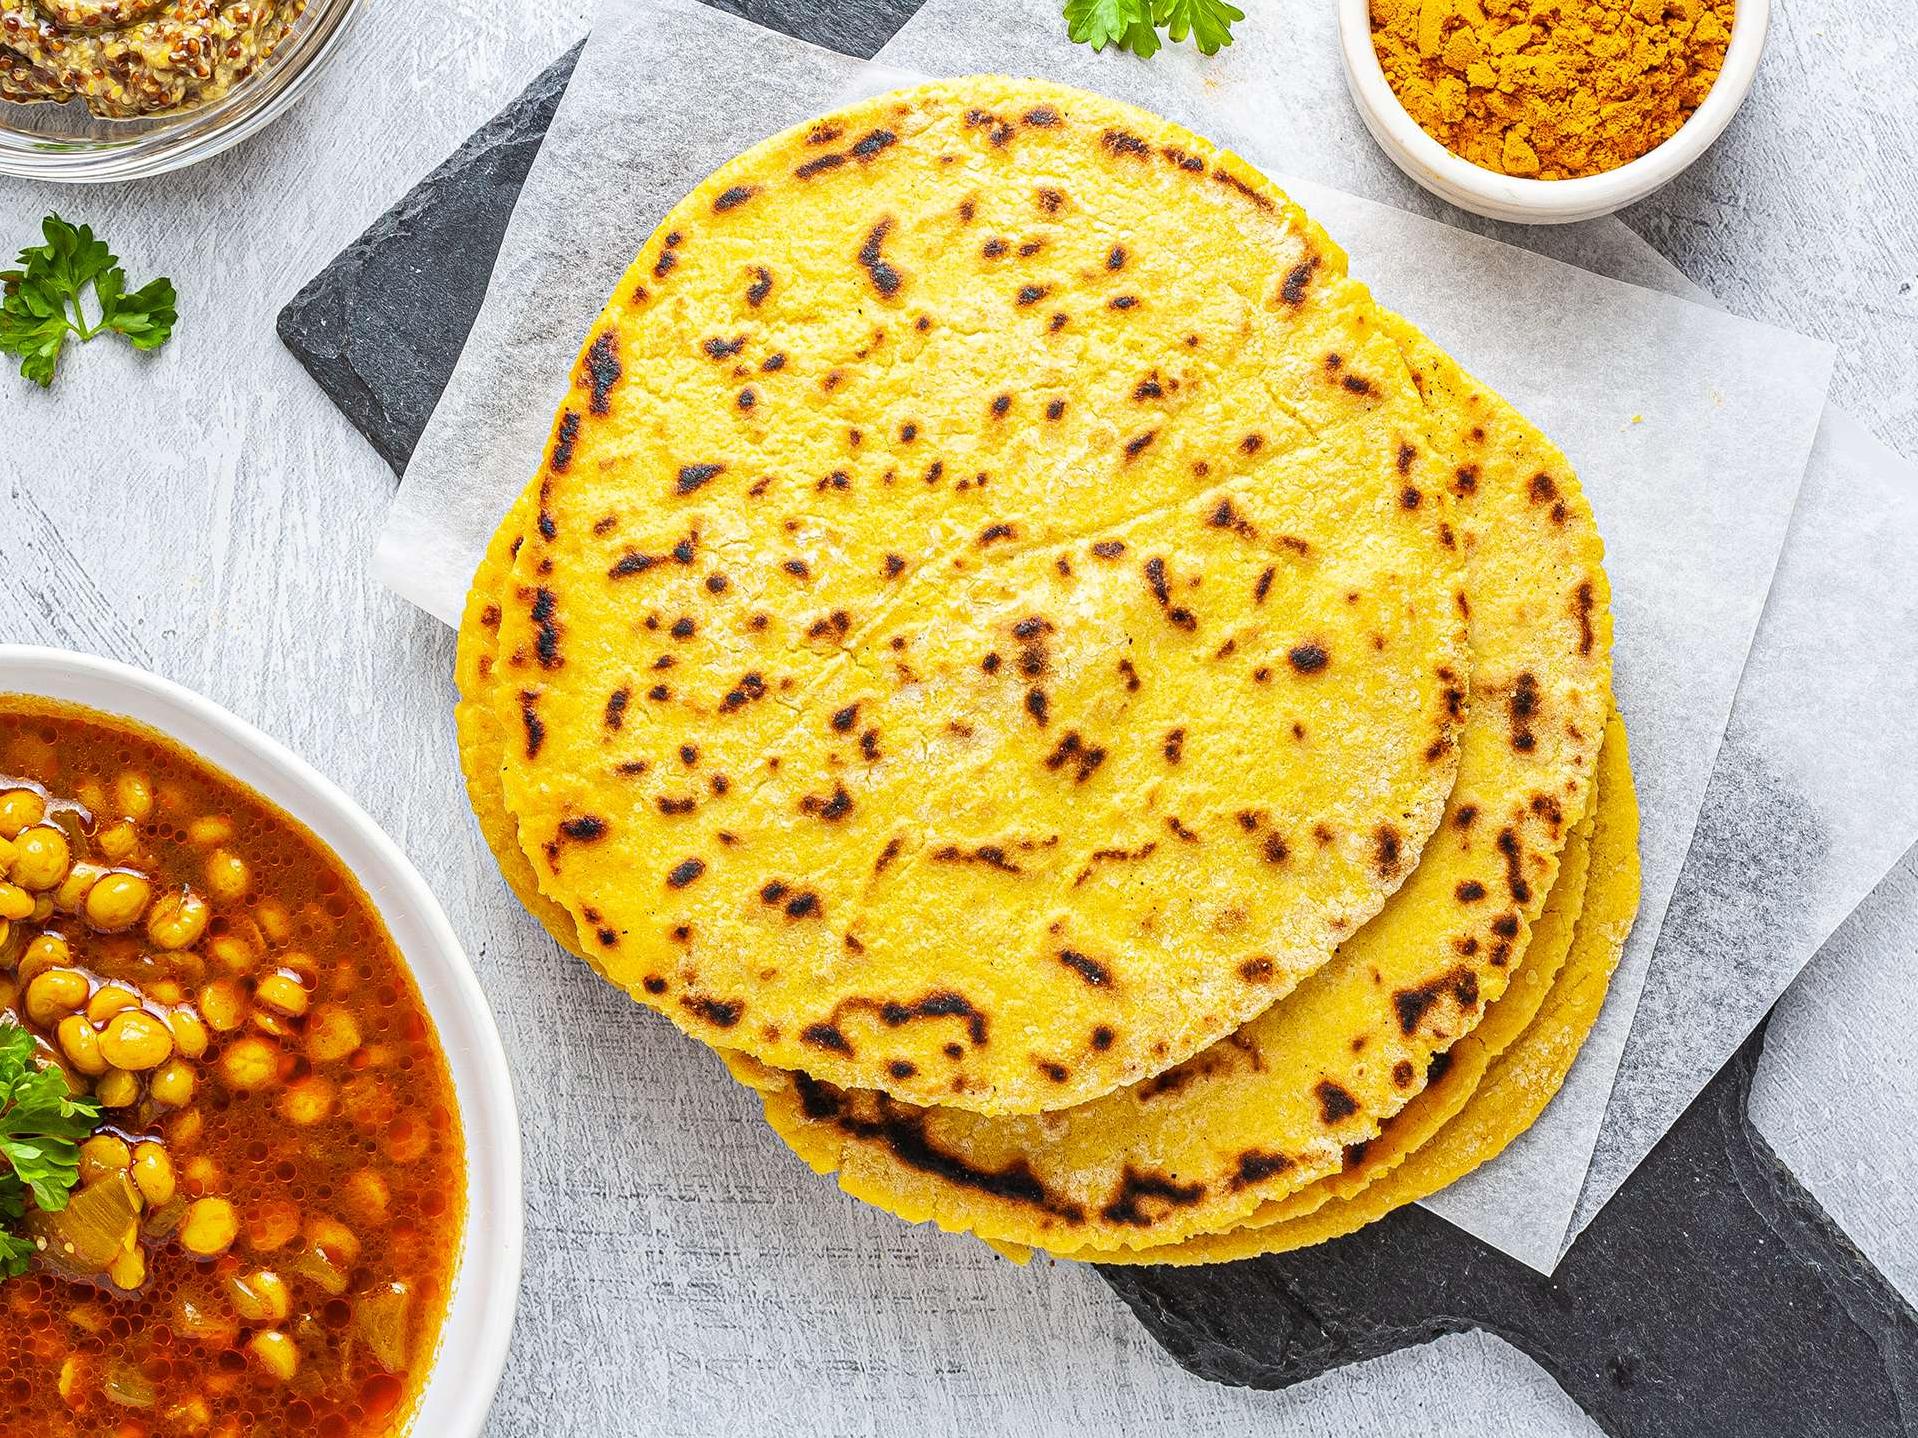
These rotis are best served hot with curries, vegetable dishes or chutneys of your preference. You could also try pairing them with hummus, guacamole, peanut butter or any other dip of your choice.
Step 4: Make-Ahead, Storing and Reheating
If you have
Substitutions and Variations
Are you running low on some of the ingredients? No worries, we’ve got you covered! Here are some substitution and variation options that can help you modify this recipe according to your tastes and preferences.
– Flour alternatives: If you don’t have amaranth flour, quinoa flour, millet flour, sorghum flour or cassava flour, you can make gluten-free flour by mixing rice flour, potato starch and tapioca flour in equal parts. You can also try using gram flour (besan), chickpea flour, oat flour or even buckwheat flour for an earthy flavor.
– Salt substitute: You can use low-sodium salt or sea salt instead of regular table salt. If you’re watching your sodium intake or suffering from hypertension, it’s advisable to use less salt altogether.
– Oil alternatives: Instead of olive oil, you can use coconut oil, grapeseed oil, avocado oil or any other neutral-flavored oil.
– Water temperature: You can adjust the water temperature according to the humidity and altitude of your location. In general, warmer water helps to activate the psyllium husk powder and create softer rotis.
– Flavor variations: To add a little kick to your rotis, you can mix in some fresh herbs like cilantro or basil. You can also sprinkle some garlic powder or onion powder on top before cooking. For a sweeter version of roti, you can add some cinnamon powder and honey to the dough.
– Shape variations: Who says roti has to be round all the time? You can experiment with different shapes and sizes like triangles, rectangles or even hearts! Just remember to adjust the cooking time accordingly.
By following these substitution and variation options, you can create new flavors and textures that suit your taste buds without compromising on the nutritional value of this gluten-free roti recipe.
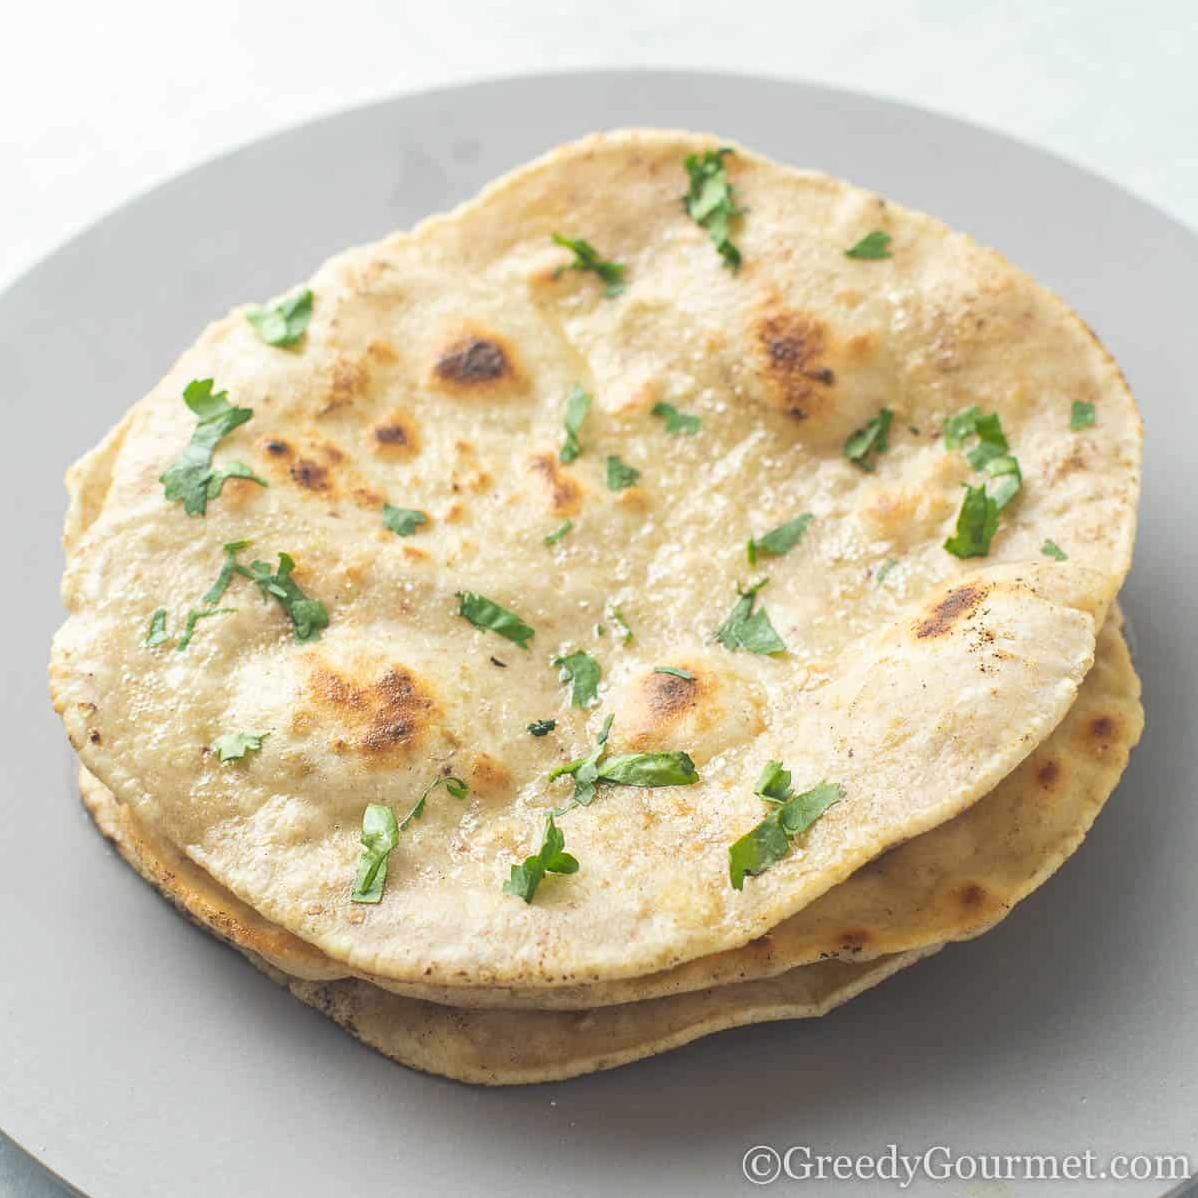
Serving and Pairing
Now that you’ve mastered the art of making the perfect gluten-free roti, it’s time to delve into the delicious world of serving and pairing. This versatile flatbread is incredibly adaptable and can be enjoyed with a variety of dishes, both sweet and savory.
One classic way to enjoy roti is with traditional Indian curries, such as butter chicken or chana masala. The soft texture of the roti pairs perfectly with the flavorful spices and sauces of these dishes. Simply tear off a piece of your freshly cooked roti and dip it into your favorite curry for a mouthwatering meal.
For a lighter option, try pairing your roti with a fresh salad or vegetable dish. The mild flavor of the bread complements the bold flavors of roasted vegetables or crisp greens.
Sweet tooth calling? Roti also makes an excellent dessert when filled with fruits such as bananas, apples or mangoes, along with some drizzle of honey for added sweetness. Jazz it up by sprinkling some cinnamon on top.
The possibilities are endless – experiment and find your own favorite pairings!
Make-Ahead, Storing and Reheating
One of the great things about these gluten-free rotis is that they are perfect for making ahead of time, which is especially helpful when you’re short on time during a busy week. After cooking them according to the recipe instructions, let them cool completely before storing them.
To store, wrap each roti in a piece of plastic wrap or foil and put them all in a large ziplock bag. You can then refrigerate this bag for up to four days, or freeze it for up to three months.
When ready to reheat, simply take as many rotis as you need out of the fridge or freezer and let them come to room temperature before reheating. The best way to do this is to place them in a preheated skillet over medium heat for about 30 seconds on each side or until they are warmed through.
If you’ve frozen your rotis, it’s also possible to reheat them in the microwave in intervals of 20 seconds until they reach your desired level of warmth. However, be cautious not to overheat them as this could cause the roti’s texture to become tough and dry.
Remember that freshly made gluten-free rotis are always best, but by making ahead and storing properly, you can still enjoy their deliciousness any time you want!
Tips for Perfect Results
Now that you’ve got your ingredients ready, let’s talk about some tips to ensure your rotis turn out perfect.
First and foremost, it’s important to use warm water when making the dough. The warm water helps to activate the binding agents in the flour, resulting in a softer and more pliable dough. I recommend using water that is just slightly warmer than room temperature.
Another key tip is to let the dough rest for at least 10-15 minutes before rolling it out to make the rotis. This allows the dough to relax and become easier to handle, making it less likely to tear or break while rolling.
When rolling out the rotis, be sure to dust your work surface and rolling pin with a little bit of gluten-free flour. This will prevent sticking and help you roll out the dough evenly.
It’s also important to cook the roti on a hot skillet or tawa, as this will help it cook quickly and evenly. You’ll know when it’s time to flip the roti when you see small bubbles forming on its surface.
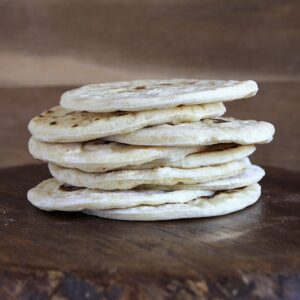
If you’re having trouble getting your rotis to puff up, try pressing down on it gently with a clean towel. This will help steam build up inside the roti, causing it to puff up like a balloon.
Lastly, don’t be afraid to experiment with different combinations of flours until you find one that works best for you. Some people find that a blend of rice flour and tapioca starch works well, while others swear by adding a bit of psyllium husk powder for extra binding power.
With these tips in mind, you’ll be able to make delicious and perfectly cooked gluten-free rotis every time!
FAQ
As a nutritionist and food blogger, I understand that there may be some questions and concerns about this recipe. That’s why in this section, I will address some of the most commonly asked questions and provide answers to help you successfully make this gluten-free roti. So, let’s dive in!
Which gluten free flour is best for roti?
Here are some top-rated gluten-free flours that are perfect for those seeking a healthier alternative to traditional wheat flour. These flours include Aashirvaad Nature’s Super Foods Gluten Free Flour, Wheafree Gluten Free Flour, Zero-G Gluten Free Lite Flour, Dr. Natur pro-gluten-free chapati flour, Sugar Watchers Gluten-Free Low GI Atta, Ketofy – Keto Flour, and JIWA healthy by nature Gluten Free Atta.
What is gluten free roti made of?
To make gluten-free roti, there are some ingredients you’ll need. You can use a blend of rice flour, millet flour, amaranth, and sorghum flour. Other gluten-free chapati flour blends may include quinoa flour, psyllium husk powder or potato starch, depending on the variation.
How to remove gluten from roti?
First, to remove gluten from whole wheat flour, take the kneaded dough and let it soak in 2 cups of water for at least one hour. After the soaking period, the dough will have softened considerably. Mix the soaked dough with the water, causing the gluten to separate and settle at the bottom.
What is alternative to wheat roti gluten-free?
Choosing besan flour over refined wheat flour offers a nutritional boost, thanks to its high protein and fiber content. It’s an ideal ingredient for individuals who have a wheat allergy, gluten intolerance or suffer from celiac disease. Its culinary qualities are almost indistinguishable from wheat flour.
Bottom Line
In conclusion, this gluten-free roti recipe offers a healthier option for those who want to eliminate wheat flour from their diets. Using ingredients such as amaranth flour and psyllium husk powder creates a soft, flavorful roti that builds your meal in no time. Moreover, the recipe can be customized with different flours and starches to make it even more suitable for each individual’s dietary needs.
Through this recipe, I hope you have discovered an easy and wholesome way to enjoy flatbreads without compromising on taste or nutrition. It is essential always to experiment with new ingredients and combinations while keeping healthy habits in mind. Incorporating healthy and nourishing food into our diet every day contributes to overall health, both physically and emotionally.
So go ahead and try this gluten-free recipe – I promise you’ll love it! Bon appetit!
Roti - Gluten Free Recipe
Ingredients
- 100 g amaranth flour
- 100 g gluten-free cornflour (maize flour or cornstarch)
- 1 pinch salt
- 150 ml water
- 2 tablespoons butter, melted
Instructions
- Place the flours and salt in a bowl, making a "well" in the centre. Pour in the water and mix until a soft dough forms.
- Gentley knead the dough on a hard surface that has been lightly dusted with additional amaranth flour. Knead for 3 minutes or until smooth. Divide the mixture into 8 equal portions. Roll out each portion into a circle.
- Using a non-stick frypan, cook over a medium heat until cooked and golden on both sides. Cook one at a time.
- Lightly brush with meted butter and keep warm while you cook the remaining roti.