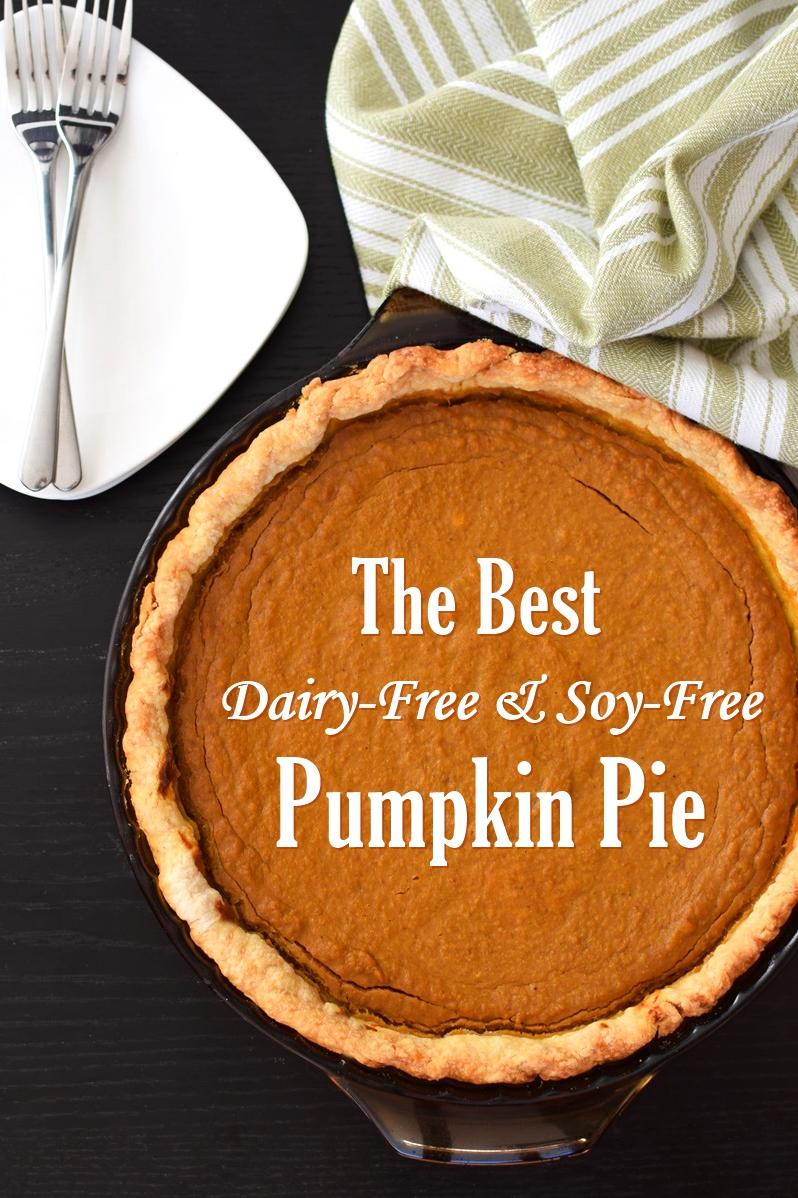
Delicious Pumpkin Pie Recipe: A Fall Classic
Are you looking for a healthy and delicious pumpkin pie recipe that is free of soy, dairy, and gluten? Look no further because I have the perfect recipe for you!
As a nutritionist and food blogger, I understand the importance of eating wholesome and nutritious food. However, that doesn’t mean we have to miss out on the classic comfort foods we all love. My pumpkin pie recipe is not only allergy-friendly but also incredibly tasty.
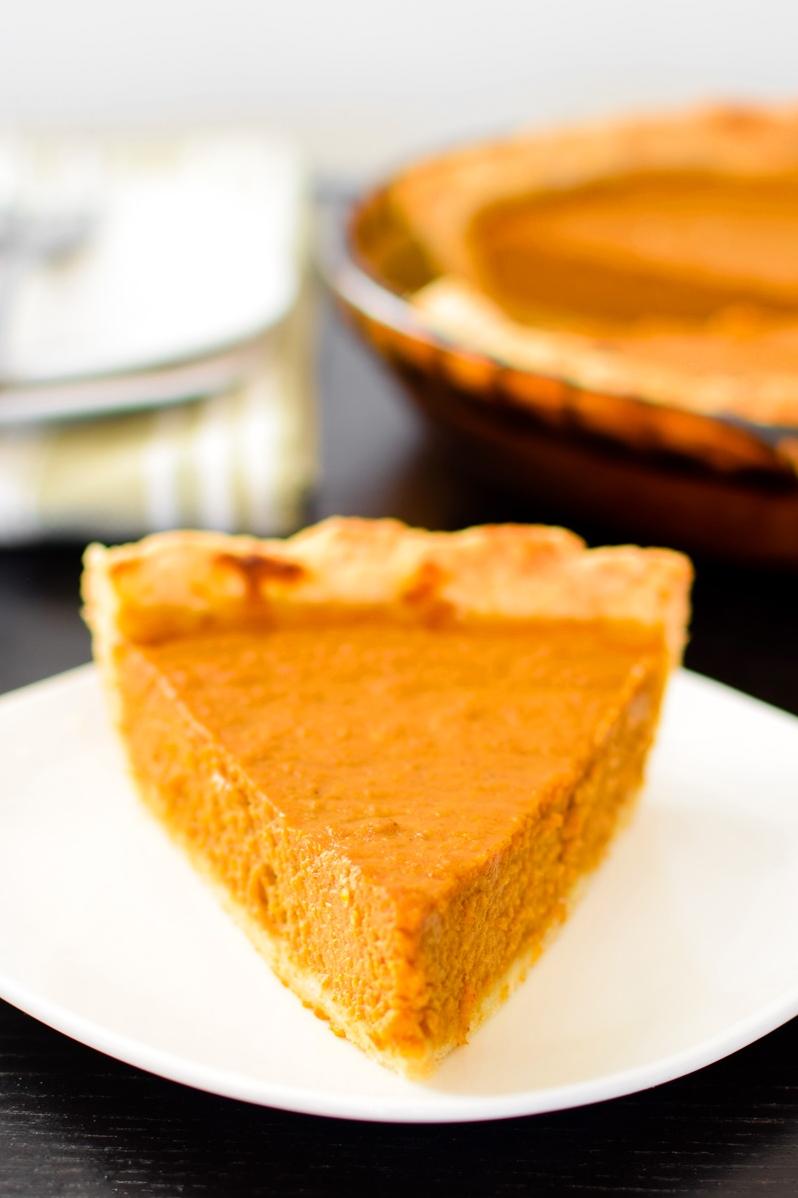
This recipe uses pure pumpkin puree, coconut milk, and cashews as the base for the filling. It’s naturally sweetened with a combination of maple syrup and brown sugar, which makes it lower in refined sugars compared to traditional pumpkin pies.
The crust of this pie is also gluten-free, made with almond flour, coconut oil, and arrowroot starch. Plus, it’s easy to make and requires only a few simple ingredients.
So whether you have allergies or dietary restrictions or just want a healthier version of pumpkin pie, this recipe will not disappoint. Get ready to indulge in a deliciously creamy pumpkin pie that you won’t believe is actually good for you!
Why You’ll Love This Recipe
Are you looking for a delicious and healthy dessert option that’s soy-free, gluten-free, and dairy-free? Then look no further than this amazing pumpkin pie recipe! Not only is it free of any allergens or animal products, but it’s also full of flavor and incredibly easy to make.
First off, the pumpkin filling is made with pure pumpkin puree, maple syrup, and coconut milk – giving it a creamy texture and irresistible taste. The addition of brown sugar, pumpkin spice, and a hint of lemon juice makes this recipe stand out from any other pumpkin pie out there.
But what truly sets this recipe apart is the dairy-free pie crust. Made with almond milk, arrowroot powder, and coconut oil instead of butter or eggs – this crust is light, flaky, and has the perfect amount of sweetness. Plus, it’s incredibly easy to make so you won’t need to go searching at the supermarket for a pre-made crust.
Whether you have dietary restrictions or just want a healthy dessert option that won’t leave you feeling guilty afterward – this pumpkin pie recipe is sure to impress. The combination of fresh ingredients will leave your taste buds singing with joy!
So why wait? Break out your mixer and get ready to indulge in a sweet treat without all the added chemicals and unhealthy ingredients. You’ll fall in love with this recipe right away – not only for its nutritional perks but also for its mouth-watering taste!
Ingredient List
Before we dig into the recipe, let’s take a minute to get our ingredients ready. This pumpkin pie is free from dairy, soy, and gluten, so we’ll need to use specialty ingredients to make it possible. Fear not! These ingredients are easy to find in most grocery stores or can be ordered online.
For The Pie Crust:
- 2 ½ cups gluten-free all-purpose flour
- 1 teaspoon salt
- 3/4 cups coconut oil
- 1/4 cup cold water
For The Pie Filling:
- 15 oz canned pumpkin puree
- 2/3 cup maple syrup
- 1/2 cup brown sugar
- 1 1/2 teaspoons pumpkin spice
- 1/4 teaspoon salt
- 2 large eggs
- 1 15 oz can coconut milk
- 1 tablespoon lemon juice
- 1 tablespoon arrowroot powder
- 1 cup raw cashews
- 1 cup almond milk
The Recipe How-To
Step 1. Begin by preheating your oven to 350°F (180°C).
Step 2. In a large mixing bowl, take 3 cups of pumpkin puree, 15 oz, and add 1/2 cup of melted coconut oil, and 1/2 cup of cashews previously soaked overnight.
Step 3. Add 1/2 cup of brown sugar or sweetener of your choice, 1/4 cup maple syrup, 1 teaspoon of salt or apple cider vinegar, 2 teaspoons of pumpkin pie spice, and a squeeze of lemon juice.
Step 4. Once everything is in the mixing bowl, whisk until fully combined. The resulting mixture should be smooth in texture.
Step 5. For the crust, you can either use our gluten-free and soy-free pie crust recipe or any store-bought crust that fits your dietary needs.
Step 6. With this recipe, I used a 9-inch pie pan, but any size of your choosing will work just fine. Feel free to use a smaller pan if you wish to make mini pies!
Step 7. Pour the pumpkin filling into the pie crust, smoothing out with a spatula until even.
Step 8. Place in oven and bake for approximately 40-45 minutes, or until the filling has set and doesn’t move when gently shaken.
Step 9. Once finished baking, remove from oven and let it cool at room temperature for about an hour – then refrigerate for another couple of hours to allow it to set fully.
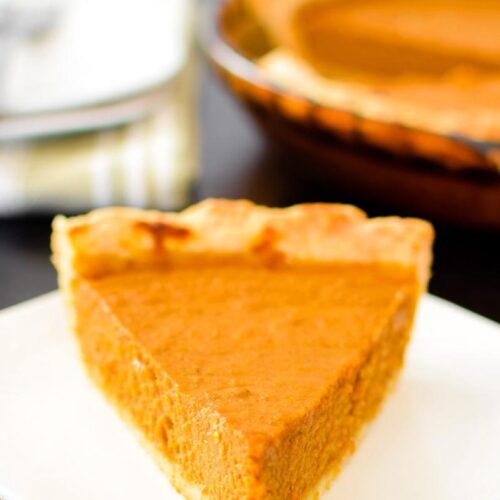
Enjoy your homemade delicious Pumpkin Pie!
Enjoy!
Substitutions and Variations
Don’t worry if you can’t find some of the ingredients in your local grocery store, there are plenty of substitutions available to make this pumpkin pie recipe work for you. Here are some ideas:
– Gluten-free pie crust – You can choose between different brands of gluten-free pie crust or make your own at home using almond flour or oat flour.
– Sweeteners – You can use honey or maple syrup to replace the brown sugar in the crust and filling. For a sugar-free pie, use a low-carb sweetener such as erythritol or stevia.
– Nut-free version – If you’re allergic to nuts, you can replace the cashews with sunflower seeds or pumpkin seeds for an equally delicious and nutritious filling.
– Coconut-free – If you’re not a fan of coconut milk, you can substitute it with almond milk or oat milk for a creamier texture.
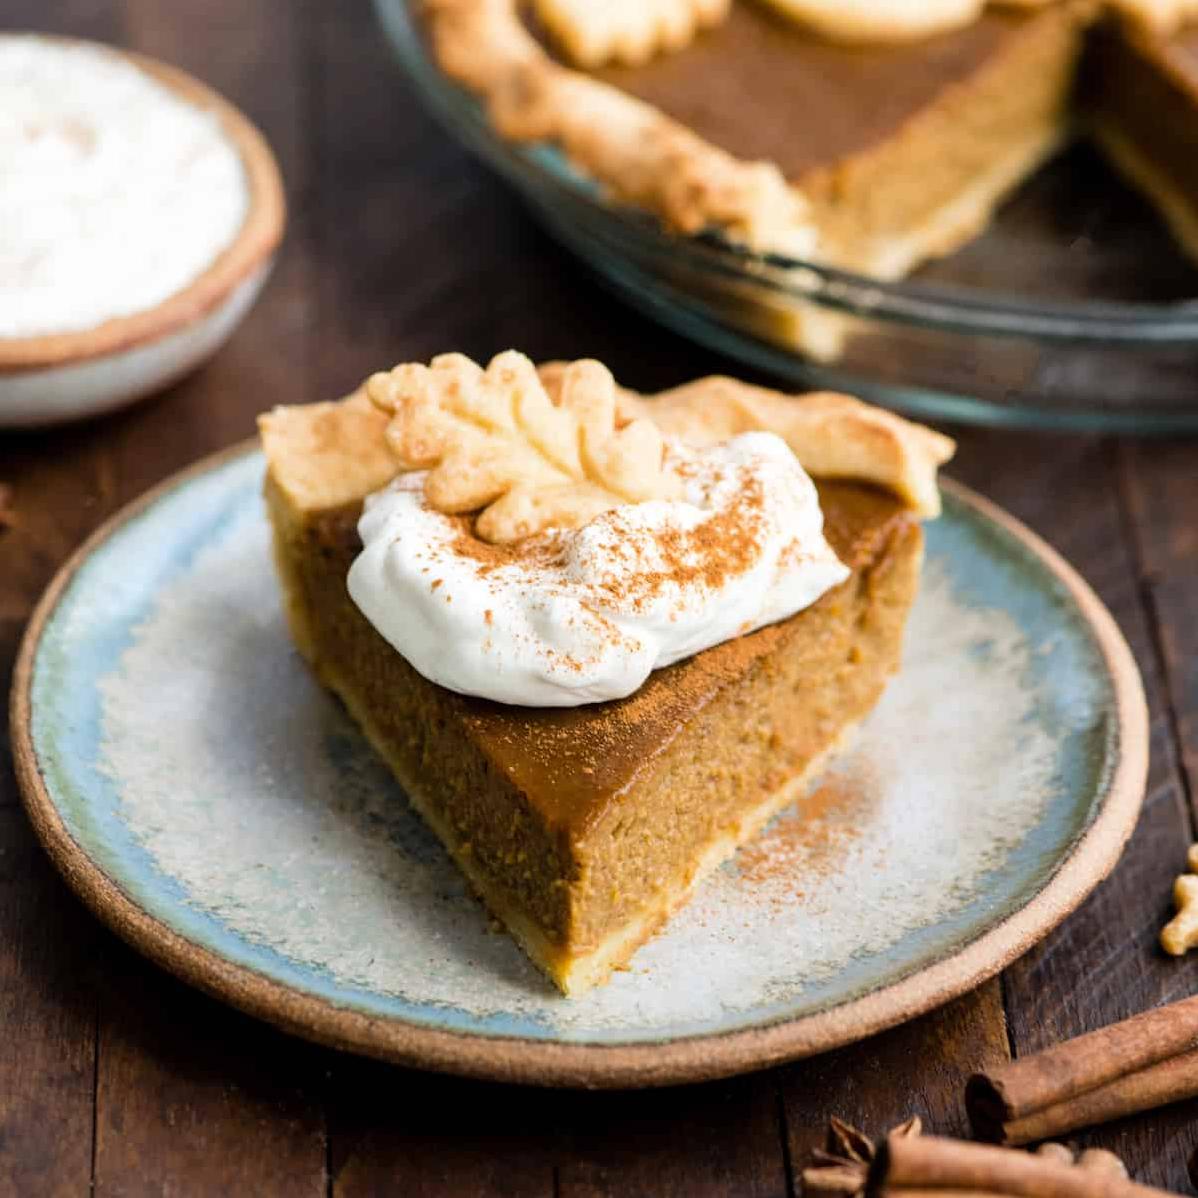
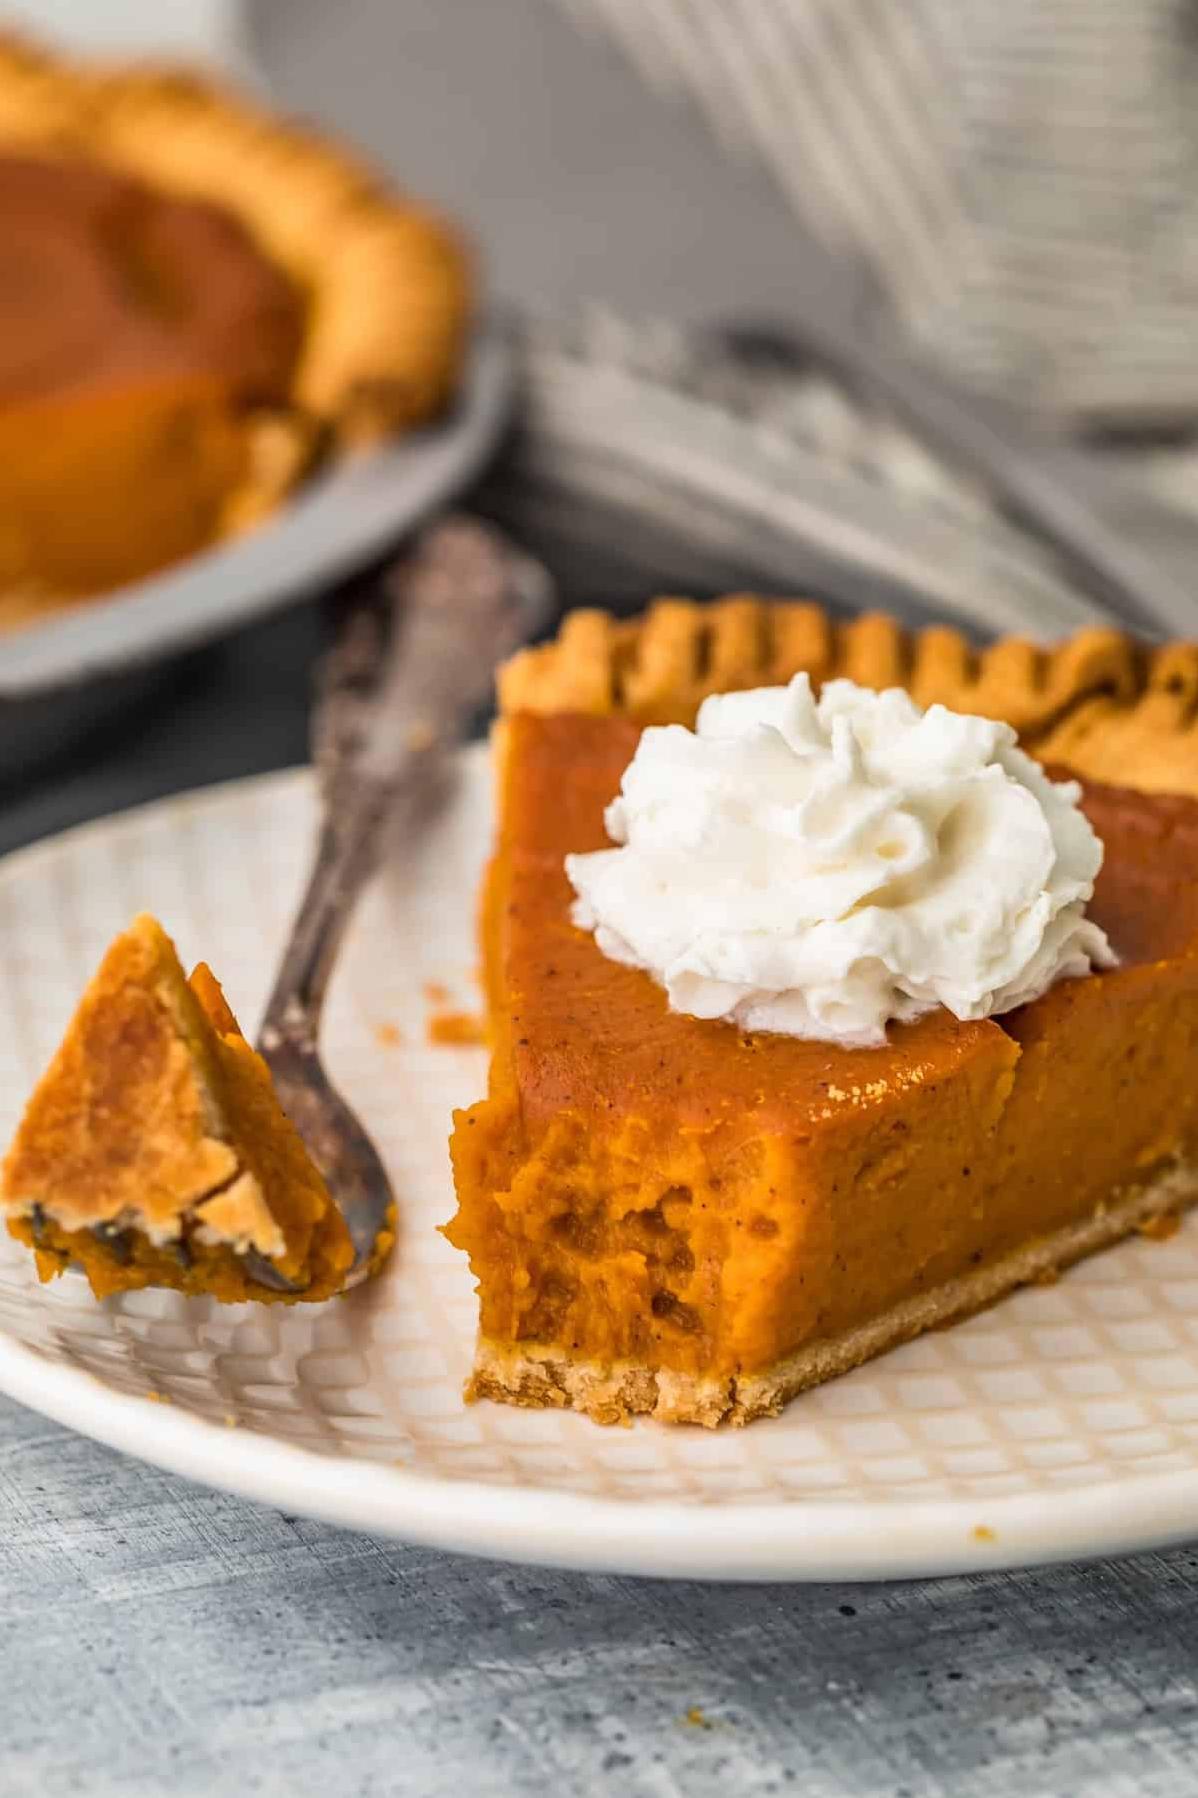
– Vegan whipped cream – Top your pumpkin pie with vegan whipped cream made from coconut cream instead of dairy-based whipped cream.
– Pumpkin spice – If you don’t have pumpkin spice on hand, you can make your own by mixing 1 tsp cinnamon, 1/2 tsp ginger, 1/4 tsp nutmeg and 1/4 tsp cloves.
– Paleo version – To make this recipe paleo-friendly, use coconut flour or almond flour and coconut oil instead of butter for the crust. You can also use canned pumpkin puree instead of fresh pumpkin.
Whatever substitutions or variations you go with, remember to always check the ingredient labels for hidden allergens and opt for organic, non-GMO ingredients whenever possible.
Serving and Pairing
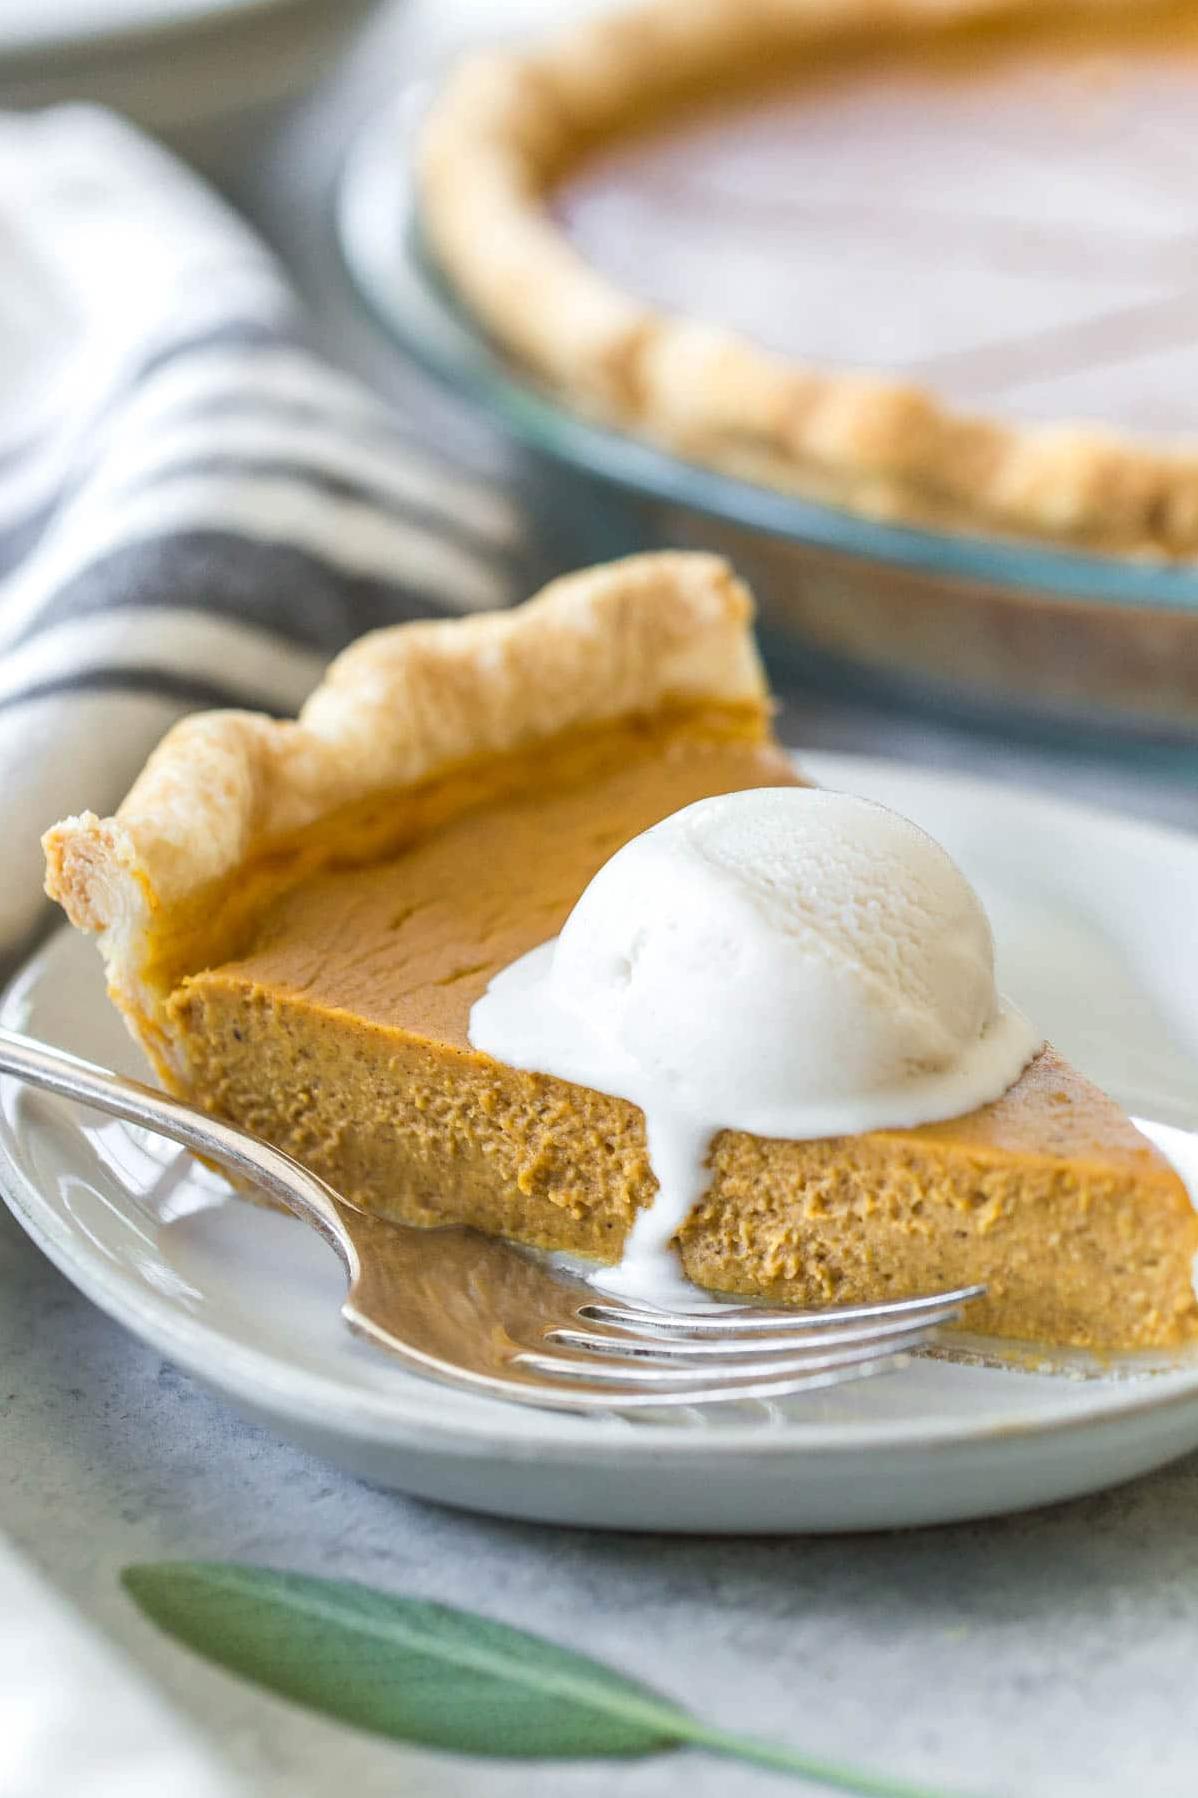
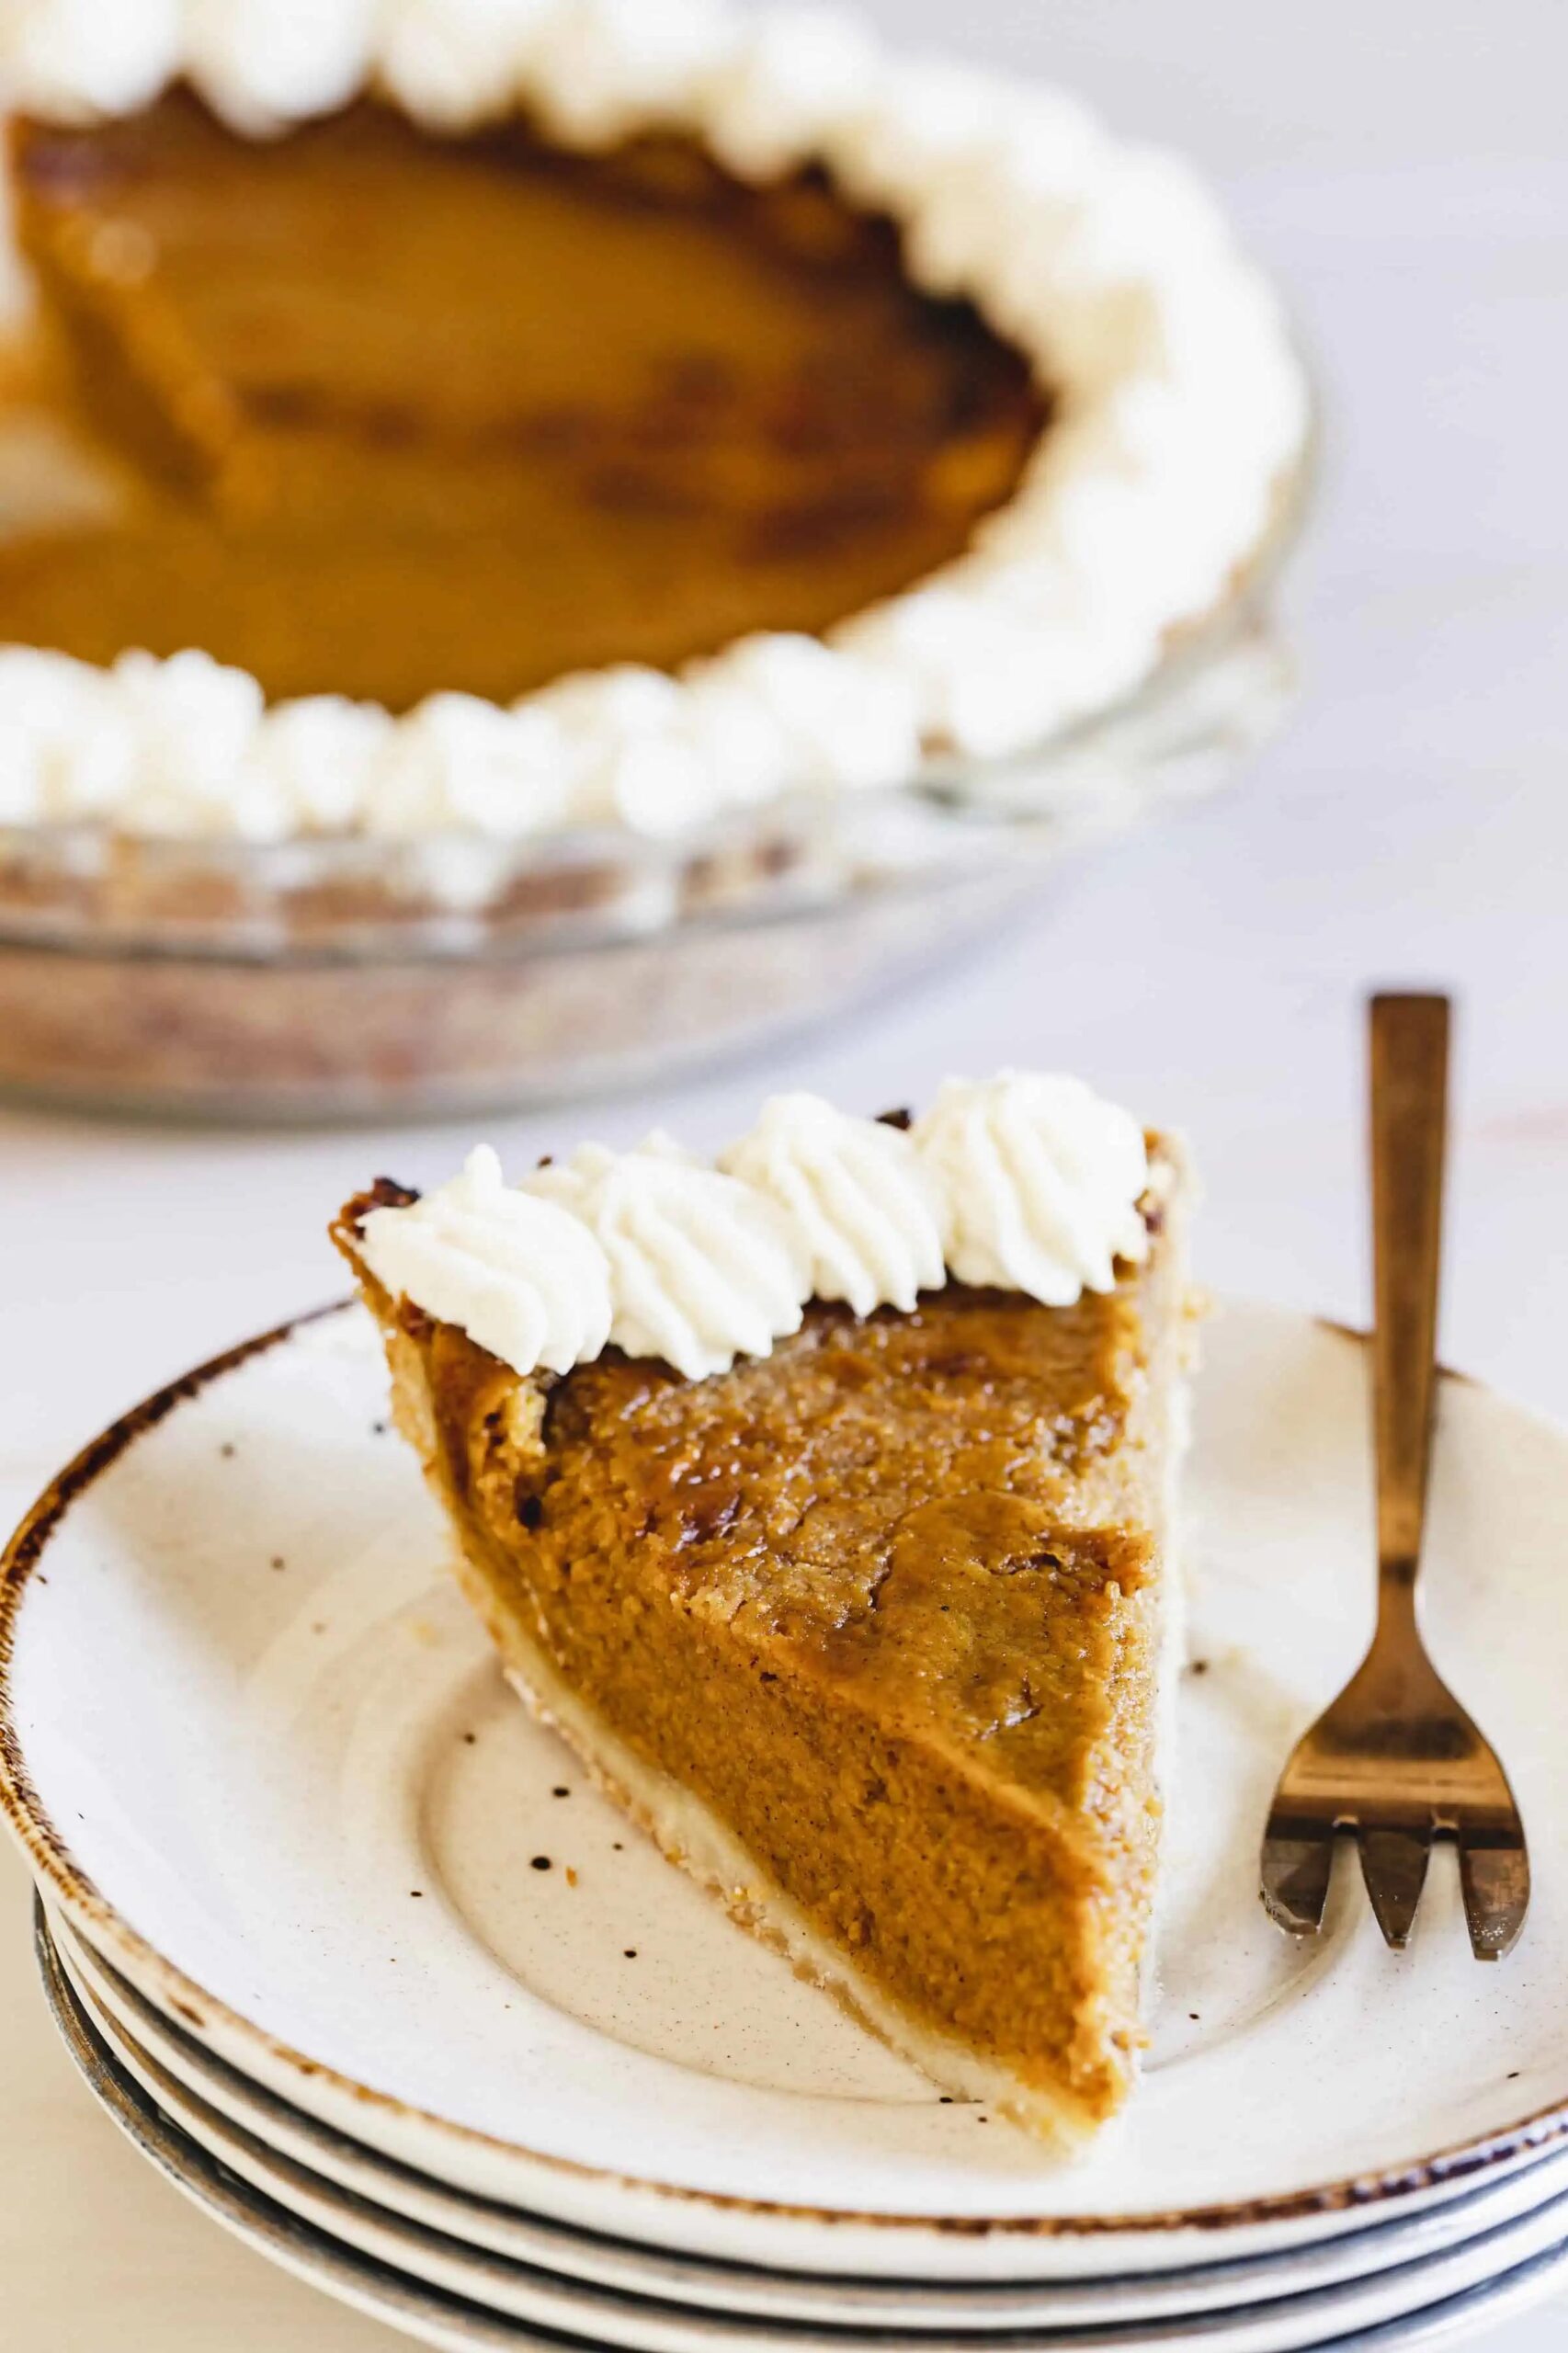
Now that your mouthwatering pumpkin pie is ready to serve, it’s time to focus on how to enjoy it. As a nutritionist and a food blogger, I highly recommend serving this delightful dessert with a dollop of unsweetened coconut cream or vegan whipped cream.
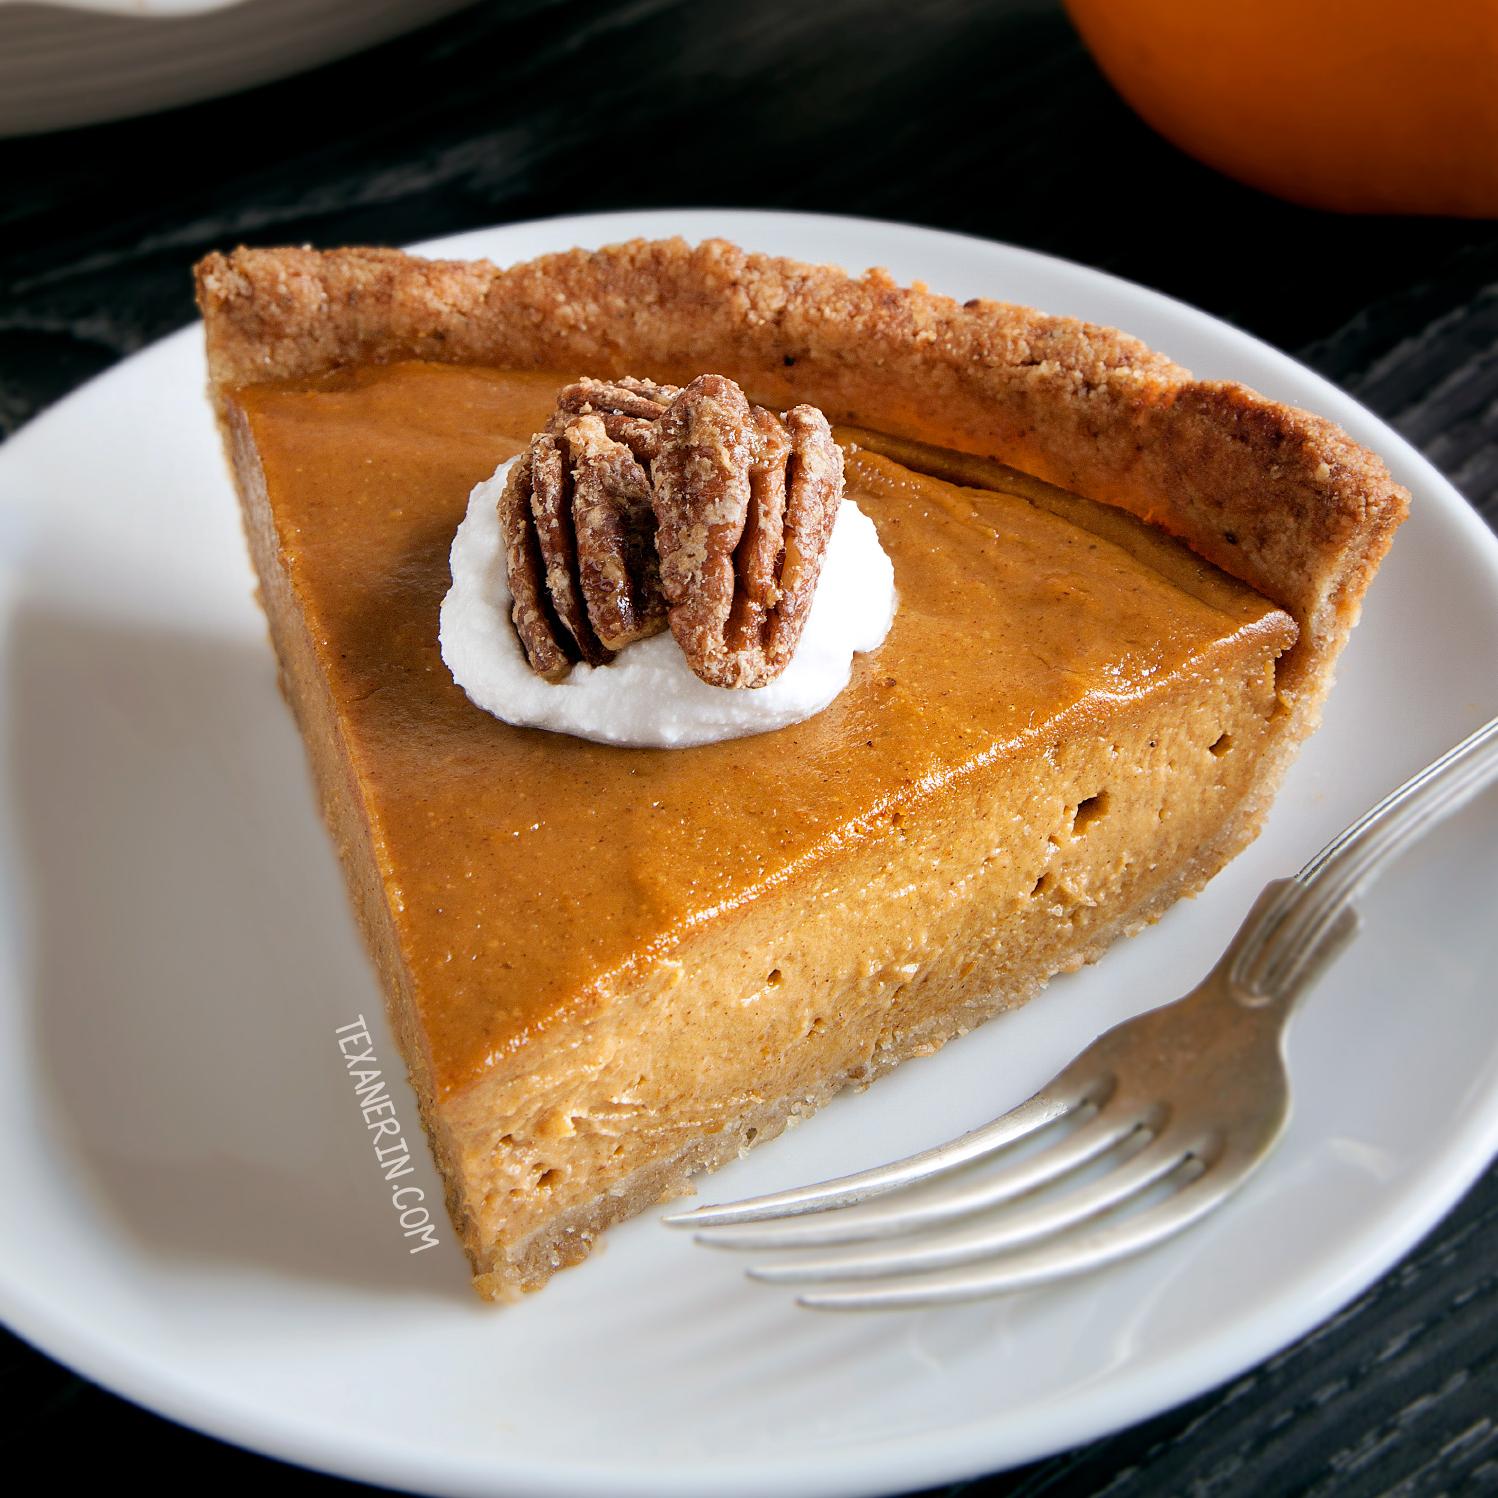
If you prefer a crunchy texture, you can garnish the top with chopped pecans or walnuts. If you’re feeling experimental, try adding some sliced bananas or strawberries on the top to add some natural sweetness and a pop of flavor.
To complement the richness of this pumpkin pie, I suggest sipping some hot black tea or dark roasted coffee. These beverages have robust flavors that balance out the creamy sweetness of each slice.
Also, don’t forget to share your creation with your loved ones! This free pumpkin pie is so delicious that even non-vegans and non-dairy eaters will appreciate its taste and texture. Regardless of whether you serve this pie year-round or on special occasions, it’s sure to impress everyone who tries it.
Finally, as an added bonus, since this recipe is soy-free and gluten-free, people with these allergies can also indulge in this dessert without any worries. Savor the deliciousness guilt-free!
Make-Ahead, Storing and Reheating
Great news! This delicious Soy Free, Vegan, Dairy-Free Pumpkin Pie can be made-ahead and stored for later. I know, hard to believe right? But it’s true! Here are a few pointers to keep in mind:
Make-Ahead:
If you’re planning to make the pie ahead of time, simply bake it according to the recipe’s instructions but do not add whipped cream as a topping. Allow the pie to cool down completely (room temperature), cover with aluminum foil, and store it in your fridge (up to 2 days).
Storing:
To store your pies, place an aluminum foil or plastic wrap tightly over the cooled pie, preferably before refrigerating. This helps eliminate the risk of the pie absorbing any unwanted odors from other items in the fridge. You can store the pie in the fridge for up to 3 to 4 days.
Reheating:
When it comes time to reheat your pumpkin pie servings, warm them individually in a microwave or oven. If you’re using a microwave, heat one slice at a time for about 20-30 seconds or until warm. If using an oven, preheat the oven to 375 degrees Fahrenheit and bake for about 10-15 minutes or until heated through.
Additional Tips:
Remember that this pie does not require proper thawing before eating like meats that have been frozen. However, when serving after being in cold storage for extended periods (1 week or more), take it out of the fridge at least two hours before serving at room temperature or pop it into an oven heated to 350°F for about 10 minutes while tented with foil.
Now that you know how to make-ahead and store your Soy Free, Vegan, Dairy-Free Pumpkin Pie properly, enjoy every heavenly bite!
Tips for Perfect Results
When it comes to making the perfect pumpkin pie, the key is in the details. These tips are vital to ensure your soy-free, vegan and dairy-free pumpkin pie comes out perfect every time.
1. Get creative with your crust: In this recipe, a gluten-free and soy-free crust is included, but don’t be afraid to experiment with different types of crusts! Try a nut-based crust using raw cashews or almonds for a tasty twist.
2. Use canned pumpkin: While fresh pumpkins are great for carving or decorating, using canned pumpkin will give you optimal results when making your pie filling. Be sure to use unsweetened and pure pumpkin puree for the best texture and flavor.
3. Pre-bake your crust: Pre-baking your pie crust for 10 minutes before pouring in the filling helps prevent a soggy bottom. This will give you a crispy and delicious base for your pumpkin pie.
4. Soak Your Cashews: If you’re using cashews as a dairy alternative, soak them in water overnight or for at least 4 hours before blending. This will make them easier to blend into a smooth cream that can be used in place of dairy products.
5. Adjust Sugar Level: This recipe recommends ¾ cup brown sugar and ⅓ cup maple syrup–which can be adjusted based on your preferences. Use white sugar for more sweetness or skip the maple syrup altogether if you prefer less sugar.
6. Add Spice: Don’t skimp on the spices! Pumpkin pie isn’t just about the pumpkin; it’s about the warm spices that create that classic fall flavor. Add extra cinnamon, nutmeg, or even ginger to taste.
7. Refrigerate Overnight: Letting your finished pie chill overnight in the fridge allows it to set properly and enhances its flavor, making each slice even more delicious than the last.
With these tips, you’re well on your way to making the perfect soy-free, vegan and dairy-free pumpkin pie that’s sure to impress!
Bottom Line
In conclusion, this soy-free, vegan, and dairy-free pumpkin pie recipe is an excellent option for individuals who have specific dietary requirements or who simply want a healthier dessert option. By using allergy-free and natural ingredients such as almond milk, coconut oil, maple syrup, and pumpkin puree, you can create a tasty treat that is both satisfyingly sweet and guilt-free. So go ahead and give this recipe a try for your next holiday gathering or weekend indulgence—it’s sure to impress even the pickiest eaters! Remember to experiment with modifications and variations to make it your own unique creation. Trust me; once you taste how delicious it is, you’ll never want to settle for store-bought pies again. So happy baking!
Soy Free, Vegan, Dairy Free, Delicious Pumpkin Pie! Recipe
Ingredients
- 1 (15 ounce) can pumpkin pie mix
- 2 cups soaked cashews
- 1/2 cup coconut oil, melted
- 1/4 teaspoon salt
- 1/3-1/2 cup honey or 1/3-1/2 cup maple syrup
- 1/2 tablespoon lemon juice
- pie crust
Instructions
- Put the honey, pumpkin and oil into the blender.
- Blend it until combined.
- Now add cashews, salt, lemon juice.
- blend until combined.
- pour into crust and let the pie set in freezer for an hour.
Add Your Own Notes
Nutrition
Recommended Recipes Just For You
None found