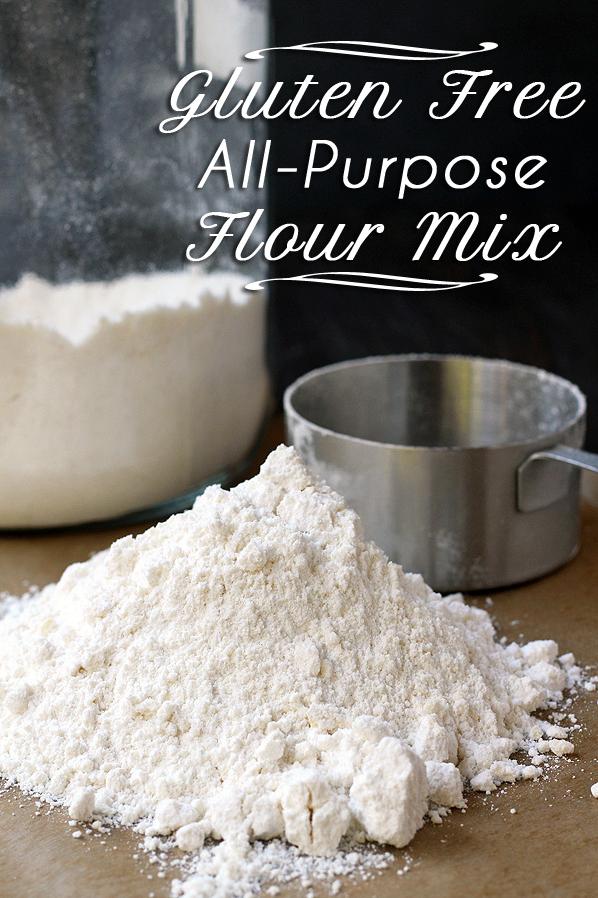
Healthy and Delicious: Gluten-Free Flour Recipe
Homemade gluten-free flours are one of the best alternatives for people with dietary restrictions. If you’re someone who is sensitive to gluten, dairy or loves to eat organic food, then you’re in luck. I’m here to show you how to make a gluten-free flour blend that is free from all of these ingredients, and it’s easy to make at home.
Flour is an essential ingredient in baking, and finding the right type of flour that fits your dietary needs may seem challenging. Inspired by my love for gluten-free recipes, I have experimented with different blends until I found the perfect ratio of ingredients that yield the ideal texture for cakes and bread.
This gluten-free flour blend recipe will inspire you to get creative with your baked goods without compromising on taste or texture. Whether you’re a seasoned baker or a novice just starting, this recipe guide will show you how to create easy-to-use gluten-free flour that tastes delicious and performs beautifully in most recipes calling for all-purpose flour.
I believe that cooking healthy meals is an opportunity for people to take control of their health and add joy to their lives. In this recipe article, I’ll share my tried and tested techniques on how to make this homemade gluten-free flour mix, its various uses and let me assure you it’s not that complicated!
So roll up your sleeves, grab your measuring cups, and let’s get started!
Why You’ll Love This Recipe
Have you ever tried to bake with store-bought gluten-free flour blends and ended up with dense, crumbly, or tasteless baked goods? That’s because most of these flour blends contain rice flour, which can make your baked goods gritty and dry. But don’t worry! This homemade gluten-free flour blend recipe is here to save the day.
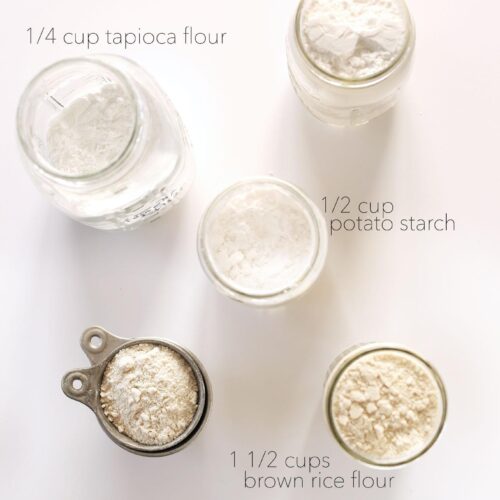
There are many reasons why you’ll love this recipe. First of all, it’s easy to make, and you only need three simple ingredients: brown rice flour, potato starch, and tapioca flour. These gluten-free flours work together to create a light and fluffy texture that will make your cakes, muffins, bread, and cookies taste like the real deal.
Secondly, this recipe is flexible and versatile. You can use this flour blend in any recipe that calls for all-purpose flour, including non-yeasted bread, biscuits, pancakes, and waffles. You can also customize the ratio of flours according to your preference. For example, if you want a more toothsome texture in your baked goods, add more brown rice flour. If you want a lighter texture, add more tapioca flour.
Thirdly, this homemade gluten-free flour blend is cost-effective. You can make a large batch and store it in an airtight container for up to six months. By making your own gluten-free flour blend instead of buying pre-packaged ones from the store, you’ll save money in the long run.
Lastly, this recipe is healthier than traditional wheat-based flours. By opting for gluten-free flours like this one made from brown rice and potato starch gives a healthier version compared to unhealthy wheat-based options that are readily available in the market today. It’s also free from preservatives and additives found in store-bought flour blends.
In conclusion, this homemade gluten-free flour blend recipe is perfect for those who are looking for a healthy and cost-effective alternative to store-bought gluten-free flour blends. With its light and fluffy texture, versatility, and health benefits, you’ll love using this flour blend in all your baked goods.
Ingredient List
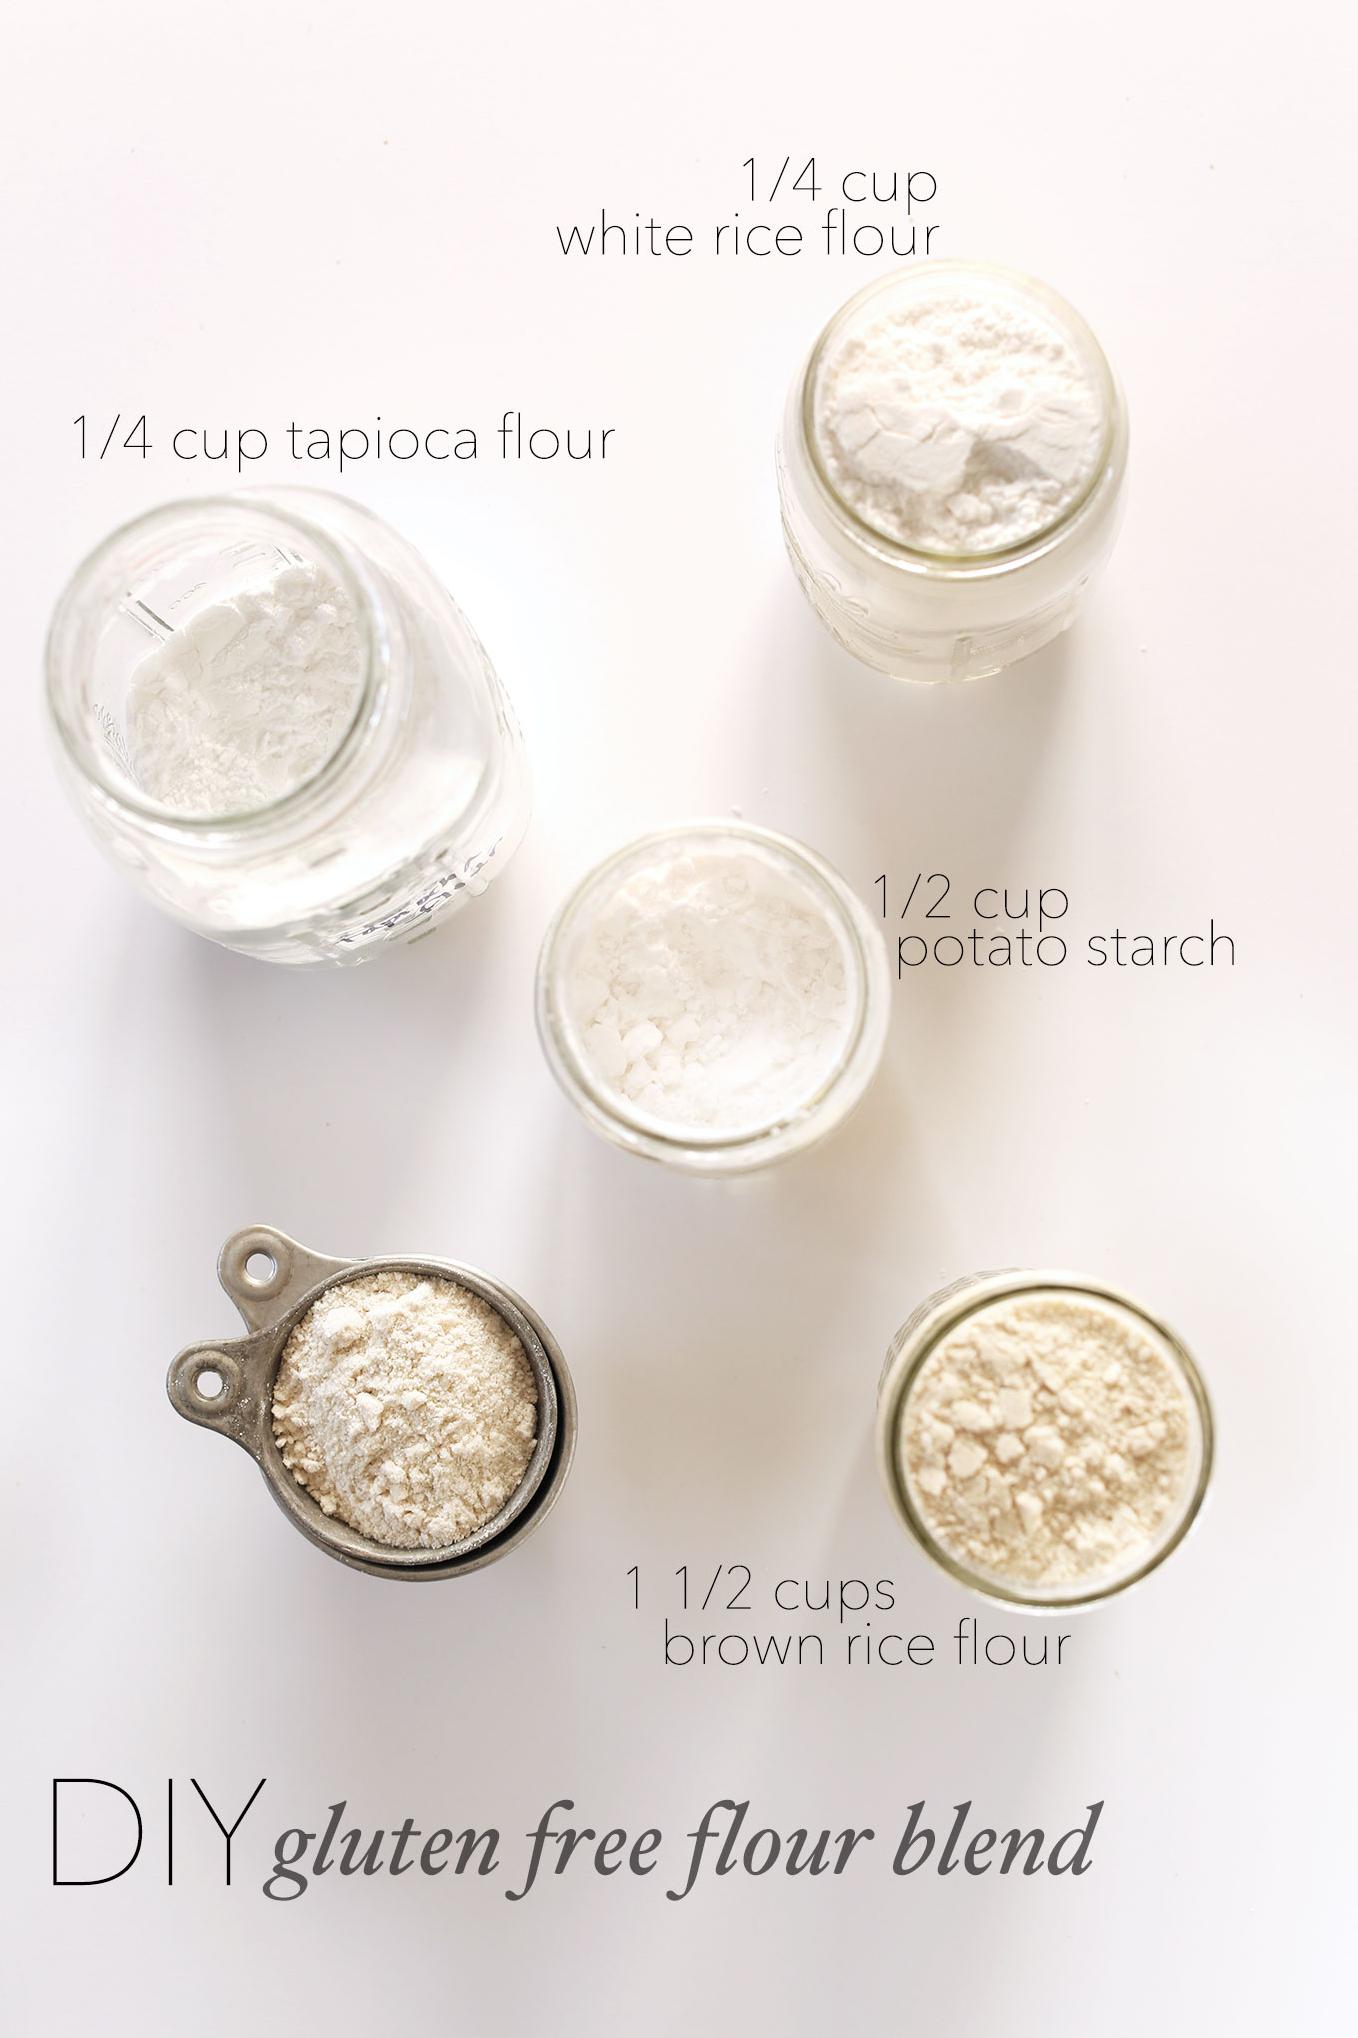
Below are the ingredients needed to create your very own gluten-free flour blend:
- 2 cups brown rice flour
- 2 cups potato starch
- 1 cup tapioca flour
- 1/4 cup white rice flour
- 1/4 cup cornstarch (optional)
- 4 tsp xanthan gum
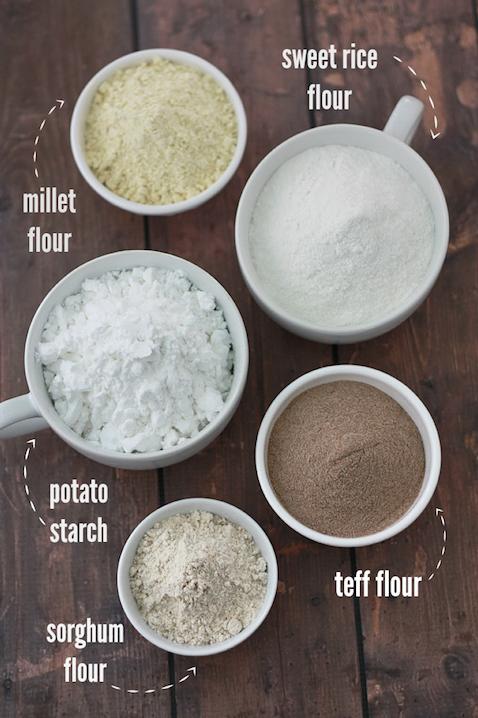
Note: Potato starch and tapioca flour can be interchanged with other gluten-free flours such as arrowroot powder or cassava flour. The brown rice and white rice can also be substituted with sorghum, millet, or quinoa flours. The usage of cornstarch is optional for those avoiding corn.
For best results, measure out each ingredient precisely. You don’t want to add too much or too little which could affect the texture and consistency of your final product. Be sure to use a good quality measuring tool – this means using a scale for dry ingredients and measuring cups for liquids.
The Recipe How-To
Now let’s get into the nitty-gritty of making this Gluten-Free “flour” recipe. This recipe requires two cups of brown rice flour, two cups of white rice flour, two cups of potato starch, and one cup of tapioca flour.
-
First, Measure every ingredient using a measuring cup and level each with a straight edge.
-
Add all the flour ingredients into a large bowl or container and mix very well.
-
For every 4 cups of gluten-free flour The called recipe also suggests adding 1 teaspoon xanthan gum. It’ll provide an elasticity that gluten doesn’t for easier baking.
-
Mix everything thoroughly until they are well combined.
-
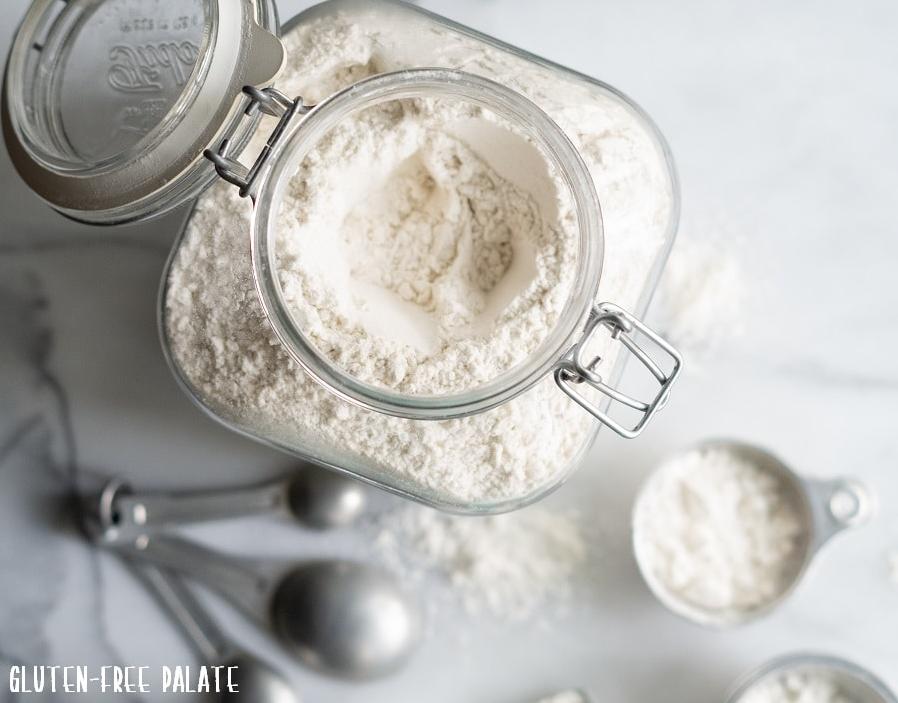
Transfer the flour mixture to a clean container or resealable bag.
Now you have your gluten-free flour blend ready to be used on your favorite recipes.
Substitutions and Variations
When it comes to gluten-free flour blends, there are a lot of options available. If you don’t have some of the listed ingredients or prefer to make substitutions, here are a few ideas.
– Oat flour: If you want to add whole grains to your flour blend, try replacing 1/4 to 1/2 cup of the rice flour with oat flour. It has a slightly nutty flavor and will add fiber to your baked goods.
– Almond flour: If you’re looking for a grain-free option or want to add protein to your baked goods, almond flour is a good choice. Replace 1/4 to 1/2 cup of the rice flour with almond flour and reduce the amount of xanthan gum by half.
– Cornstarch: If you don’t have potato starch or prefer cornstarch, feel free to use it in this recipe. It will give your blend a lighter texture but won’t add as much nutrition as potato starch.
– Arrowroot powder: This is another starch you can use if you don’t have potato starch or tapioca flour. It has a neutral flavor and will thicken your batter or dough. Use it in place of potato starch or tapioca flour at a 1:1 ratio.
– Different ratios: If you prefer a different mix of flours, try experimenting with different ratios until you find one that works for you. Some people like more nutritious flours like teff and quinoa, while others prefer lighter ones like sorghum or millet.
Remember that each substitution may change the texture and flavor of the final product, so be prepared for some experimentation. And always make sure any new ingredients are certified gluten-free if you’re on a strict gluten-free diet!
Serving and Pairing
Now that you’ve made your very own gluten-free flour blend, it’s time to put it to use! This versatile flour can be used in a variety of recipes, from breads to cakes and even pastas.
When it comes to serving and pairing your gluten-free creations, the options are endless. For a cozy breakfast, try making fluffy gluten-free pancakes or waffles and top them with fresh fruit and pure maple syrup. Or, whip up some homemade biscuits or scones to serve with your favorite jam or honey butter.
For lunch, consider making a veggie-packed quiche using your gluten-free flour blend for the crust. Pair it with a big salad or roasted vegetables for a satisfying meal.
Dinner options are also abundant. Use your homemade gluten-free flour blend to bread chicken or fish for crispy, golden-brown perfection. Or, make a comforting pot pie with a flaky crust made from your blend.
Desserts are not off-limits with this flour blend. Whip up some chocolate chip cookies, brownies, or a moist banana bread using your own custom gluten-free flour blend.
No matter what you choose to make with your flour blend, pair it with a fresh salad or seasonal vegetables for a healthy, well-rounded meal. And don’t forget to enjoy every bite of your delicious and nutritious creation!
Make-Ahead, Storing and Reheating
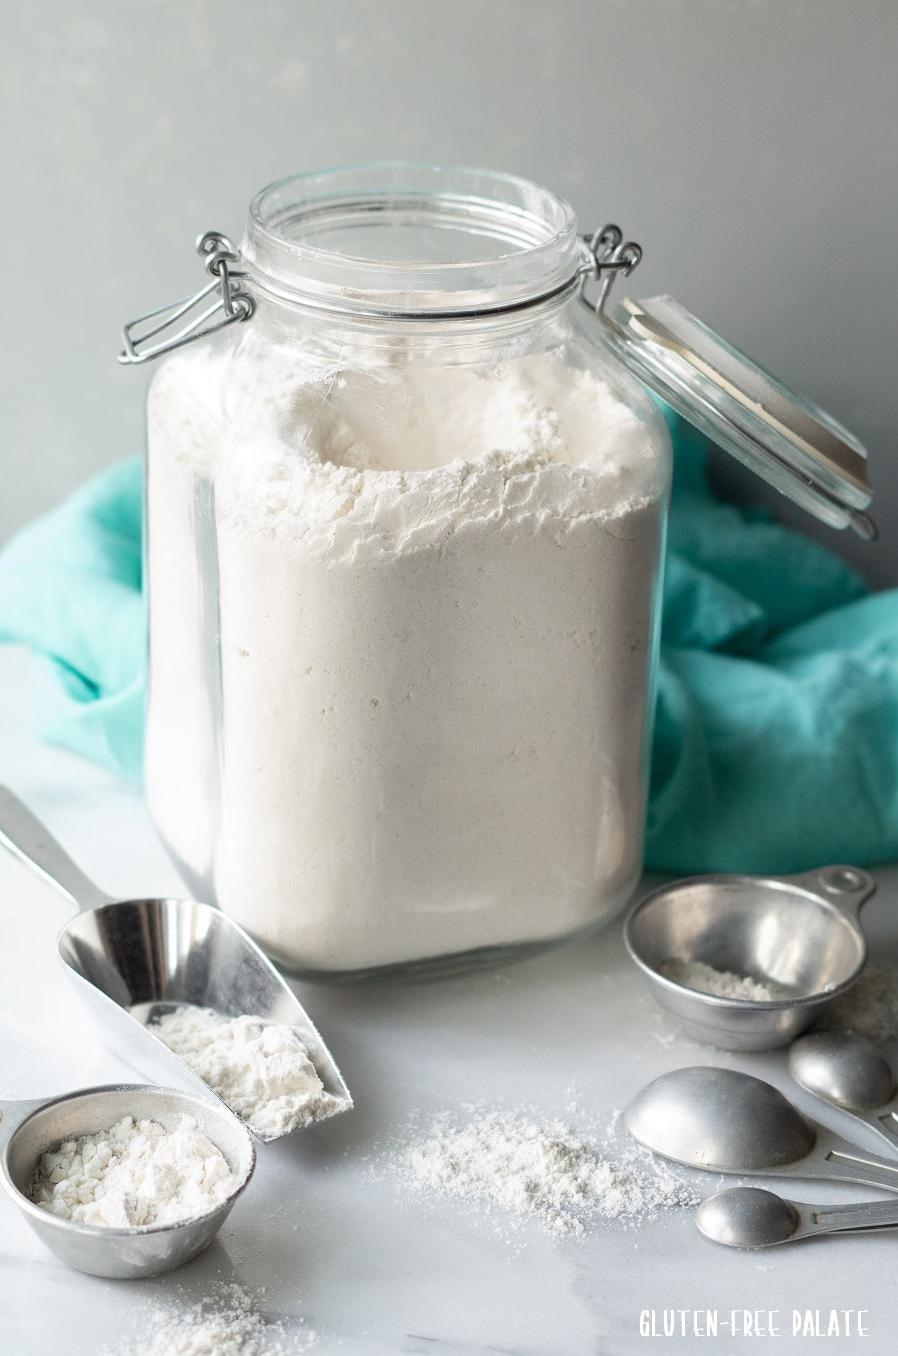
When it comes to gluten-free flour blends, making a larger batch of the mix is always a wise idea for future use. Simply store it in an air-tight container or plastic resealable bag in your pantry cupboard. This could be one of the best ways to ensure that you always have a ready-to-use gluten-free flour mix on hand for any occasion.
Moreover, the “flour” blend can be made ahead of time which is very convenient when you are whipping up something quickly because you don’t have to make a new batch all over again from scratch. The flour blend can last up to several months if properly stored.
Additionally, the flour blend can be stored in the freezer as well, and this increases its shelf life even further. Freezing can keep your flour fresh up to 6 months depending on how it’s stored. When transferring the flour blend into the freezer, ensure that it’s also kept within an air-tight container or re-sealable bags as previously mentioned.
When it comes to reheating, one may wonder how this would work with a gluten-free flour blend but honestly, it’s not complicated at all. A great tip is to allow the refrigerated “flour” blend come back to room temperature before using it for any recipe. Moreover, if you want to reheat other dishes containing your gluten-free flour mix blends like a baked cake or cookies, gently warming such dishes in the microwave may just do the trick while taking necessary precautions not to over-heat and dry out these items.
Overall, there’s nothing quite like having convenience at your fingertips and with these helpful tips on storing and reheating your gluten-free flour blends, you’ll be saving both time and effort without compromising on your health options.
Tips for Perfect Results
When creating a gluten-free flour blend, it’s important to keep a few key tips and tricks in mind to ensure that your results are as perfect as possible. Here are some of my top tips for achieving the best possible outcome:
1. Measure carefully – With gluten-free flours, accurate measurements are key. Make sure to measure out your flours precisely, using measuring spoons and cups for the best results.
2. Use xanthan gum – Xanthan gum is a common ingredient in gluten-free baking, and for a good reason. It helps to bind ingredients together, mimicking the gluten found in traditional flours. When making your own blend, be sure to include this essential ingredient for the best texture.
3. Experiment with different flours – There are many different types of gluten-free flours out there, each with its own unique properties and flavor profiles. Experiment with different blends and ratios to find one that works best for your particular recipe.
4. Consider using pre-made flour blends – If you’re short on time or don’t want to experiment with blending your own flours, there are many pre-made gluten-free flour blends available on the market today.
5. Try incorporating oat flour – Oat flour is a fantastic option for gluten-free baking, as it adds a subtle nutty flavor and a great texture to baked goods.
6. Use a mixture of brown rice flour and white rice flour – One popular gluten-free flour blend includes a mixture of brown rice flour and white rice flour in equal amounts. This blend is versatile and can be used in a wide variety of recipes.
By keeping these tips in mind, you’ll be well on your way to creating delicious and perfectly-textured gluten-free recipes every time.
FAQ
Before we wrap up this gluten-free flour recipe, I want to tackle some frequently asked questions about this blend. Over the years, I’ve learned that many people have particular concerns or questions regarding gluten-free flours, and it’s crucial to clear up any confusion so you can make the perfect batch of flour. So, without further ado, let’s dive into some commonly asked questions that you may have on your mind.
What can be made from gluten-free flour?
As a nutritionist and food blogger, I specialize in developing healthy, organic recipes that are free from gluten and dairy. My recipe collection includes crowd-pleasers like gluten-free flour tortillas, delicious brown butter brownies, fluffy chocolate chip pancakes, and extra flaky buttermilk biscuits – all made with gluten-free ingredients.
What is the trick to baking with gluten-free flour?
If you’re avoiding gluten in your baking, you can substitute it with other thickening agents like xanthan gum or guar gum. It’s recommended to add at least 1 teaspoon of gluten substitute for each cup of gluten-free flour mix used. These substitutes come from the cell coat of a microorganism known as Xanthomonas campestris.
How do I substitute gluten-free flour for all-purpose flour?
When it comes to replacing all-purpose flour with gluten-free flour, it is important to check the back of the package to ensure a one-to-one swap. However, it’s crucial to note that all-in-one blends containing substances like xantham gum, are necessary as they provide structure – a component that is lacking in gluten-free options.
How do you use gluten-free flour in recipes?
Converting your favorite recipes to gluten-free has never been easier with our Measure for Measure Flour. This special flour can be swapped in for the all-purpose flour in your recipe, following a simple 1:1 ratio. It’s important to note that yeast-based recipes will require a different substitution.
Bottom Line
In conclusion, gluten-free flour has been a game-changer in the food industry. It allows individuals who suffer from allergies or gluten intolerance to enjoy delicious and healthy meals. Making your own gluten-free flour blend is easy with the right recipe, and it gives you the freedom to customize it to your taste.
By following the recipe outlined in this article, you can make a versatile and healthy gluten-free flour that can be used in many recipes. The combination of tapioca flour, potato starch, and brown rice flour provides an excellent ratio of fats, proteins, and fibers while ensuring easy digestion.
Additionally, these flours are unrefined, making them more nutrient-dense than regular wheat flour.
Now that you know how to make your own gluten-free flour blend, there’s no reason not to give it a try. Experiment with different ingredients and ratios until you find the perfect mix for your favorite recipes. With a little bit of practice and patience, you’ll be baking cakes, bread, and muffins that are just as delicious as traditional baked goods.
And with more and more people choosing to adopt a gluten-free lifestyle for health reasons or personal preferences, now is the perfect time to start exploring the possibilities of gluten-free flour.
So don’t hesitate! Give this recipe a try and join the growing community of people who are embracing the benefits of gluten-free cooking. Your taste buds (and your body) will thank you!
Gluten Free “flour” Recipe
Ingredients
- 1 cup tapioca flour
- 2 cups potato starch
- 6 cups rice flour
- 1 tablespoon xanthan gum
Instructions
- Sift together! ;).
Add Your Own Notes
Nutrition
Recommended Recipes Just For You
None found