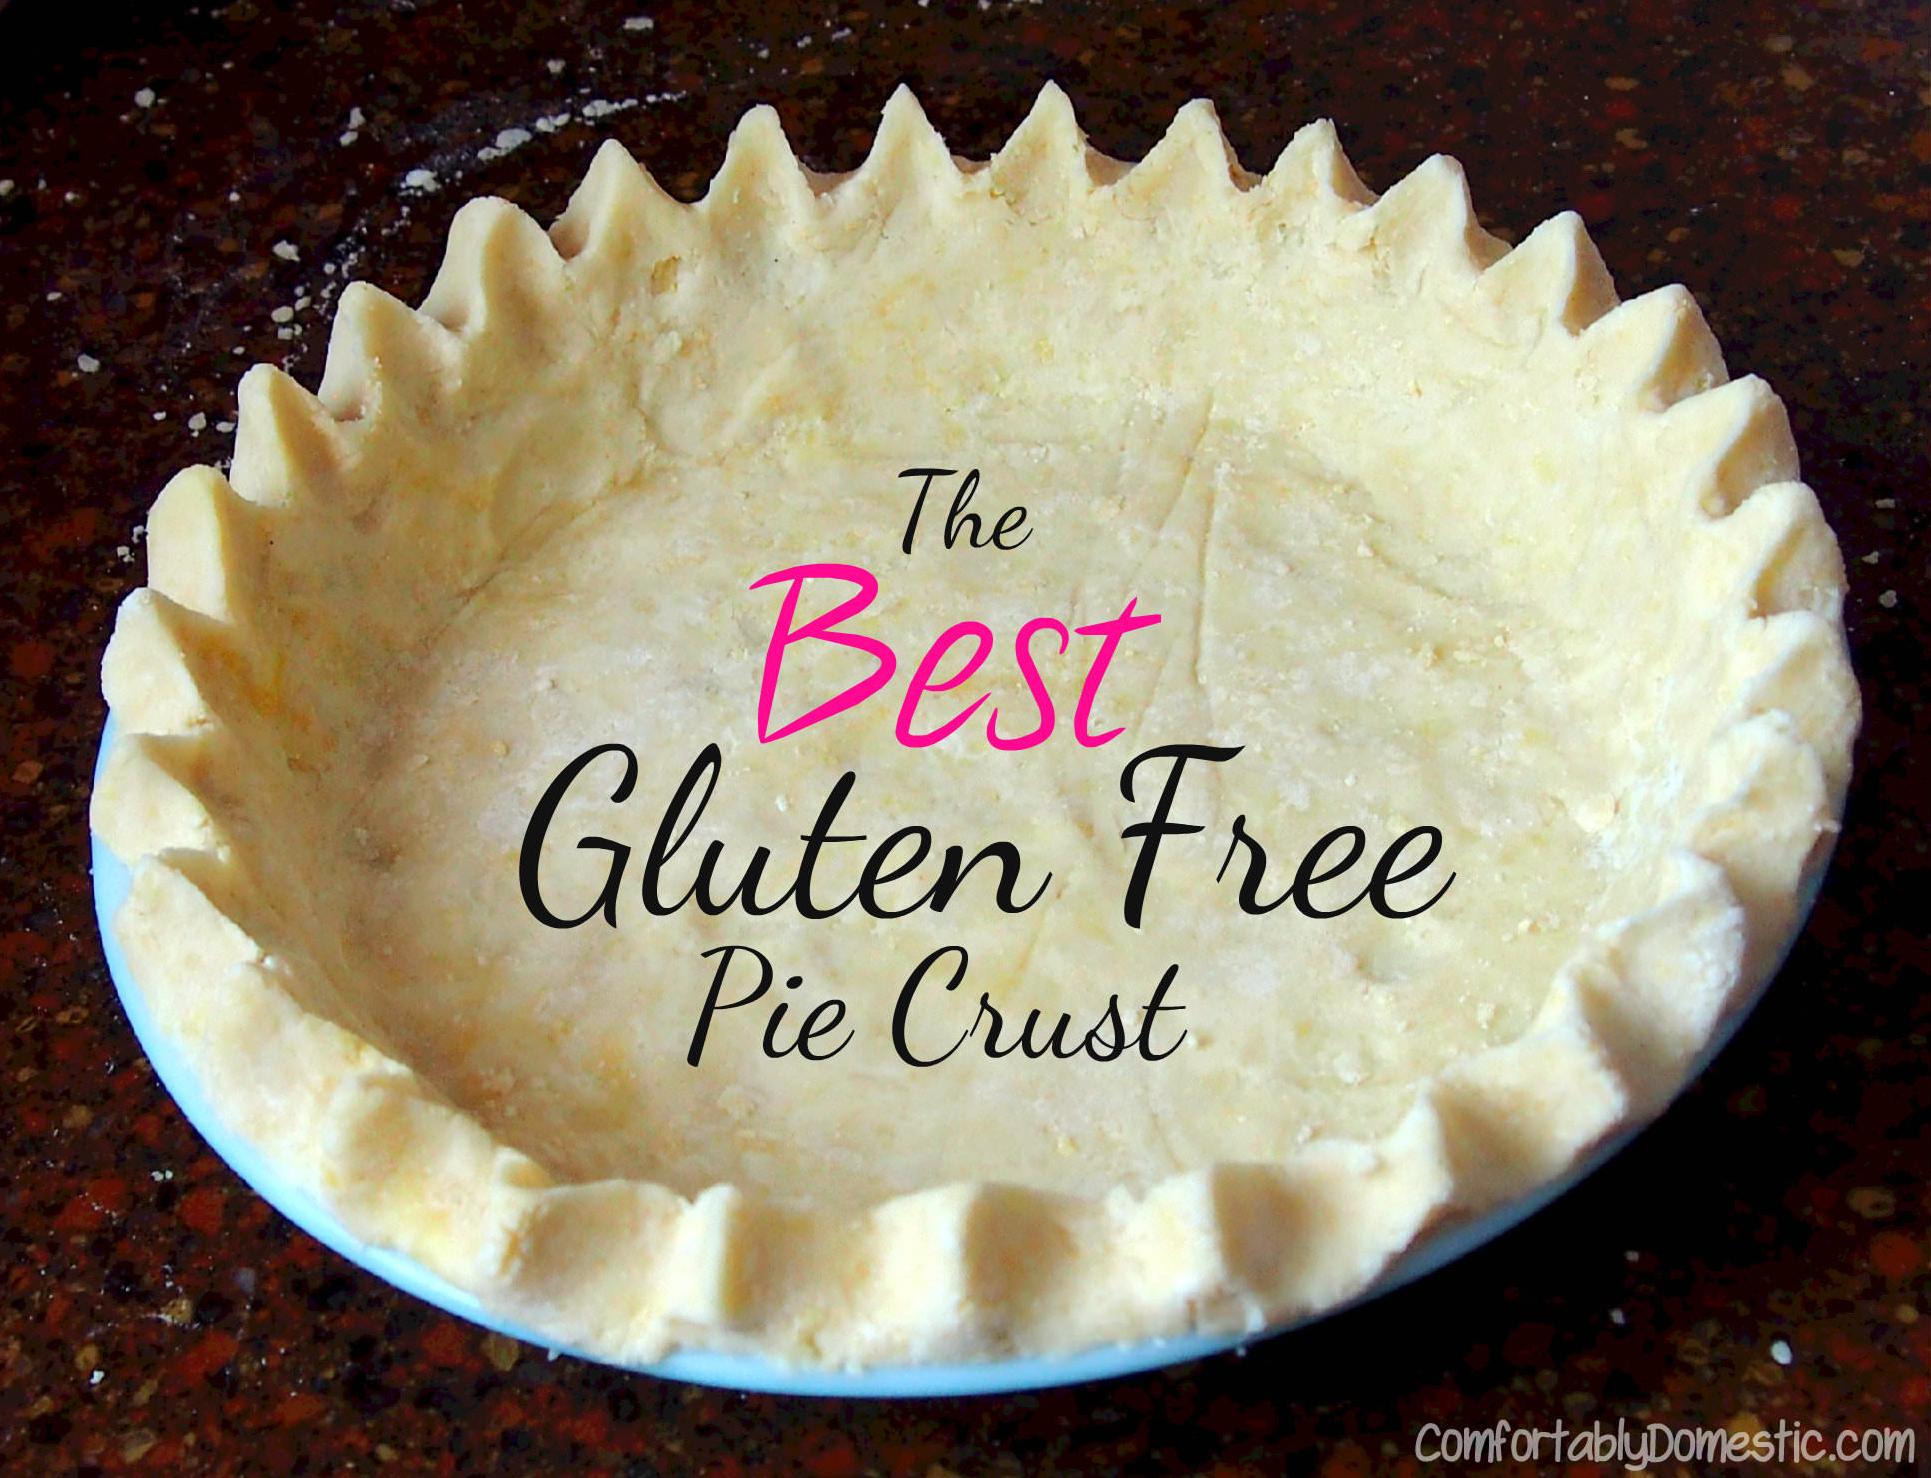
Delicious Gluten-Free Pie Crust Recipe for Everyone
Hello foodies! Are you craving a hearty and delicious pie but need a gluten-free option? Look no further as I have the perfect solution – a Gluten-Free Pie Pastry Recipe that is easy to make, extra flaky, and oh-so-satisfying.
Being gluten intolerant doesn’t mean sacrificing taste or texture. You too can indulge in a perfectly crusty and delectable pie with this recipe.
I’ve been experimenting with different flours, binders, and fats to create the perfect gluten-free pie crust recipe. The trick is using gluten-free flour blends and adding xanthan gum for formation of gluten.
Join me in this food journey where we will learn how to make an impeccable easy-to-roll dough that comes together beautifully without falling apart. Trust me, your hands will do the happy dance with every touch.
As a nutritionist, it’s important to me that my recipes use organic ingredients that are also dairy free. My aim is to give you not only a guilt-free treat but also one healing for your body.
So let’s dive into this Gluten-Free Pie Pastry Recipe and create an amazing pastry that will have your friends and family begging for more!
Why You’ll Love This Recipe
If you’re looking for the perfect gluten-free and dairy-free pie pastry recipe, you’ve come to the right place. This pie crust recipe is guaranteed to blow your taste buds away!
First off, this recipe uses a blend of gluten-free flours such as tapioca starch, rice flour, and almond flour which ensures the crust comes out extra flaky and tender.
But what really makes this gluten-free crust so perfect is the secret ingredient: xanthan gum. This magical ingredient acts as a binding agent, holding the crust together without compromising its delicate texture. No more falling apart or dry, crumbly pastry!
The combination of butter (or dairy-free shortening) mixed with cold water and vinegar creates an irresistible buttery flavor that is hard to resist. Meanwhile, adding a touch of salt and granulated sugar gives it a well-rounded taste that complements any pie filling perfectly.
What’s more, this gluten-free pie crust is also customizable – you can add your preferred variations like using different types of gluten-free flours or sweeteners like maple syrup.
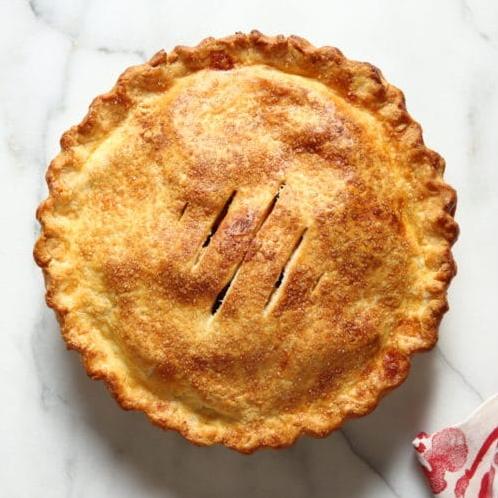
Whether you’re serving pumpkin pie for your Dairy-Free Thanksgiving meal or an apple pie just because; everyone will marvel at how delicious and flaky the pie crust turned out!
So switch over to our gluten-free flour mix with King Arthur flour for an easy-to-work-with dough that won’t stress you out – not theirs! And enjoy making every dessert with this easy-peasy yet scrumptious recipe.
Ingredient List
Here’s a list of the gluten-free ingredients you’ll need to make the perfect pie crust recipe:
Flour Mixture
- 1 cup Bob’s Red Mill Gluten-Free 1-to-1 Baking Flour
- ½ cup almond flour
- ¼ cup tapioca starch
- ¼ cup granulated sugar
- 2 teaspoons xanthan gum
- ½ teaspoon fine sea salt
Pie Crust Ingredients
- ½ cup (1 stick) unsalted butter, cut into small pieces and chilled
- 2 tablespoons shortening or additional butter, chilled
- 1 large egg, beaten
- Ice water (about ⅓ cup)
These ingredients are super easy to find at your local grocery store. You can also find gluten-free flour blends from other brands such as King Arthur Flour and Cup4Cup. In addition to using almond flour, this recipe adds tapioca starch and xanthan gum for formation of gluten-free crust that will not fall apart or crumble when rolling out dough. Let’s get started!
The Recipe How-To
Step 1: Mix Dry Ingredients
Firstly, take 1 1/4 cups of gluten-free flour, 1/4 cup of almond flour and 1 tsp of xanthan gum. Mix them well in a bowl.
Step 2: Add Chilled Butter/Shortening
Cut 1/2 cup of chilled butter or shortening butter into the bowl with the mixed dry ingredients.
Step 3: Combine Wet Ingredients
In a separate bowl, mix together 1 egg, 2 tbsp of vinegar, and 5-6 tbsp of cold water.
Step 4: Combine wet and dry ingredients
Add the wet ingredients mixture to the dry ingredients mixture. Mix properly until you have a consistent dough that’s neither too crumbly nor too sticky.
Note: Do not knead too much, as it can cause over formation of gluten, making your crust chewy. It doesn’t matter if there are small bits of butter in the dough.
Step 5: Chill Dough
Wrap the pastry ball with a cling film and chill it in the refrigerator for at least an hour but preferably overnight. This step is crucial to ensure that the fat cools down and solidifies, which creates extra flaky crusts.
Note: You may prepare your filling or do other tasks while waiting for your dough to chill.
Step 6: Roll Out Dough
Once chilled, dust some rice flour on a clean surface and flatten the pastry ball with a rolling pin. Roll out the gluten-free pie pastry to your desired thickness, adding more rice flour as needed. Add water around the edges to meld any cracks or breaks. If your crust cracks or falls apart during rolling, try again once it warms up a bit.
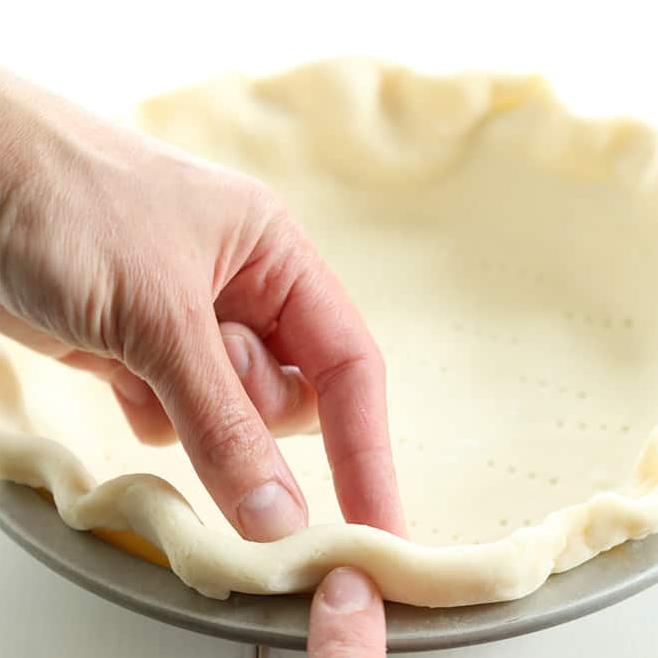
Step 7: Transfer Rolled Dough to Pie Dish
Roll your dough over the rolling pin so as to transfer it quickly onto the pie dish. And voila! Your Gluten-Free Pie Crust is ready for baking!
Substitutions and Variations
Are you looking to mix things up a bit with your gluten-free pie crust recipe? Here are some substitution suggestions that will give your pie crust varying degrees of texture, flavor, and dietary accommodation:
– Flour Blend Substitutions: There are many gluten-free flour blends on the market that can be used in place of the suggested bob red mill gluten-free flour blend. King Arthur Gluten-Free All-Purpose Flour or Bob’s Red Mill 1-to-1 Gluten-Free Flour are great alternatives that will yield similar results. You can also use almond flour for a nutty flavor, rice flour for a more delicate texture, or corn flour for a slightly sweet and earthy flavor profile.
– Butter Substitutions: If you’re dairy-free, vegan, or simply trying to swap out butter for health reasons, there are many substitutes you can use such as coconut oil, palm shortening or vegan butter.
– Liquid Substitutions: For dairy-free option you could use full-fat canned coconut milk in place of sour cream.
Experimenting with different substitutions can lead to exciting new flavor combinations and a perfect pie crust every time. Just be careful not to alter the formation of gluten too much, or your dough may fall apart! Finally, If you have special dietary restrictions or preferences, refer to minimalist baker’s website for their tried-and-tested gluten-free shortcrust pastry.
Serving and Pairing
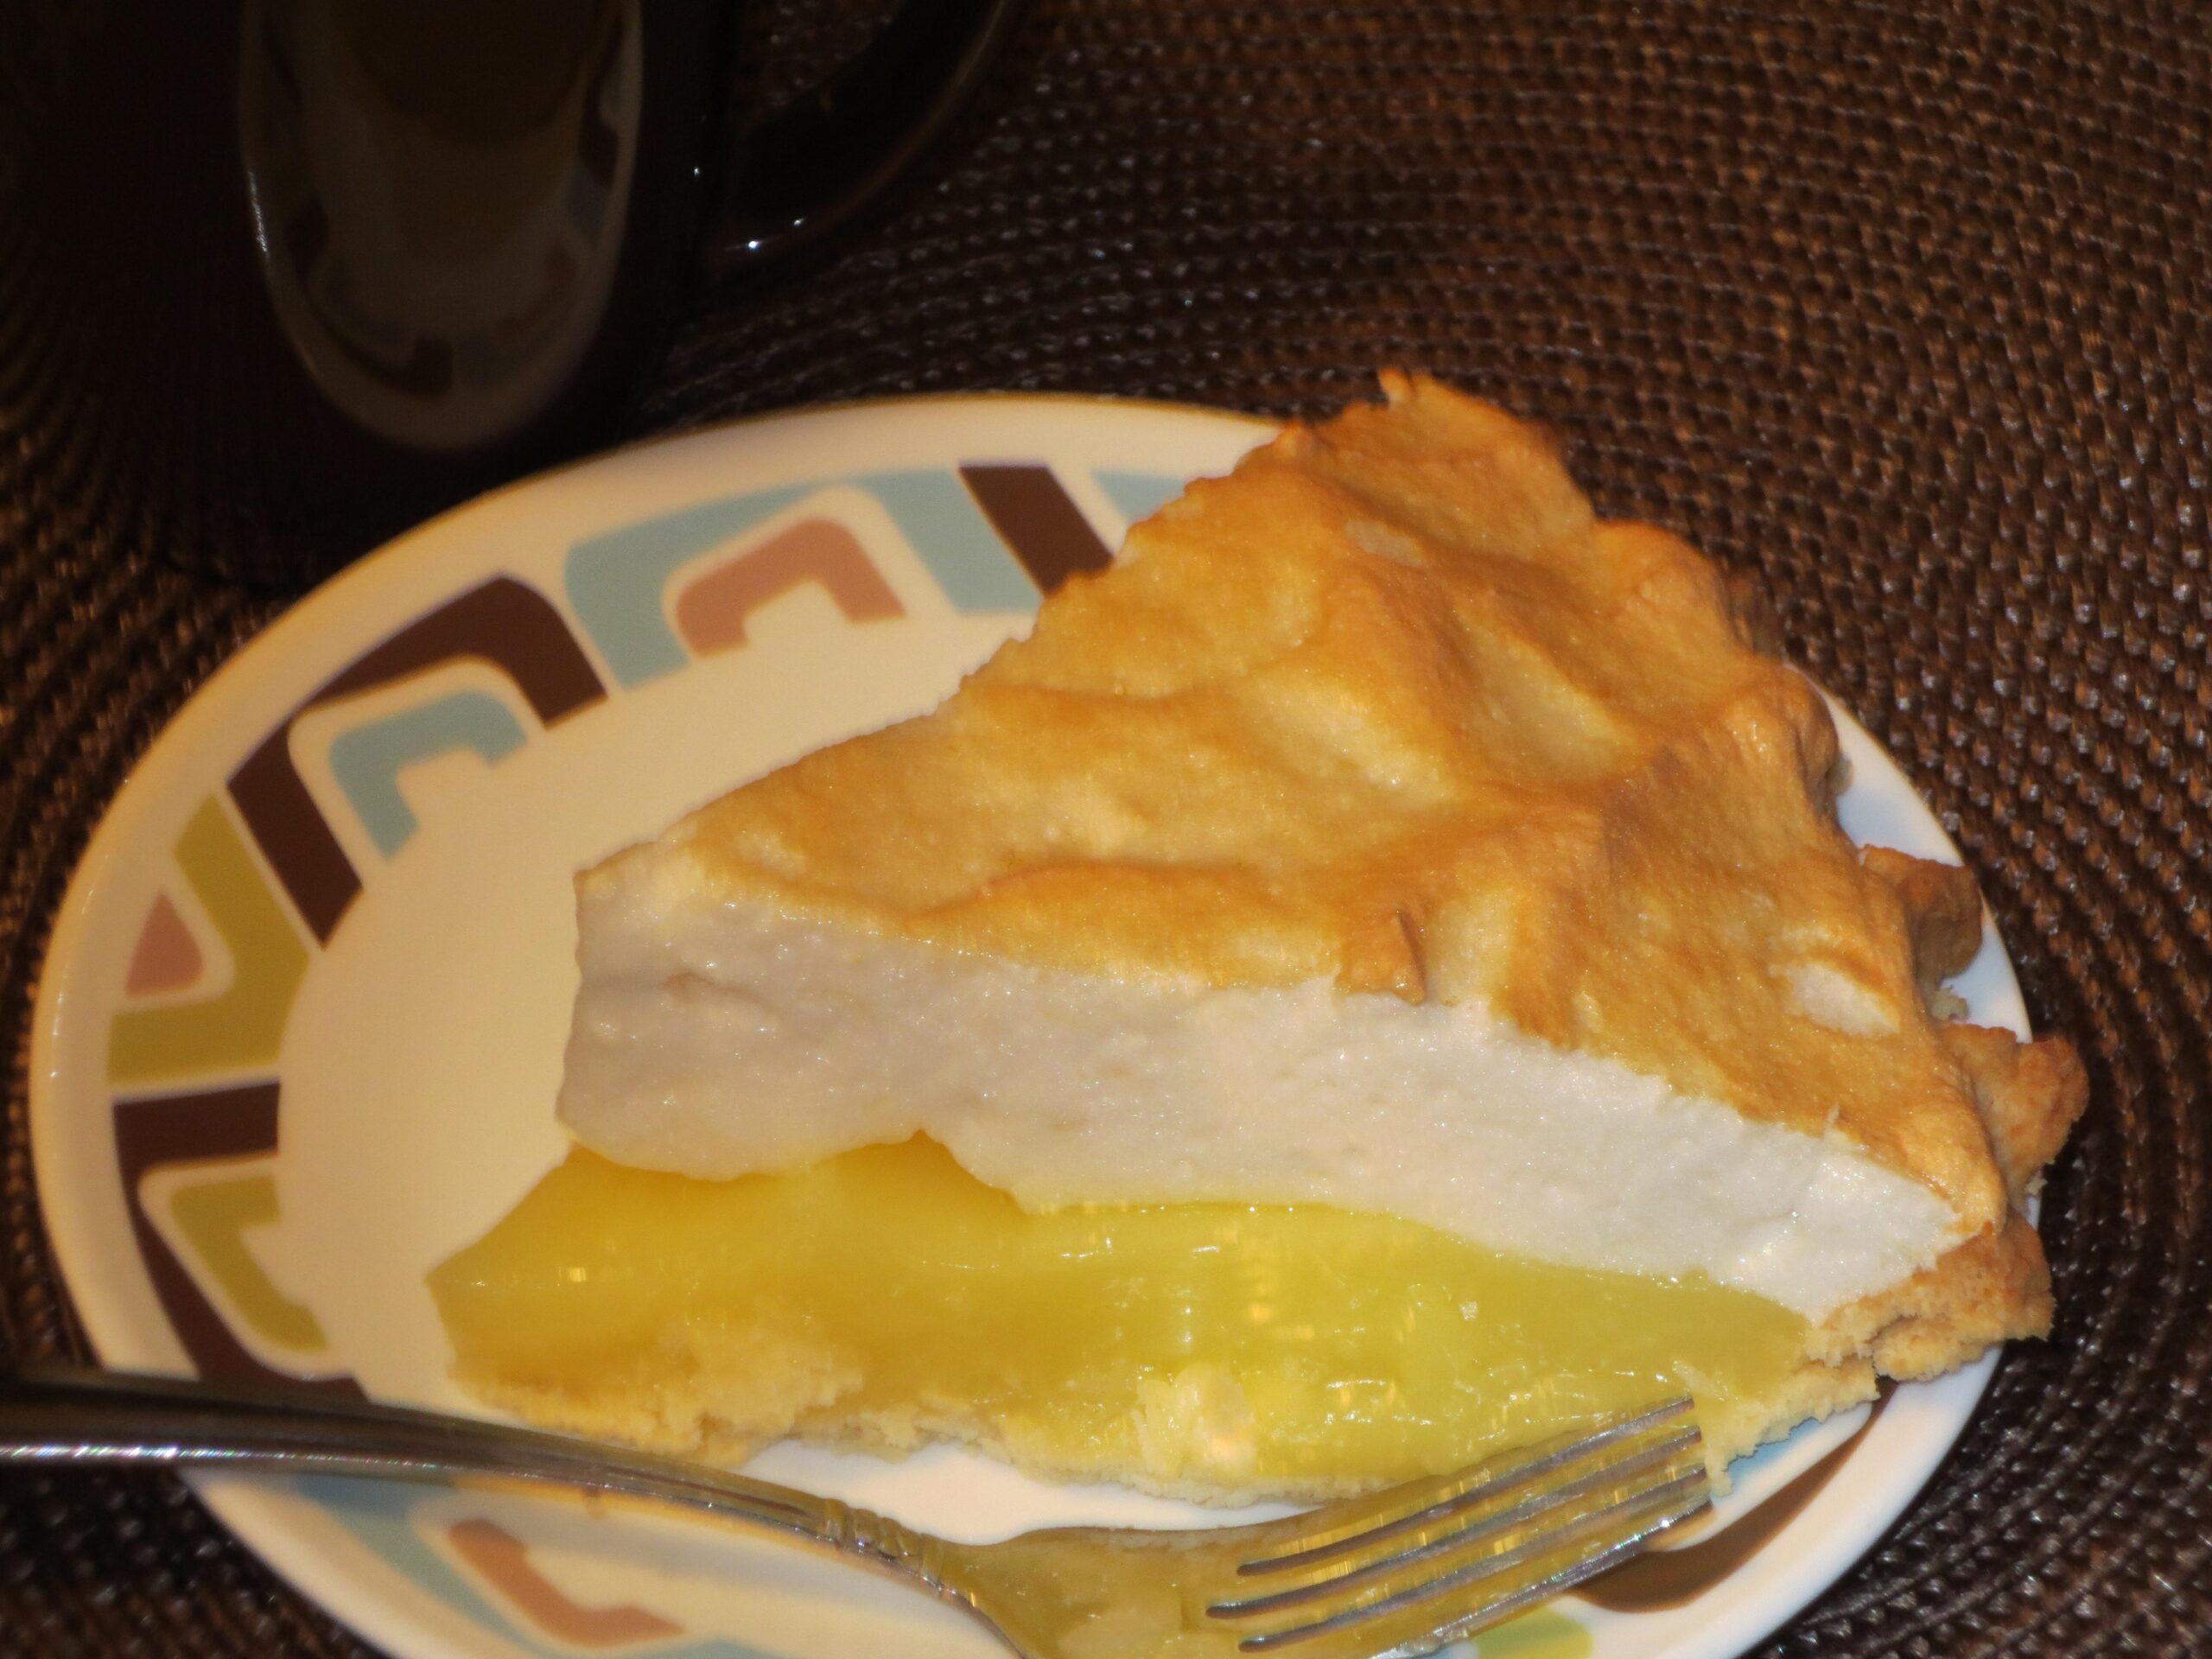
Gluten-free pie pastry is an ideal choice for any type of pie, and can be served with a variety of different fillings, making it a versatile choice for any occasion. Whether you prefer traditional apple or pumpkin pie, or opt for more creative fillings such as chocolate or banana cream, this gluten-free pastry recipe will bring out the rich flavors in your favorite pies.
Serve your scrumptuous gluten-free pie pastry fresh out of the oven with a dollop of whipped cream, ice cream or non-dairy alternative of your choice. The perfect complement to your delicious crispy, flaky gluten-free crust! You can also enjoy it as a solo treat with hot cup of tea, coffee or warm milk. For a more savory option try pairing it with some cheese or classic quiche mix.
What’s even better about this recipe is that it can be made ahead of time and easily stored in the refrigerator or freezer until ready to use. Use these tips to keep your crust stay extra fresh:
– Allow your crust to cool completely before adding filling to prevent sogginess.
– Store the crust in the refrigerator for up to three days, wrapped tightly in plastic wrap.
– Freeze the crust in an airtight container for up to six months, removing it from the freezer to thaw overnight before use.
With the tips and pairing suggestions outlined here, you’re sure to impress any guests with this delectable and flaky gluten-free pie pastry that is perfect for any day of the week!
Make-Ahead, Storing and Reheating
Once you have perfected your gluten-free pie crust, there are a few tips to keep in mind to make sure you can enjoy it fresh for days to come. Luckily, this pie dough is freezer-friendly and perfect for meal prep.
To make ahead, wrap the dough tightly in plastic wrap and chill for up to 2 days, or freeze for up to a month. When ready to bake, simply thaw overnight in the refrigerator and roll out your pie crust as directed.
Storing your pie is important to prevent it from becoming soggy or losing its shape. To store baked pies, cover them loosely with foil or plastic wrap at room temperature for up to 2 days. If you’re storing unbaked dough, do so in the refrigerator for up to 2 days.
Reheating a slice of pie may seem tricky, but it’s easy when you know how. Preheat your oven to 350°F (175°C) and place the slice on a baking sheet. Reheat for about 10 minutes, or until warmed through. You can also reheat slices in the microwave for about 20-30 seconds.
With these storage and reheating tips, your gluten-free pie will taste just as delicious as the day it was made. Enjoy!
Tips for Perfect Results
Making a gluten-free pie crust can be a challenging task for even the most experienced bakers. But with the right tips and techniques, anyone can make the perfect gluten-free pie crust. Here are some tips to help you make the best gluten-free pie crust possible:
1. Use a flour blend: A good gluten-free flour blend is key to making a successful pie crust. Look for a blend that contains xanthan gum or other binding agents to help hold the dough together.
2. Keep your ingredients cold: When making your pie crust dough, it’s important to keep your butter or shortening as cold as possible. This will help create a flaky, tender crust.
3. Chill your dough: After you’ve mixed up your dough, be sure to chill it for at least an hour before rolling it out. This helps the dough firm up and prevents it from falling apart while you’re trying to roll it out.
4. Use vinegar: Adding a tablespoon of vinegar to the dough can help tenderize it and make it easier to work with.
5. Add almond flour: Almond flour adds richness and flavor to your pie crust while also helping it stay together.
6. Don’t overwork the dough: When rolling out your dough, be careful not to overwork it. Too much handling can cause the formation of gluten, which can result in a tough, chewy crust.
7. Use rice flour for dusting: When rolling out your dough, dust your work surface and rolling pin with rice flour instead of wheat flour to prevent sticking.
8. Blind bake your crust: Pre-baking your crust for a few minutes before adding your filling helps ensure a crisp, flaky crust that won’t get soggy.
With these tips in mind, you’ll be able to make a delicious gluten-free pie crust that is sure to impress.
FAQ
Before we jump to the conclusion, let’s address some frequently asked questions about this gluten-free pie pastry recipe. I know that many of you may have some doubts and concerns regarding the ingredients, the process, or how it would turn out. Don’t worry; I’ve got you covered! Keep reading to find out some answers to your queries about this pastry recipe.
How do you keep a gluten free pie crust from falling apart?
When crafting a gluten-free pie crust, it’s crucial to have a reliable binding agent to prevent the dough from crumbling apart. The key ingredient in this recipe for achieving that cohesion is the humble egg. Not only does it bind the dough together, but it outperforms the commonly used xanthan gum in this regard. Without eggs, executing a successful gluten-free pastry crust would be a difficult feat.
Why put vinegar in gluten free pie crust?
Want to take your pie crust to the next level? Incorporate a secret ingredient – apple cider vinegar! When you’re adding your ice water to your favorite recipe, just sprinkle in one teaspoon of the vinegar. Not only does this add a unique flavor, but it also helps to prevent the formation of gluten, which can leave your crust feeling tough.
Why is my gluten free pie crust tough?
When making pie crusts, it’s important to be mindful of the amount of water used, especially when working with gluten-free crusts. Using too much water, even just an extra tablespoon, can result in a tough and rock-hard crust. To avoid this, aim to use the minimum amount of water listed in the recipe.
What reduces gluten formation in pie crust?
Here’s a sneaky kitchen hack for you: switch out some of the water in your recipe for a splash of vodka, lemon juice, or vinegar. You might be wondering why on earth anyone would do this, but hear me out. The acidic properties in these liquids inhibit gluten formation, which means your dough will stay nice and moist without becoming tough. It’s a neat little trick for keeping your baked goods soft and tender.
Bottom Line
By following this gluten-free pie pastry recipe, you won’t miss out on the buttery, flaky goodness of a traditional pie crust. You’ll love how easy it is to work with and how perfect it turns out every time. With this recipe in your arsenal, you can create the perfect base for any pie filling you desire, whether it’s pumpkin or apple, dairy-free or vegan.
And remember, even if you don’t have celiac disease or a gluten intolerance, there are many reasons to try gluten-free recipes. They offer a different texture and flavor profile that can be just as delicious as traditional recipes. Plus, they’re great for accommodating guests with dietary restrictions.
So give this recipe a try and see just how easy it can be to make a delicious and healthy gluten-free pie crust. It’s sure to become a staple in your recipe book for years to come.

Gluten Free Pie Pastry Recipe
Ingredients
- 2/3 cup brown rice flour
- 2/3 cup rice flour
- 1/2 cup sweet rice flour
- 1/2 cup tapioca starch
- 1 tablespoon granulated sugar
- 1 teaspoon xanthan gum
- 1/4 teaspoon salt
- 1 cup cold butter, cubed
- 1/4 cup ice water (approx.)
- 1 tablespoon vinegar
- 1 egg yolk, beaten
Instructions
- In large bowl, whisk together brown, white and sweet rice flours, tapioca starch, granulated sugar, xanthan gum and salt. Using pastry blender or 2 knives, cut in butter until in coarse crumbs with a few larger pieces.
- Stir ice water, beaten egg yolk and vinegar together in a small bowl; drizzle over flour mixture, tossing with fork until ragged dough forms and adding up to 2 tbsp more ice water if necessary. Divide in half; shape into discs. Wrap each and refrigerate until chilled, about 30 minutes. (Make- ahead: Refrigerate for up to 24 hours.).
- Between 2 pieces of parchment paper, roll out 1 disc, pressing edges together if cracks form, into 12-inch (30 cm) circle. Peel off top paper; replace over pastry. Gently turn over; peel off top paper. Transfer, pastry side down, to 9-inch (23 cm) pie plate; peel off paper. Fit pastry into pie plate.
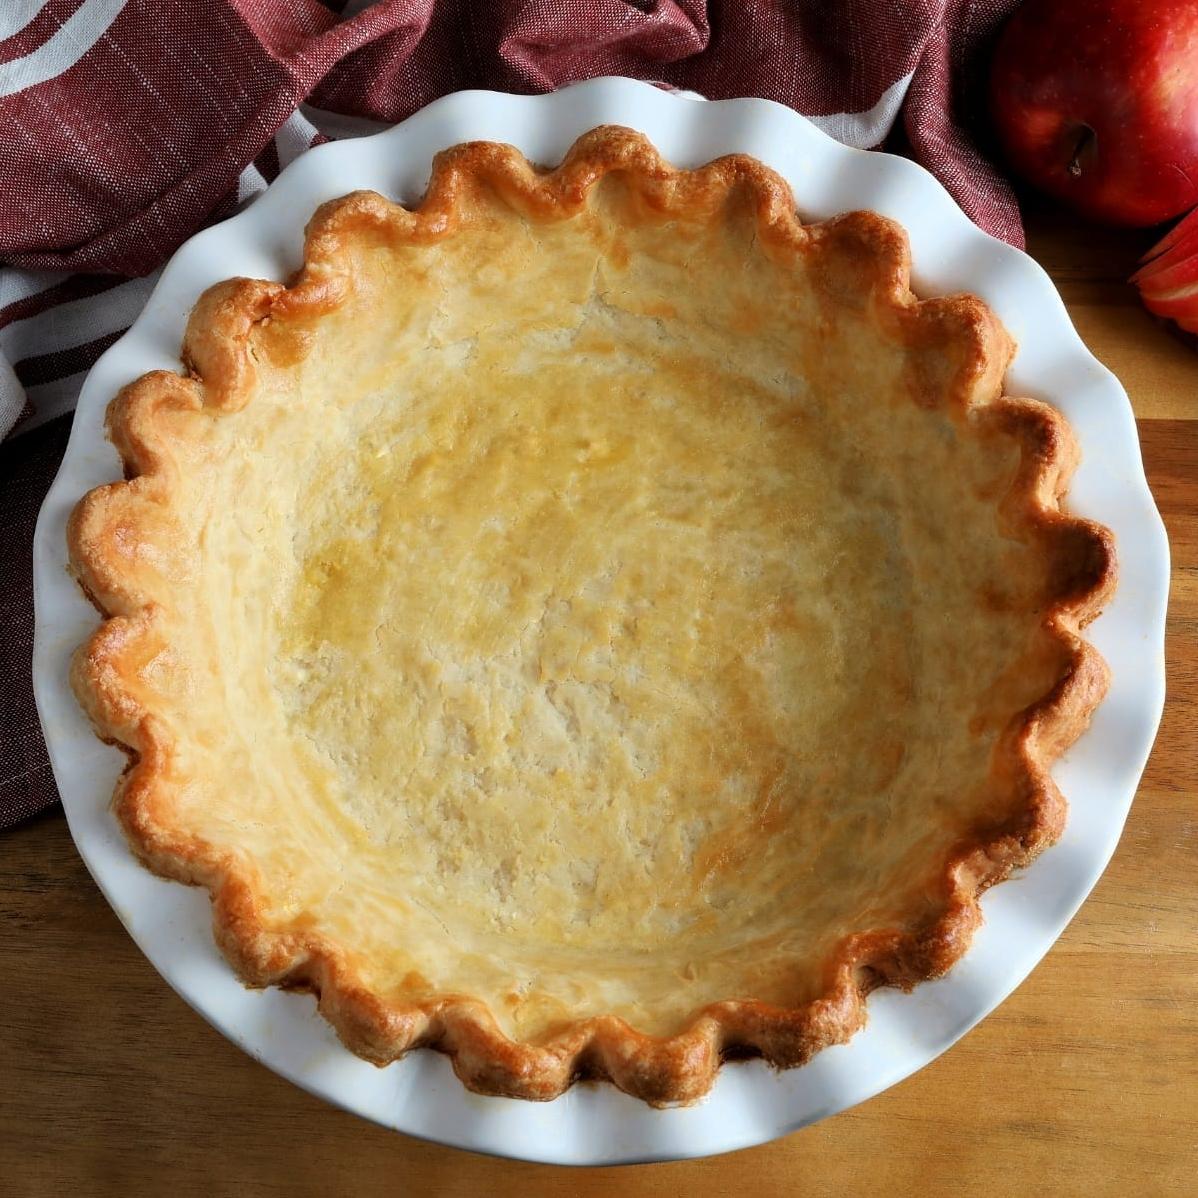
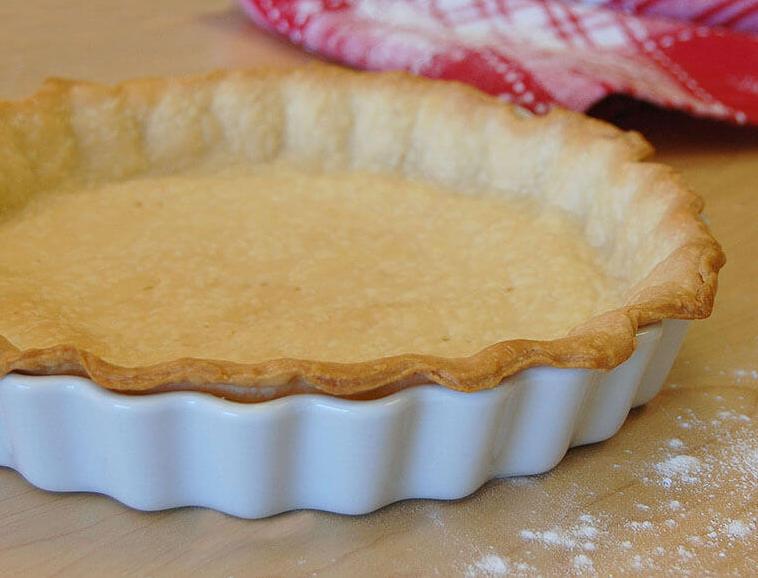
- * For single crust pie, turn edge under and flute. Prick bottom and sides with fork. Bake 10-15 minutes (I used Pyrex-glass pie plate) at 400°F or until crust is golden.
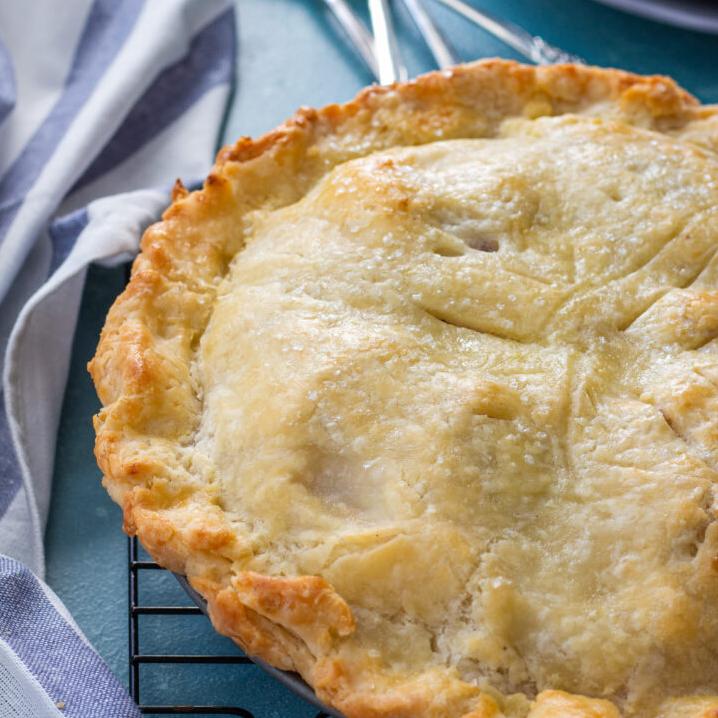
- * For double crust pie, add filling of choice. Roll out top crust. Moisten bottom crust with water, and add Place pastry circle over filling; peel off paper. Trim, if necessary, to leave 3/4-inch (2 cm) overhang. Fold overhang under bottom rim; crimp with fork. Bake on bottom rack in 425F (220C) oven for 10 minutes. Reduce heat to 350F (180C); bake until bubbly and bottom is golden, about 1 hour. Let cool in pan on rack.
Add Your Own Notes
Nutrition
Recommended Recipes Just For You
None found