Mouth-Watering Vegemite Recipe Perfect for a Quick Breakfast
If you are someone who loves spreading Vegemite on toast, then this recipe is for you! As a nutritionist and food blogger, I know the importance of creating healthy, organic, and gluten-free recipes. That’s why I’ve decided to take on the challenge of creating a homemade and organic gluten-free Vegemite recipe instead of the traditional Arnott’s Vegemite or Marmite Vegemite that might not be suitable for everyone, especially for those with gluten intolerance or Celiac disease.
I have carefully curated this recipe for anyone who wants to enjoy this delicious savoury spread without worrying about any gluten-related issues. Whether you are vegan, gluten intolerant, or simply looking to switch things up in your daily diet, this homemade version of Vegemite will be the perfect addition to your everyday routine.
The best part about my recipe is that it still carries the quintessential taste of Vegemite while being entirely gluten-free, making it a perfect treat for anyone suffering from coeliac disease or trying to avoid gluten. Its tasty cheese flavour will leave you wanting more.
In this article, I will walk you through each step of the process of creating your own homemade organic and gluten-free Vegemite. Keep reading to learn all about the ingredients list, how-to steps and tips for perfect results!
Why You’ll Love This Recipe
Are you searching for the perfect gluten-free, vegan alternative to Vegemite? Look no further! This homemade organic gluten-free Vegemite recipe is just what you need. Made with nutritional yeast flakes, tamari, and tahini sesame butter, it’s packed with a savory umami flavor that even non-vegans will love.
But why should you try this recipe over others? Well, for starters, it’s completely gluten-free. For those suffering from celiac disease or gluten intolerance, finding a tasty spread can be challenging. Gluten can hide in unsuspecting places like bread mixes and seasonings, but our recipe ensures that gluten avoiders and consumers alike can enjoy a classic Australian favorite without any issues.
And it’s not just about dietary restrictions – this free Vegemite recipe tastes like the real thing. No more sacrificing taste for health concerns! Our recipe ensures that the rich and bold flavor of Vegemite shines through in every bite.
Plus, this homemade organic gluten-free Vegemite recipe is incredibly versatile. Use it as a spread on toast or sandwiches, or incorporate it into other dishes like vegemite cheese scrolls or savoury bread mix. The possibilities are endless!
So whether you’re an Australian looking for a taste of home or just a fan of savory spreads, give our vegan homemade organic gluten-free Vegemite recipe a try. You won’t be disappointed!
Ingredient List
Let’s take a look at what you will need to make this gluten-free, dairy-free and vegan version of Vegemite:
Dry Ingredients:
- ½ cup of nutritional yeast flakes
- 1 tsp of sea salt
- 1 tsp of tahini sesame butter
Wet Ingredients:
- 2 tbsp of tamari (or soy sauce)
- 1 tbsp of apple cider vinegar
- 1 tbsp of water
These ingredients are easy to find and will ensure a deep, savoury flavour just like the original one. Plus, everything is organic, so you know you’re making a healthy choice that will taste great!
The Recipe How-To
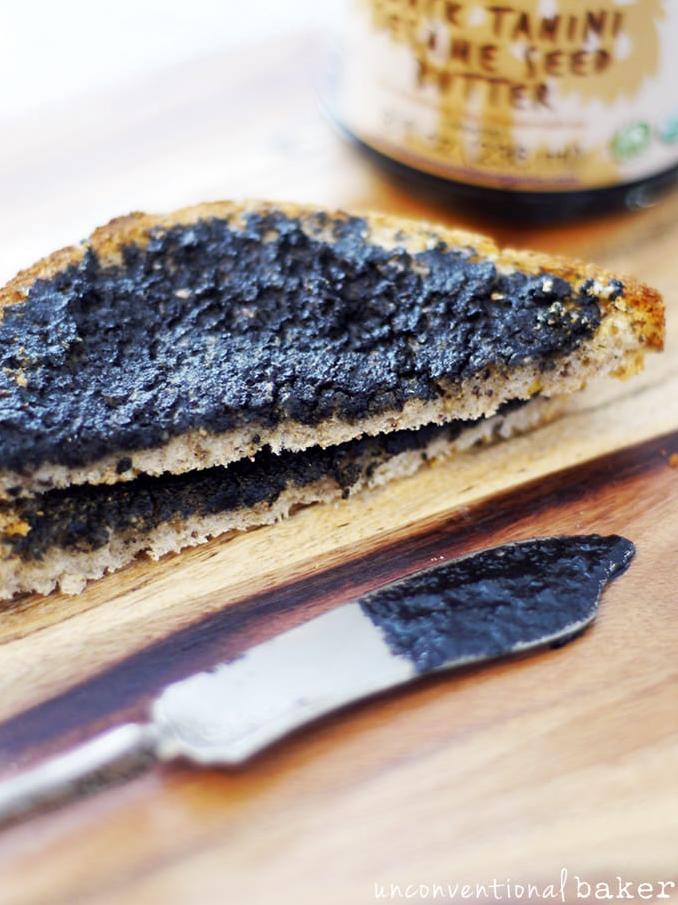
Now that you know all the ingredients, it’s time to learn how to make this delicious gluten-free Vegemite recipe. This spread is perfect for toast, sandwiches or as a substitute for Marmite or Vegemite in recipes.
Ingredients
- 1 cup of nutritional yeast flakes
- 1 tbsp of salt
- 2 tbsp of tamari
- 1/2 cup of tahini sesame butter
Step 1 – Mixing
In a mixing bowl, combine 1 cup of nutritional yeast flakes and 1 tablespoon of salt. Add 2 tablespoons of tamari and blend well until the mixture is smooth.
Step 2 – Tahini
Add 1/2 cup of tahini sesame butter to the bowl with the other ingredients and mix well. Keep mixing until the mixture becomes creamy and similar in texture to Vegemite spread.
Step 3 – Adding water
Gradually add water to the mixture while blending continuously until you achieve a smooth, spreadable consistency. The amount of water required may vary depending on your preferred thickness.
Step 4 – Storing
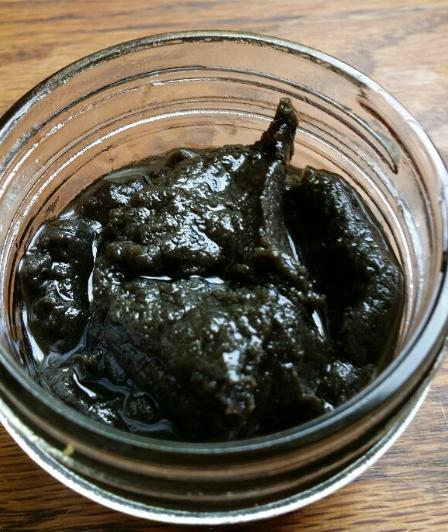
Transfer the homemade gluten-free Vegemite spread into an airtight container, and refrigerate until use. You can store this homemade organic gluten-free spread for up to two months.
Congratulations! You just made your very own Vegemite substitute! This recipe is perfect for people who are on a gluten-free or dairy-free diet or those who are allergic to certain food groups. The best part about making your homemade organic gluten-free Vegemite recipe is that you control what goes into it, giving you more flexibility and options when it comes to your diet preference.
Substitutions and Variations
If you are looking to get creative with your Vegemite recipe, there are various substitutions and variations you can explore.
For instance, instead of nutritional yeast flakes, you can try using Marmite, another yeast extract that has a similar taste but contains gluten. However, be aware that if you are gluten intolerant or have celiac disease, this substitution may not be suitable for you.
If you want a vegan alternative to tamari, try coconut aminos or soy sauce. These substitutes will still bring that umami flavor to your recipe.
If tahini sesame butter is not available, replace it with almond butter or peanut butter. These alternatives will give your blend a different nutty flavor while still maintaining a creamy texture.
For those with dairy allergies or wanting to stay away from dairy products altogether, skip the cheese scrolls and make gluten-free Vegemite scrolls instead.
Furthermore, when baking homemade organic gluten-free Vegemite scrolls if you do not have bread mix on hand or want to make it from scratch using other flours like rice flour, quinoa flour or oats flour mixed with guar gum which works as a binding agent because gluten-free flours tend to crumble otherwise.
By exploring these substitutions and variations, you can customize your Vegemite recipe according to your preferences and dietary restrictions.
Serving and Pairing

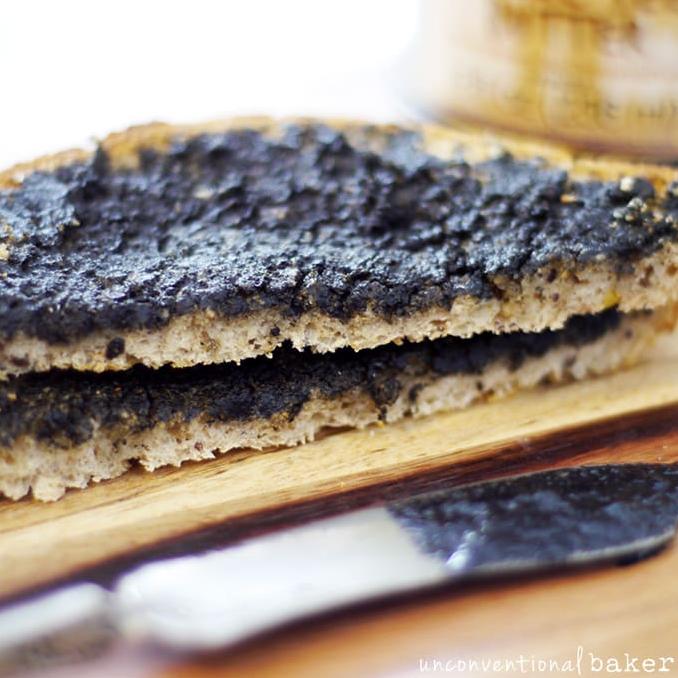
When it comes to serving and pairing this homemade gluten-free “Vegemite” recipe, the possibilities are endless. You can use it as a savory spread on toasted gluten-free bread, pair it with avocado for a nutritious breakfast or brunch, or add it to dairy-free cheese and arugula for a delectable sandwich.
For an extra twist, you could also use this spread as a star ingredient in yummy appetizers such as gluten-free Vegemite scrolls or cheesymite scrolls. These bite-sized delights are perfect for any party or get together you may have planned.
Pairing your homemade organic gluten-free Vegemite with suitable foods is important. It is rich in Vitamin B and will go well with veggies such as cucumber, carrots and celery sticks. If you prefer a hearty meal, try pairing it with robust flavours like smoked salmon or grilled chicken on top of quinoa.
Overall, the cheesy and salty taste of this savory spread is so versatile you can mix and match it with different foods to create new flavor combinations each time. Try experimenting with your own creations to find your ideal pairing!
Make-Ahead, Storing and Reheating

Once you’ve made your delicious homemade gluten-free “Vegemite,” you can store it in an airtight jar or container for up to two weeks in the fridge. This makes it a perfect option for those who like to meal prep, as you can easily make a big batch and use it throughout the week for quick and easy meals.
To reheat your “Vegemite” for use in recipes or on toast, simply pop it in the microwave for a few seconds or heat it gently on the stove. It will last in the fridge for up to two weeks, but we doubt it will take you that long to finish it off!
If you’re making Vegemite scrolls or cheese scrolls with your homemade spread, you can also make these ahead of time and freeze them for later. Simply wrap individual rolls tightly in plastic wrap and store them in an airtight container in the freezer. When you’re ready to bake them, just pop them in the oven straight from the freezer – no need to thaw!
Overall, this homemade organic gluten-free “Vegemite” recipe is not only tasty but also convenient and versatile. Make a big batch, store it, reheat it as needed, or bake with it to create delicious Vegemite scrolls and other savory treats!
Tips for Perfect Results
The gluten-free “Vegemite” recipe is easy to prepare, and it tastes like the original one made with flour. However, there are a few tips you should keep in mind to get perfect results.
First and foremost, when making this recipe, it’s essential to measure all the ingredients carefully. As you might know, gluten-free baking depends significantly on the correct measurement of ingredients.
Secondly, make sure that you use fresh nutritional yeast flakes for this recipe. Nutritional yeast plays a vital role in the recipe since it gives the dish its unique flavor. In addition, you should also store nutritional yeast in airtight containers to prevent moisture from getting in.
Thirdly, the tamari sauce adds umami flavor to the recipe. You can opt for low-sodium tamari if you’re looking for a healthier option. Also, if you don’t have tamari sauce on hand, you can use soy sauce instead.
Fourthly, tahini sesame butter can be thick and hard to stir at times. You can ease this by placing the jar of tahini sesame butter in warm water before using it in the recipe.
Fifthly, make sure that all utensils used for preparing gluten-free recipes are free from any residue of gluten-containing ingredients. It’s best to use separate utensils for gluten-free cooking and baking.
Sixthly, choose your gluten-free bread mix wisely. Some commercially available bread mixes may contain gluten or traces of gluten. Look for those labeled as gluten-free certified with a logo.
Lastly, if you’re making cheesymite scrolls or cheese Vegemite sandwiches using this recipe, don’t skimp on the cheese quantity used. The cheese gives these dishes their unique flavor while complementing that of Vegemite.
By following these tips, you’ll be sure to get perfectly delicious results with your gluten-free Vegemite recipe every time!
FAQ
Before we head to the conclusion, let’s talk about some frequently asked questions about the gluten-free Vegemite recipe. Whether you’re allergic to gluten, leading a vegan lifestyle or just craving a savory spread without the questionable additives, I’ve got you covered with this homemade organic recipe that tastes like gluten-full Vegemite. From ingredient substitutions to storage tips, let’s clear up some common doubts and make sure you nail this recipe every time.
Is there a gluten free Vegemite?
Great news for all VEGEMITE lovers out there – the popular Australian spread is now offered in a gluten-free version! You can still enjoy the same delicious flavour as before, but now without worrying about gluten and it’s FODMAP friendly too.
Does gluten free Vegemite taste different?
Vegemite, the beloved Australian spread, now has a gluten-free version that tastes just as good as the original. It’s great news for those who are gluten intolerant or have celiac disease, as they can now enjoy this Aussie favourite without any worry. In fact, you wouldn’t even be able to tell the difference between the gluten-free and regular versions. As a nutritionist and food blogger, I’m excited to share some tips and recommendations on how to make the most out of this gluten-free Vegemite.
What is the alternative to Vegemite?
A spread that has a thinner texture and a slightly sweeter flavor can serve as a good alternative to Vegemite, and it goes by the name of Marmite.
Is Marmite and Vegemite the same thing?
When it comes to comparing Marmite and Vegemite, there are some noticeable differences. Vegemite tends to be thicker, darker, and more bitter than Marmite. To truly appreciate its flavor, it’s best to spread it thinly. Additionally, there are some variations in the ingredients and vitamins found in each spread. Interestingly, Marmite has played a role in medical history.
Bottom Line
In conclusion, this gluten-free Vegemite recipe is a perfect alternative for Vegemite lovers who suffer from coeliac disease or gluten intolerance. With its organic ingredients, tasty flavor, and easy-to-follow instructions, this recipe is a must-try for anyone looking for a healthier and dairy-free spread.
Not only does it taste as good as traditional Vegemite, but it also ensures that gluten avoiders and consumers suffering from coeliac disease can still enjoy this everyday part of Australian cuisine.
Whether you decide to make cheesy scrolls with this spread or simply enjoy it on toast, this recipe provides options for substitutions and variations so that you can customize the recipe according to your specific needs and preferences.
So why not give this homemade vegemite recipe a try? Share the recipe with your friends and family who are searching for a healthier option for their sandwiches, biscuits or snacks. Remember: good food doesn’t have to be complicated or unhealthy!
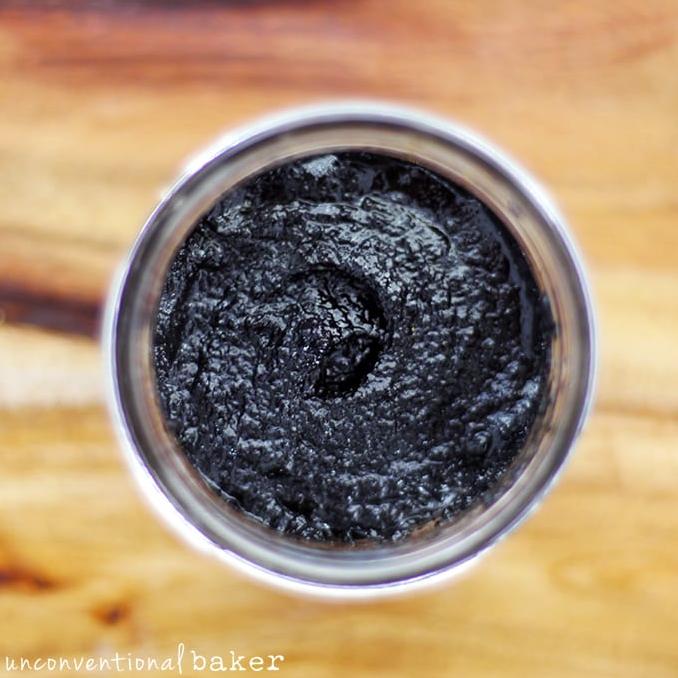
Gluten Free “Vegemite” Recipe
Ingredients
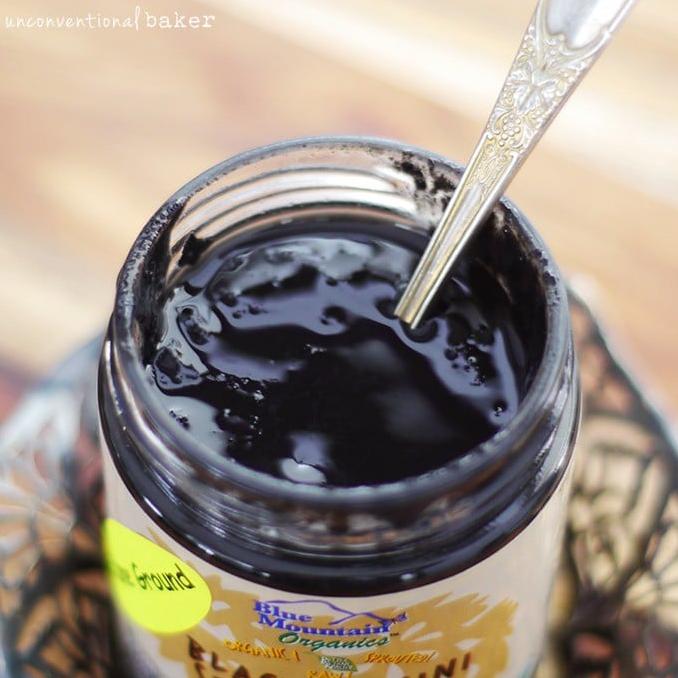
- 1/2 cup black tahini sesame butter
- 4 tablespoons tamari
- 3 tablespoons nutritional yeast flakes
Instructions
- Place all ingredients in a blender and process into a creamy and smooth consistency.
- Store in the fridge.