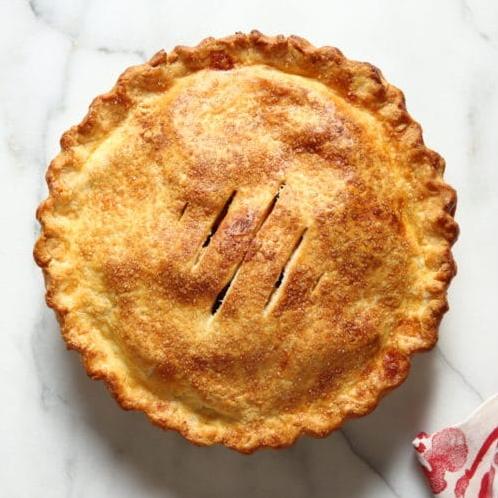
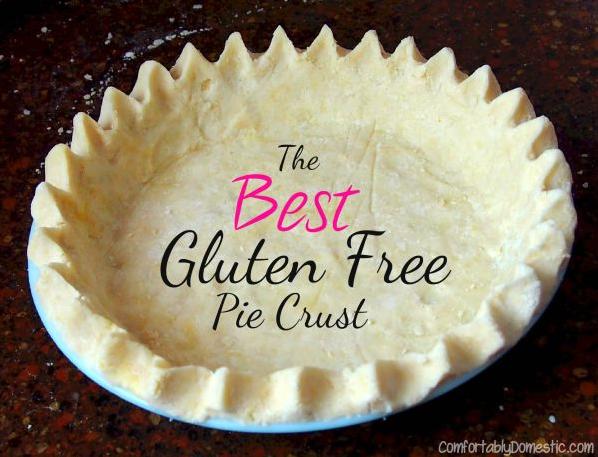
Crispy and Flaky Gluten-Free Pie Crust Recipe
Attention all pie lovers, it’s time to rejoice! Today, I’m excited to share with you my easy-as-pie crust gluten-free recipe that is sure to delight your taste buds. As a nutritionist and food blogger, I understand the importance of eating healthy and delicious meals. That’s why I’ve created this recipe that is both healthy and indulgent.
Why settle for store-bought pie crusts when you can make your own? Homemade pies taste so much better, and you’ll know exactly what ingredients are being used. Plus, with this gluten-free recipe, everyone can enjoy a slice of warm, flaky pie crust without any worries about gluten or other allergens.
Not only is this recipe easy to make, but it is also versatile. You can use it for sweet or savory pies and experiment with different fillings. The crust comes out perfectly every time, flaky and golden brown.
In this article, I will give you detailed instructions on how to prepare and bake the perfect gluten-free pie crust. I will also share some tips and tricks on how to achieve extra flaky crust results. So what are you waiting for? Grab your apron and let’s start baking!
Why You’ll Love This Recipe
Are you in search of the perfect pie crust that is not only gluten-free but also easily adaptable? Look no further than this easy as pie crust recipe!
One of the reasons why you’ll love this recipe is because it is incredibly versatile. You can easily make substitutions and variations to cater to your specific dietary requirements or taste preferences. And yet, the result will always be a delicious and flaky crust that can compete with any traditional recipe.
Another reason to love this recipe is its simplicity in preparation. With only a handful of ingredients, including rice flour, potato starch, xanthan gum, and unsalted butter, you can whip up an extra flaky gluten-free pie crust in no time. No more spending hours slaving away in the kitchen trying to achieve the perfect texture!
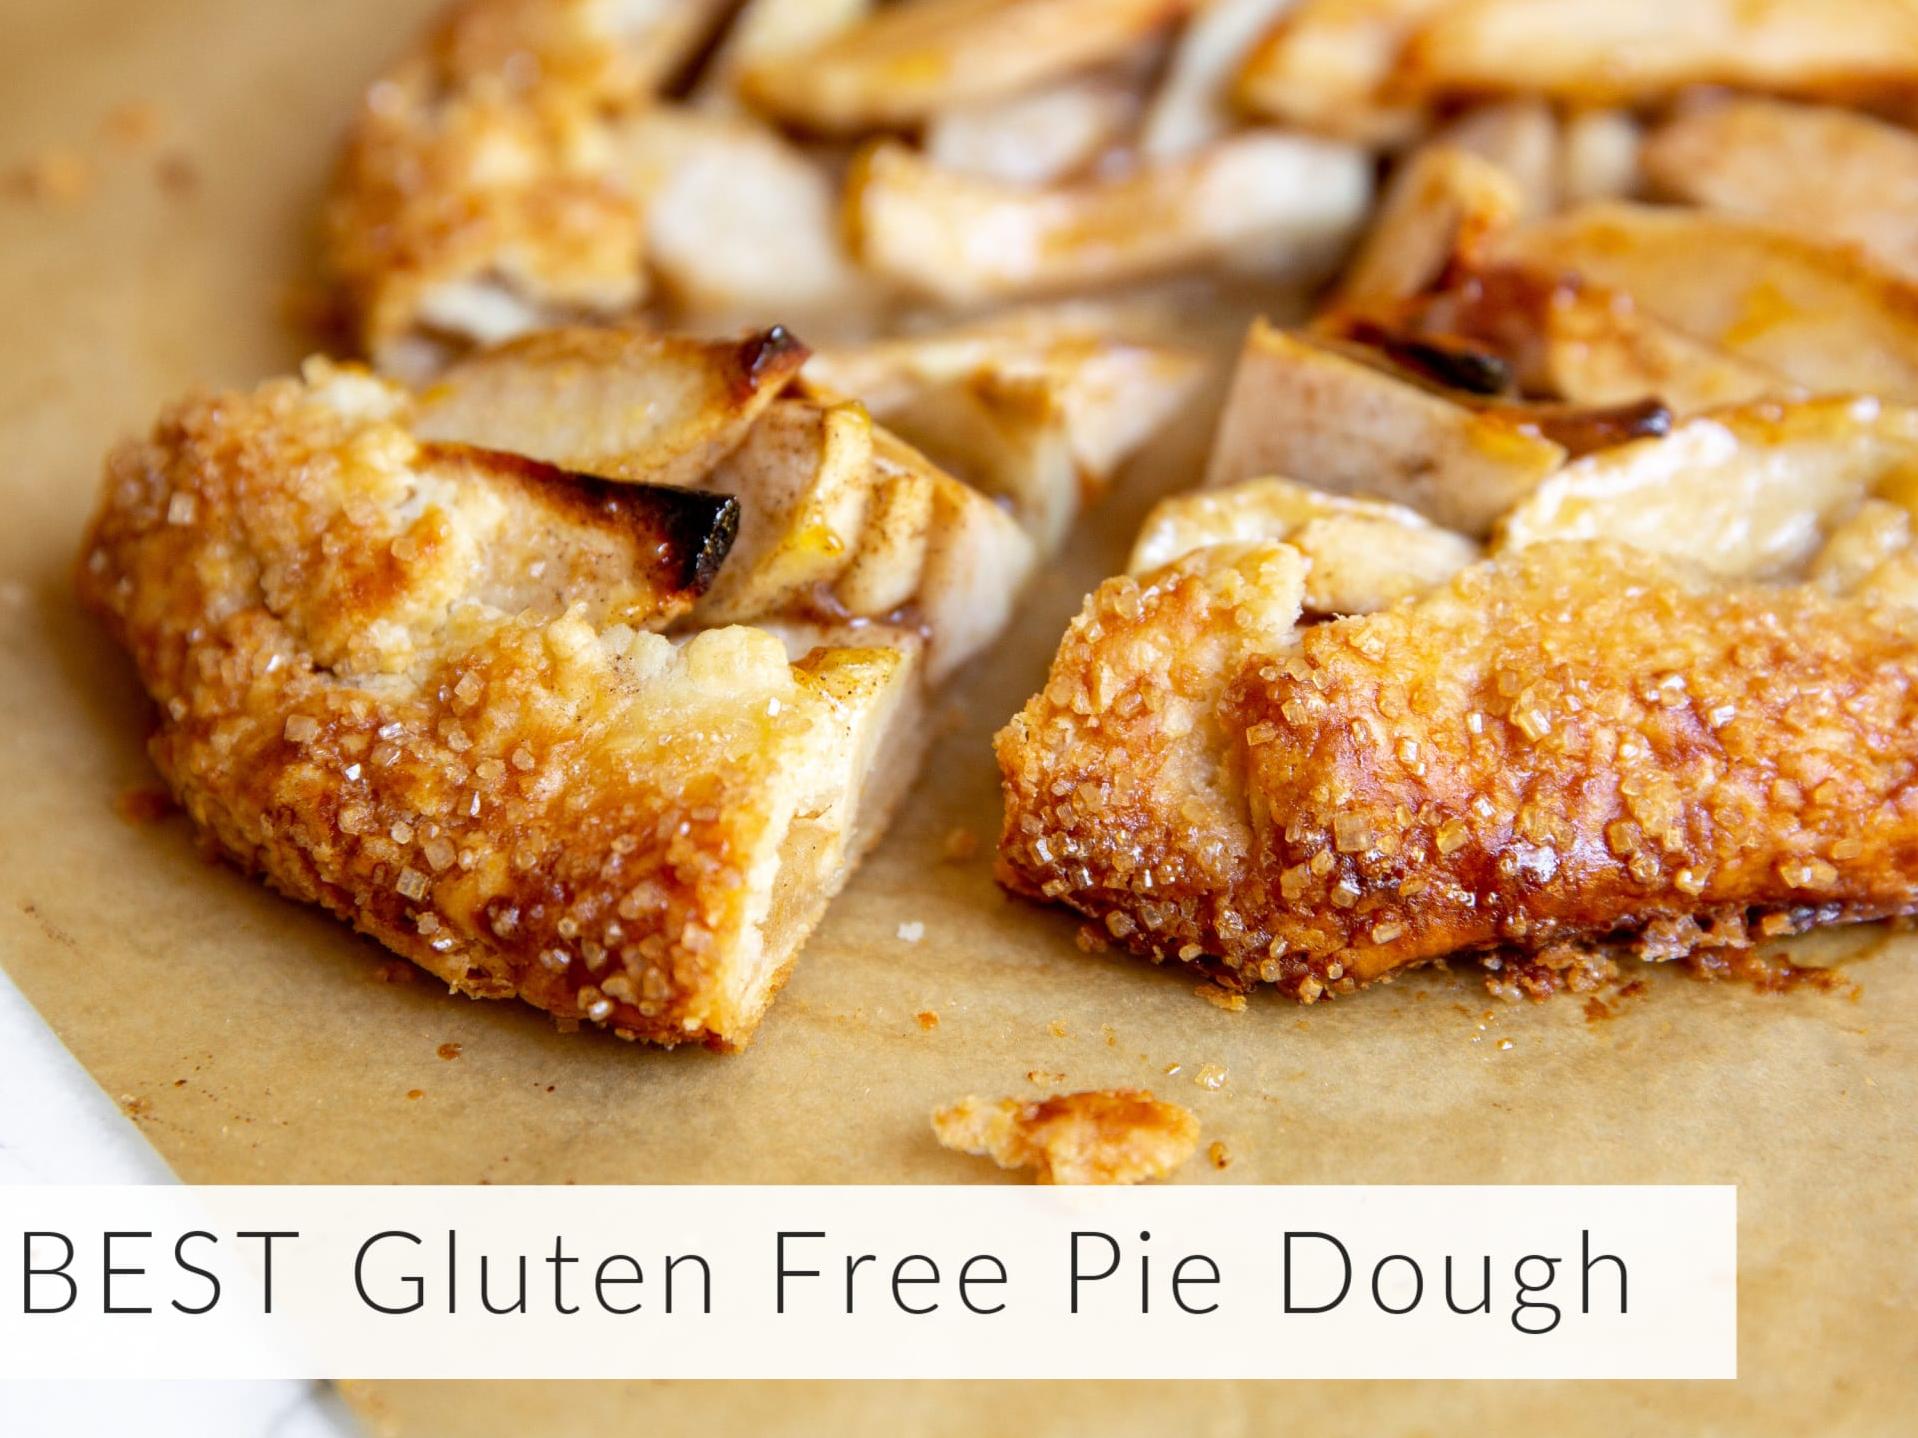
Moreover, this crust works well for a variety of pies, such as pumpkin or sweet potato pie, paleo pie or even a vegan dessert. You can also make it in advance and store it in your freezer for future use. It’s perfect if you’re short on time but still wish to create a homemade and healthy dessert from scratch.
And finally, with brands like Bob’s Red Mill offering excellent gluten-free flour options at accessible prices, this recipe can easily fit into any budget without sacrificing taste or quality. Everyone should feel comfortable enjoying a slice of their favorite pie without feeling left out because of their dietary restrictions.
Overall, whether you have celiac disease, intolerance to gluten or simply want to try something new, this easy as pie crust recipe using gluten-free flour blend can be your go-to choice for making flavorful and healthy pies.
Ingredient List
Gluten-Free Flours:
- 2 cups gluten-free all-purpose flour
- ⅓ cup rice flour
- ½ cup tapioca flour
- ⅓ cup potato starch
- ½ teaspoon xanthan gum
Other Ingredients:
- 1 teaspoon salt
- 1 tablespoon sugar
- 1 cup unsalted butter, cubed and chilled
- 1 large egg
- 2-4 tablespoons milk or dairy-free alternative (optional)
Note: When choosing gluten-free flours for a pie crust recipe, opt for blends that contain a combination of rice flour, tapioca flour, and potato starch. Bob’s Red Mill gluten-free flour blend is an excellent option as it provides an extra flaky crust. Additionally, replace regular all-purpose flour with almond flour to create a paleo pie crust.
The Recipe How-To
Step 1: Combine the Ingredients
In a large mixing bowl, whisk together 2 cups of gluten-free flour blend, 1/2 cup of tapioca flour, 1/3 cup of potato starch, 1 tsp. of xanthan gum, and 1/2 tsp. of salt.
Step 2: Add Wet Ingredients
Add unsalted butter in pieces (about a cup) and work it into the flour mixture with your hands until you achieve a crumbly texture. Then add one large egg and mix well using a fork.
Step 3: Knead and Chill the Dough
Knead the dough for about two minutes until it comes together in a cohesive ball. Flatten it slightly into a disk shape and wrap the dough tightly in plastic for chilling.
Chill for at least an hour before using it to allow the gluten-free flour to absorb moisture properly.
(Optional Step): Add Flakiness
To make the crust extra flaky, you can roll out the chilled dough and apply the ‘butter block’ technique by dusting grated very cold butter on top of it, folding it like a letter and chilling it again in between folds.
Step 4: Roll Out the Dough
Once chilled, remove the pie crust dough from the fridge and let it sit at room temperature for five minutes. Dust a surface with gluten-free flour and roll out the dough ball to desired thickness.
Keep in mind that pasting back patchwork is essential in case of cracks or gaps while rolling out thin crusts.
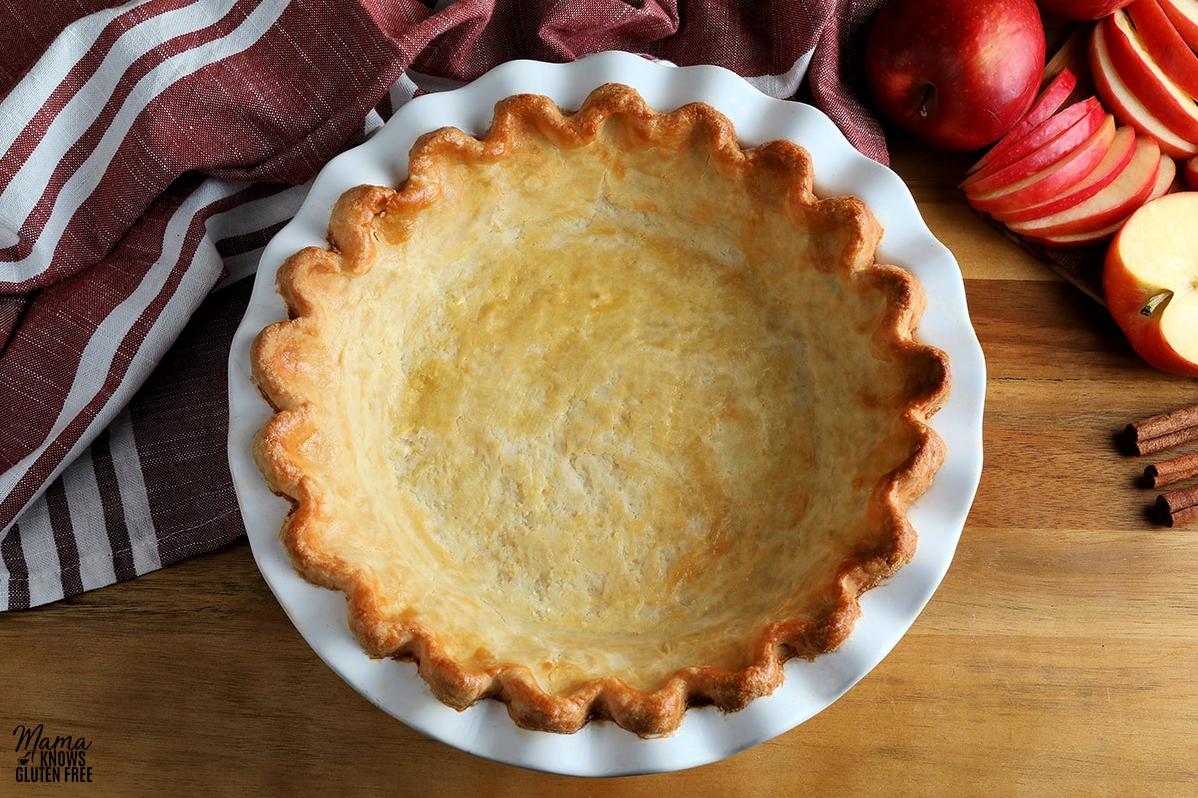
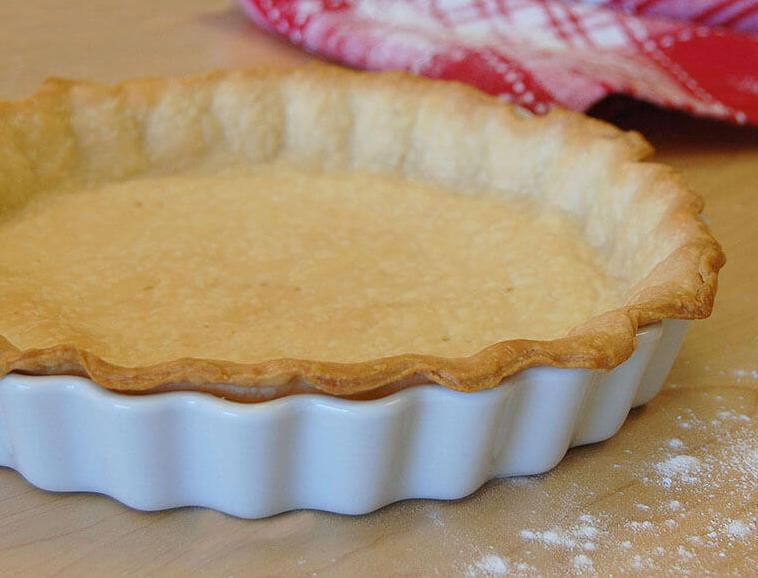
Step 5: Fit Crust into Pie Pan
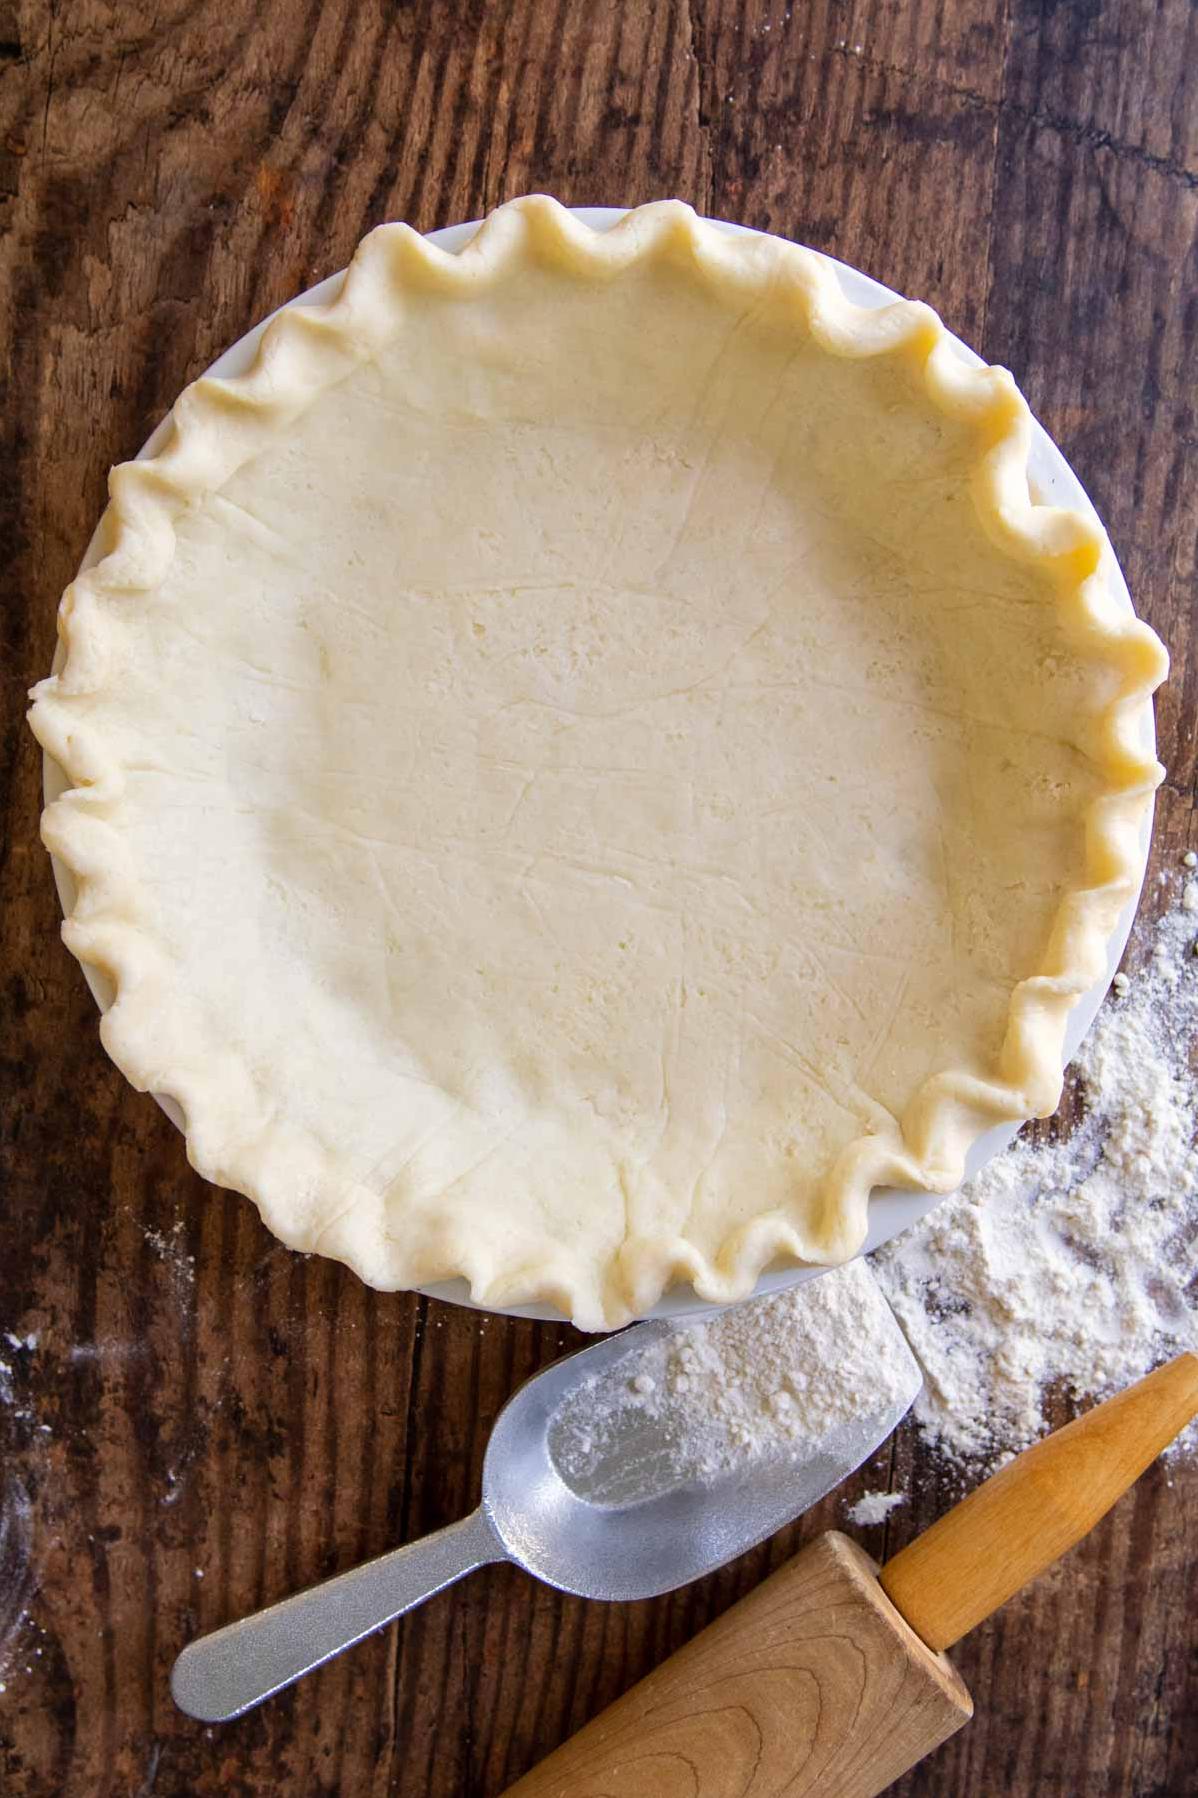
Transfer the rolled-out crust carefully into your pie pan. Try to handle it delicately so that it does not tear apart. Push gently on bottom and sides to create an even layer of dough. Trim excess dough from edges.
You will then have an excellent gluten-free pie crust to make your favorite pies like a pro!
Substitutions and Variations
As a nutritionist, I understand that not everyone has access to the same ingredients or may have different dietary restrictions. Luckily, this easy as pie crust recipe is very adaptable, and there are plenty of substitutions and variations that you can try.
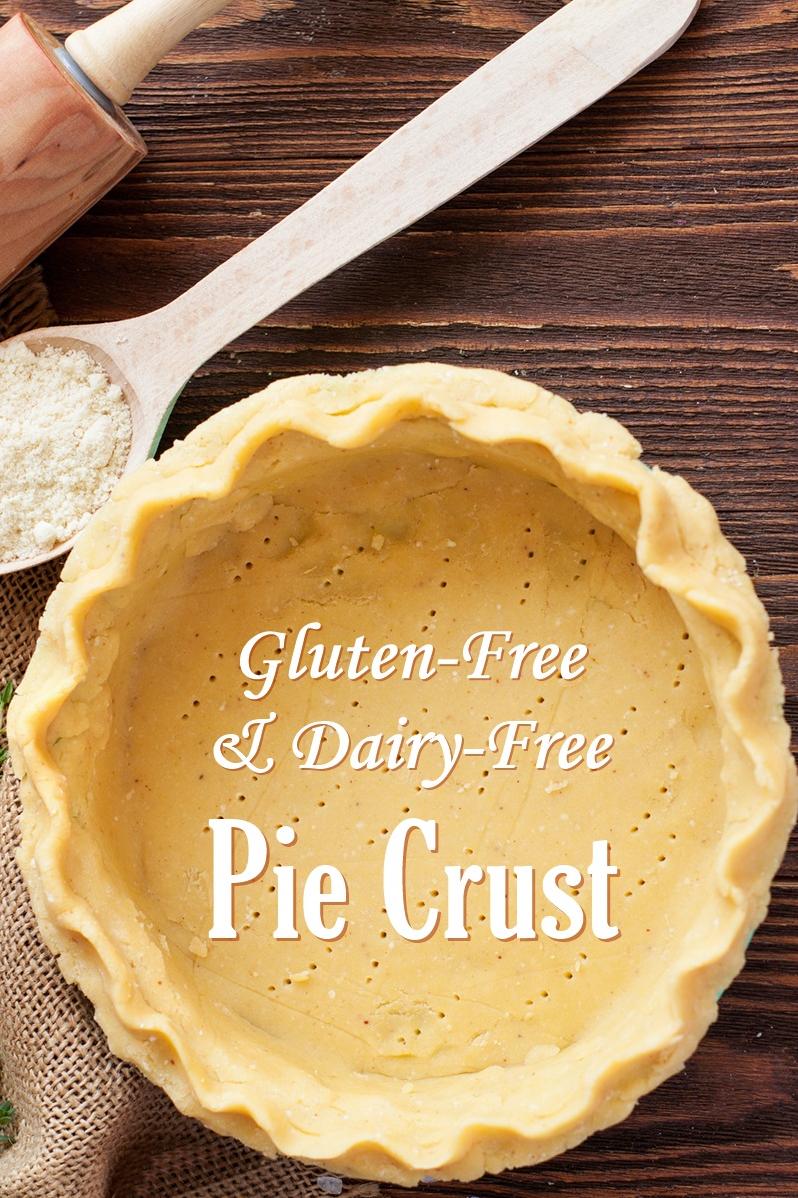
For those who cannot tolerate dairy, I recommend using dairy-free butter in place of regular unsalted butter. You can also substitute plant-based milk for the regular milk called for in the recipe.
If you have a gluten intolerance, make sure to use gluten-free flour in place of all-purpose flour. My favorite gluten-free flours to use are Bob’s Red Mill Gluten-Free 1-to-1 Baking Flour or King Arthur Flour Gluten-Free Measure for Measure Flour. It’s also essential to add 1/2 teaspoon of xanthan gum to your flour blend to help bind the dough together.
For a paleo-friendly crust, swap out the all-purpose flour with almond flour or an almond meal/flour blend. Rice flour and tapioca flour can also be used in place of wheat flour.
If you want to mix things up with flavors and textures, try adding some herbs and spices to the dough mixture like cinnamon, nutmeg, ginger, or rosemary. Another fun variation is swapping out half of the flour for cornmeal or adding a tablespoon of cocoa powder for a chocolate-flavored crust.
Finally, if you’re feeling adventurous, try experimenting with different types of pies! This crust works great with both sweet and savory recipes. Pumpkin pie filling is always a hit around Thanksgiving, but you could also try making a vegan pie using coconut milk instead of dairy or whip up something savory like a quiche. The possibilities are endless!
Serving and Pairing
Once the pie crust is ready, you can fill it up with your favorite ingredients for a delicious and healthy treat. This gluten-free pie crust is so versatile that you can use it to make any type of pie. Whether you want to make a sweet or savory pie, this crust recipe will work magic for both.
I recommend using this crust recipe to make a pumpkin or pecan pie, but you can also go creative and use it as a base for quiches or potpies. The sky’s the limit! You won’t even miss traditional flour options once you taste how flaky and buttery this gluten-free pie crust turns out. It’s no surprise that this recipe has become a staple in many households.
To take your pie experience to the next level, consider pairing it with dairy-free coconut whipped cream, which complements perfectly well the almond flour and rice flour blend used in this recipe. Another excellent pairing option is serving your pie alongside a warm cup of coffee or tea for a perfect afternoon indulgence.
Trust me; no one will believe that this flavorful, decadent dessert was made with gluten-free flour when they taste how beautiful and extra flaky it turns out. So, bring your baking gloves on and get started on making this easy-peasy gluten-free pie crust recipe today!
Make-Ahead, Storing and Reheating
One of the great things about this gluten-free pie crust recipe is that you can make it ahead of time and store it easily. Once your pie crust dough is prepared, it can be wrapped in plastic wrap and stored in the fridge for up to 2 days. It can also be frozen for later use, just make sure to thaw it in the fridge when you’re ready to use it.
If you already have a pie baked with this crust, storing it properly will keep it fresh and delicious for longer. Allow the pie to cool completely before wrapping it in foil or plastic wrap and storing it in the fridge for up to 5 days. If you’re not planning to consume the whole pie right away, you can slice the pieces beforehand and store them separately.
When reheating your gluten-free pie, there are a few things to keep in mind. First, avoid using the microwave as it may cause your crust to become soggy. Instead, preheat your oven to 350°F (175°C) and place your refrigerated or frozen pie in the oven for 10-15 minutes or until heated through. This will help retain the crispiness of your crust while warming up the filling.
With these simple tips, you can confidently make this gluten-free pie crust recipe ahead of time, store it safely, and enjoy its deliciousness whenever you desire.
Tips for Perfect Results
Making the perfect pie crust can be challenging and intimidating. However, I have some tips and tricks that will help make the process much easier and more successful.
Firstly, when making a gluten-free pie crust, the type of flour you use is crucial. I recommend using a gluten-free all-purpose flour blend that contains a mixture of rice flour, almond flour, and tapioca flour. Bob’s Red Mill has an excellent gluten-free flour blend that works well in this recipe.
Secondly, make sure your ingredients are cold. It’s essential to keep the butter cold (and solid) until it’s time to work it into the flour mixture. The colder the butter, the flakier the pastry will be.
Thirdly, use a food processor to cut in the butter. This method ensures that the butter is distributed evenly throughout the dry ingredients, which leads to a flakier final product.
Fourthly, do not overwork the dough. Mix until large clumps form and stop mixing when that happens because overworking will create tough dough!
Fifthly, chilling your dough before rolling it out is essential! Allow at least an hour-long rest in the refrigerator before rolling it out for optimal results.
Lastly, blind bake your gluten-free pie crust before filling it with any fruit fillings for why? It ensures that your crust is extra crispy and doesn’t turn soggy after adding wet filling.
With these tips and tricks in mind, you’ll be able to create an extra flaky, easy-to-make gluten-free pie crust recipe that will have everyone begging for more!
FAQ
As a nutritionist who loves creating healthy organic, gluten-free, and dairy-free recipes, I understand that there may be some questions you have about the recipe. So, to make sure that you have all the necessary information to create the perfect pie crust, below are answers to some frequently asked questions about this easy as pie crust gluten-free recipe.
Why put vinegar in gluten free pie crust?
Want to take your pie crust up a notch? Try adding a little something extra to your recipe – apple cider vinegar! Just a dash will do the trick. When you’re adding your ice water, simply mix in 1 teaspoon of apple cider vinegar with your current favorite recipe. This secret ingredient will prevent the formation of gluten in the dough, resulting in a softer and more desirable crust.
Why is my gluten free pie crust falling apart?
When crafting your gluten-free dough, if you notice it’s too dry and keeps breaking apart, it’s possible that you’re lacking water in your mixture. Ideally, your dough should have a slightly damp texture that allows it to stick together when gently compressed. To address this issue, consider adding binding ingredients such as eggs and xanthan gum as they can assist in keeping your dough firm and malleable.
Why is my gluten free pie crust tough?
When making pie crusts, it’s important to be cautious when adding water, especially for gluten-free crusts. Overdoing it can result in a tough and unsatisfying texture. A small increase in water, even just a tablespoon or two, can turn your crust into a rock-solid disaster. It’s recommended to only use the minimum amount of water required in the recipe.
What can I use in place of all-purpose flour in pie crust?
If you’re out of all-purpose flour and need a substitute, bread flour can work, but keep in mind that the final outcome may be slightly altered. Bread flour contains more protein than all-purpose flour, which results in a denser and chewier texture.
Bottom Line
:
After following this Easy As Pie Crust (Gluten Free) Recipe, you’ll find that making an extra flaky gluten-free pie crust is a lot easier than it seems. The perfect blend of gluten-free flours, potato starch, and xanthan gum will give you the texture and flavors you deserve without any digestive issues.
I highly recommend this recipe for anyone who wants to maintain a healthy lifestyle while still enjoying delicious food. Whether you’re vegan, paleo or dairy-free, this pie crust recipe will make your day.
So what are you waiting for? Give this easy gluten-free recipe a try and let me know what you think! I guarantee both your family and friends will love it too.
In conclusion, with just a simple mix of ingredients and some handy tips to follow, you can create the best gluten-free pie crust recipe any time of the year. Don’t hesitate to make this pie crust recipe at home today!

Easy As Pie Crust (Gluten Free) Recipe
Ingredients
- 1 1/2 cups gluten free all purpose baking flour
- 1/2 teaspoon salt
- 1/2 cup butter (cold)
- 4 -6 tablespoons milk (cold)
Instructions
- Preheat an oven to 400°F.
- Combine flour and salt, then cut in butter using a pastry blender until the mixture resembles coarse meal.
- Sprinkle cold milk, one tablespoon at a time, while blending until all ingredients are moist.
- Using wax pater, place dough onto one sheet, flatten with palm, place another sheet on top and roll out to the desired size. Remove the top sheet and invert into pie pan.
- To bake the pie crust alone, bake at 400 F for 15-20 minutes. With pie filling, bake at 400 F for 10 minutes then reduce heat to 350 F for an additional 40 minutes or according to pie recipe instructions.