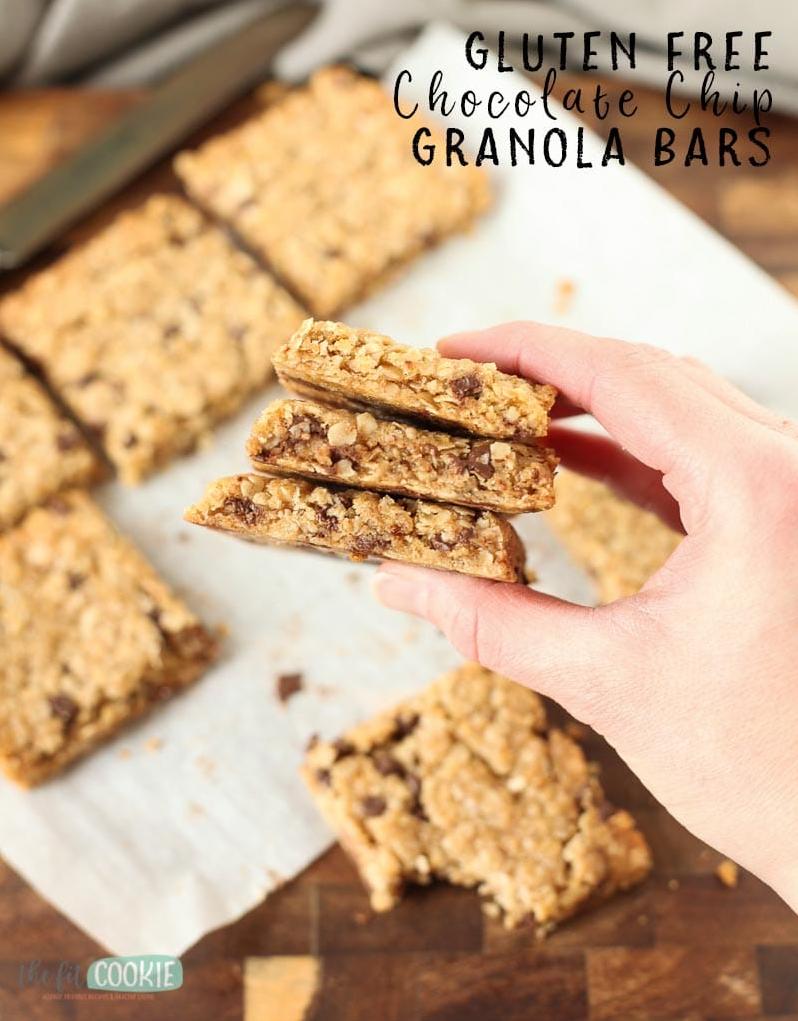
Delicious Gluten-Free Granola Bars Perfect For Snacking
Are you looking for a tasty and satisfying snack that’s both gluten-free and dairy-free? Look no further than these chewy granola bars!
As a nutritionist and food blogger, I know firsthand how difficult it can be to find snacks that fit your dietary needs but also taste great. That’s why I’m thrilled to share this recipe with you.
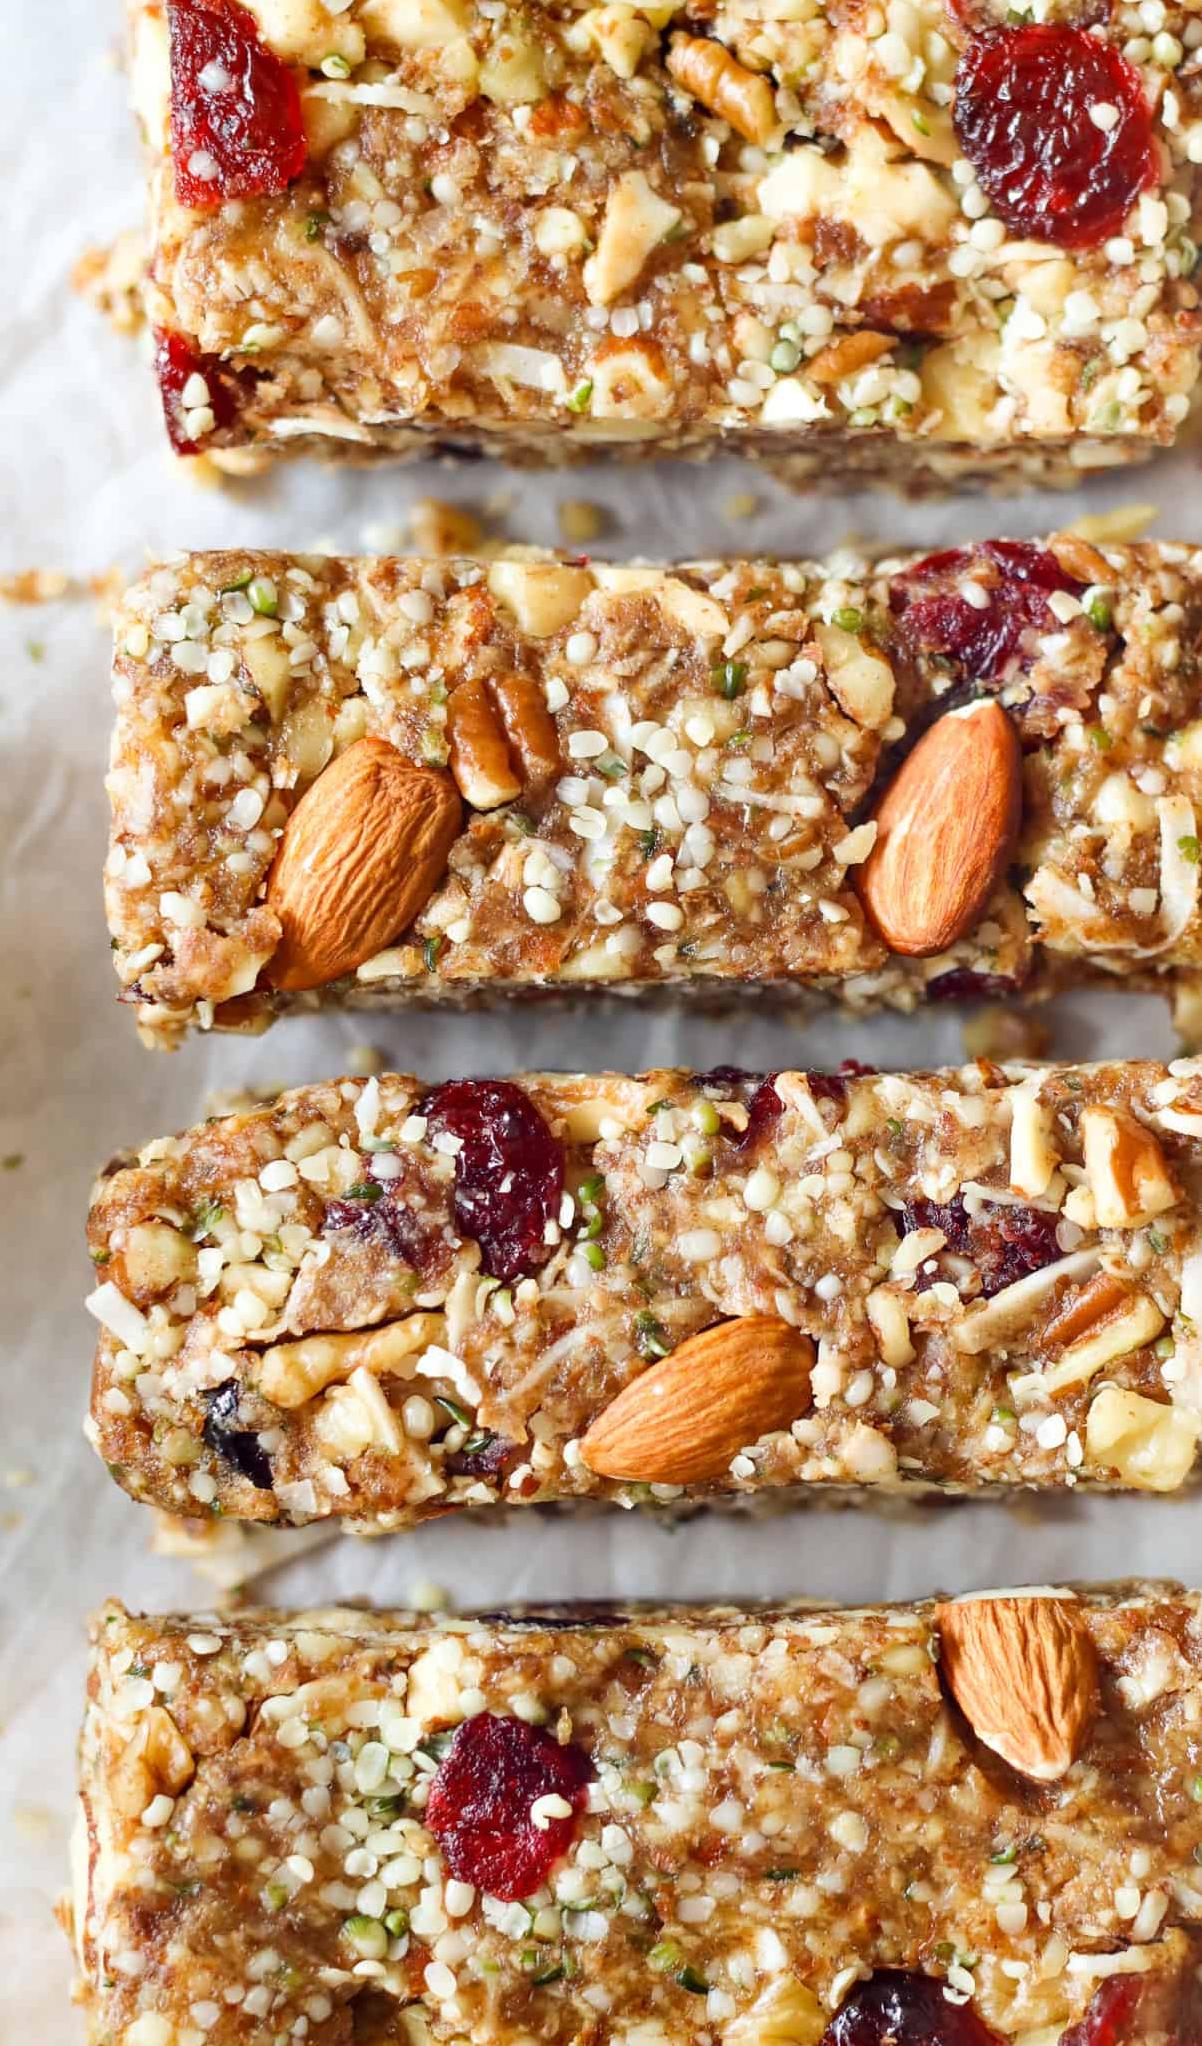
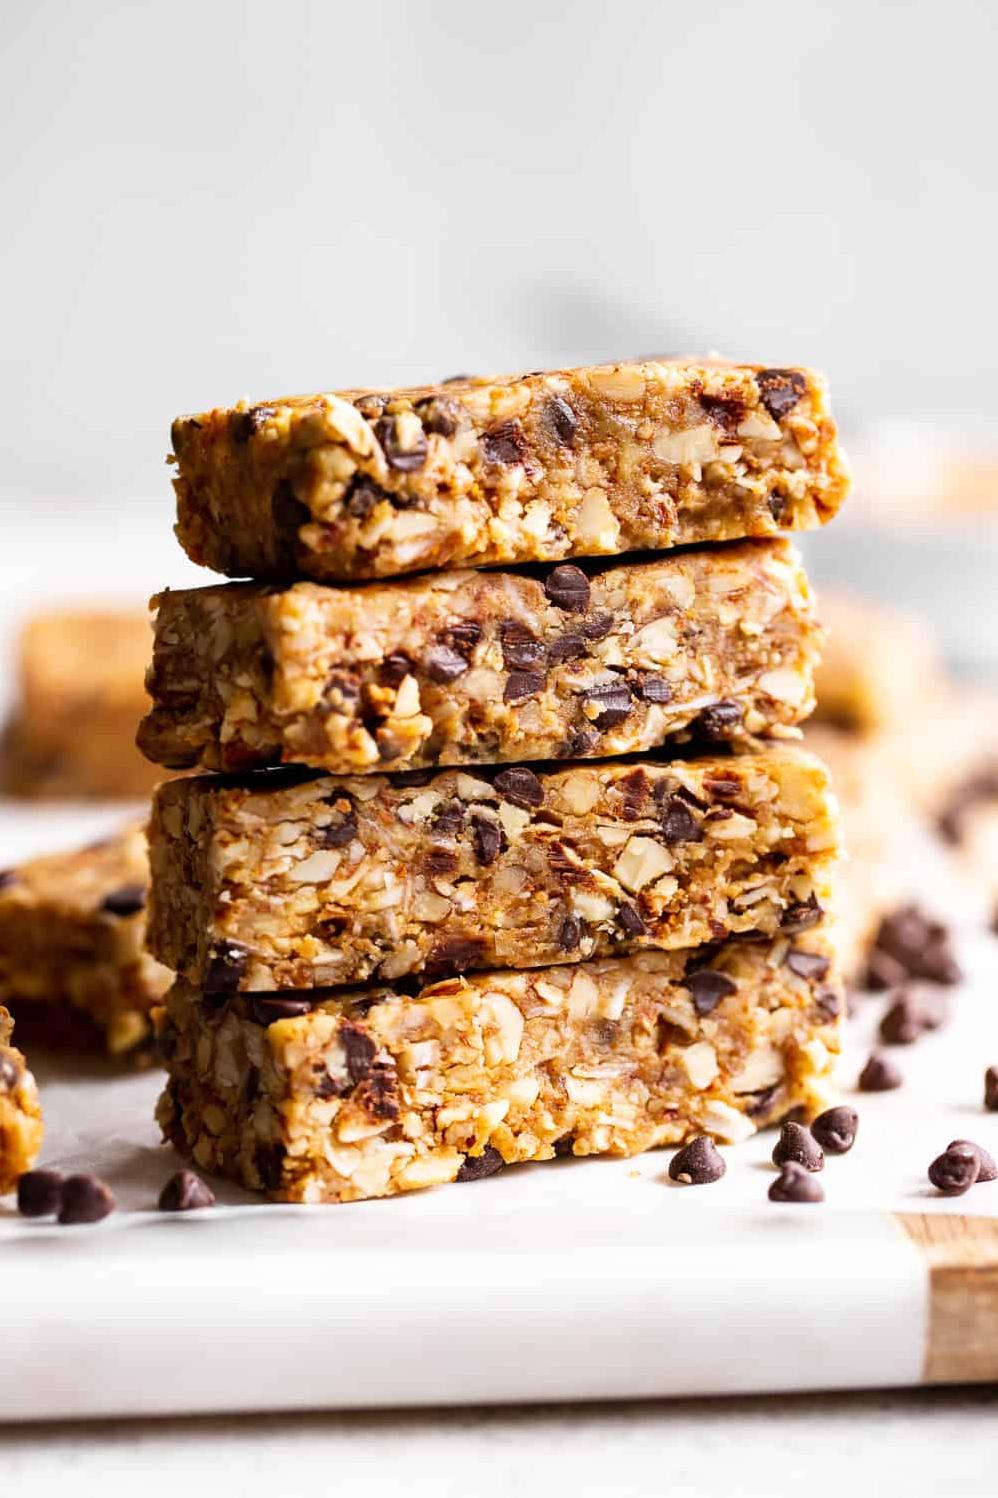
These granola bars are packed with wholesome ingredients like rolled oats, almond butter, and dried cherries. They’re naturally sweetened with honey and brown sugar, so you don’t have to worry about any artificial flavors or preservatives.
But don’t just take my word for it – these bars are sure to impress even those who don’t typically follow a gluten-free or dairy-free diet. So go ahead, give them a try and indulge in a guilt-free treat that’s as tasty as it is nutritious.
Why You’ll Love This Recipe
Are you tired of spending big bucks on store-bought granola bars, only to find out they’re loaded with additives and preservatives that could harm your health? Look no further than this homemade Gluten-Free Granola Bars Recipe!
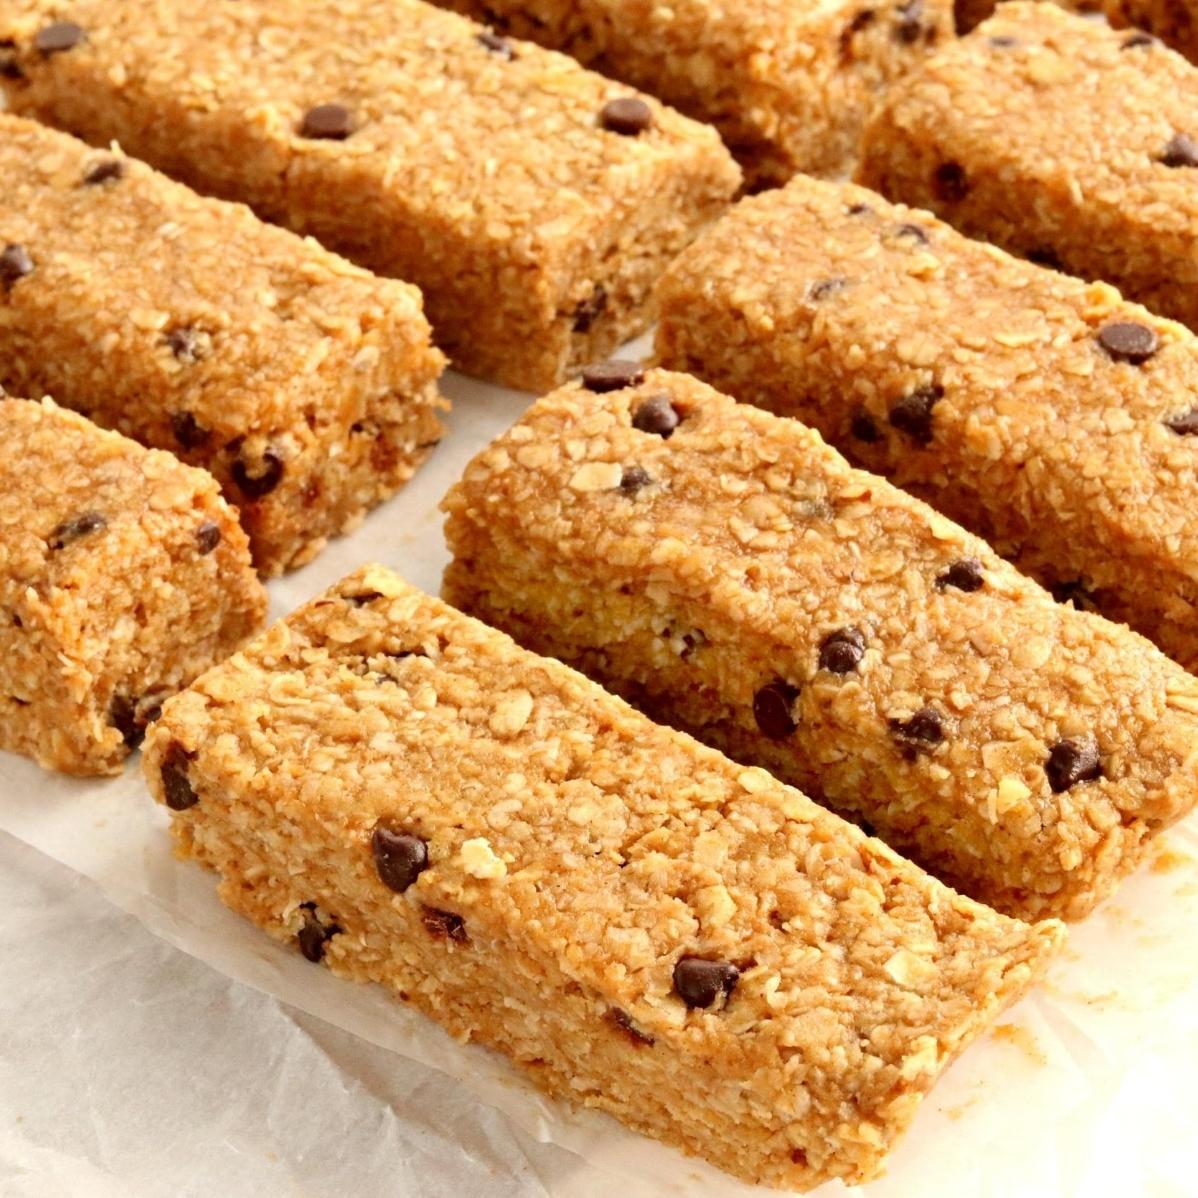
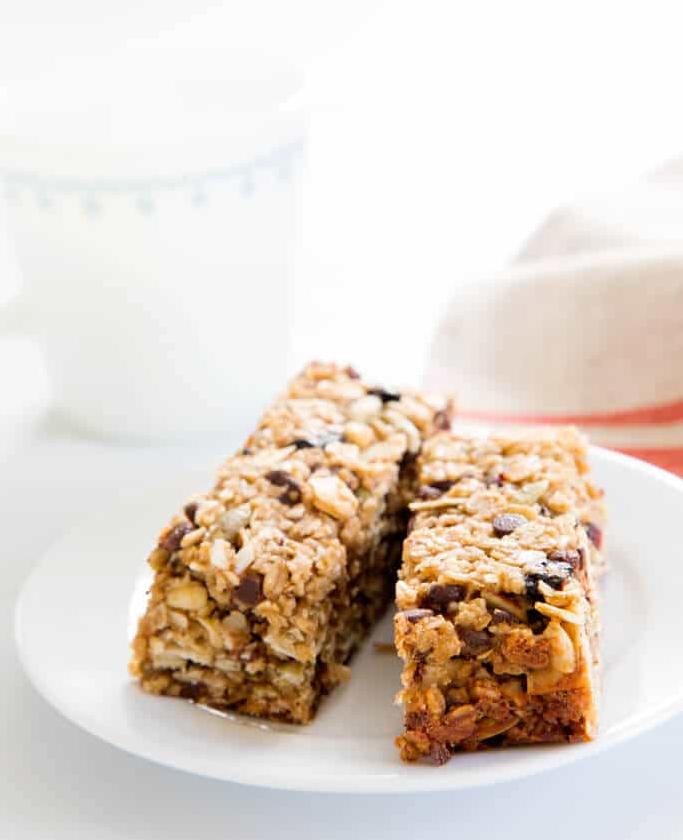
This recipe is perfect for those who want a quick snack on-the-go and don’t have time to prepare anything too complicated. These bars are chewy, crunchy, and packed with delicious ingredients like dried cherries and crispy rice cereal.
What’s even better is that this recipe is incredibly adaptable. You can substitute different nut butters, sweeteners, or add in various seeds to cater to your taste preferences. Not only is it gluten-free, but it’s also vegan and dairy-free, making it an ideal option for those with allergies or intolerance.
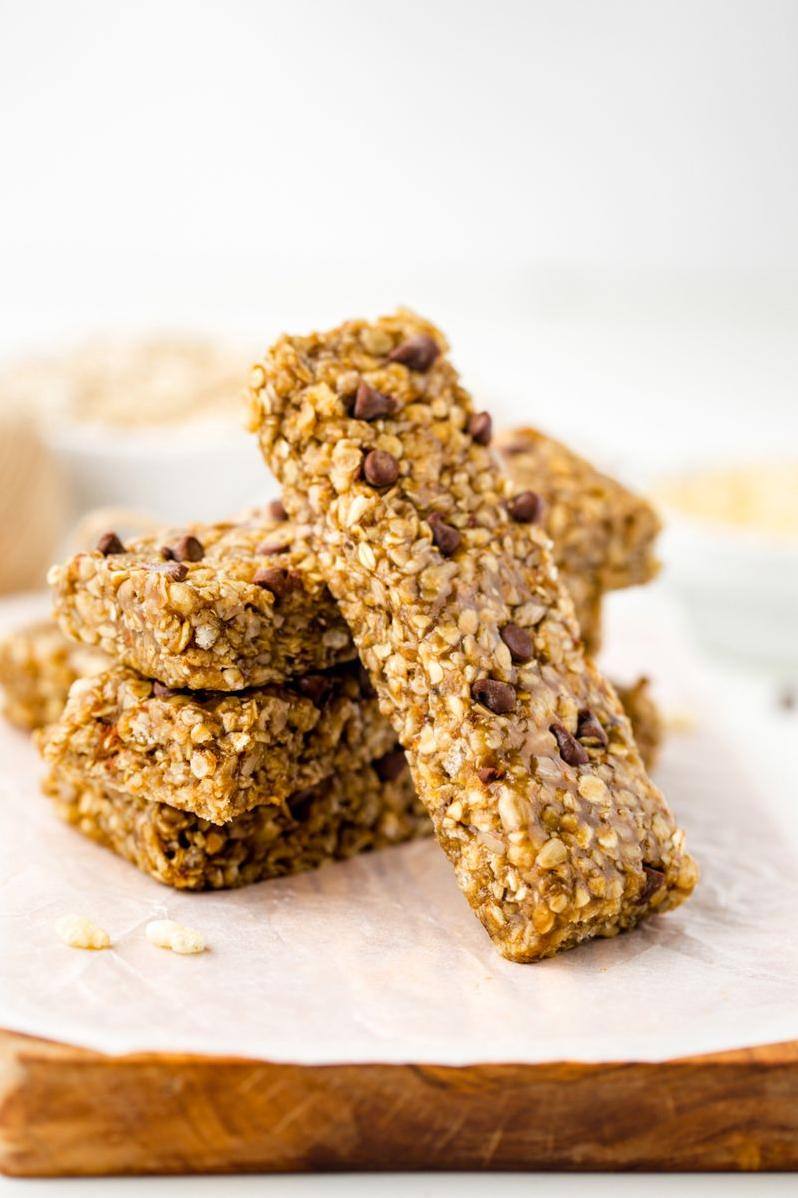
You’ll love these bars because they’re not only healthy but also incredibly satisfying! Unlike store-bought ones that can be overly sweetened and processed, these homemade bars have just the right amount of sweetness from honey and brown sugar. They’re perfectly balanced in texture and flavor – soft chewy homemade granola with a crispness from the crispy rice cereal. Perfect for picky eaters young and old alike!
So why not try this recipe today? It’s a great way to ensure that you know exactly what goes into your food, leading to peace of mind about healthy eating. Plus, it’s an enjoyable activity that you can do at home with family – everyone will love them! Give it a shot – make yourself some homemade granola bars today!
Ingredient List
To make these gluten-free granola bars, you will need:
Dry Ingredients:
- 2 cups of gluten-free old-fashioned rolled oats
- 1 cup of crisp rice cereal (preferably gluten-free)
- 1/2 cup of chopped almonds
- 1/2 cup of dried cherries
Wet Ingredients:
- 3/4 cup of natural peanut butter or almond butter
- 1/4 cup of brown sugar (or maple syrup for a refined-sugar free option)
- 1/4 cup of honey or agave nectar
- 2 teaspoons of vanilla extract
Optional Add-ins:
- 1/4 cup of chocolate chips (dairy-free and/or sugar-free, if desired)
- 1 tablespoon of chia seeds or ground flax seeds
- 1 teaspoon of ground cinnamon
Note: Make sure to use certified gluten-free oats and crispy rice cereal to ensure that the granola bars are truly gluten-free. You can also use a seed butter instead of peanut or almond butter for a nut-free option.
The Recipe How-To
Now that you’re well-versed with the ingredients, it’s time to make some delicious gluten-free granola bars! In this section, I’ll walk you through the recipe step-by-step.
Prep Time: 10 minutes | Cook Time: 20 minutes | Total Time: 30 minutes
Ingredients:
- 2 cups of gluten-free oats
- 1 cup of crisp rice cereal
- ½ cup of brown sugar
- A pinch of salt
- 1/2 teaspoon of ground cinnamon
- ½ cup of natural peanut butter
- ¼ cup of almond butter
- ¼ cup of honey
- 1 teaspoon of vanilla extract
- ½ cup of dried cherries
Directions:
-
Preheat your oven to a temperature of 350°F (180°C). Grease an 8 x8-inch baking dish and keep it aside.
-
In a large mixing bowl, combine the gluten-free oats, crisp rice cereal, brown sugar, salt and ground cinnamon. Mix well.
-
Now, add the natural peanut butter, almond butter, honey and vanilla extract to the bowl. Use a wooden spoon or rubber spatula to mix well.
-
Fold in the dried cherries into the mixture until they are evenly distributed.
-
Transfer the mixture into the greased baking dish and smooth it down with a spoon.
-
Bake for 18 to 25 minutes until the edges turn golden-brown.
-
Allow it cool for at least an hour in pan on wire rack and then cut them into bars using a sharp knife.
Notes:
You can store these gluten-free granola bars in an airtight container at room temperature for up to two weeks.
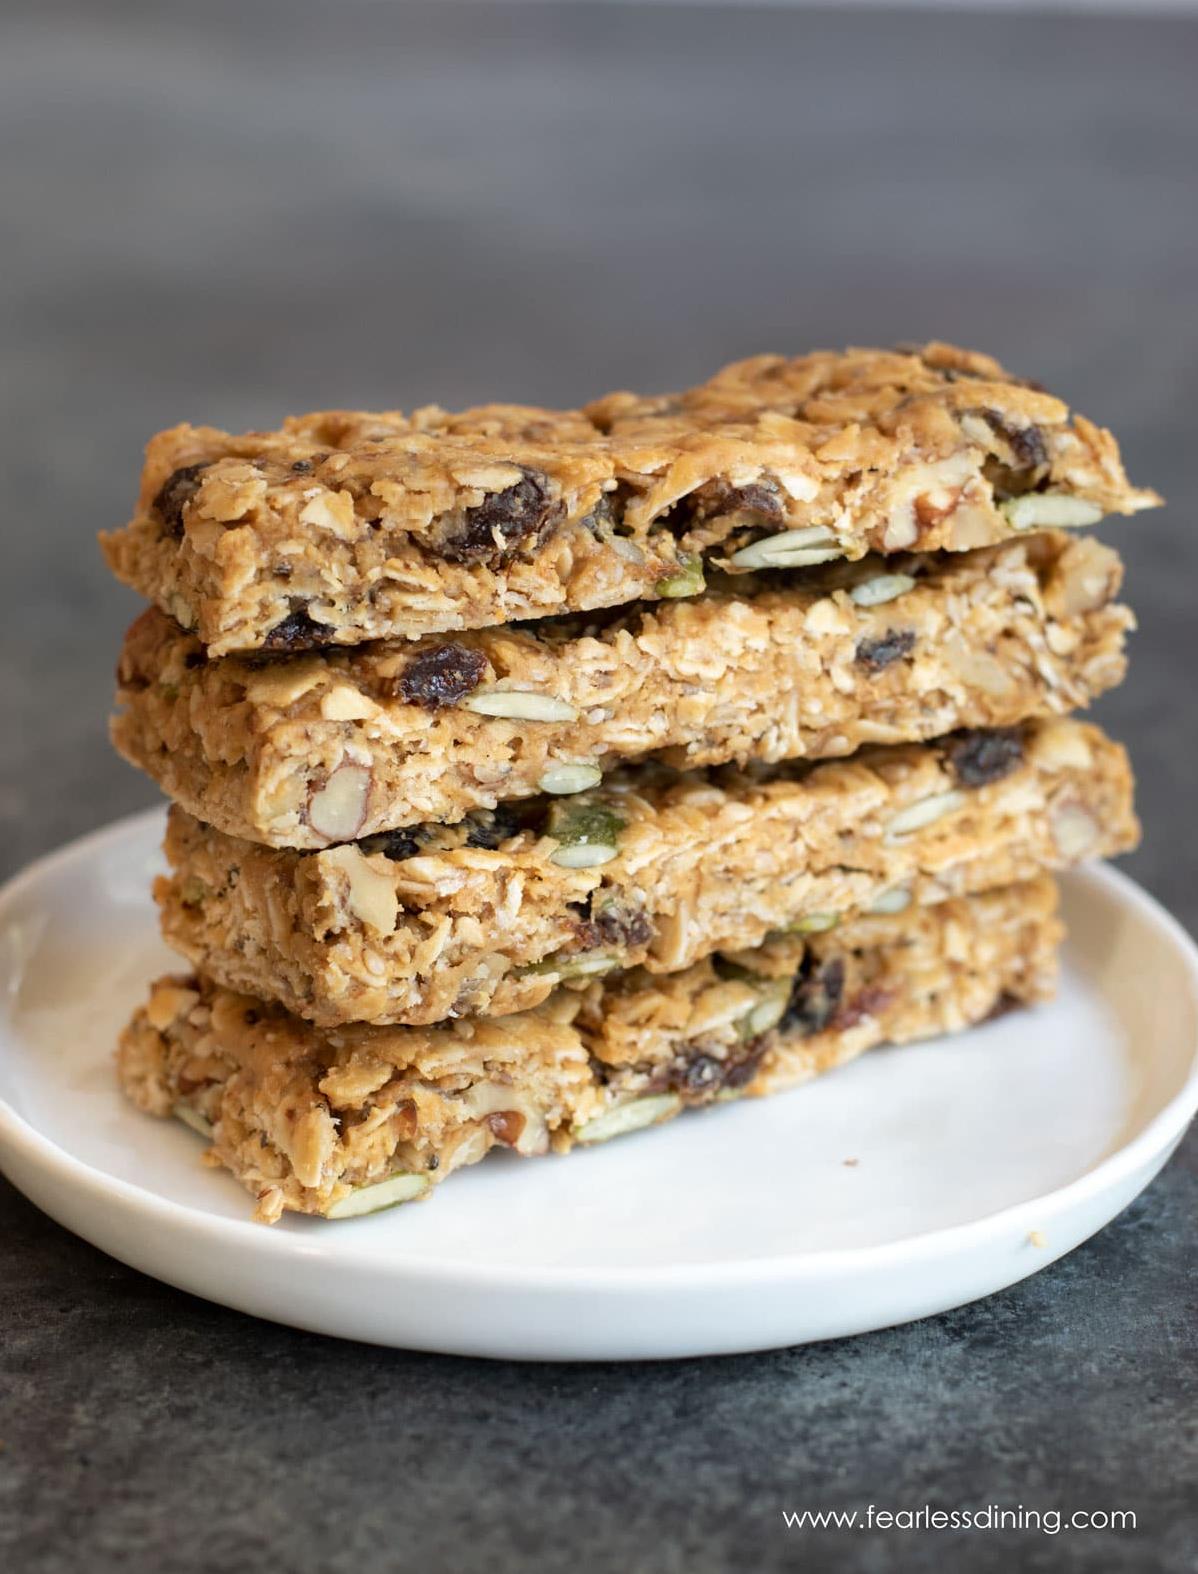
These homemade granola bars are packed with nuts, seeds, and dried fruits. You can experiment with different combinations of ingredients to suit your taste buds. Instead of peanut butter, you can use sunflower seed butter or almond butter.
Enjoy these soft and chewy gluten-free granola bars as a snack or take them on the go as an energy booster. Packing them in your child’s lunch box is also an excellent idea to ensure a healthy, homemade snack.
Substitutions and Variations
When it comes to making homemade granola bars, the possibilities for substitutions and variations are endless. Here are a few ideas to inspire your creativity:
– Dried Cherries: If you’re not a fan of dried cherries, you can substitute them with other dried fruits like raisins, cranberries, or apricots. You can also try using chopped fresh fruit like apples or bananas instead.
– Nut Butters: This recipe calls for a combination of peanut butter and almond butter, but you can use any type of nut butter you prefer. Try cashew, hazelnut, or even seed butter like sunflower or pumpkin.
– Sweeteners: Brown sugar and honey add sweetness to these granola bars, but there are plenty of other options. For a vegan version, use maple syrup or agave nectar instead of honey. You can also try using coconut sugar or date paste for a healthier alternative.
– Gluten-Free Grains: Rolled oats and rice cereal make up the bulk of this recipe, but you can use any gluten-free grains you like. Try quinoa flakes or amaranth for a unique texture.
– Mix-ins: Don’t be afraid to get creative with your mix-ins. Add shredded coconut, chopped nuts, or even chocolate chips for a sweet treat.
Remember, the key to successful substitutions is maintaining the ratios of wet to dry ingredients. If you add extra dry ingredients like oats or nuts, you may need to increase the amount of wet ingredients like honey or nut butter to keep everything moist and cohesive.
Serving and Pairing
Now that you’ve got your hands on these delicious gluten-free granola bars, you’ll want to know how best to serve and pair them.
These homemade granola bars are perfect for breakfast on-the-go or as a mid-day snack to give you a boost of energy. You can pair them with some fresh fruit or a cup of yogurt for an even tastier morning meal.
If you’re looking for a pick-me-up during the day, these chewy granola bars make for an excellent snack on their own or paired with some almond milk or hot tea.
For dessert lovers, you can also dress up these bars by drizzling some melted chocolate on top or turning them into ice cream sandwiches. Your taste buds will thank you!
In summary, there are plenty of ways to serve and pair these gluten-free granola bars. Whether it’s for breakfast, lunch or as a snack, they’re sure to keep you feeling satisfied and energized.
Make-Ahead, Storing and Reheating
One of the great things about these gluten-free granola bars is that they can be stored for several days, making them perfect for meal prep or on-the-go snacks. Once your bars have cooled completely, wrap them tightly in plastic wrap or store them in an airtight container. If you plan to keep them for longer than a week, consider storing them in the refrigerator to maintain freshness.
To reheat your bars, simply pop them into the microwave for 15-20 seconds or until slightly warm. This will help to restore some of the chewiness that may be lost during storage. You can also enjoy these bars straight from the fridge or even frozen for an extra refreshing treat on hot summer days.
If you’re planning for a busy week ahead, you can even make these granola bars ahead of time and freeze them. Simply wrap each bar individually in foil or plastic wrap before placing them in a ziplock bag and tossing them in the freezer. To thaw, simply remove a bar from the freezer and let it sit at room temperature for 10-15 minutes or microwave for 20-30 seconds.
These granola bars are also incredibly versatile and can easily be customized to fit any dietary needs or preferences. Whether you’re vegan, gluten-free, or just looking for a low-carb snack option, these granola bars can easily accommodate those needs.
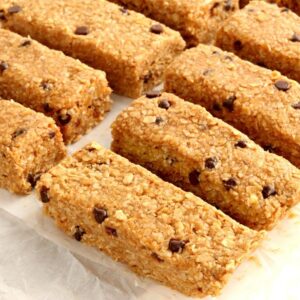
So go ahead and make a big batch of these tasty granola bars today! Enjoy them whenever you need a quick snack or something to satisfy your sweet tooth. With their delicious combination of crispy rice cereal, old-fashioned oats, natural sweeteners, and chewy texture, these homemade granola bars won’t disappoint!
Tips for Perfect Results
When it comes to making granola bars, the process might seem simple enough, but there are certain tips I have discovered that can make a huge difference in the final result. Here are some of my top tips for getting perfect homemade granola bars every time.
First and foremost, it is crucial to measure your ingredients accurately. Even small deviations from the recipe can result in different textures and flavors. Make sure to use measuring cups and spoons, especially when it comes to the dry ingredients like oats and rice cereal.
When you mix all the ingredients together, be sure to use a large mixing bowl that provides enough room for everything to be fully combined. It’s also important to mix until all of the ingredients are evenly distributed.
One of my favorite tips for chewy granola bars is using brown sugar and honey in the recipe. These two ingredients add moisture and create a nice texture. However, be careful not to overdo it as too much sweetness can make the bars too sticky.
Another important part of making successful granola bars is pressing them firmly into the baking dish. Use a spatula or your hands to pack down the mixture before baking, so that all ingredients stick together and hold their shape when cut into bars later on.
When it comes to baking time, check your bars frequently during cooking, until they turn golden brown. Overcooked granola bars tend to become hard and tough while undercooked ones tend to fall apart easily.
Finally, have fun with variations! You don’t have to stick strictly to the recipe; experiment with adding different nuts, seeds or dried fruits – whatever appeals or is available. With these tips in mind, you will soon have delicious homemade granola bars every time – perfectly chewy or crispy as desired!
FAQ
Now that we have covered all the necessary information regarding our gluten-free granola bars recipe, let’s tackle some frequently asked questions. These questions will clear any doubts and confusion you may have had regarding this recipe.
What makes granola bars stick together?
When it comes to creating homemade granola bars, there are a variety of options for ingredients that can help hold everything together. However, through experience and experimentation, we’ve discovered that honey is the most effective binding agent. It acts as a natural glue and successfully keeps all the components of the granola bars intact.
Can granola bars be gluten free?
Introducing the perfect snack that people of all ages will love – Annie’s Gluten-Free Double Chocolate Chip Granola Bars! These bars are a yummy blend of chewy texture and rich chocolatey flavor. As a bonus, they are composed of whole-grain oats and genuine chocolate chips that offer 11 grams of whole grains in each serving.
What kind of granola bars are gluten free?
As a nutritionist and food blogger, my expertise lies in offering advice and recommendations for preparing and processing healthy foods. In this article, my focus will be on providing detailed instructions for preparing delicious and nutritious recipes that are organic, gluten-free, and dairy-free.
When it comes to finding healthy food options, it can be overwhelming to wade through countless brands and products. However, for those looking to maintain a healthy and balanced diet, there are a handful of trustworthy brands that offer nutritious and delicious food choices. Brands like 88 Acres, Annie’s Homegrown, Bobo’s, Enjoy Life, Freeyumm, Kind Bars, Made Good, and Nature Valley provide high-quality ingredients that are nutritious, and free of gluten and dairy.
In this article, I’ll guide you through a step-by-step process on how to prepare a mouth-watering and healthy recipe using these ingredients. By using my tips and recommendations, you won’t have to spend a fortune on health food stores or sacrifice taste for nutrition. So, let’s get started!
Are soft and chewy granola bars gluten free?
If you’re looking for a tasty and satisfying snack that’s also healthy and easy to make, then you’ve come to the right place. These homemade granola bars are perfect for those who want a gluten-free and refined sugar-free option that can be customized with different ingredients. Plus, they’re suitable for those who have nut allergies or follow a vegan diet.
Are Nature Valley Crunchy granola bars gluten free?
Despite the appearance of gluten-free characteristics in Nature Valley Oats ‘N Honey Crunchy Bars due to the presence of oats, they are actually not safe for people with gluten intolerance or celiac disease. Even though oats themselves are not a source of gluten, they are often contaminated with gluten during multiple stages of production, making them unsafe for those with gluten sensitivities.
Bottom Line
Let’s face it, we all crave a sweet treat every now and then. But what if I told you that you could indulge without compromising your health or your taste buds? This gluten-free granola bar recipe is not only delicious but also packed with wholesome ingredients that will leave you feeling satisfied and energized.
With just a few simple substitutions and variations, you can customize this recipe to suit your personal preferences or dietary needs. And the best part is – these bars are easy to make ahead of time, store, and reheat whenever you need a quick snack or breakfast on-the-go.
So why settle for pre-packaged, processed snacks when you can whip up a batch of these soft and chewy granola bars at home? You’ll know exactly what ingredients are going into your body, and can feel confident that you’re making a healthy choice.
Give this recipe a try and let me know in the comments how it turned out for you. Together, we can discover new ways to nourish our bodies while still satisfying our cravings for something sweet.
Gluten Free “granola Bars Recipe
Ingredients
- 1/2 cup honey
- 1/4 cup brown sugar
- 1/2 cup peanut butter (creamy or crunchy) or 1/2 cup almond butter (if you want to make almond granola bars)
- 1 teaspoon vanilla
- 1 1/2 cups gluten-free oats
- 2 cups almonds
- 1 cup dried cherries
Instructions
- Butter an 8 X 10 inch pan generously OR line it with parchment paper than also comes up the sides of the pan about 1/2 of an inch.
- Preheat the oven to 400°F.
- Toast your nuts/seeds in the oven for a few minutes until slightly golden. While you are doing this, make your “granola glue” or peanut butter sauce.
- To make the “granola glue” or peanut butter sauce, combine honey and brown sugar in a small saucepan. Heat, while stirring, until the brown sugar dissolves. Bring mixture to a simmer and simmer for 1-2 minutes until evenly foamy/bubbly on top. Remove from the heat. Add one teaspoon vanilla extract. Stir (it will steam a bit). Add peanut butter and stir briskly until lumps are gone and the consistency is uniform.
- Mix granola base (oats or cereal) with your toasted nuts/seeds. Pour peanut butter mixture over the top and stir until evenly distributed. Add dried fruit and stir again to distribute.
- Pour mixture into pan (on to parchment paper). Spread evenly and then press down in to the bottom of the pan. Press the granola together firmly.
- Bake for 20 minutes at 350°F.
- Remove from the oven and allow to cool completely (it will firm up as it cools) before cutting.
- Cut into bars (1″ wide and 4″ long). Wrap bars in cling wrap or wax paper and store in a Ziploc bag or airtight container on the counter until consumed. (I’ve store mine up to 10 days, but it depends on the weather.) These can be refrigerated; however, I haven’t tried freezing them yet.