Gluten-Free Cookies: Indulge in a Healthy Delight
Welcome to my kitchen! As a nutritionist and food blogger, I am always on the lookout for delicious and nutritious recipes that will keep your tummy happy and healthy. Today, I am excited to share with you my favorite gluten-free and dairy-free thumbprint cookie recipe. These cookies are perfect for satisfying your sweet cravings without compromising your health or dietary restrictions.
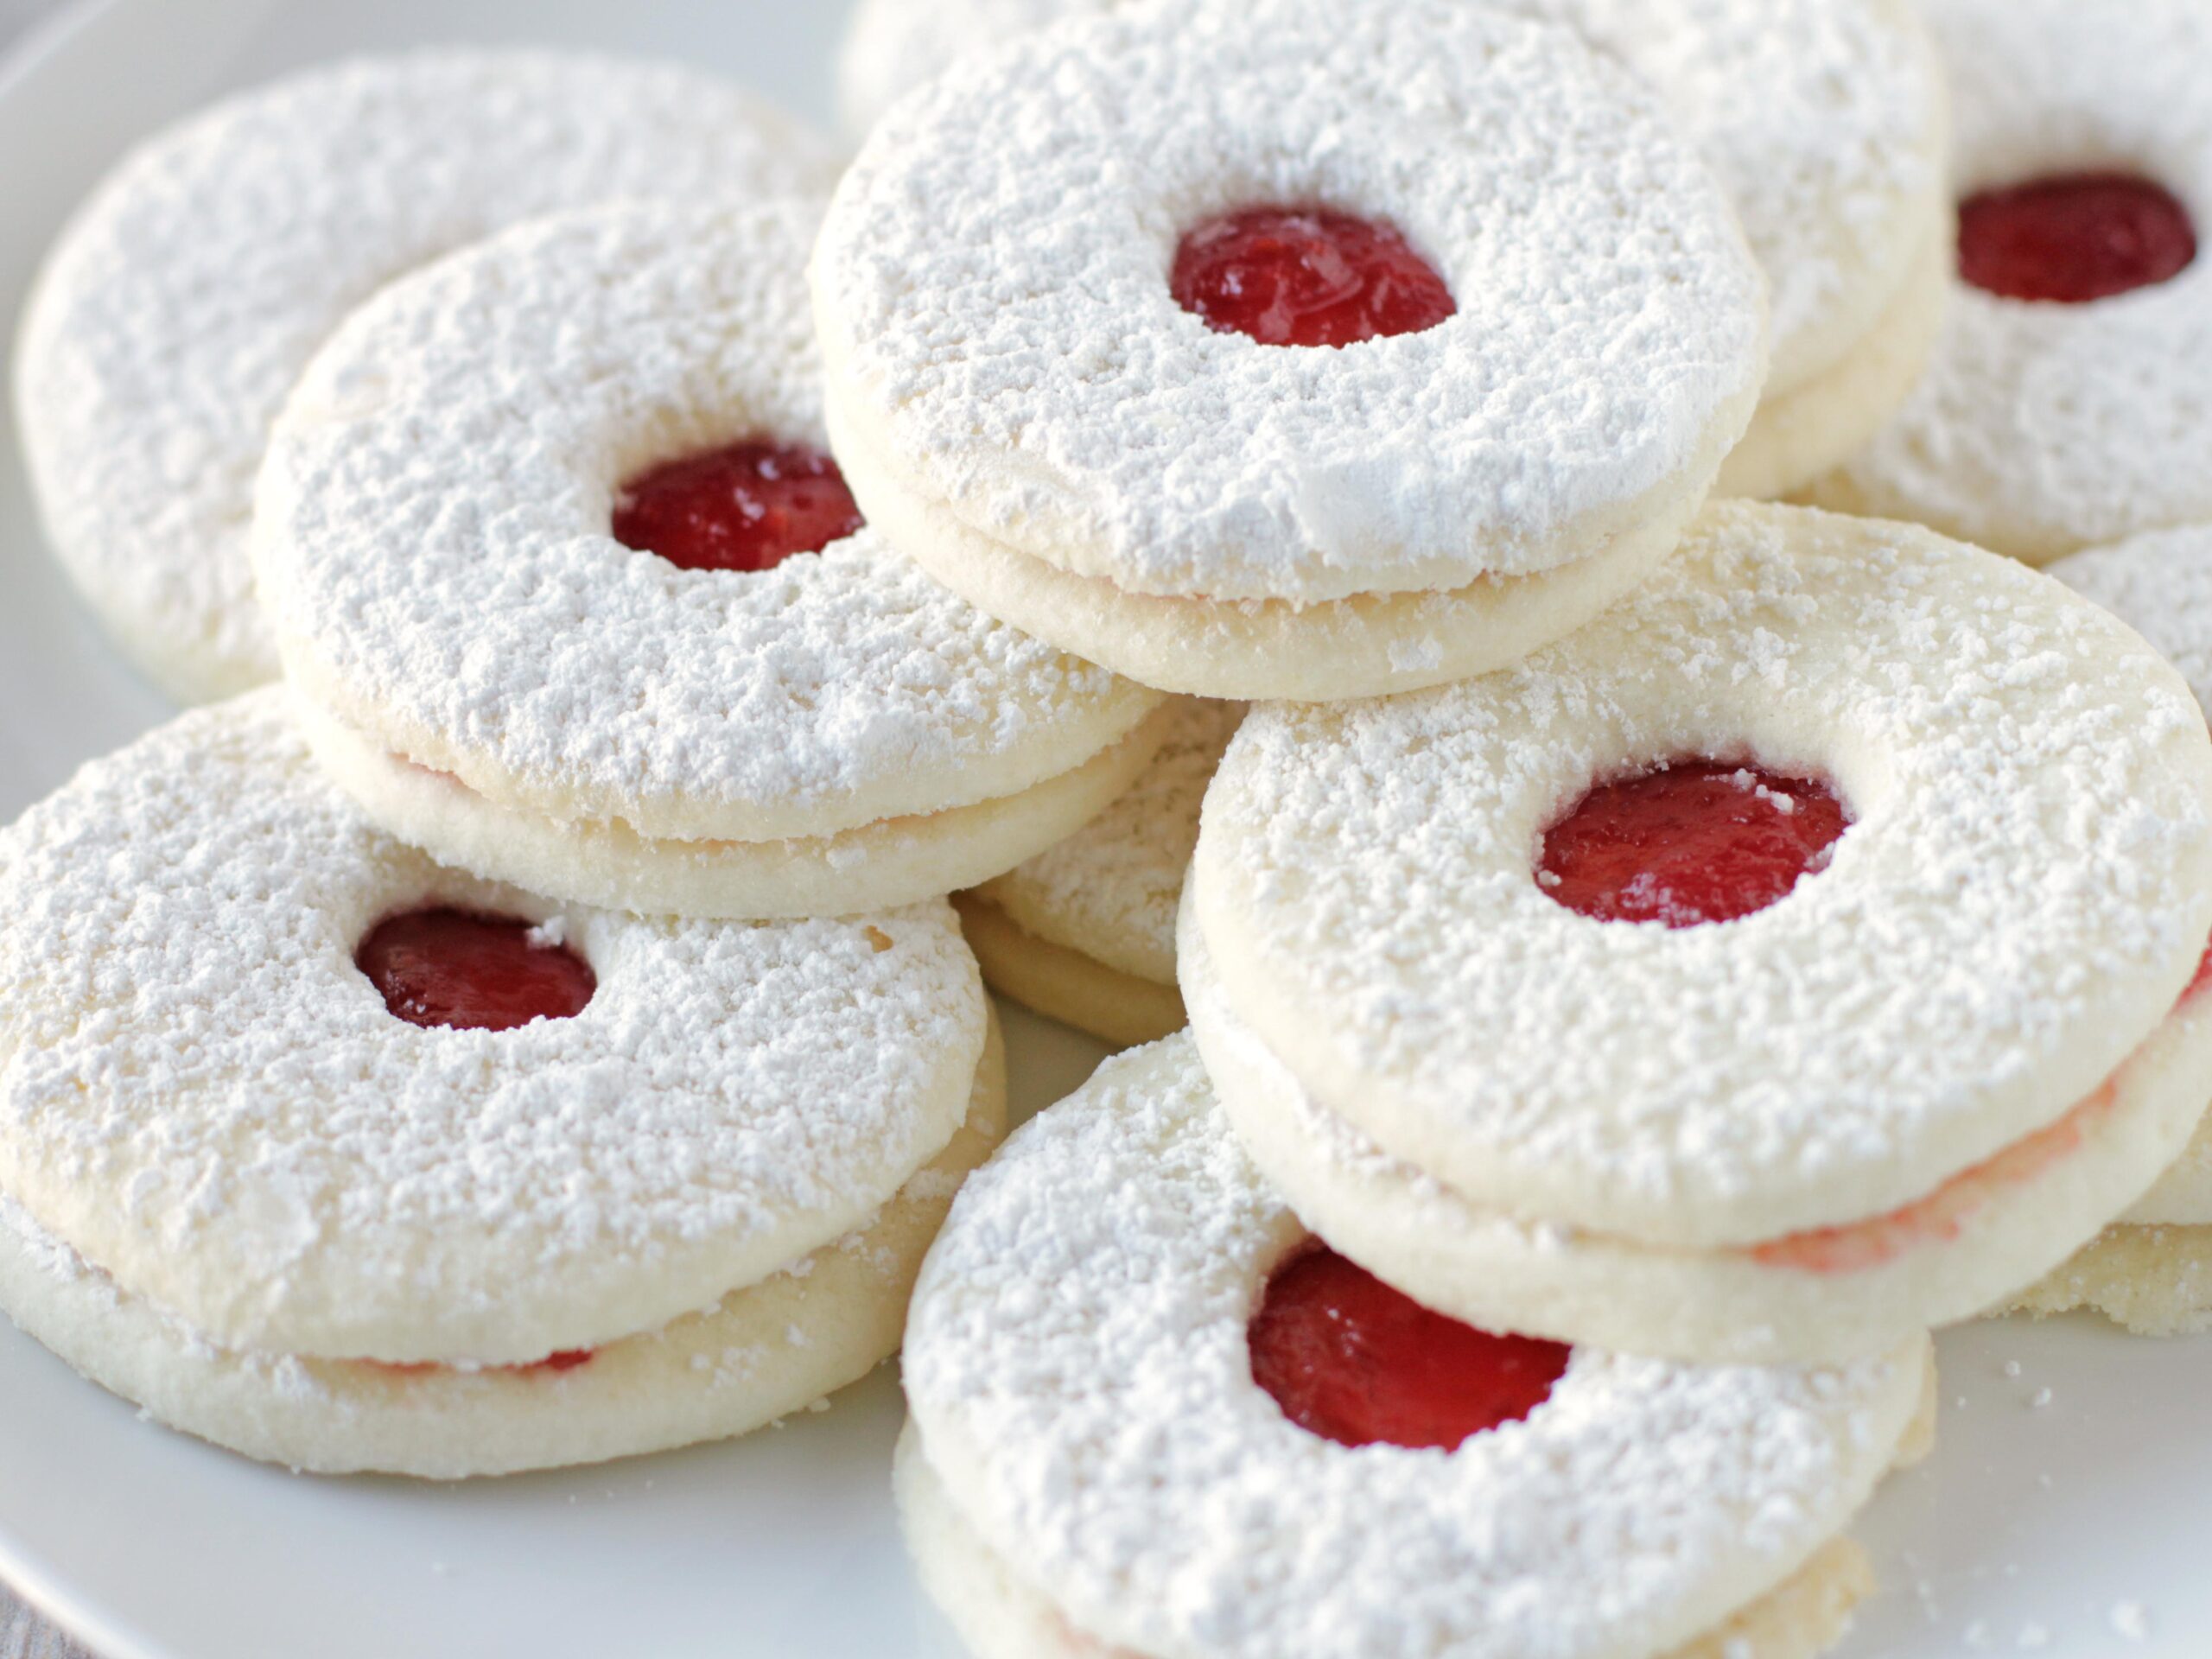
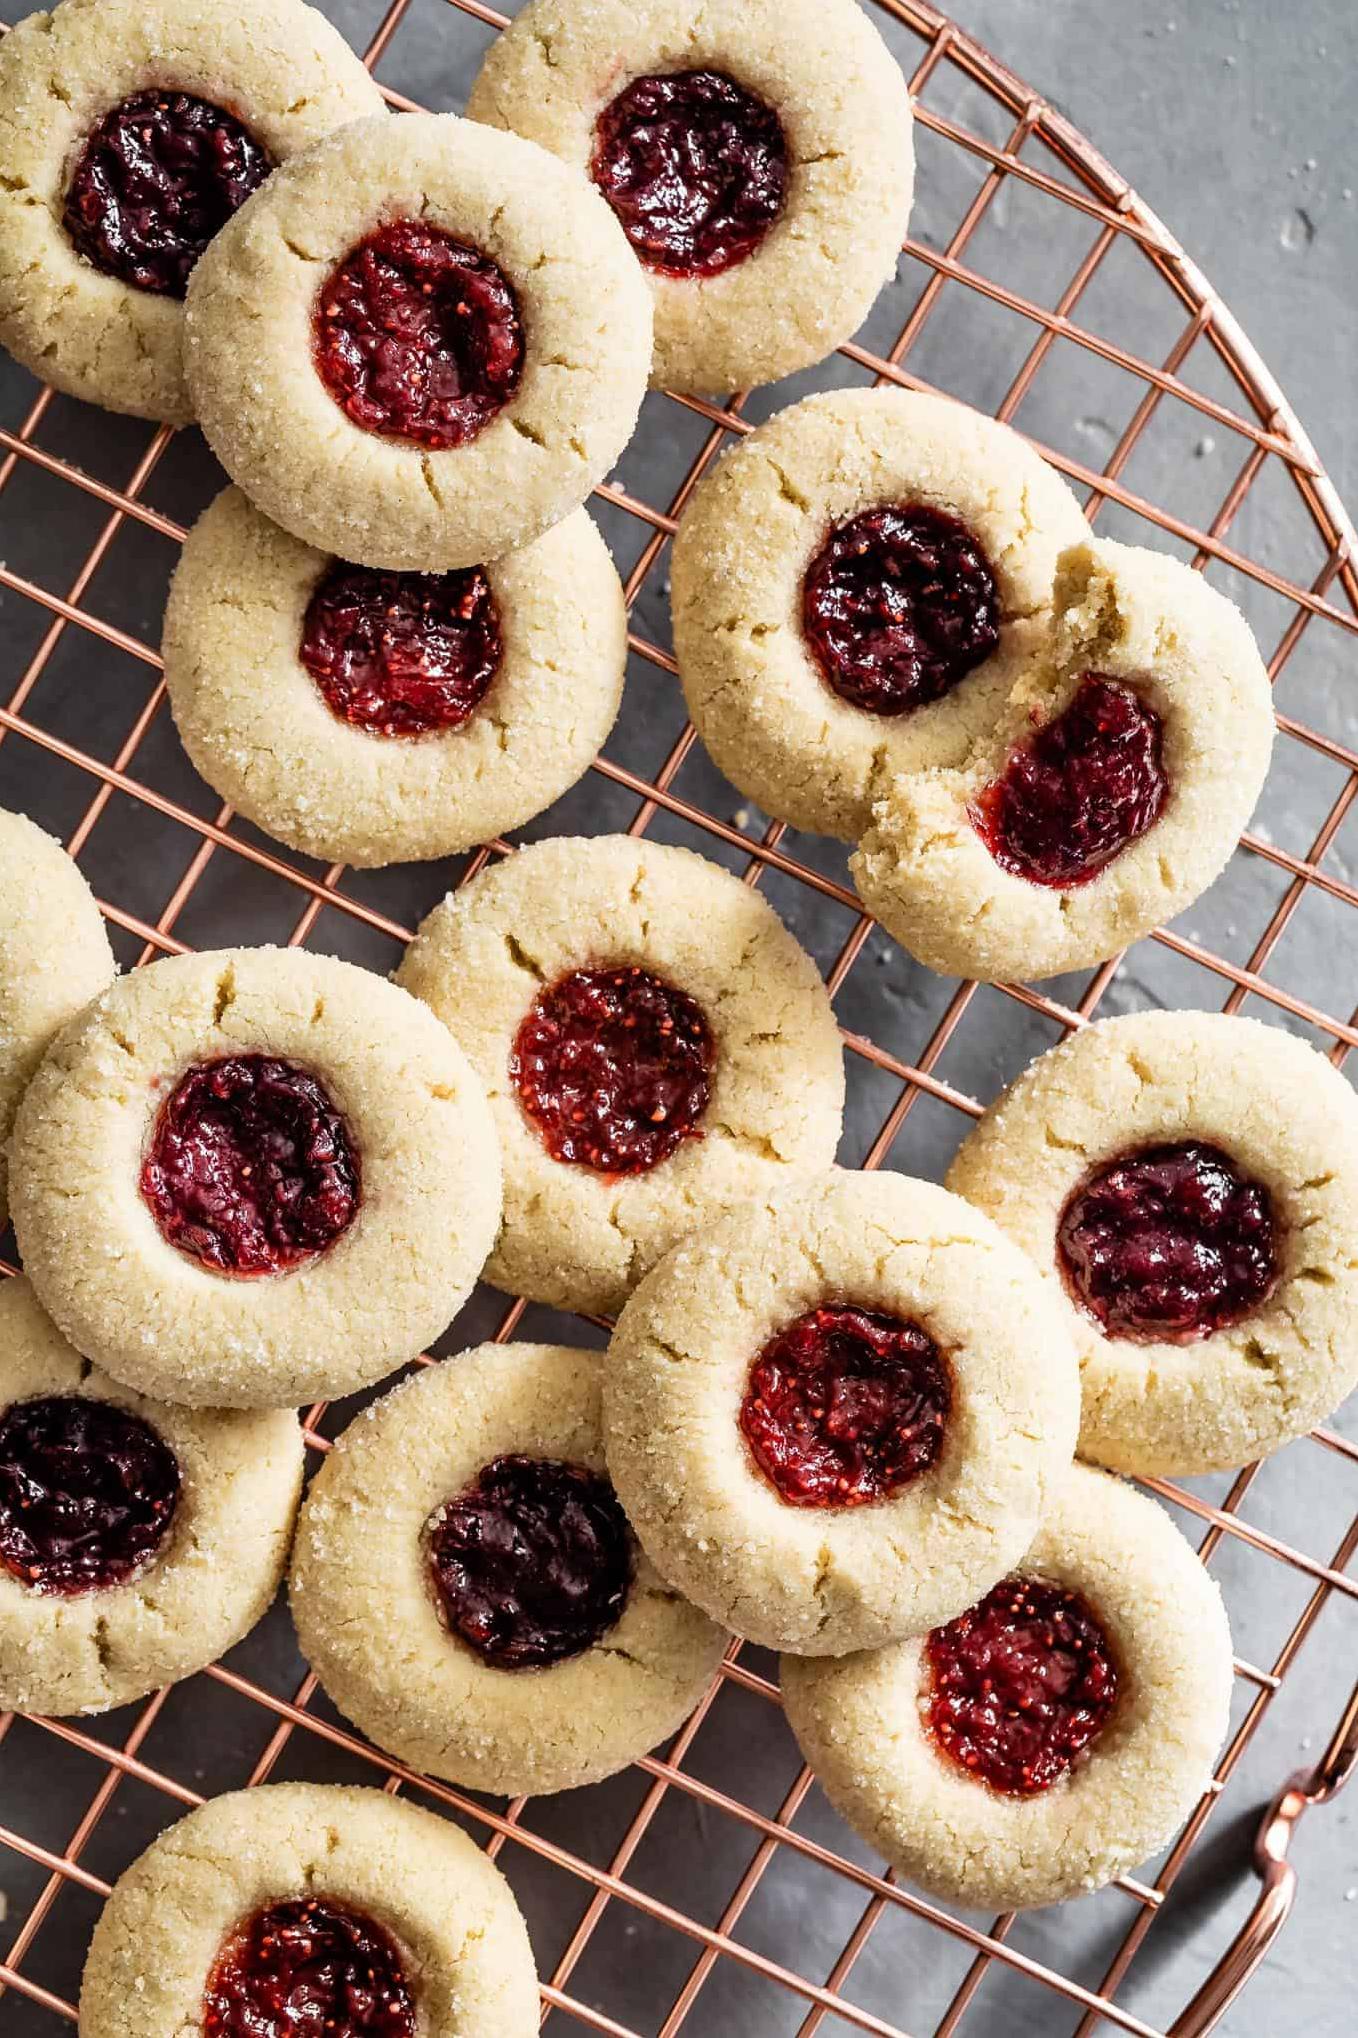
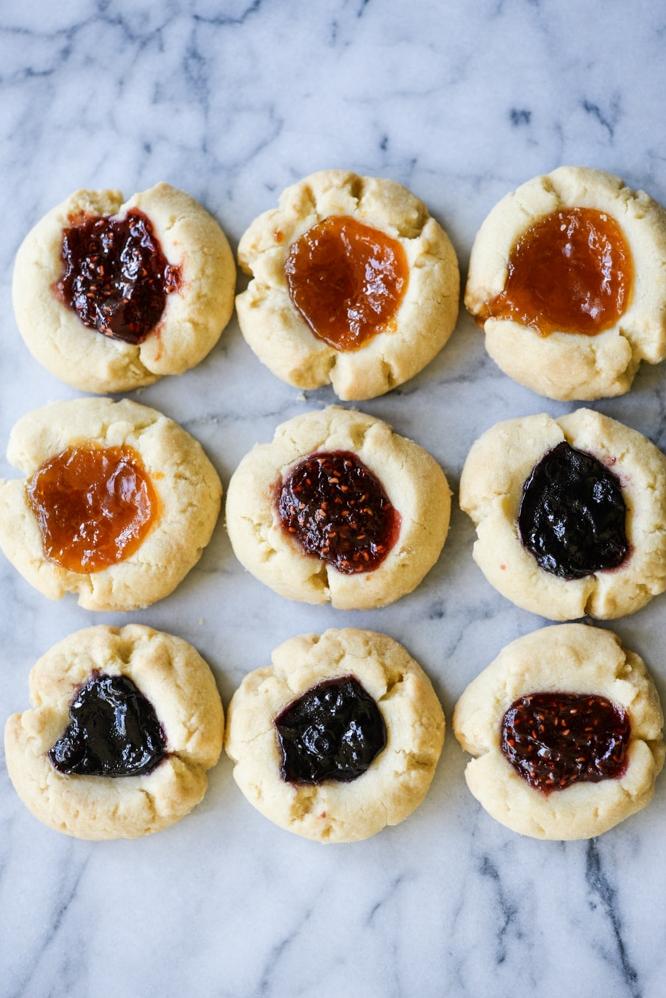
With a crisp and buttery shortbread base, these cookies are simply irresistible. By filling the thumbprint depression with jam, you get double the flavors in one bite – it’s a party for your taste buds! The best part is that this recipe uses only wholesome ingredients, so you can indulge in these treats without feeling guilty.
I know that many of us have dietary restrictions nowadays, but I believe that should never be a limit to what we can enjoy. With this recipe, even those who are gluten-free, dairy-free or vegan can still get their cookie fix without sacrificing taste or texture. Trust me; this recipe will make all cookie lovers rejoice.
So join me in making these delicious gluten-free jam-filled thumbprint cookies today! It’s time to treat yourself with a little something sweet that your body will thank you for eating.
Why You’ll Love This Recipe
Are you tired of searching for gluten-free dessert recipes that are both delicious and easy to make? Look no further! This gluten-free jam cookie recipe is here to save the day.
First off, these thumbprint cookies are the perfect combination of sweet and tart. The cookie itself is soft and chewy, while the jam filling adds a burst of fruity flavor. They’re sure to satisfy any sweet tooth craving without compromising your dietary restrictions.
Not only are these cookies gluten-free, they’re also dairy-free and vegan-friendly! You can enjoy them knowing that they’re made with clean, organic ingredients without any artificial additives or preservatives.
And don’t worry about having to search high and low for unusual ingredients – everything you need can be found at your local grocery store. All you need is some gluten-free flour like almond flour or coconut flour, butter, sugar, eggs, baking powder, salt, and of course, your favorite jam flavor!
But perhaps the best part about this recipe is how versatile it is. You can switch up the jam flavor to match your preferences or use seasonal fruits for a festive flavor. You can even toss in some chocolate chips or chopped nuts for an added crunch!
Overall, these gluten-free jam cookies are the perfect treat for anyone looking for a healthy but indulgent dessert option. They’re easy to make and customize, inviting everyone to join in on the fun. So go ahead and whip up a batch today – your taste buds will thank you!
Ingredient List
Let’s take a look at the list of ingredients we’ll need to make these gluten-free jam cookies.
Dry Ingredients
- 2 cups of gluten-free flour (you can use a pre-made blend or make your own by combining 1/2 cup of potato starch, 1/2 cup of cornstarch, and 1 cup of tapioca flour)
- 1/2 cup of almond flour
- 1 teaspoon of baking powder
- 1/2 teaspoon of xanthan gum
- 1/4 teaspoon of salt
Wet Ingredients
- 1 cup (16 tablespoons) of unsalted butter, softened to room temperature
- 3/4 cup of granulated sugar
- 1 egg, at room temperature
- 1 teaspoon of pure vanilla extract
- Jam or fruit preserves for filling (raspberry, strawberry, and apricot are all great options)
Optional Additions for Flavor
- 1 teaspoon of almond extract
- 1 egg yolk
- 1/4 cup of brown sugar, packed
The Recipe How-To

Now that we have gathered all our ingredients, let’s dive into making these delicious Gluten-Free Jam Cookies.
Step 1: Preheat the Oven
Begin by preheating the oven to 350°F (180°C). This ensures that the oven is up to temperature when you are ready to bake the cookies.
Step 2: Cream Butter and Sugar
In a mixing bowl, cream together 1 cup (16 tablespoons) of unsalted butter, 1/2 cup (100g) of granulated sugar and 1 tsp of vanilla extract until light and fluffy.
Step 3: Add Egg and Flour Mixture
Next, add in 1 egg and mix well. In a separate bowl, combine 2 cups (250g) of gluten-free flour blend, 1 tsp of xanthan gum, 1/2 tsp of baking powder, and 1/4 tsp of salt. Slowly add the dry mixture to your mixing bowl while continuing to mix until everything is well combined.
Step 4: Prepare Dough
The dough will be soft but not sticky. If it’s too sticky, add some extra flour. Now, scoop out about a tablespoon of dough and begin rolling them into balls.
Step 5: Make Thumbprint Indent
Place each ball onto a baking sheet lined with parchment paper. Next, use your thumb or the end of a wooden spoon to create an indent in the center of each cookie.
Step 6: Fill with Jam
Fill each indent with your preferred jam flavor. Try using raspberry for a classic flavor, strawberry for sweetness or even peanut butter for a nutty twist!
Step 7: Bake
Bake the cookies for about 12-15 minutes or until they are lightly golden brown on the bottom. Remove from the oven and allow them to cool for a few minutes.
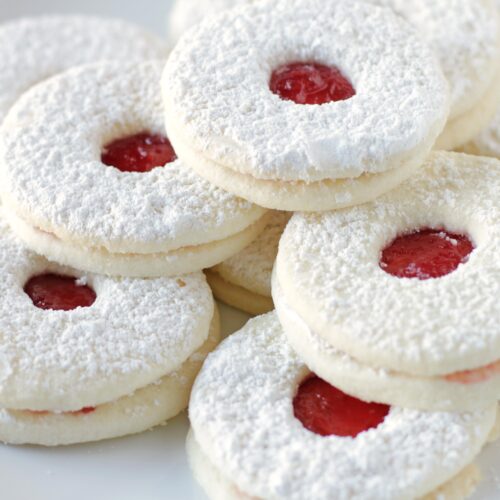
Step 8: Dust with Powdered Sugar
While they’re still warm, dust the cookies with a bit of powdered sugar. This step is optional, but it adds a nice finishing touch to your delicious gluten-free jam cookies.
Enjoy your moist and jammy gluten-free thumbprint cookies!
Substitutions and Variations
There are plenty of ways to switch up this gluten-free jam cookie recipe to fit your preferences and dietary needs. Here are a few ideas:
– Flour Alternatives: This recipe calls for a combination of potato starch, cornstarch and tapioca flour, but you can substitute these with alternative gluten-free flour blends like coconut flour or rice flour.
– Dairy-Free: If you want to make these cookies dairy-free, you can swap out the unsalted butter with vegan butter or coconut oil.
– Jam Varieties: While this recipe calls for raspberry jam, you can use any type of jam that suits your taste buds! Strawberry, blueberry, and apricot jam would all make great alternatives.
– Nut Butter Variation: If you’re not a fan of jam or just want to switch things up, try using peanut butter or almond butter in place of the jam filling. The salty-sweet combo is sure to be a hit!
– Shortbread Cookies: If you want to switch things up entirely, try using this thumbprint technique with a classic shortbread cookie recipe! Simply omit the jam filling and press the dough down with your thumb before baking.
Whatever substitutions or variations you choose to make, be sure to stick to the measurements and baking times in the original recipe for best results. Happy baking!
Serving and Pairing
Once you’ve baked your gluten-free jam thumbprint cookies to perfection, it’s time to put them on display! These cookies are more than just a sweet treat, they are a work of art that deserves to be shown off. Serve them up at any gathering or occasion and watch the compliments roll in.
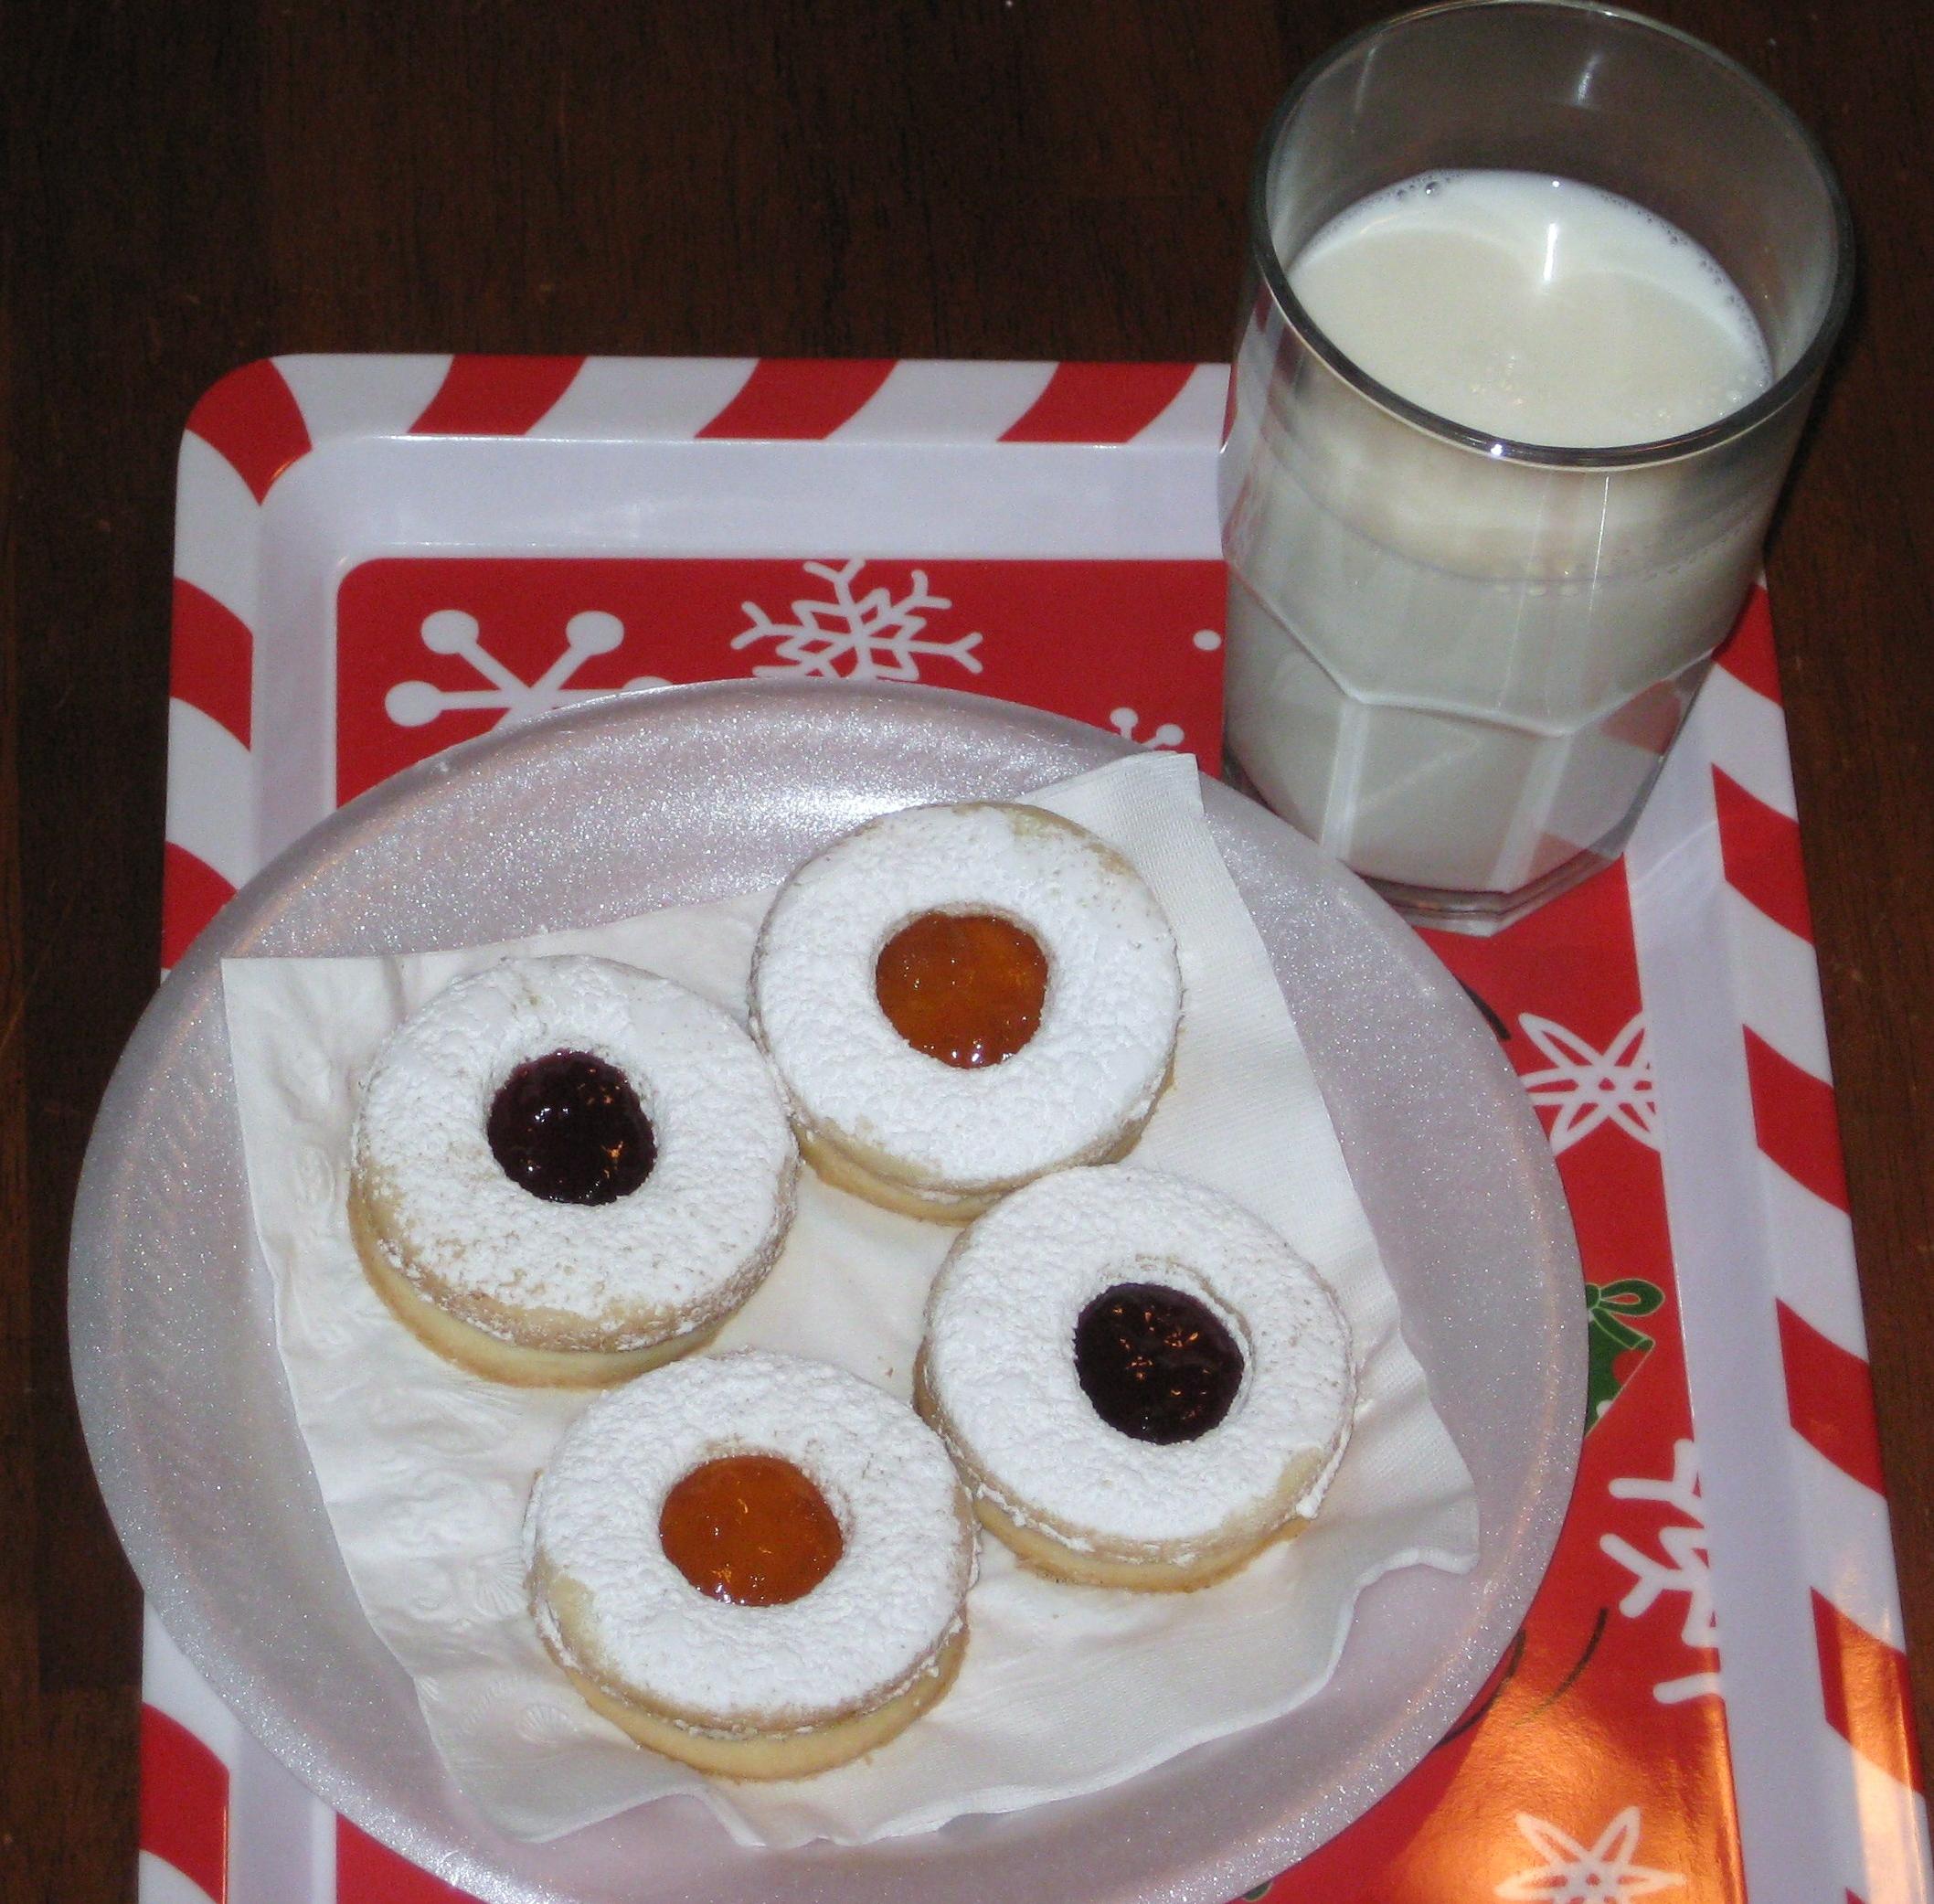
Since these cookies have a fruity jam center, they pair perfectly with a nice hot cup of tea or coffee. The raspberry jam thumbprint variation has just the right amount of sweetness to balance the bitterness of the tea or coffee. The cookies’ delicate crumbly texture also goes well with milk, making them great for dunking!
Another great pairing for these cookies is ice cream! They can be crushed and used as a topping for your favorite flavor of vanilla ice cream, creating a dessert that will make your taste buds dance with joy.
For those who prefer savory flavors over sweet ones, try serving up these thumbprint cookies with a glass of wine. Wine’s tannins can help cut through the sweetness of the cookie, allowing for an enjoyable pairing experience.
Whether you’re hosting a party or simply indulging in a sweet treat on your own, these gluten-free jam thumbprint cookies will put a smile on your face and leave you feeling satisfied. So go ahead, experiment with different pairings and enjoy the blissful combination of flavors that these cookies offer.
Make-Ahead, Storing and Reheating

These gluten-free jam cookies are the perfect treat to make ahead and store for a delicious snack throughout the week. After baking, allow the cookies to cool completely before storing them in an airtight container at room temperature for up to 5 days.
If you want to extend their shelf life, you can freeze the cookies for up to three months. Make sure to wrap each cookie individually in plastic wrap before placing them in an airtight container or freezer bag.
To reheat your cookies, simply let them thaw at room temperature for a couple of hours, or pop them in the microwave for 15-20 seconds before enjoying. You’ll be pleased to know that they will still be moist and chewy with every bite.
Whether you’re short on time or just looking to satisfy your sweet tooth, these jam-filled thumbprint cookies are perfect for any occasion. So go ahead and whip up a big batch so you’ll always have a tasty treat on hand whenever hunger strikes!
Tips for Perfect Results
If you want to achieve the perfect gluten-free jam cookie, then follow these helpful tips for perfect results. Trust me, I have made this recipe numerous times and have garnered experience, which has led me to these tips.
Firstly, make sure that all of your ingredients are at room temperature. This helps in creating a consistent texture throughout the dough. Using cold or warm ingredients can change the outcome of your cookies, leading to a dry or too-greasy taste. Therefore, bring your butter and egg yolks to room temperature before you start.
Secondly, ensure that you measure the flour correctly. With gluten-free flour, it is easy to add too much or too little, affecting the texture of your cookies. Spoon and level out the gluten-free flour instead of scooping it out with a measuring cup.
Thirdly, use almond flour instead of coconut flour. Although using coconut flour may seem like a healthy option, it is highly absorbent and will cause your cookie dough to become dry and crumbly.
Fourthly, when making “thumbprints” in your cookies, do not press down too hard on your cookies’ top because this can affect their shape as they bake.
Fifthly, use parchment paper rather than greasing your baking sheet. Parchment paper helps avoid sticking without adding extra grease or oil.
Lastly, remember to let the cookies cool before removing them from the baking sheet as gluten-free baked goods tend to be more delicate than those made with wheat flour. These tips ensure that you will get perfectly soft and chewy gluten-free jam cookies every time!
Bottom Line
In conclusion, this gluten-free jam cookie recipe is a must-try for all cookie lovers out there. With its delicious and moist jam-filled thumbprint center and soft chewy butter cookies, these goodies will make your taste buds dance with joy.
And let’s not forget that this recipe is also dairy-free and vegan-friendly, making it a perfect treat for everyone. The ingredients list includes gluten-free flours like almond flour, coconut flour, potato starch, cornstarch, and tapioca flour.
With a few easy steps to follow and some simple ingredients in hand, you can easily whip up a batch of these jam-filled cookies that melts in your mouth with every bite. These cookies are perfect for dessert or an afternoon snack with your favorite cup of tea or coffee.
So go ahead and give this recipe a try! And don’t forget to share the love by passing on this recipe to your friends and family as well. Trust me; they’ll be thanking you for introducing them to these mouth-watering treats just like I am doing right now.
Gluten Free Jam Cookie Recipe
Ingredients
- 1 cup sweet rice flour
- 1/2 cup tapioca flour
- 1 1/4 cups cornstarch
- 1/8 cup potato starch (plus extra 1/8 cup for rolling this out)
- 1 teaspoon baking powder
- 2 1/2 teaspoons xanthan gum (can be skipped if needed)
- 1 teaspoon salt
- 1 cup granulated sugar
- 1 cup unsalted butter (room temperature)
- 1 medium egg
- 1 1/2 teaspoons vanilla
- 1/2 teaspoon butter flavoring
- 1/4 teaspoon almond extract
- 1 cup powdered sugar
- 1/2 cup jam (I like seedless raspberry and apricot)
Instructions
- *Set oven to 350°F.
- 1) Sift together white rice flour, tapioca flour, cornstarch, potato starch, baking powder, xanthan gum and salt in small bowl and set aside.
- 2) Cream butter and sugar on med-high in mixer with whip.
- 3) Add vanilla, almond extract, butter flavoring and egg then mix for 30 seconds on medium.
- 4) Carefully add in dry mixture on low speed and mix until just combined.
- 5) Dust counter with more potato starch and pull dough out into a ball on there, roll out until 1/8" thick (can be a bit thicker).
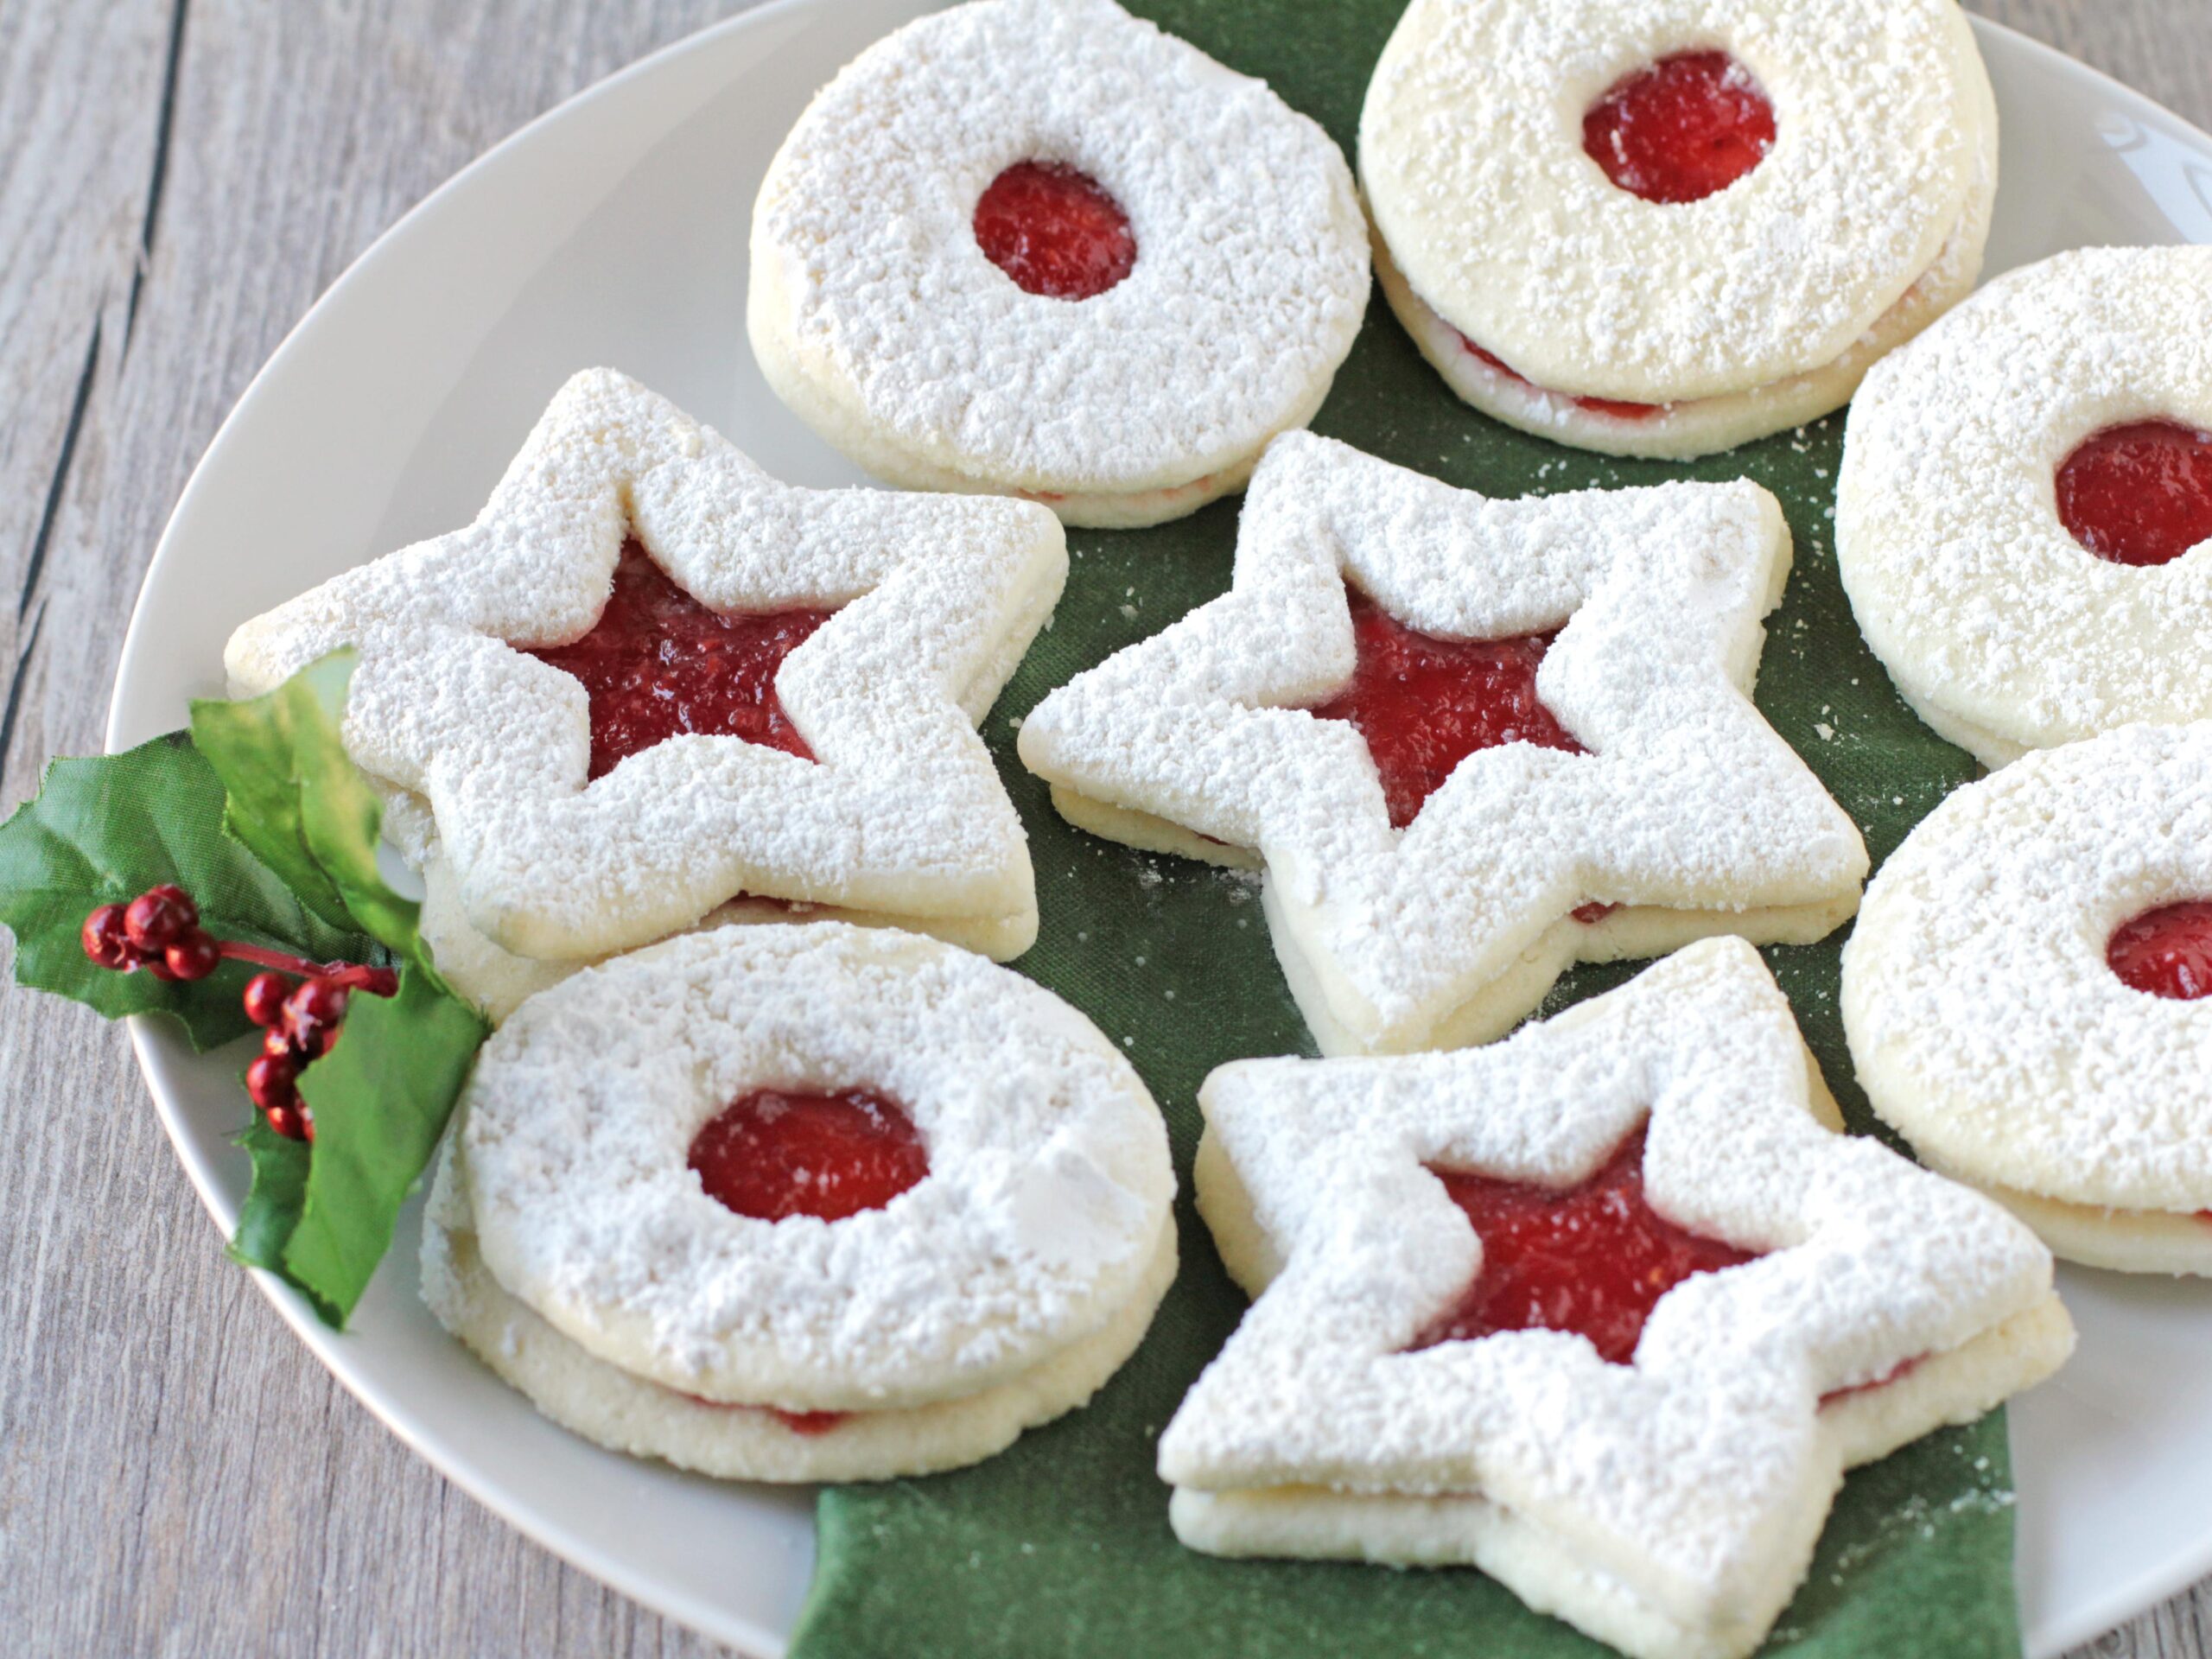
- 6) Cut out circles with a round cutter, then cut out half of those with a smaller cookie cutter to form an "O".
- 7) Slide a spatula under them to transfer to ungreased cookie sheets. Take scraps a cut-outs, roll again (will not get tough).
- 8) Bake for about 11-12 minutes, do not let these brown. Cool completely on wire rack, dust "O" shapes with powdered sugar while still warm.
- 9) Spread 1 tsp of jam/jelly on circles, carefully press the dusted "O" on top.
- *Can use any shape cut out, hearts would be perfect for Valentine's Day.