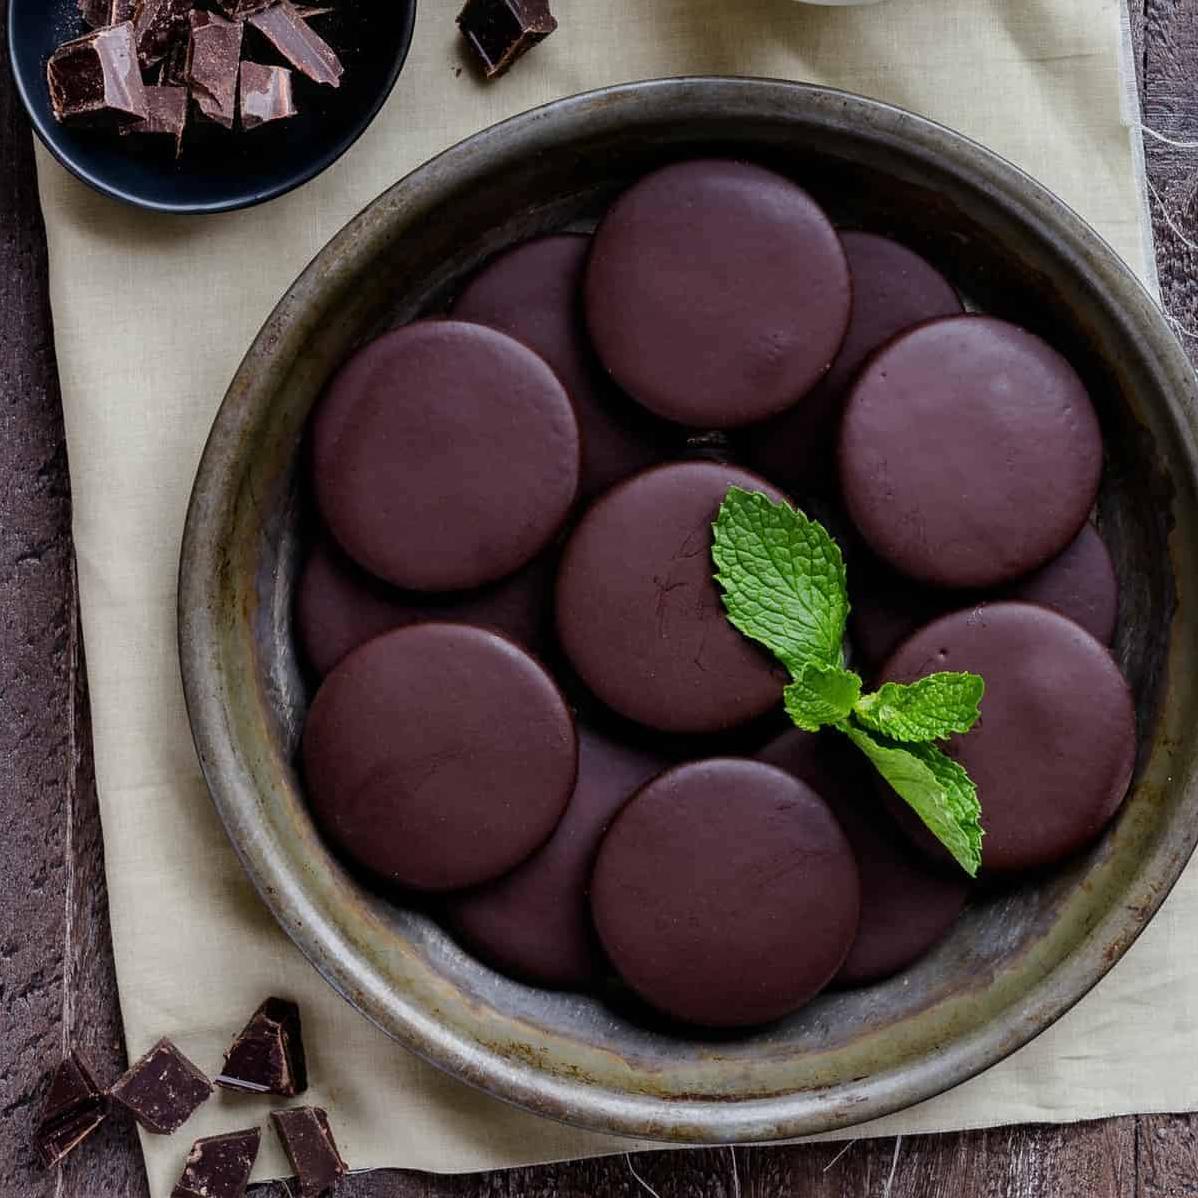
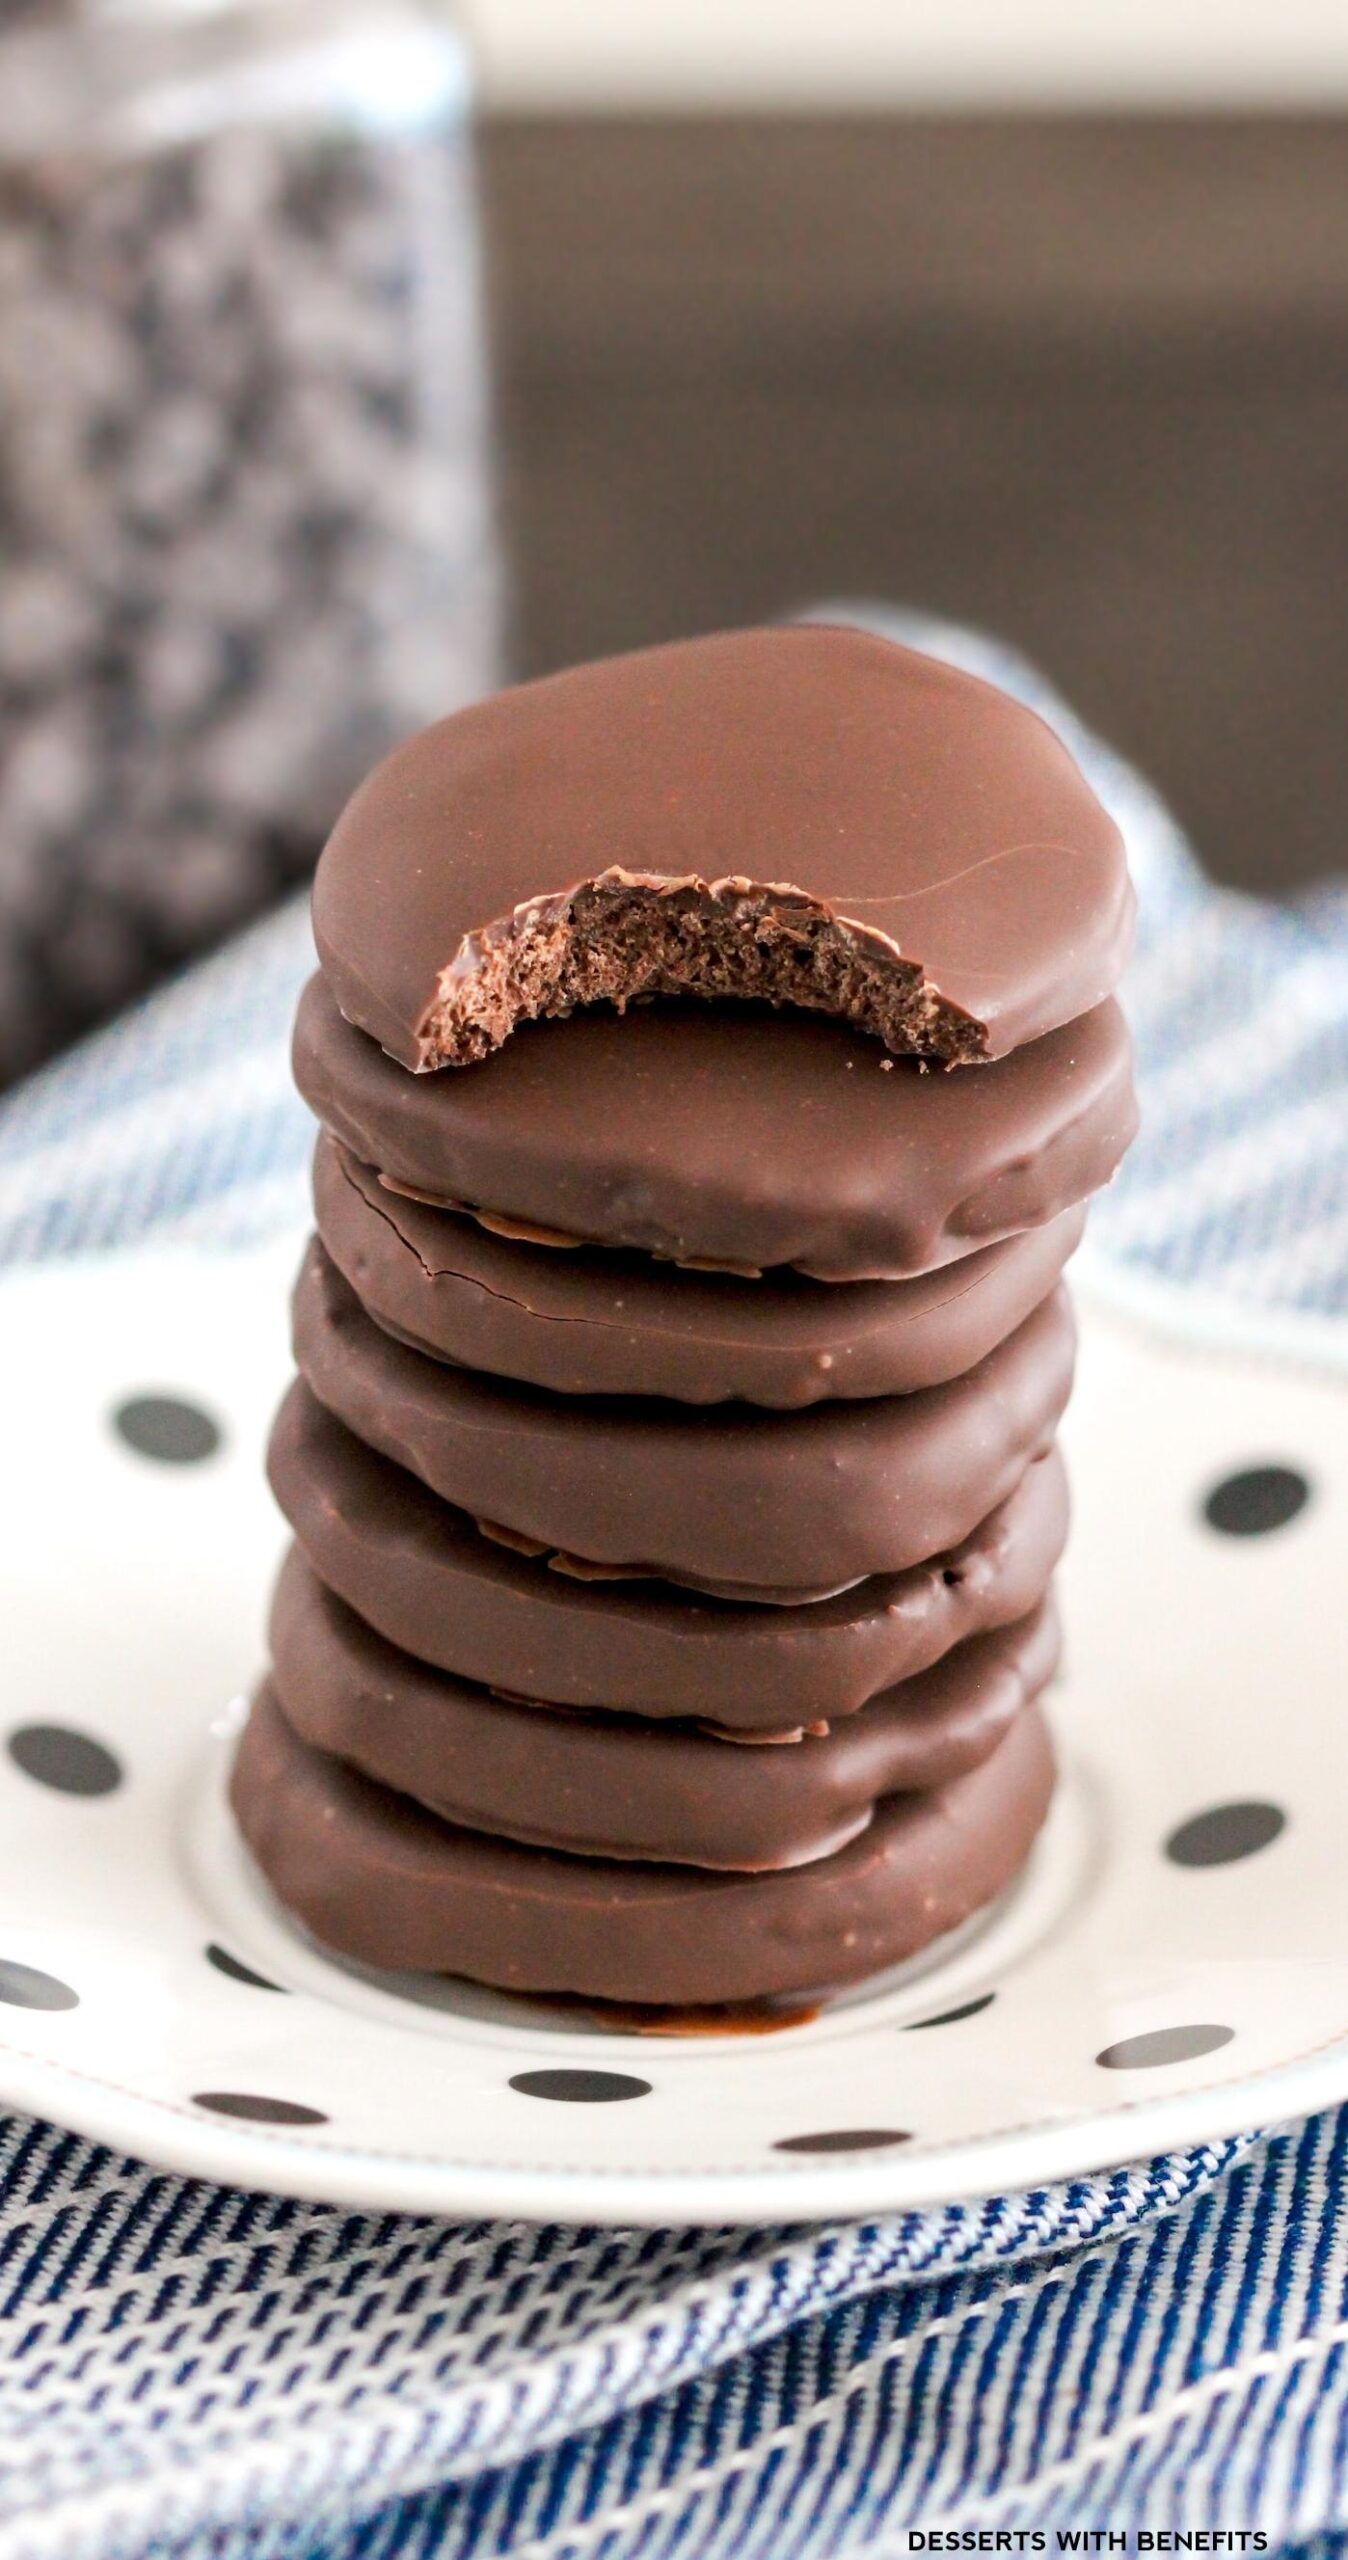
How to Make Mouthwatering Thin Mint Cookies at Home
Are you a fan of Thin Mints? These popular chocolate-mint cookies sell like hotcakes every year when the Girl Scouts start selling them for their fundraising efforts. But what if we told you that you could make a delicious, healthy, and homemade version of these classic cookies in your own kitchen?
In this recipe article, we’ll provide you with a step-by-step guide to create homemade Thin Mint cookies that are organic, gluten-free, and dairy-free. You won’t find any of the artificial ingredients or preservatives that are commonly found in store-bought versions. Instead, we rely on natural ingredients such as almond flour, coconut oil, cocoa powder, and peppermint extract to create that irresistible chocolate-mint flavor.
With our recipe instructions and tips, you’ll be well on your way to making copycat Thin Mints that are just as satisfying as the real thing. Plus, you can impress your friends and family with your baking skills while still sticking to your dietary preferences.
So let’s get started on this journey to making delicious and healthy Thin Mint cookies!
Why You’ll Love This Recipe
Do you love Girl Scout Thin Mints but wish they were healthier and more natural? Look no further than this homemade Thin Mint recipe! Not only is it all-natural, gluten-free, and dairy-free, but each bite has a rich chocolate flavor with a refreshing hint of mint. Plus, you can customize the recipe to fit vegan and keto diets.
Why settle for store-bought cookies filled with preservatives and unknown ingredients when you can roll up your sleeves and make these copycat Thin Mints from scratch? You’ll feel proud of yourself for creating such a delicious treat that not only tastes better but is also better for your body.
Using whole wheat pastry flour instead of all-purpose flour adds fiber and nutrients to the cookies. The recipe has no artificial flavors or colors commonly found in packaged cookies; instead, we use peppermint extract to create that satisfyingly crisp minty flavor.
You’ll also love that this recipe doesn’t require any special equipment or skills. All you need are a few simple ingredients you probably have in your pantry right now, like cocoa powder, butter, powdered sugar, and vanilla extract. Whether you’re baking from scratch regularly or just getting started in the kitchen, this recipe is perfect for anyone who wants to satisfy their sweet tooth while staying mindful of their health.
So why wait? Gather your ingredients, preheat your oven, and prepare to feel delighted as the aroma of fresh-baked Thin Mints fills your kitchen. Once you taste these homemade cookies, you may never crave the store-bought version again!
Ingredient List
Let’s take a look at the ingredients needed to make this Thin Mint recipe at home. Don’t worry – this recipe calls for all-natural and healthy ingredients, so you can indulge in a guilt-free treat!
For the cookies:
- 1 cup (2 sticks) unsalted butter, softened to room temperature
- 1 cup granulated sugar
- 1 large egg, at room temperature
- 1 teaspoon pure vanilla extract
- 2 cups all-purpose flour
- 3/4 cup Dutch process cocoa powder
- 1/4 teaspoon sea salt
For the chocolate coating:
- 8 ounces dark chocolate chips
- 1 tablespoon coconut oil
For the peppermint layer:
- 2 cups powdered sugar
- 1/2 cup almond flour
- 1/3 cup maple syrup
- 1 teaspoon pure peppermint extract
- a pinch of sea salt
These are pretty standard pantry items, especially if you enjoy baking frequently. Make sure that your butter and eggs are at room temperature before baking for best results.
The Recipe How-To
Step 1: Preheat the oven to 350°F.
Step 2: In a bowl, whisk together 1 cup of whole wheat pastry flour, ½ cup of cocoa powder, and a pinch of sea salt. Set aside.
Step 3: In another bowl, beat 1 cup of room temperature unsalted butter and ¾ cup of granulated sugar with an electric mixer on medium-high speed for about 2 minutes or until it becomes fluffy.
Step 4: Add 1 large egg and 1 tsp. of vanilla extract to the butter mixture, beating between each addition until well-combined.
Mixing in the chocolate chips
Step 5: Reduce the mixer speed to low and gradually stir in the flour mixture from Step 2 until fully incorporated.
Step 6: Fold in 8 ounces (142g) of chopped semisweet chocolate chips to the mixture.
Baking
Step 7: Roll the cookie dough into balls that are each about 1 tablespoon big. You can use a cookie scoop to ensure they are all evenly sized.
Step 8: Place them on a baking sheet lined with parchment paper. Be sure to leave at least an inch between each cookie ball.
Step 9: Use a fork to press down lightly onto each cookie ball to flatten it slightly.
Step 10: Bake at 350°F for about 12-15 minutes.
Adding the minty touch
While waiting for the cookies to bake, you can prepare the mint coating.
Step 11: In another bowl, use an electric mixer to cream together ½ cup (1 stick) of room temperature unsalted butter, 1½ cups powdered sugar, and 1 tsp peppermint extract.
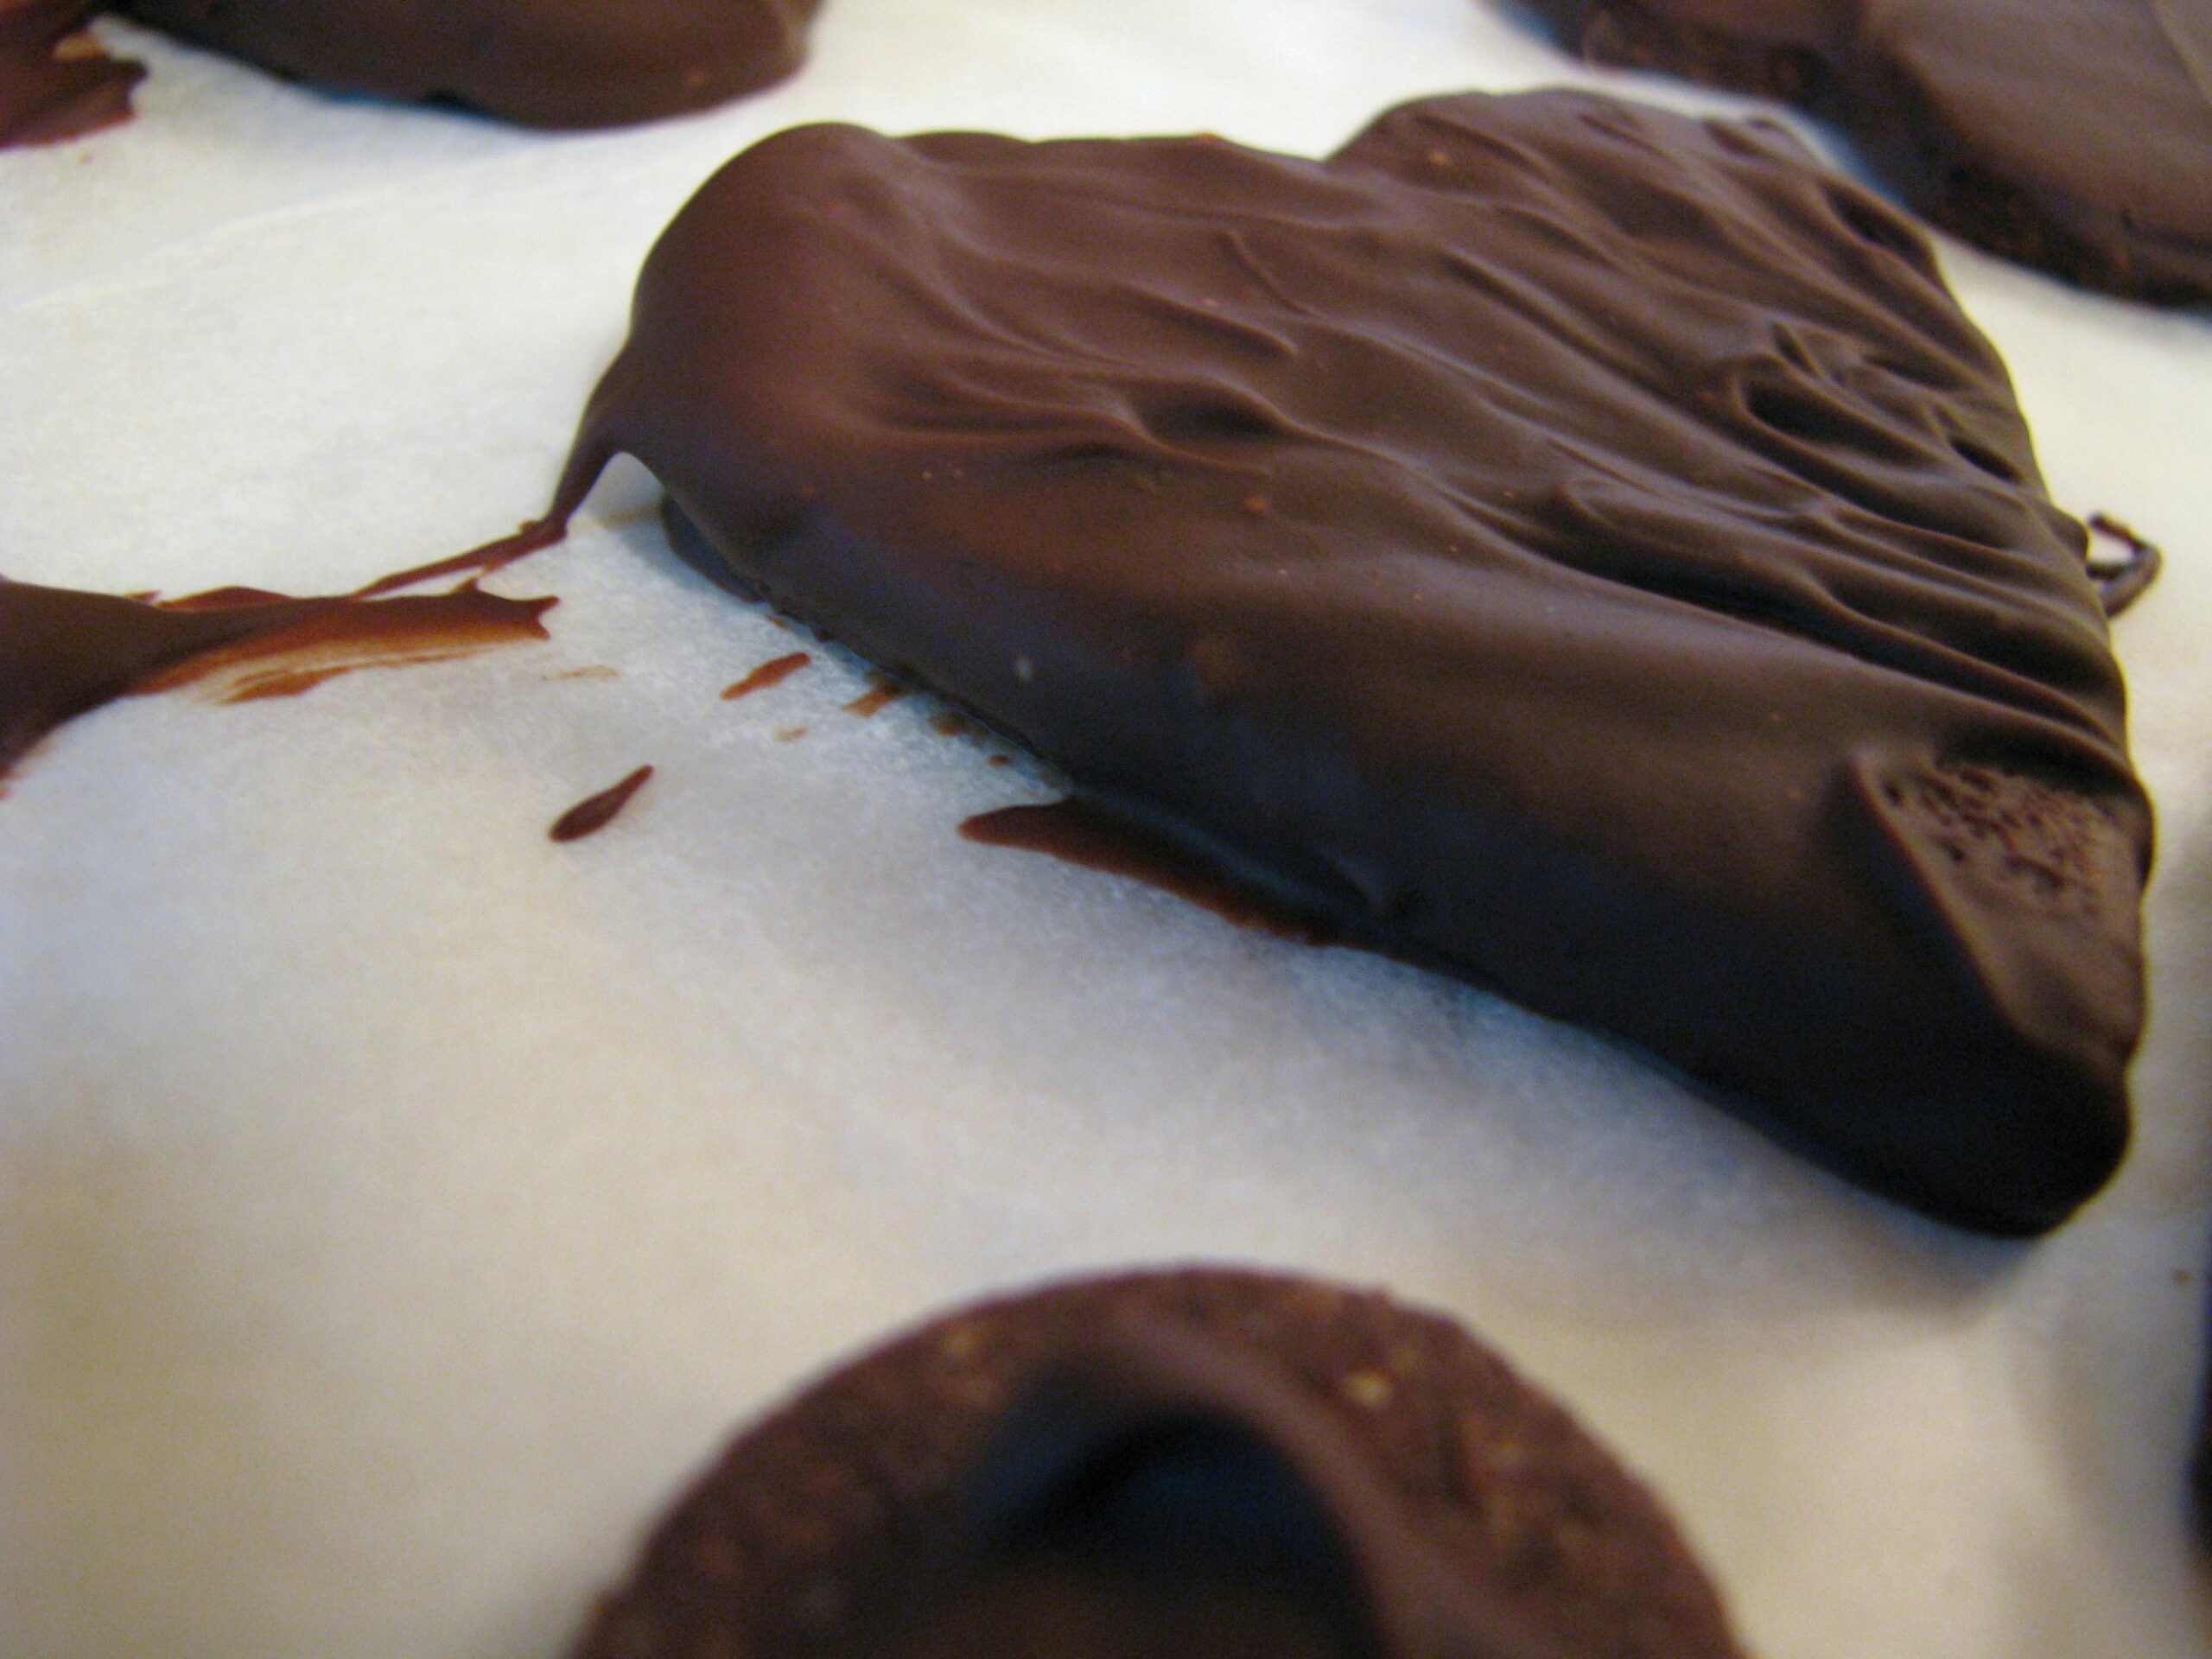
Coating the cookies
Step 12: When the cookies are out of the oven and cool enough to handle, use a fork or toothpicks to dip each cookie in the mint coating until fully coated.
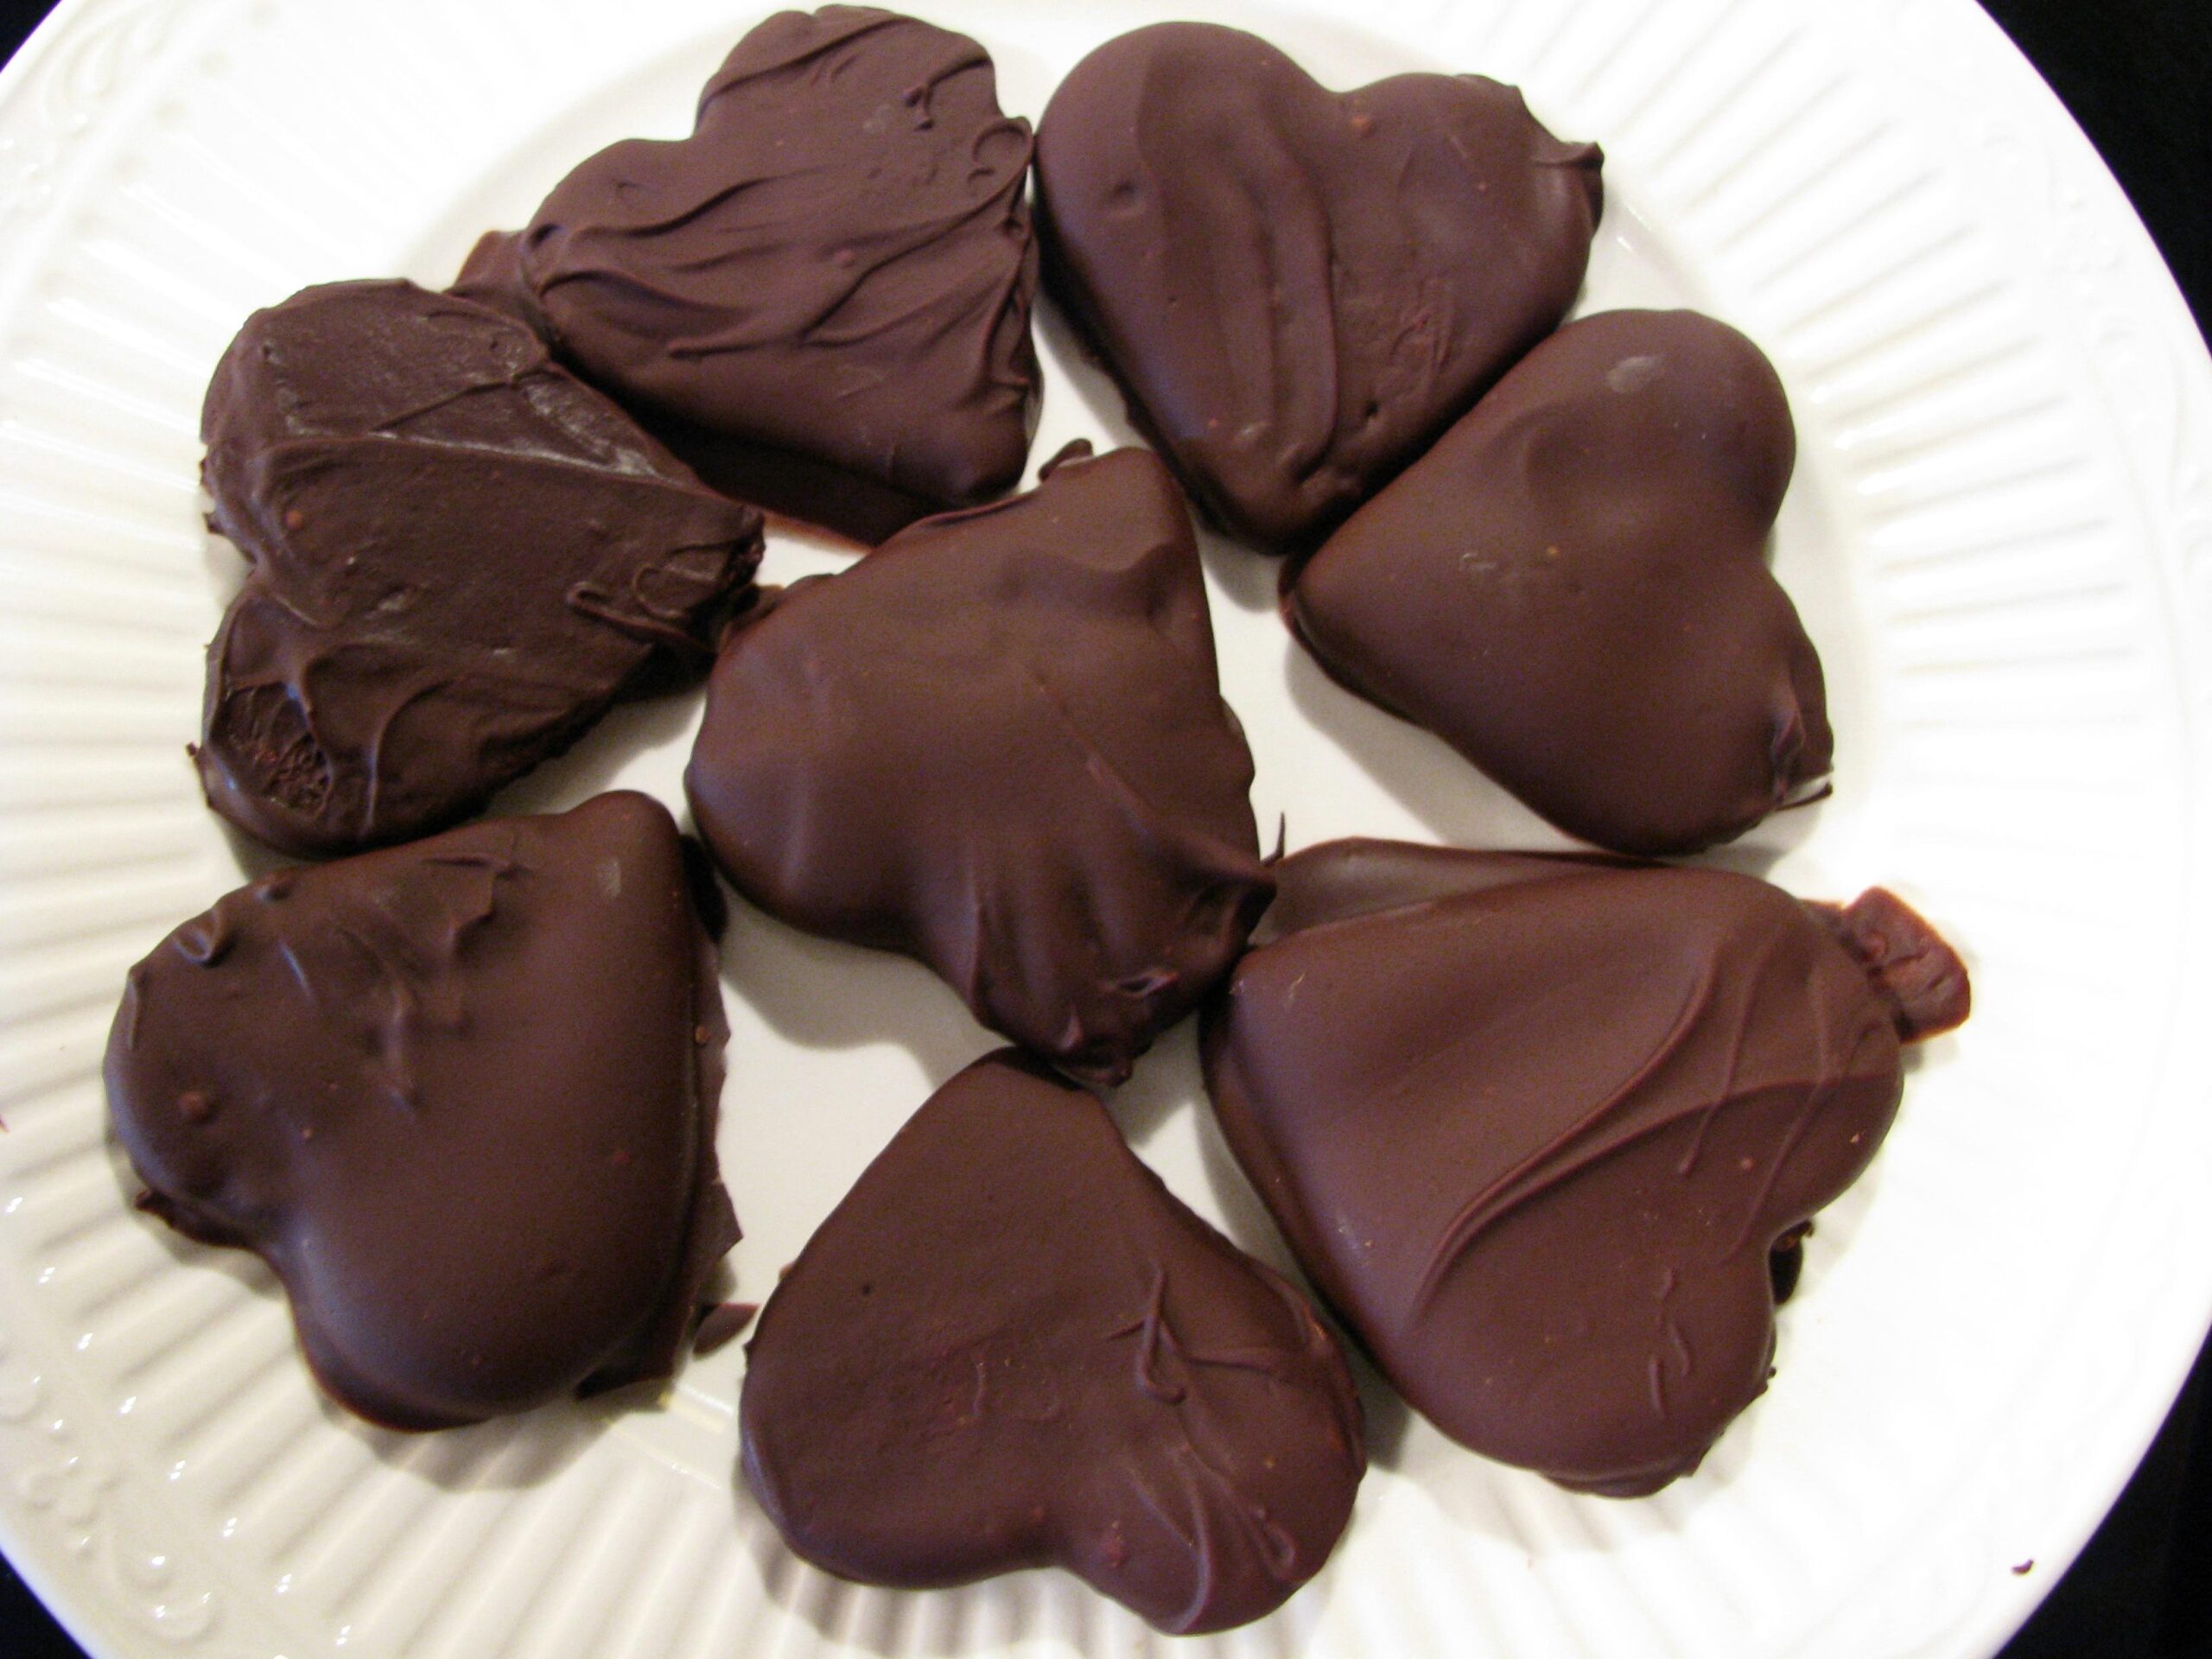
Step 13: Place the cookies on a parchment-lined baking sheet and transfer to the refrigerator to cool and harden for at least 10-15 minutes.
When the coating is set, your homemade thin mint cookies are ready! They are deliciously minty with a rich chocolate flavor. You’ll never go back to store-bought Thin Mints again!
Substitutions and Variations

Are you looking to switch up the flavors in this Thin Mint recipe? Here are a few substitutions and variations to try out:
– Vegan: To make this recipe vegan, substitute the unsalted butter for coconut oil or a vegan butter alternative. Use a flax egg (1 tablespoon flaxseed meal + 3 tablespoons water) or other egg replacers, in place of the large egg.
– Keto: For those following a keto diet, swap out the whole wheat pastry flour for almond flour and replace the granulated sugar with a sugar substitute, such as stevia or monk fruit sweetener.
– Gluten-free: Make this recipe gluten-free by using a gluten-free all-purpose flour blend in place of the whole wheat pastry flour.
– No Bake: Want to skip ahead of baking? Try making no-bake thin mints! Simply mix together cocoa powder, coconut oil, maple syrup, and peppermint extract until smooth. Chill the mixture until firm, then form into small rounds and dip them in melted chocolate. Let them set in the freezer and enjoy!
– Different extracts: Instead of using peppermint extract, try experimenting with other extracts such as almond or orange extract.
– Double chocolate: Add extra chocolate chips or drizzle melted chocolate over the finished cookies for an even richer flavor.
Whether you decide to go vegan, keto, gluten-free or play around with different extracts and extras, this homemade Thin Mint recipe is easily customizable to your liking. Get creative and find your perfect version of this classic treat!
Serving and Pairing

Now that we have successfully made our delicious homemade Thin Mint cookies, let’s talk about the best way to serve and enjoy them.
To start, I recommend pairing these mint chocolate cookies with a cold glass of almond or oat milk. The creamy texture of the milk pairs perfectly with the rich and chocolatey flavor of the Thin Mints.
Another excellent pairing option is to serve your Thin Mints alongside a scoop of peppermint ice cream. Trust me; the combination of cool and refreshing mint ice cream with rich chocolate cookies is absolutely heavenly.
If you are feeling extra indulgent, you can also use Thin Mints to make a decadent milkshake. Simply blend a few frozen scoops of vanilla ice cream with some crushed Thin Mints and milk until smooth. Top it off with whipped cream for an extra treat.
Lastly, don’t forget that these homemade natural Thin Mints can also be used as a versatile ingredient in other desserts. Try crumbling them up over a bowl of Greek yogurt or vanilla pudding for added texture and flavor.
No matter how you decide to serve your homemade Thin Mints, you won’t be disappointed. Bon appétit!
Make-Ahead, Storing and Reheating
One of the best things about these homemade thin mints is that they can easily be made ahead of time and stored to enjoy later. In fact, you can make a batch or two and store them in an airtight container in the fridge for up to a week or in the freezer for up to a month, which is perfect for when you need a quick chocolate fix.
To store them properly, make sure that the cookies have cooled completely before placing them in the container. You can also layer them with parchment paper to prevent them from sticking together.
If you decide to freeze your homemade thin mints, just take them out of the freezer a few minutes before serving or reheating. You can either reheat them in the oven at 350°F for 2-3 minutes until they are warm and slightly softened, or simply let them come to room temperature on their own.
In addition to being stored and reheated easily, these cookies are also incredibly versatile. They make great snacks on their own, but they can also be paired with different beverages like coffee, tea, or milk. For an even more indulgent treat, you can even try dipping them into melted chocolate!
Overall, these homemade thin mints are not only easy to make and delicious on their own but also convenient and versatile enough to enjoy in many ways. So don’t hesitate to whip up a batch today and savor them whenever you want!
Tips for Perfect Results
Achieving perfect results can make all the difference when making homemade thin mints. Here are some tips to help you get the best outcome possible:
1. Use quality ingredients – when making homemade thin mints, it’s important to use high-quality ingredients like whole wheat pastry flour, cocoa powder, and pure vanilla extract. This will ensure that your cookies have a great taste and texture.
2. Chill your dough – chilling the dough will help prevent it from spreading too much while baking. You can chill the dough before rolling it out or even freeze it ahead of time if you plan on making the cookies at a later date.
3. Use parchment paper – using parchment paper can make cleanup easier and also prevent your cookies from sticking to the baking sheet.
4. Measure accurately – measuring your ingredients accurately is key to achieving the perfect balance of flavors and textures in your thin mint cookies.
5. Don’t overmix – overmixing the dough can result in tough cookies. Mix until everything is just combined to avoid toughness.
6. Keep an eye on the oven – oven temperatures can vary, so keep an eye on your cookies as they bake to ensure they don’t become burnt or overbaked.
7. Don’t skip the peppermint extract – peppermint extract is what gives these cookies their iconic flavor! Don’t skip this ingredient, and make sure to use high quality extract for better taste.
Overall, taking steps to carefully measure ingredients, properly mix the dough, and pay close attention during baking will guarantee a delicious batch of homemade thin mints.
FAQ
Before we wrap up this Thin Mint recipe article, let me anticipate some frequently asked questions about this dessert. You might be wondering about the ingredients, the texture of the cookies or how to store them. Some of your questions might have been answered in the previous segments, but there are still some queries left unanswered. So, keep reading to get satisfied answers to your questions.
What ingredient is in Thin Mints?
The ingredients in Thin Mints® cookies include graham flour, sugar, palm oil, wheat flour, cane sugar, cornstarch, cocoa, chocolate, molasses, salt, natural flavors, baking soda, cocoa processed with alkali, soy lecithin, and whey. It is important to note that these cookies contain wheat, soy, and milk ingredients.
What is the healthiest Girl Scout cookie?
After conducting a thorough analysis of all the Girl Scout Cookies, it has been found that Shortbread and Trefoils outshined all other varieties due to their low calorie content of only 30 and 32 calories per cookie, respectively. Additionally, these cookies are a healthier option as they contain lower levels of saturated fat and added sugars compared to other varieties. Therefore, Shortbread and Trefoils are a top choice for those who seek healthier food options.
Did Girl Scouts change their Thin Mint recipe?
One of the most beloved treats from the Girl Scouts has undergone a quiet makeover, with the organization calling for a recipe change to ensure that it no longer contains any dairy ingredients.
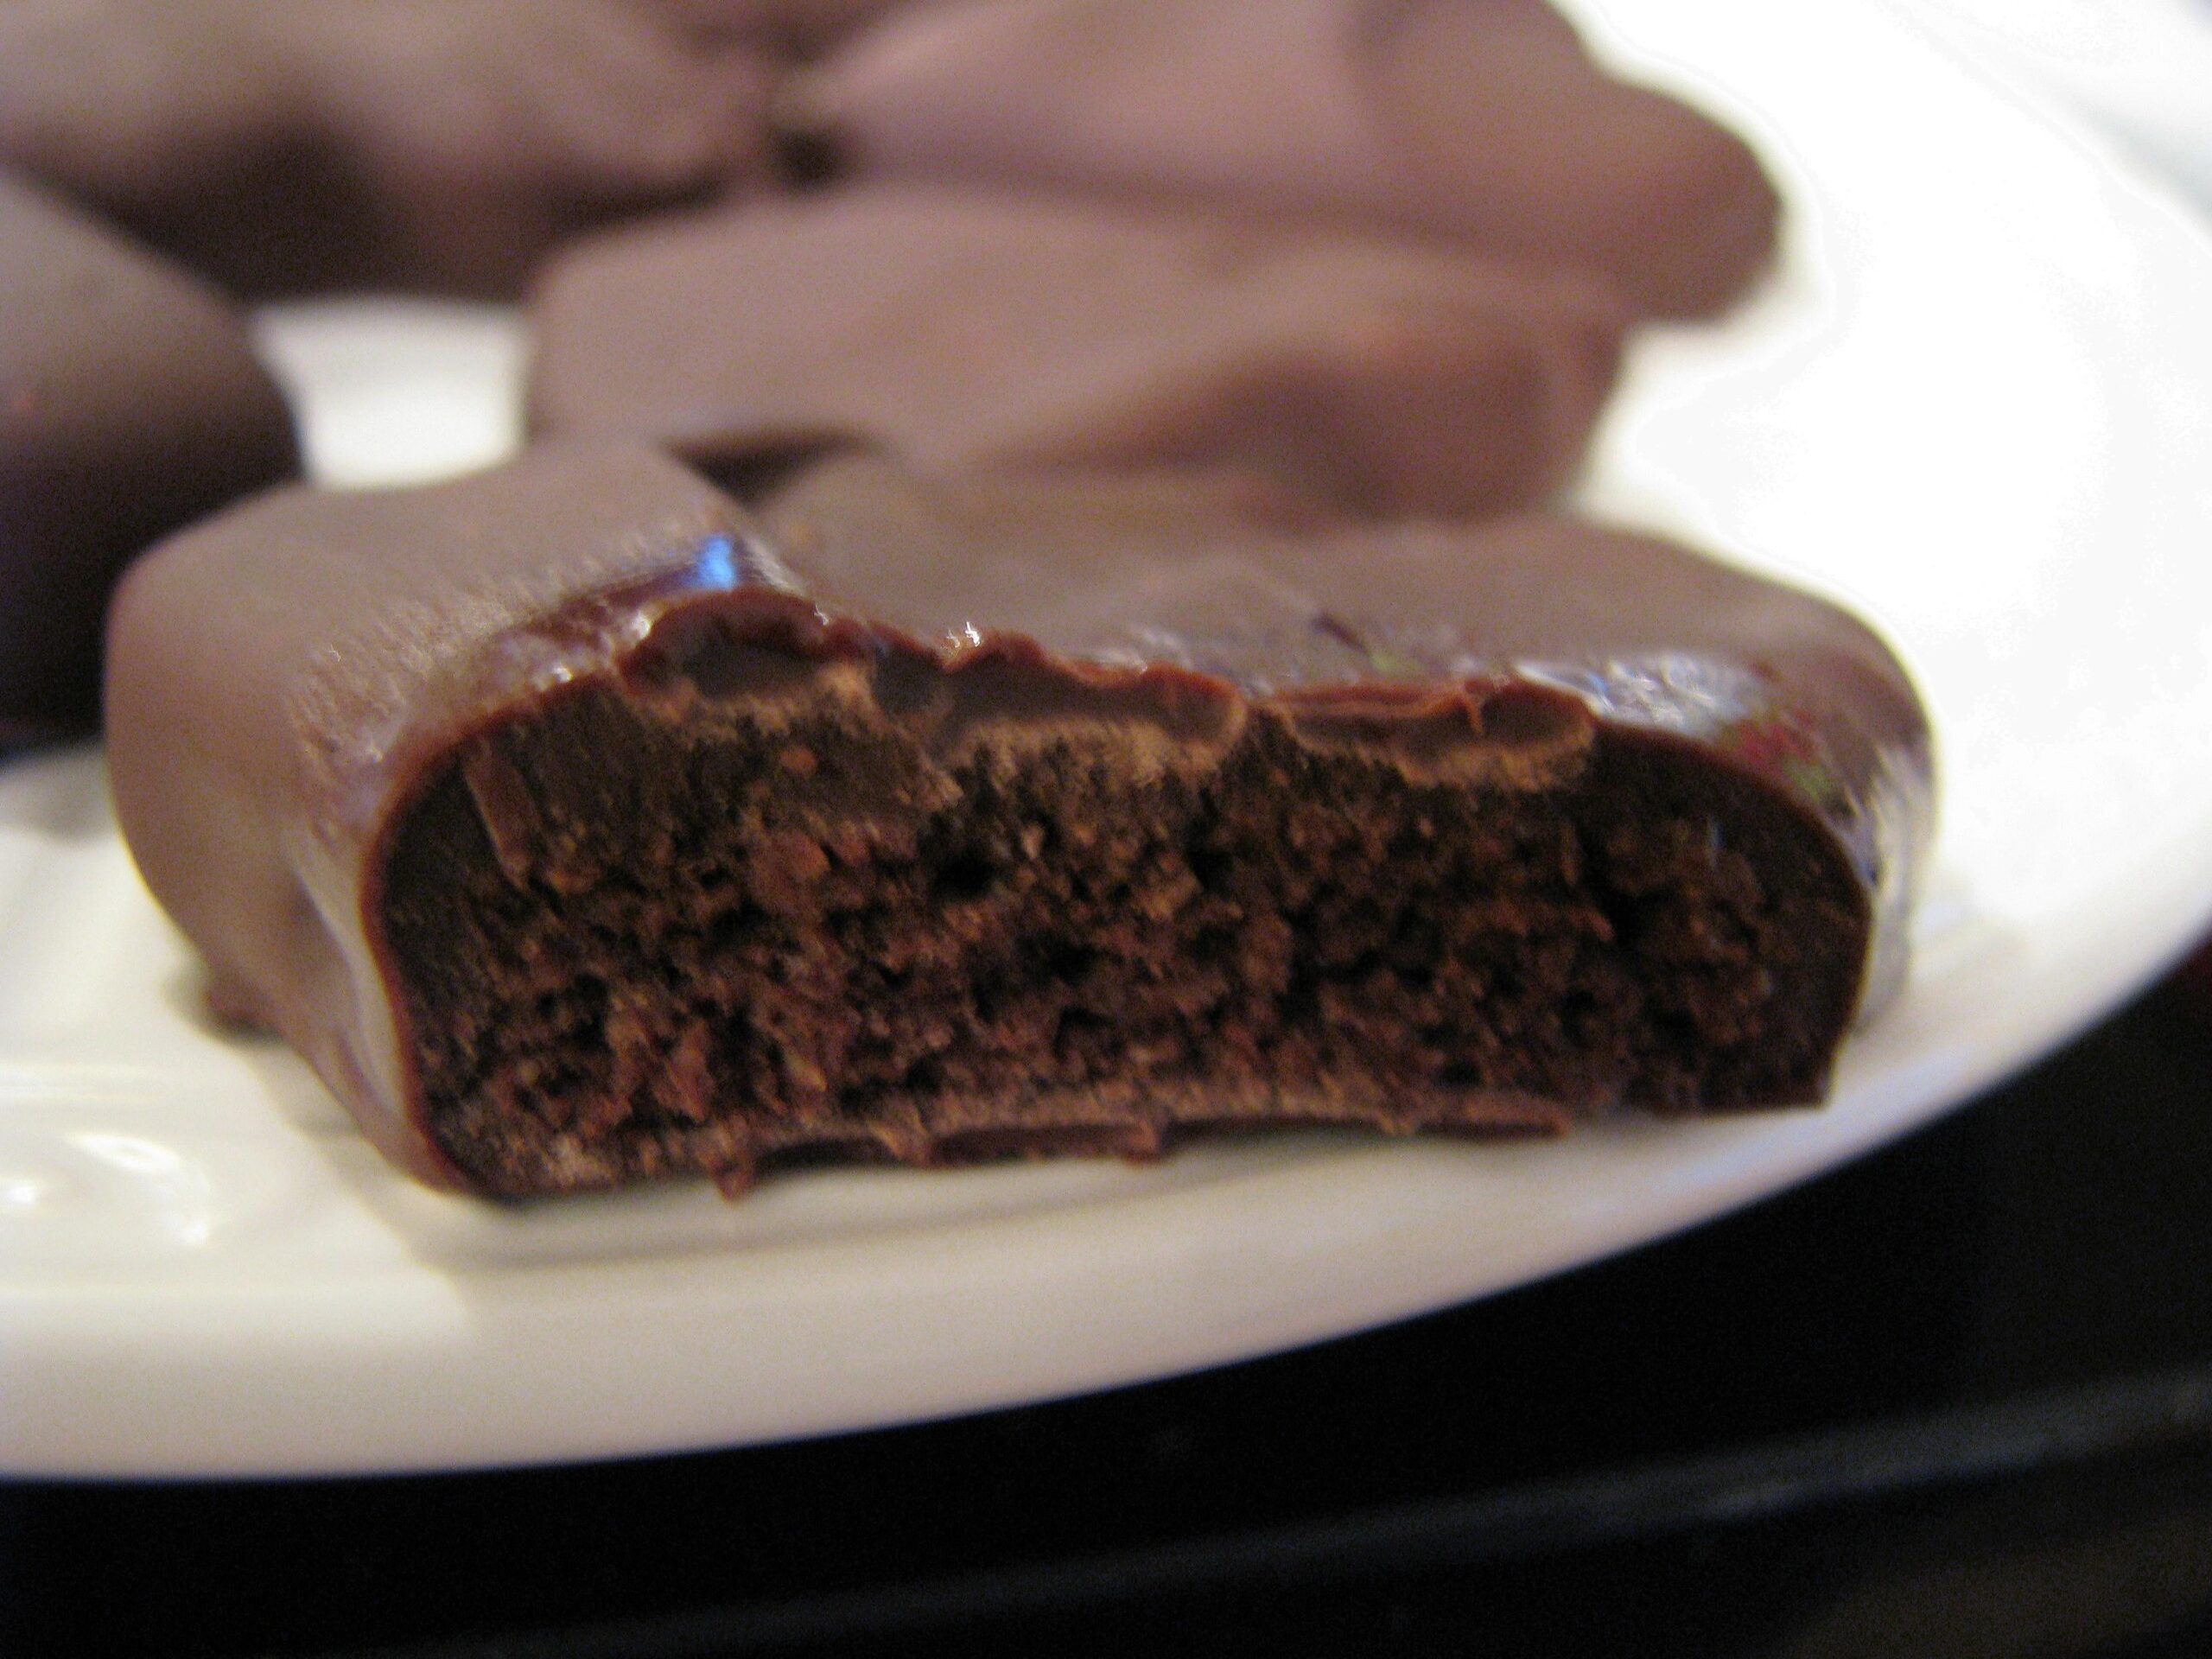
What is a Thin Mint?
Imagine biting into a delightfully crisp and “buttery” cookie that’s infused with the refreshing taste of mint and lusciously coated in a rich layer of mint-chocolate.
Bottom Line
with me, foodie! Let’s grab our aprons and get to work on this Thin Mint recipe. Not only is it a healthy and all-natural alternative to store-bought Thin Mints, but it’s also a fun project to do at home. With simple substitutions, you can easily make it vegan, gluten-free, or even keto friendly.
As a nutritionist and food blogger, I highly recommend this recipe as a tasty treat for any occasion. The combination of cocoa powder, peppermint extract, and pure vanilla creates a deliciously refreshing burst of flavor that will have your taste buds dancing.
So what are you waiting for? Whip up a batch of homemade Thin Mints today and indulge guilt-free in this classic Girl Scout cookie flavor. Your family and friends will thank you for sharing the love (and yumminess!).
Thin Mint Recipe - Homemade and All-Natural Recipe
Ingredients
Cookies
- 8 ounces butter, room temperature
- 1 cup powdered sugar
- 1 teaspoon natural vanilla extract
- 1 cup cocoa powder
- 3/4 teaspoon fine grain sea salt
- 1 1/2 cups whole wheat pastry flour
Coating
- 1 lb good quality semisweet chocolate (chopped or chips)
- 1/4 teaspoon natural peppermint extract, plus
- 2 -3 drops natural peppermint extract
Instructions
- Preheat your oven to 350.
- In a mixer cream the butter until it is light and fluffy. Add the powdered sugar and cream some more, scraping the sides of the bowl as necessary. Stir in the vanilla extract and then the salt and cocoa powder. Mix until the cocoa powder is integrated and the batter is smooth and creamy, like a thick frosting. Add the whole wheat pastry flour and mix just until the flour is incorporated - don't overmix.
- Turn the dough out onto a counter, gather it into a ball, and knead it just once or twice to bring it together nicely. Place the ball of dough into a large plastic bag and flatten it into a disk roughly 3/4-inch thick. Place the dough in the freezer for approximately 20 minutes to chill.
- Remove the dough from the freezer and roll it out very thin, about 1/8-inch thick. Cut out cookies using a 1 1/2-inch cutter. Place cookies on a parchment-lined baking sheet and bake for 10 minutes. Remove the cookies from the oven and allow them to cool completely.
- While the cookies are in the oven, get the coating ready. Use a double boiler to slowly melt the chocolate, stirring occasionally until it is glossy and smooth. Stir in the peppermint extract. Adjust to taste by adding a drop or two more - but don't overdo it!
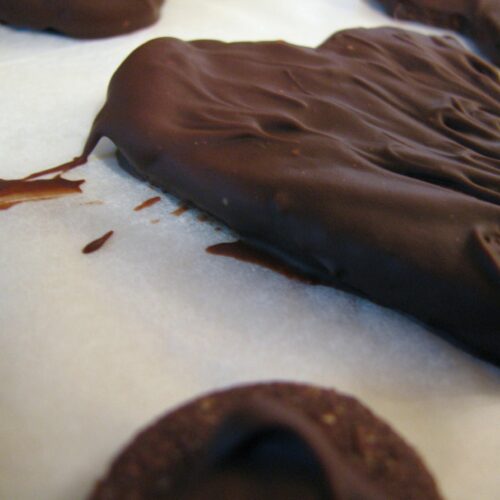
- Coat the cookies one at a time, dropping each cookie into the chocolate, making sure each one gets fully coated. Lift the cookie out of the chocolate with a fork allowing any excess chocolate to drip off before placing it on a parchment-lined baking sheet to dry. You want a thin, even coating of chocolate. Place the cookies in the refrigerator or freezer to set.