Homemade Bread Machine Pizza Crust – Quick and Delicious!
Welcome to my bread machine pizza crust and dairy-free toppings recipe! As a nutritionist and food blogger, I constantly strive to create recipes that are both healthy and delicious, and this pizza recipe is no exception.
Pizza is a timeless comfort food that everyone loves, but traditional pizza dough can be heavy and high in gluten. That’s why I created this gluten-free pizza crust recipe that utilizes a bread machine to do most of the work for you.
But this recipe doesn’t stop there – we’ll also be incorporating dairy-free toppings to make a truly healthy and satisfying meal. Whether you’re lactose intolerant, vegan, or simply trying to reduce your dairy intake, this pizza recipe has got you covered.
I believe that everyone should be able to enjoy the foods they love without sacrificing their health or well-being in the process. So join me on this journey as we create a deliciously healthy pizza that the whole family will love.
Why You’ll Love This Recipe
This bread machine pizza crust and dairy-free toppings recipe is perfect for anyone who loves delicious, healthy, and easy-to-make food. There are so many reasons why you’ll love this recipe, from the amazing flavor to the fact that it’s gluten-free, dairy-free, and vegan-friendly.
With this recipe, you can make your own pizza crust from scratch using simple and wholesome ingredients like flour, salt, olive oil, honey, and active dry yeast. You don’t need any special tools or skills, all you need is a bread machine or a stand mixer to do the hard work for you.
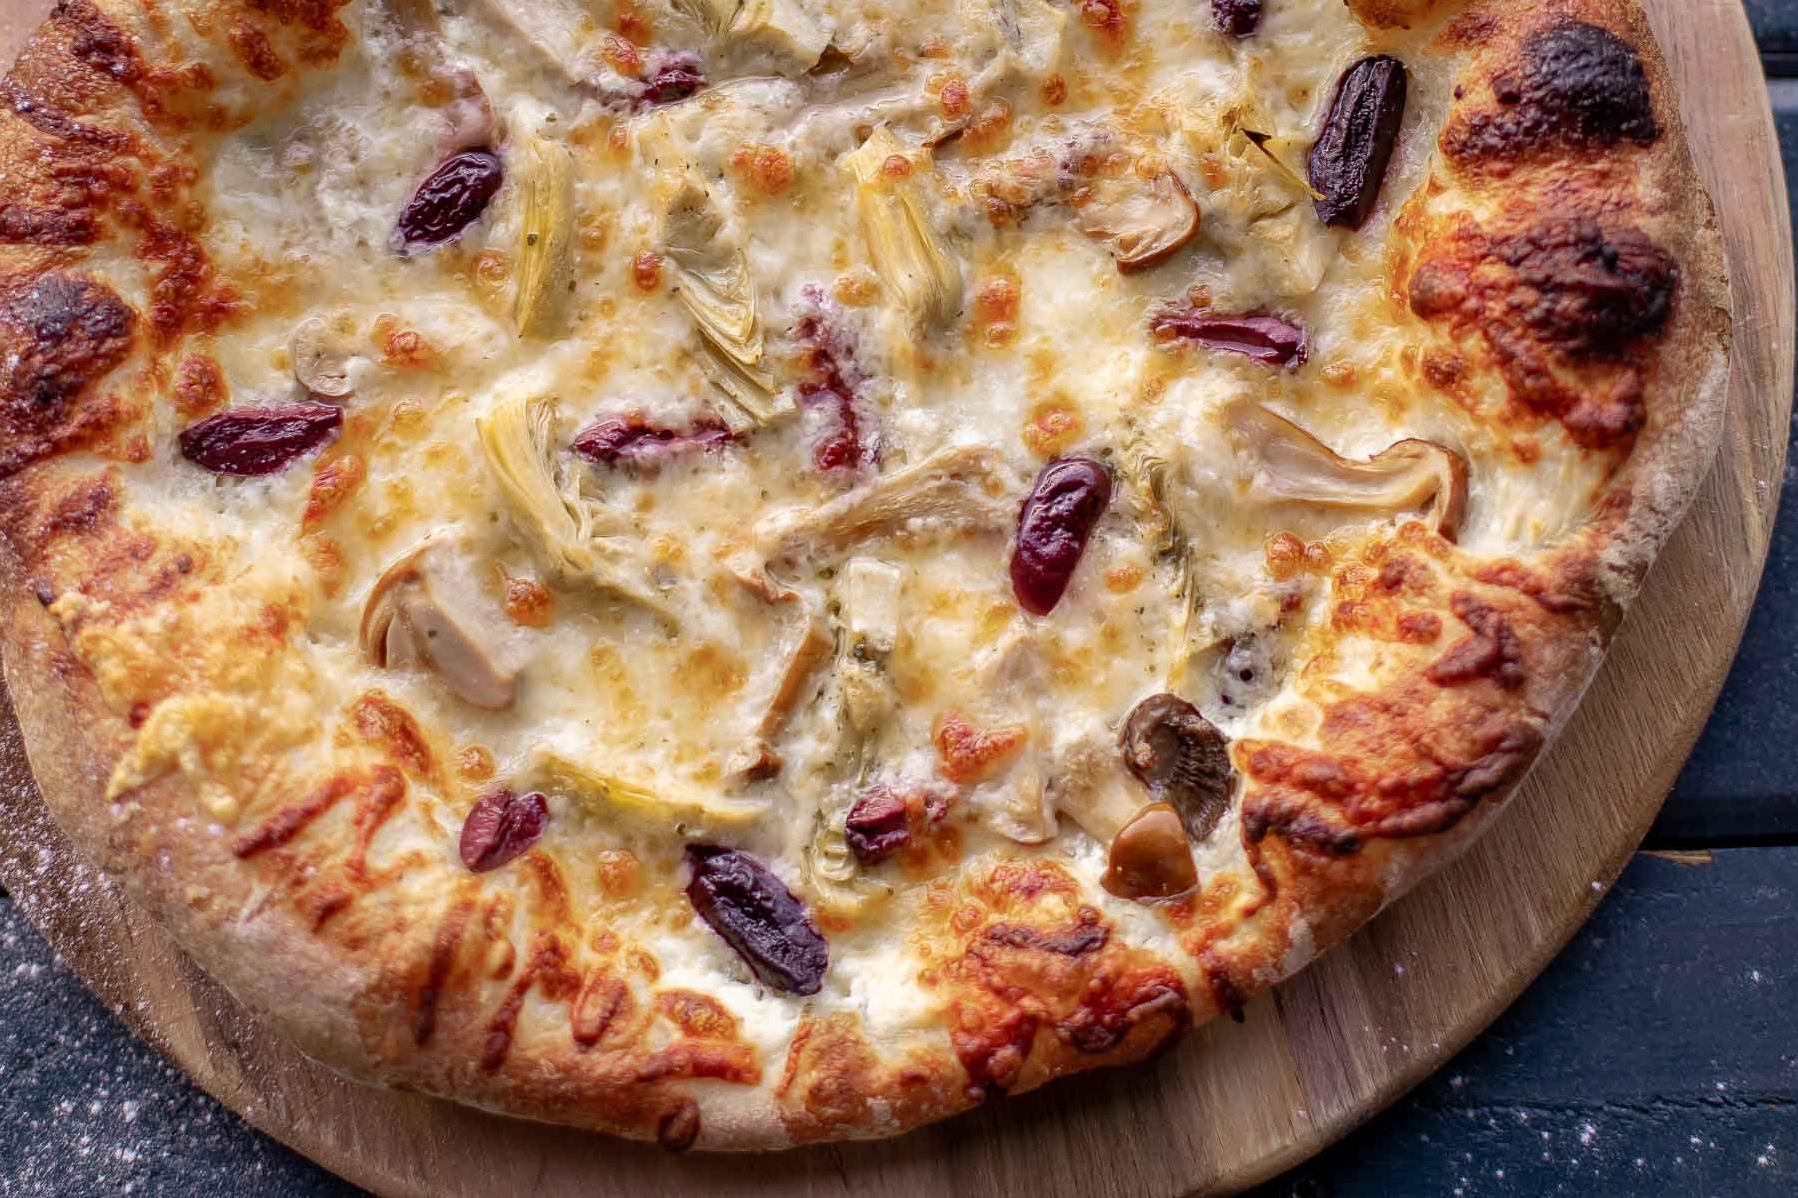
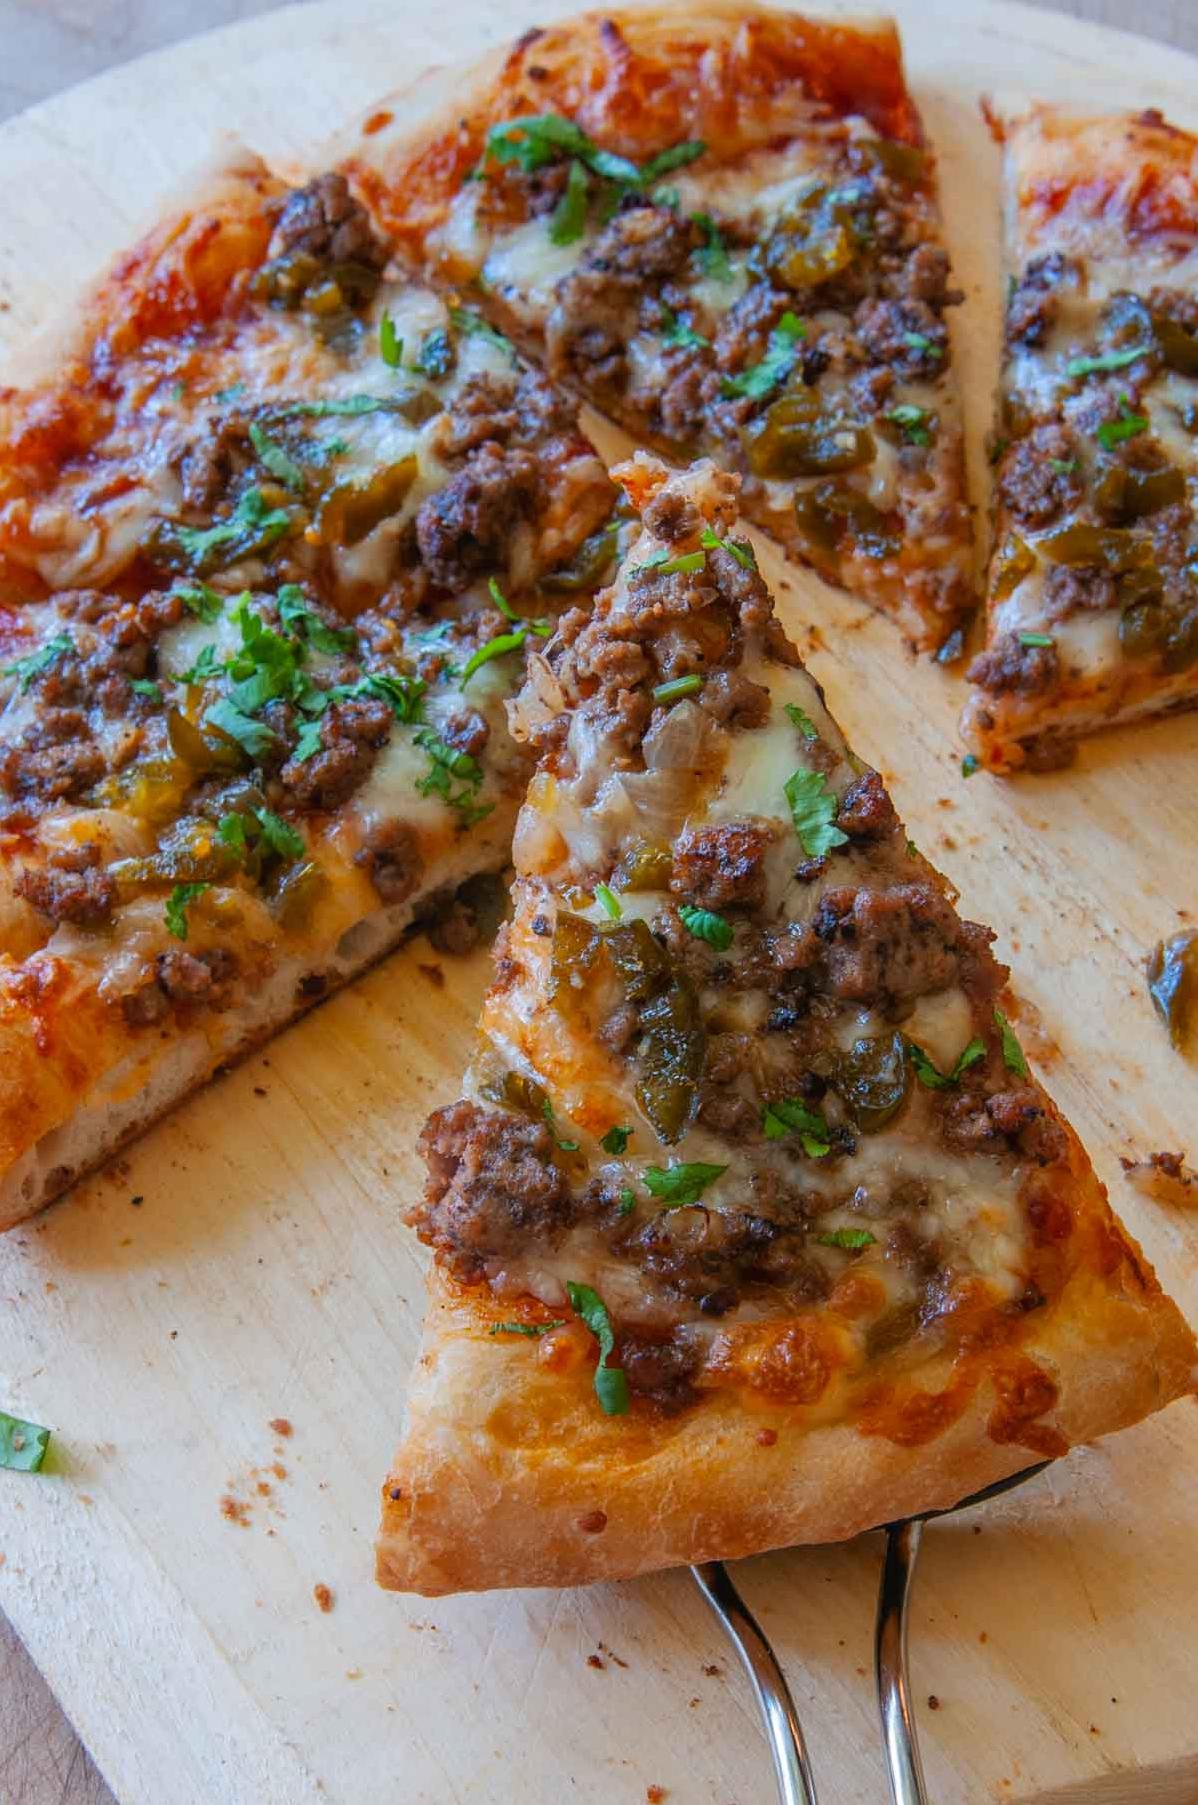
The best part about this recipe is that it’s completely customizable. You can add any of your favorite toppings, whether it’s fresh veggies like roasted red peppers or spinach, or proteins like grilled chicken or pesto shrimp. The possibilities are endless!
But what really sets this recipe apart is how healthy it is. By making your own dough and choosing healthy toppings, you can enjoy pizza without any of the guilt. It’s naturally dairy-free and gluten-free too which makes it the perfect meal for anyone with dietary restrictions.
So if you’re looking for a delicious, healthy and easy-to-make pizza recipe that will satisfy both your taste buds and dietary needs then look no further than this bread machine pizza crust and dairy-free toppings recipe!
Ingredient List
Here’s what you need to make this delicious and healthy bread machine pizza crust with dairy-free toppings recipe.
For the crust:
- 1 1/2 cups warm water (95-115 degrees)
- 2 tablespoons honey
- 4 cups flour (you can use all-purpose flour or try spelt flour for a healthier option)
- 2 teaspoons salt (use sea salt for added flavor)
- 2 teaspoons active dry yeast
- 1/4 cup olive oil
- cornmeal, for dusting
For the toppings:
Feel free to get creative with your favorite toppings! Here are some ideas:
– Tomato sauce (look for naturally dairy-free options)
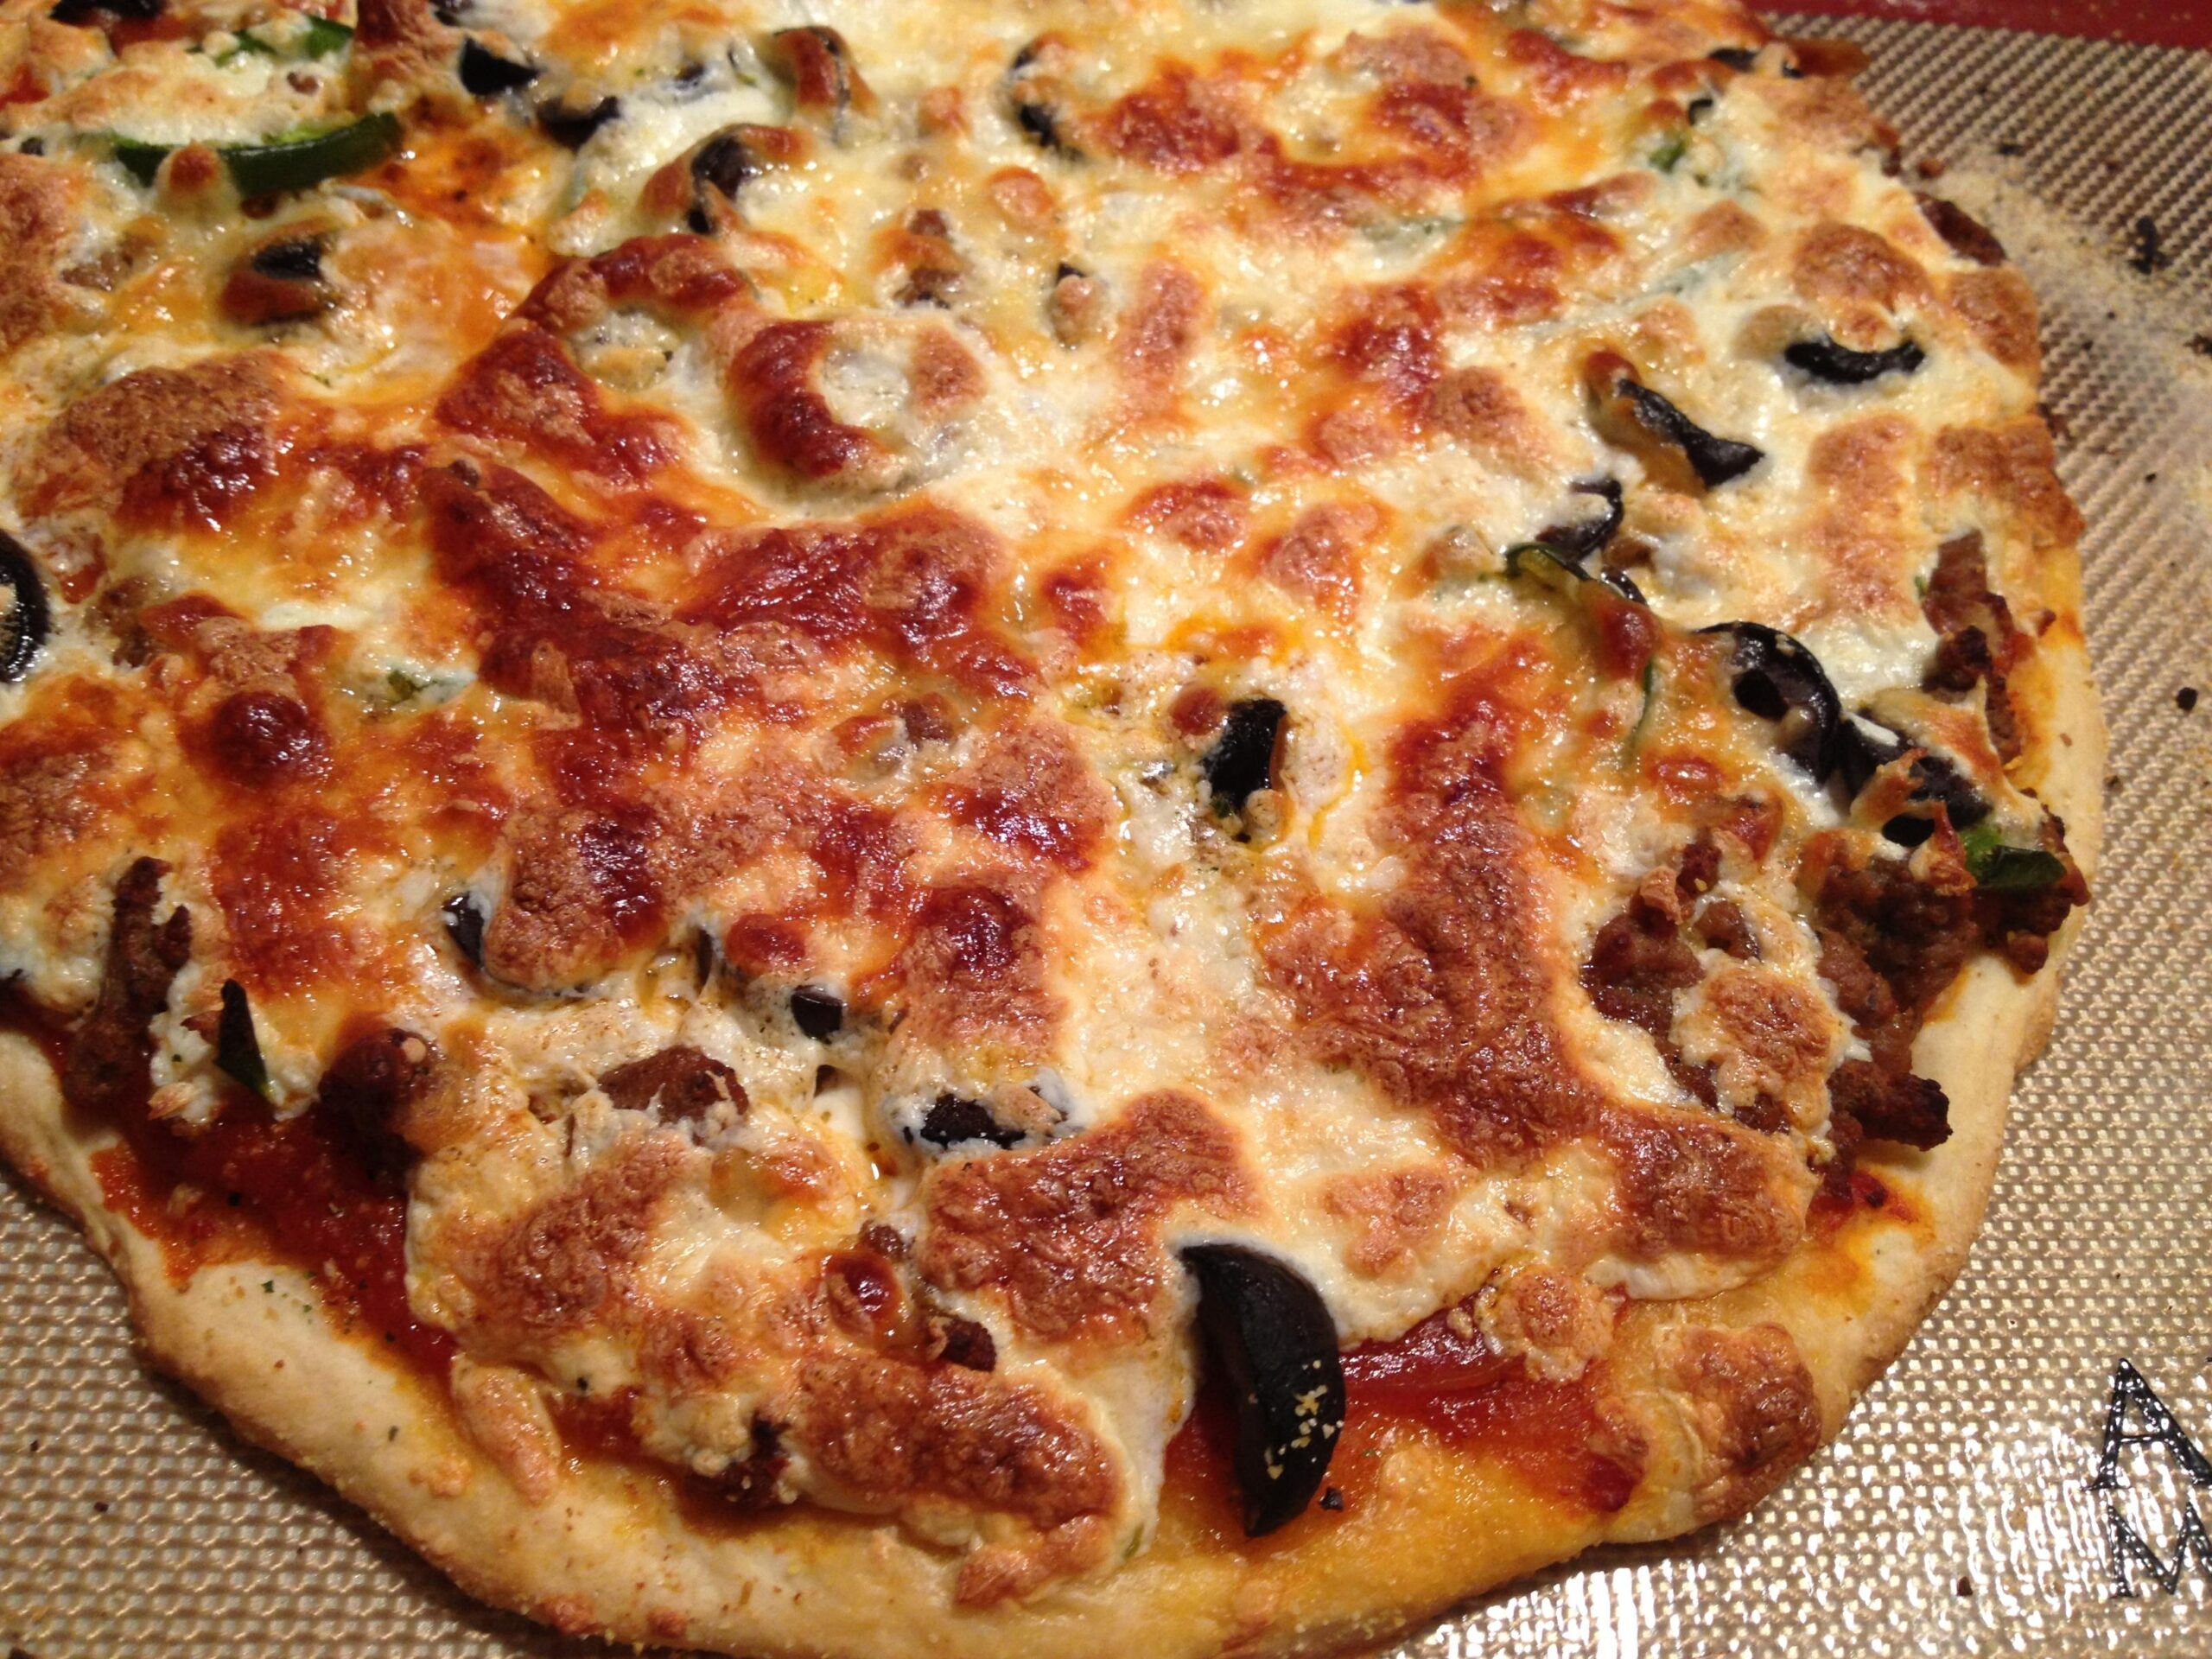
– Chopped vegetables such as bell peppers, onions, mushrooms, and spinach
– Sliced olives
– Plant-based cheese such as Daiya mozzarella shreds or Violife cheddar slices (optional)
The Recipe How-To
Now that we’ve covered the essential information, it’s time to start making the bread machine pizza crust and dairy-free toppings recipe. Follow these steps and you’ll end up with a perfectly chewy crust and delicious toppings.
Making the Pizza Dough in a Bread Machine
Step 1: Add 1 cup of warm water (95-115 degrees) to the bread maker.
Note: Be careful not to add water that is too hot as it could kill your yeast.
Step 2: Add 2 tablespoons of honey followed by 4 cups of flour (bread flour or all-purpose flour).
Note: If you’re looking for gluten-free or low-carb options, you can use spelt flour or almond flour, respectively.
Step 3: Add 2 teaspoons of salt (use sea salt) in one corner of the bread maker and make a small indentation in the center.
Step 4: Add 2 teaspoons of active dry yeast in the indentation.
Step 5: Turn on your bread machine on the basic pizza dough setting, but you can also use any other setting like whole wheat or gluten-free pizza dough.
The machine will do all the work for you and after about an hour and a half, your pizza dough will be ready!
Preparing the Dairy-Free Toppings
Once your pizza dough is ready, it’s time to add toppings! Here are some suggestions for dairy-free and vegan toppings:
Sauce Options:
- Tomato sauce
- Hummus (yes, hummus!)
- Pesto (you can make this with vegan parmesan cheese)
- Barbeque sauce
Cheese Alternatives:
- Vegan cheese shreds
- Cashew cheese
- Nutritional yeast
- Homemade tofu ricotta
Vegetable Toppings:
- Sliced onions, bell peppers and mushrooms
- Chopped fresh tomatoes
- Spinach or other leafy greens
- Caramelized onions and tofu feta
Protein Toppings:
- Sliced Beyond or Impossible meat
- Tempeh, seitan, or tofu bites
- Lentils, chickpeas or black beans
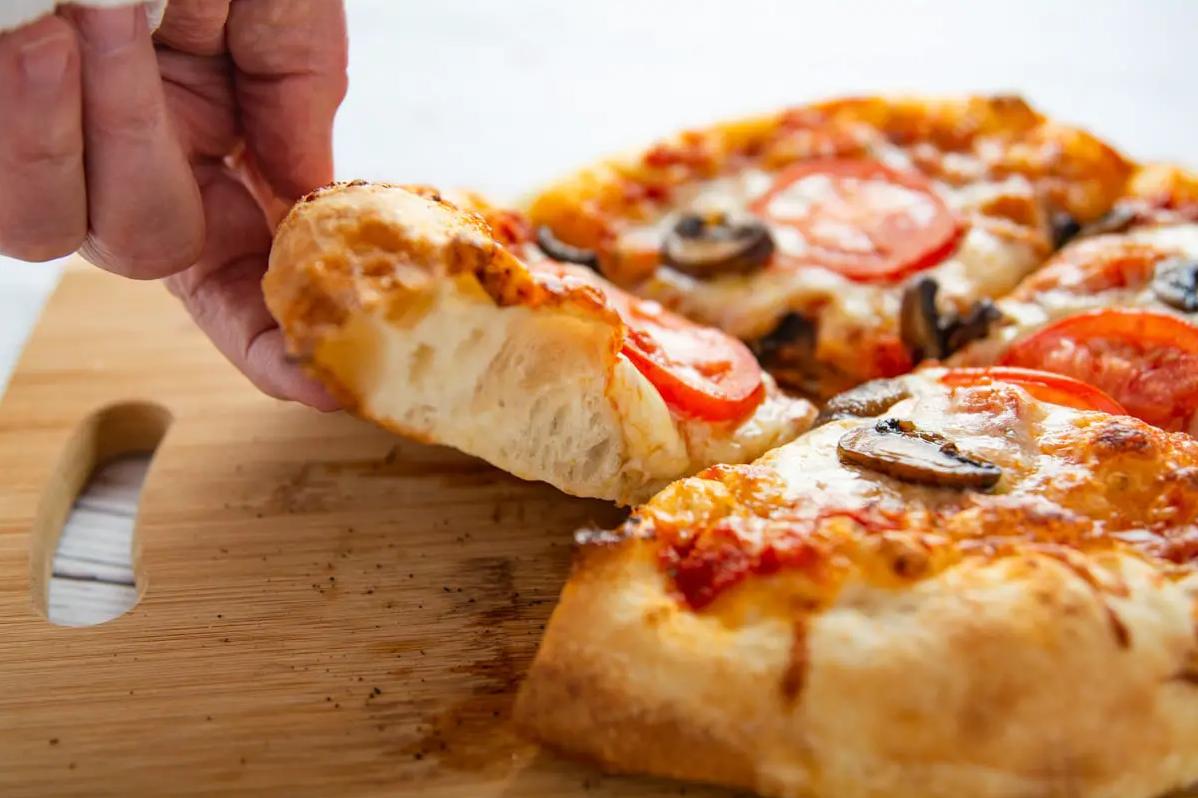
Assembling the Pizza
Step 1: Preheat your oven to 425°F (or according to your pizza crust recipe) and sprinkle a baking sheet with cornmeal.
Step 2: Roll out the machine pizza dough ball onto the cornmeal-sprinkled baking sheet in your desired shape and thickness.
Step 3: Add sauce, toppings and another sprinkle of cornmeal before This helps to create a crispy crust.
Baking the Pizza
Step 1: Put the assembled pizza into middle rack oven and bake for 12-15 minutes until the edges start to turn slightly brown.
Step 2: Remove from oven using oven
Substitutions and Variations
If you’re looking to mix things up with this recipe, there are a few substitutions and variations you can try out!
First, if you need to make this recipe gluten-free, substitute the bread flour for a gluten-free flour blend. Be sure to check your blend’s instructions for any necessary alterations, as different blends may require slightly different ingredients or measurements. Additionally, you can make a delicious, crispy cauliflower crust by substituting the flour with cauliflower rice mixed with eggs and cheese.
If you want to go dairy-free, try using almond milk mozzarella cheese or a vegan cheese alternative in place of traditional cheese. You can also substitute the honey with maple syrup or agave nectar for a vegan-friendly option. For an even lower-carb variation, use a paleo dough recipe made from almond flour, coconut flour and psyllium husk powder!
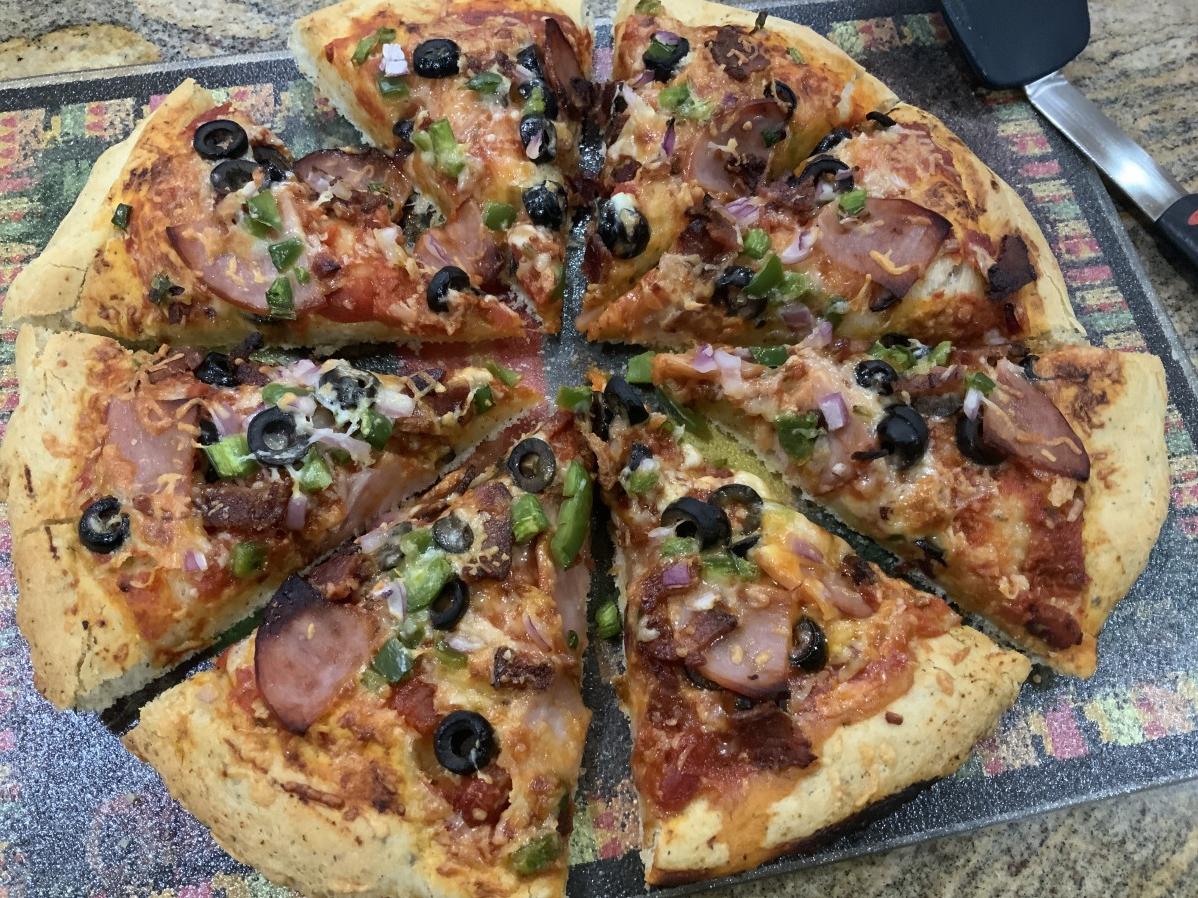
If you prefer thin crust pizza, roll out the dough thinner before baking. You can also experiment with different toppings like black olives, roasted vegetables or even pineapple! Remember to layer your toppings in the correct order so that they cook properly–sauce first, then cheese and finally toppings.
The possibilities with this recipe are endless–all it takes is a bit of imagination! Don’t be afraid to get creative with your dough and topping combos. Challenge yourself to explore new flavors and textures. With these tips and variations in mind, you’ll be well on your way to making homemade pizzas that are naturally dairy-free, gluten-free and delicious!
Serving and Pairing
When it comes to serving this delicious bread machine pizza crust and dairy free toppings recipe, the possibilities are endless. You can add your favorite non-dairy cheese or keep it simple with olive oil and sea salt. This tasty crust is also perfect for vegans and those who are gluten-free.
I suggest pairing this pizza with a fresh green salad or roasted vegetables to balance out the richness of the toppings. A nice glass of red wine or sparkling water with citrus would also complement this dish perfectly.
If you’re looking to serve a crowd, double or triple the recipe ingredients to make multiple pizzas at once. These pizzas can be sliced into small pieces for an appetizer platter or served as a main course.
For those who love experimenting with different flavors, try adding unique flavor combinations like spicy peppers and vegan sausage, roasted eggplant and garlic, or even cauliflower crust for a low-carb option.
Whether you’re making this pizza at home for a cozy night in or for a large gathering with friends and family, the bread machine pizza crust and dairy-free toppings recipe is sure to be a crowd-pleaser. So go ahead and let your creativity run wild with your favorite toppings and pairings!
Make-Ahead, Storing and Reheating
Once you have prepared your bread machine pizza crust and dairy-free toppings, it’s always great to know how to make-ahead or store the leftovers properly. This is especially relevant when considering meal-prep or dealing with extra servings. In this section, I’ll share some tips on how to properly store and reheat your pizza crust and toppings for best results.
Firstly, let’s talk about making ahead. You can easily make the bread machine pizza dough ahead of time by preparing it up until step 5 in the recipe. Once you have completed this step, transfer the dough to a plastic wrap-lined bowl, wrap it tightly and place it in the refrigerator for up to three days. Alternatively, you can also freeze the dough for up to a month by wrapping it tightly with plastic wrap and then again with foil. When ready to use, thaw in the refrigerator overnight.
Secondly, storing the pizza crust and toppings after cooking is crucial. Store any leftover pizza covered in an airtight container or wrapped in foil then air-sealed in a freezer-safe bag for optimal freshness. Keep it refrigerated up to three days; you can also freeze it for up to two months if sealed correctly. To get larger portions out of the way, cut frozen leftover pizza into slices before reheating.
Lastly, let’s discuss reheating your pizza crust and dairy-free toppings. For best results, preheat your oven at 350°F and place your pizza on an oven rack or baking sheet until crisp around the edges (approximately 10-15 minutes). You can also reheat slices of leftover pizza from frozen by placing them in a preheated oven at 375 degrees until hot and bubbly.
Voila! Now that you know how to make-ahead store and reheat your homemade bread machine pizza crust and toppings like a pro, you can enjoy delicious this naturally-dairy free pizza anytime you want without any fuss!
Tips for Perfect Results
Cooking a perfect pizza crust can be tricky, especially when trying to accommodate ingredients like gluten-free flour and dairy-free cheese. So, here are some tips and tricks to help you along the way.
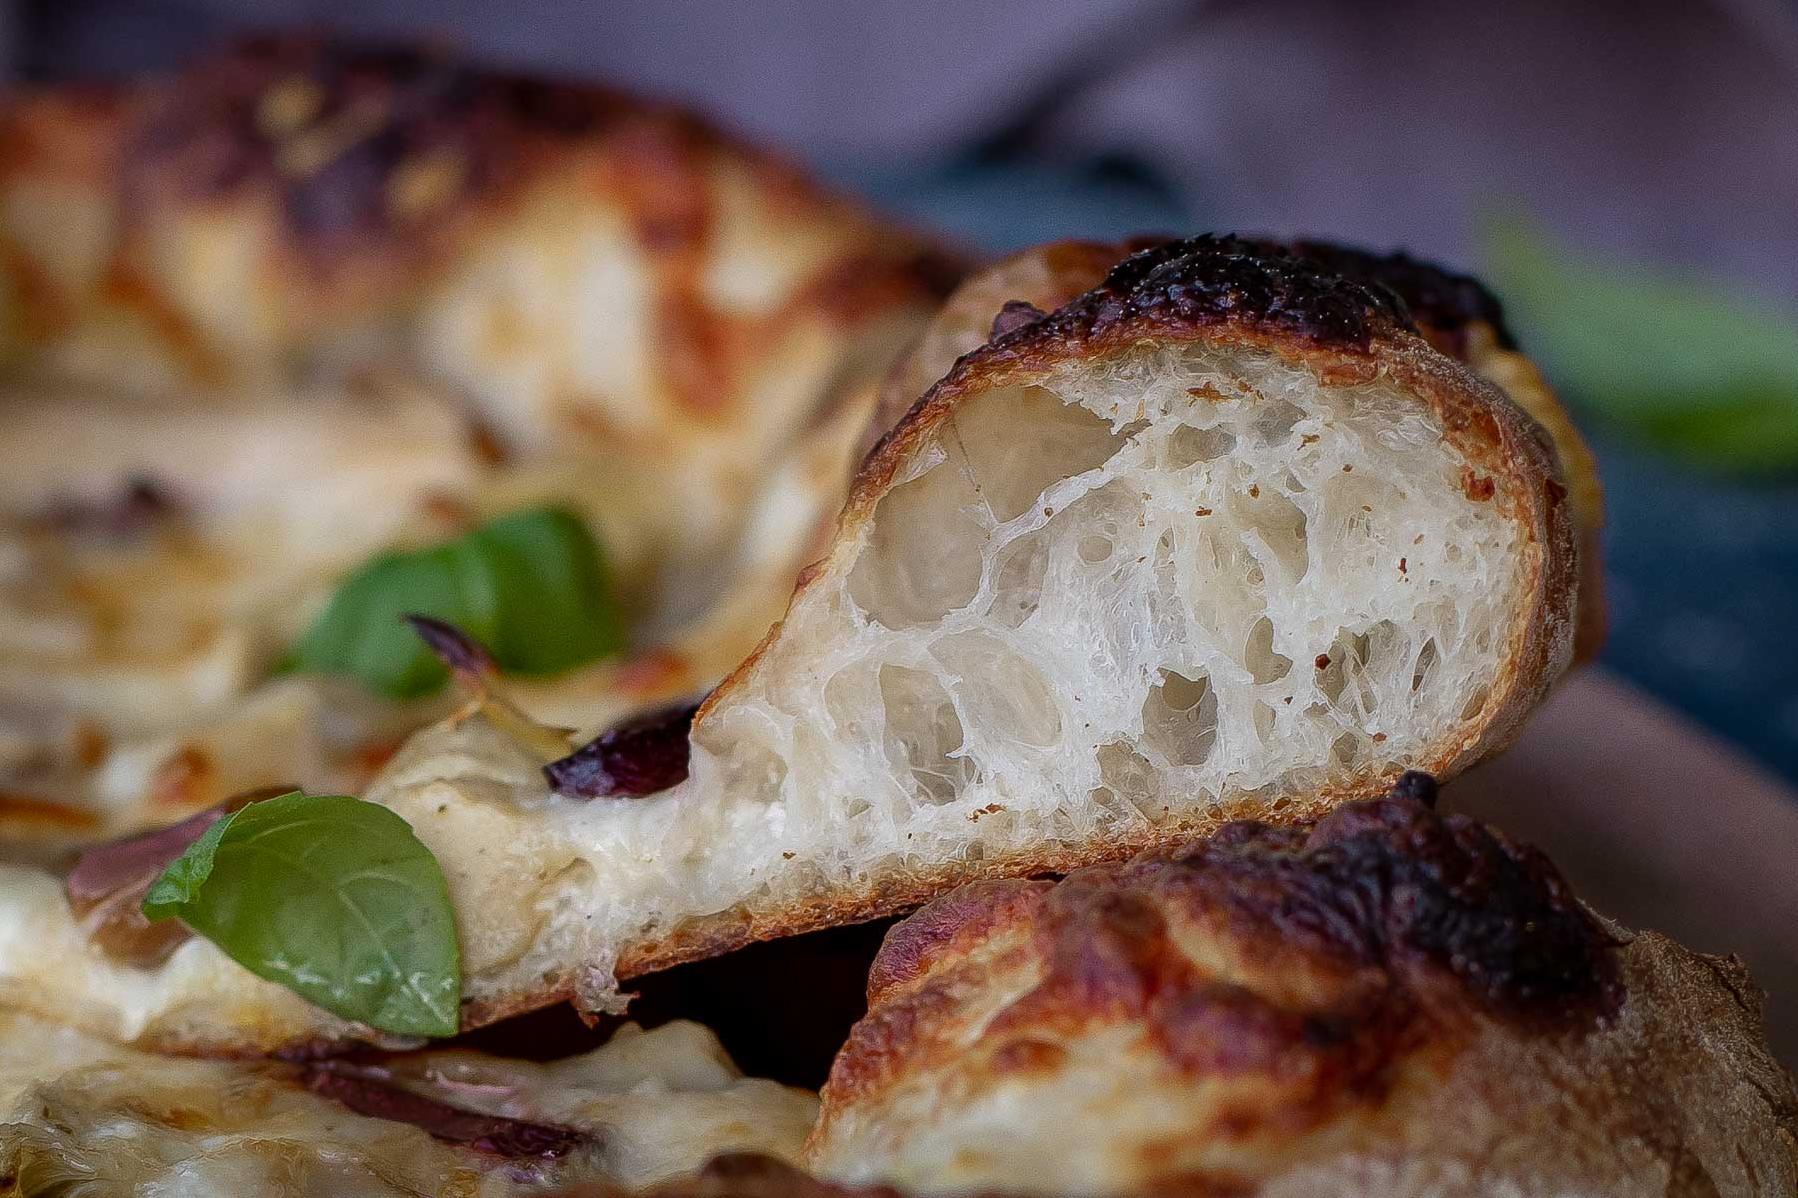
1) Knead the Dough Just Enough
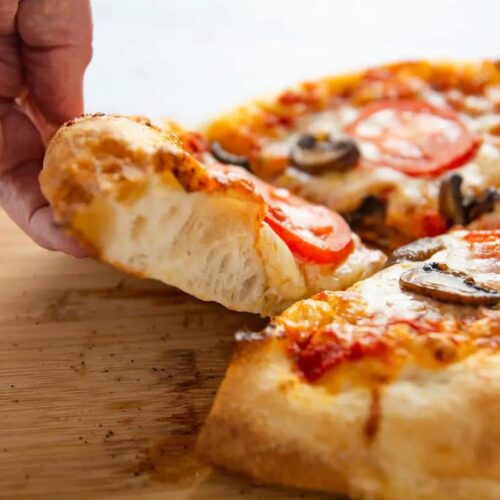
Overkneading will result in tough crust, but underkneading will leave you with a dense one. That’s why kneading the dough just enough is crucial to achieve a nice texture. Bread machine pizza dough doesn’t need much manual handling. However, once removed from the bread maker, knead it for 5 minutes before putting it in the pan.
2) Let the Dough Rest
The resting period allows yeast dough to further rise and make for a lighter crust. After you prepare your dough, cover it tightly with plastic wrap and leave it to rest for at least 30 minutes at room temperature.
3) Use High-Quality Ingredients
Fresh ingredients of high quality always make a big difference in cooking. Be sure to choose organic or locally grown vegetables when making your toppings. Wheat flour should be unbleached and minimally processed. Almond flour, spelt flour, or cauliflower crust are excellent gluten-free alternatives that offer their nutritional value while ensuring flavorful results.
4) Preheat Your Oven and Pan
When baking pizza, preheating the oven at 450°F is essential for forming crispy edges and fluffy centers. Place your baking sheet or pizza stone in the oven 10-15 minutes before you start baking.
5) Bake Until Golden Brown
Bake your pizza crust until golden brown or slightly charred around the edges after adding sauce and toppings. This process will take around 10-12 minutes in a pre-heated oven.
All these steps might vary based on your preferences, type of flour used or toppings chosen. However, by following these tips as guidelines you’re up for making healthy and delicious homemade pizza every time you’re in the mood for it.
Bottom Line
In conclusion, this bread machine pizza crust and dairy-free toppings recipe is the perfect choice for anyone looking to enjoy a delicious and healthy homemade pizza. The use of wholesome ingredients such as whole wheat flour, olive oil, and honey make this recipe a great alternative to the overly processed and unhealthy store-bought pizzas.
By making your own pizza dough using a bread machine, you also have the added benefit of knowing exactly what ingredients are going into your food. Not to mention, you can customize your toppings to fit your dietary needs, whether you’re vegan, gluten-free, or just looking for a low-carb option.
So why settle for mediocre pizza when you can create truly amazing homemade pizza with just a little bit of effort? I encourage you to give this recipe a try and discover how easy and delicious it can be to make your own perfectly crispy pizza crust and flavorful toppings at home. Your taste buds and your health will thank you!
Bread Machine Pizza Crust and Dairy Free Toppings Recipe
Ingredients
- 1 cup warm water (between 95 and 115 degrees)
- 2 tablespoons honey
- 1/4 cup olive oil
- 3 1/2 cups flour
- 1/2 teaspoon salt (I use sea salt)
- 2 1/2 teaspoons yeast (or 1 packet)
- cornmeal (enough to sprinkle on the cooking tray) (optional)
Toppings
- your favorite pizza sauce
- olive oil (small amount to drizzle)
- 8 ounces alternative cheese
Instructions
- Place liquid ingredients into the bread machine.
- Place flour and salt in the bread machine.
- Make a well in the top of the flour and pour in the yeast.
- Close the machine and set it to the dough setting (follow your machine's instructions).
- When the machine beeps and the dough is ready, sprinkle some flour on a working surface and form the dough into 2 balls (or one for a REALLY thick pizza).
- Flatten it while pressing from the center outwards. Stretch the dough while turning it. Once it's the right size for your preference, you are ready to put it on a pan.
- Grease a cookie sheet or pizza pan and, if desired, for a pizza shop flare, you can sprinkle a light dusting of cornmeal on the surface before placing the dough down (be sure none of the cornmeal is left exposed, or it will smoke when you put it in the oven!).
- I like to stretch my dough to the edge of a cookie sheet pan and then pinch the edges up.
- Prick the dough with a fork all over (to keep it from bubbling up and to allow it to hold the sauce well).
- Drizzle small amount of olive oil (nice flavor) over the dough. I spread mine around with clean fingers.
- Add toppings - pizza sauce and then whatever you want. We like mushrooms, diced red pepper, and diced onion. Be creative!
- Top with the cheese substitute (we used to use Rice cheese until we learned that it contained milk proteins. Read labels carefully and select a smooth melt mozzarella alternative).
- Cook in a preheated 400 degree oven until the crust and cheese lightly browns.
- Serve and enjoy!