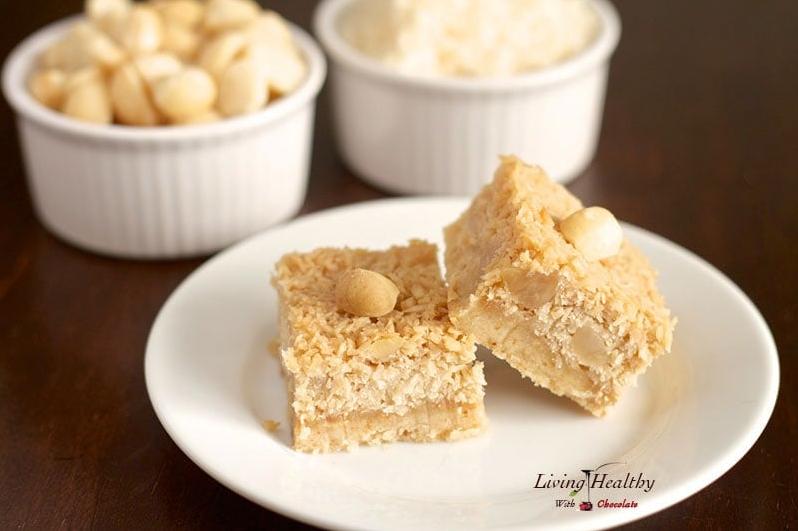
Delicious Coconut Nut Bars for a Sinful Treat
Welcome to my gluten-free, dairy-free, and organic recipe blog! As a nutritionist and food blogger, I am committed to creating recipes that are both healthy and delicious. Today, I’m excited to share with you my recipe for Gluten-Free Coconut Nut Bars.
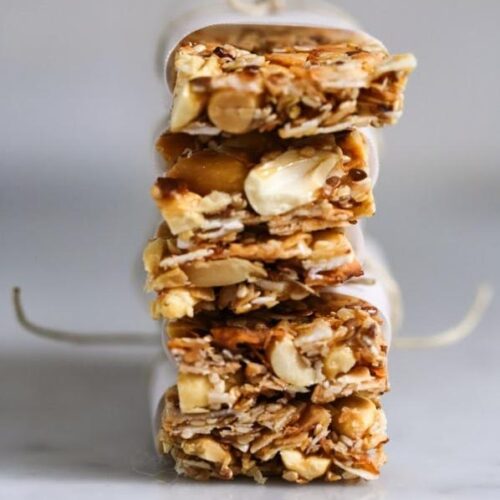
These bars are packed with nutritious ingredients and are perfect for satisfying your sweet tooth without any guilt. Plus, they’re incredibly versatile – you can enjoy them as a breakfast treat or a mid-day snack. They’re also great for sharing with friends and family!
If you’re looking for a gluten-free snack that’s packed with flavor, these Coconut Nut Bars are the perfect choice. And best of all, they’re easy to make! Simply follow the step-by-step instructions below and enjoy a delicious, healthy snack in no time.
Why You’ll Love This Recipe
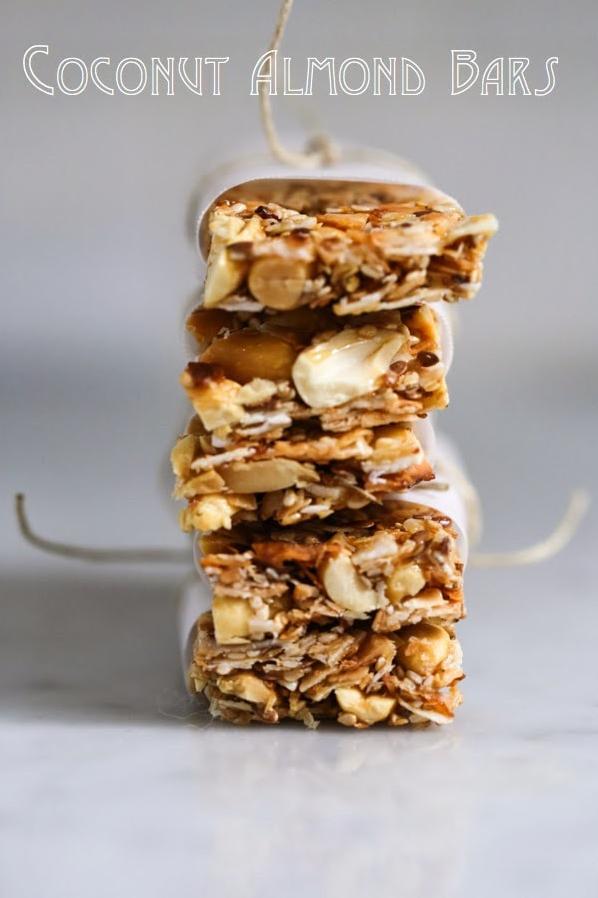
If you’re searching for a delicious gluten-free, dairy-free snack with healthy and natural ingredients, then you’ll definitely fall in love with these Coconut Nut Bars. What’s not to love about a sweet treat packed with healthy nuts, low-fat coconut flakes, and almond flour? This is an irresistible recipe perfect for any time of the day – breakfast on-the-go, afternoon snack or even dessert.
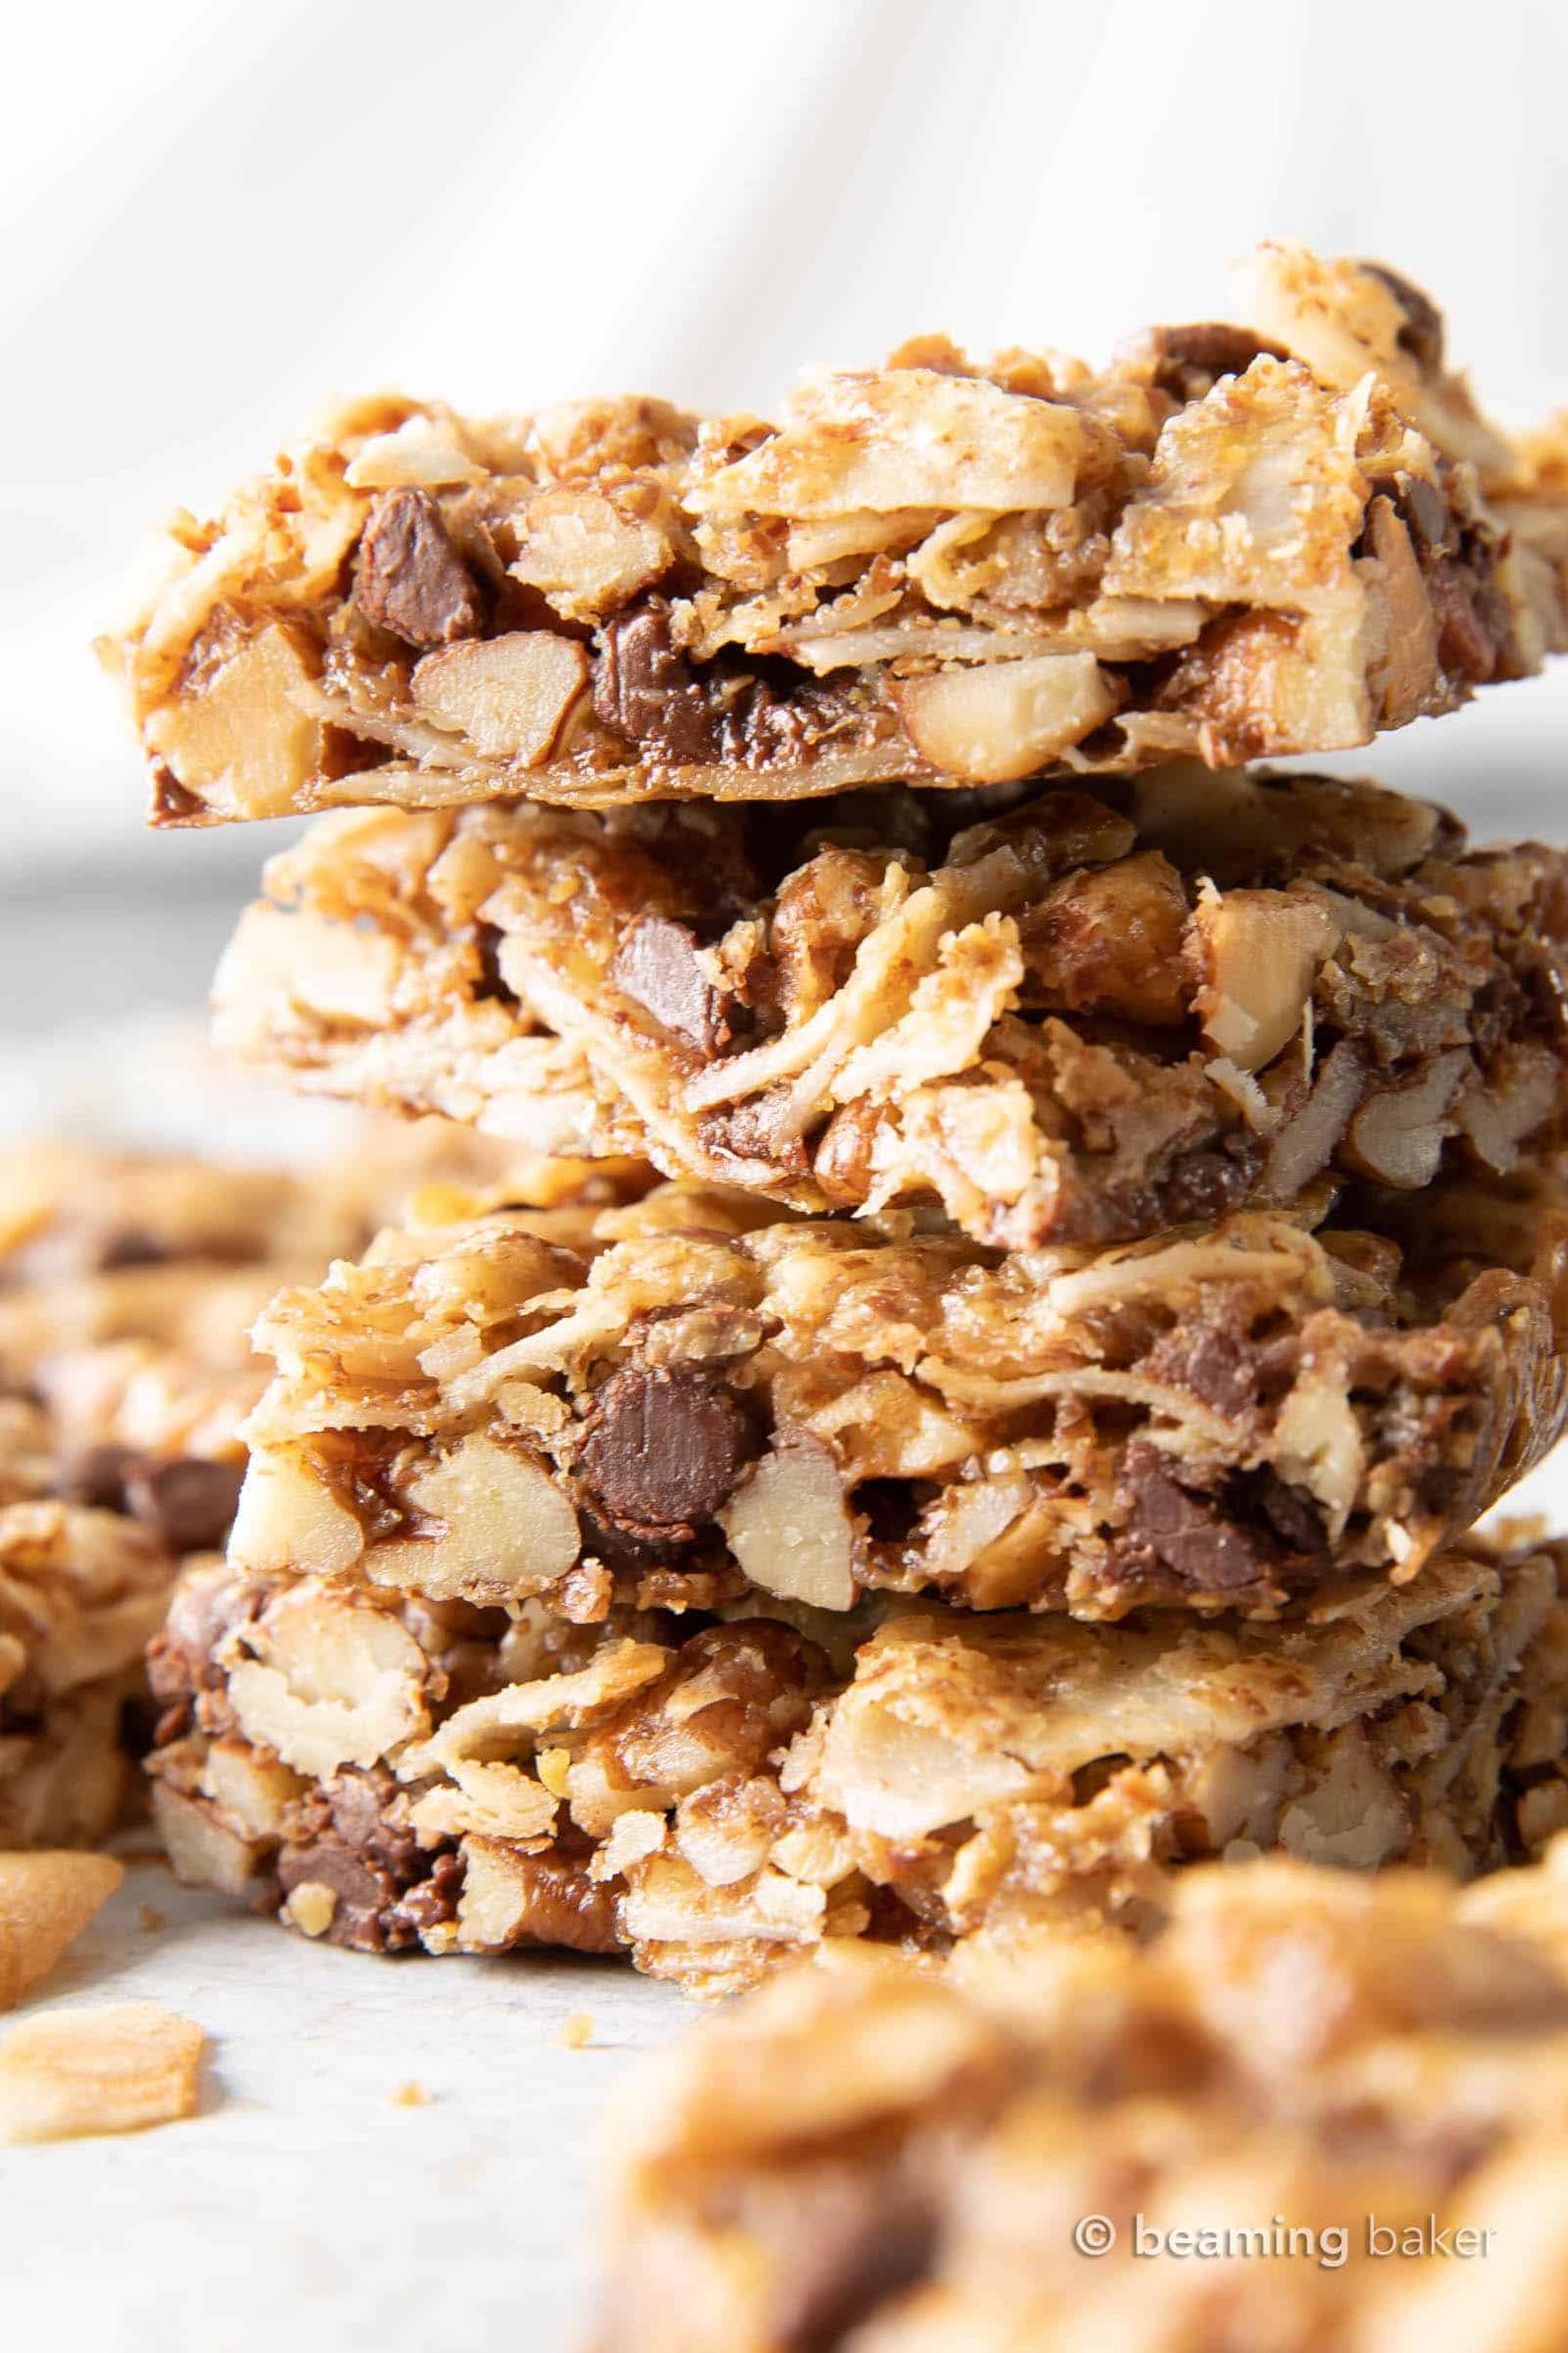
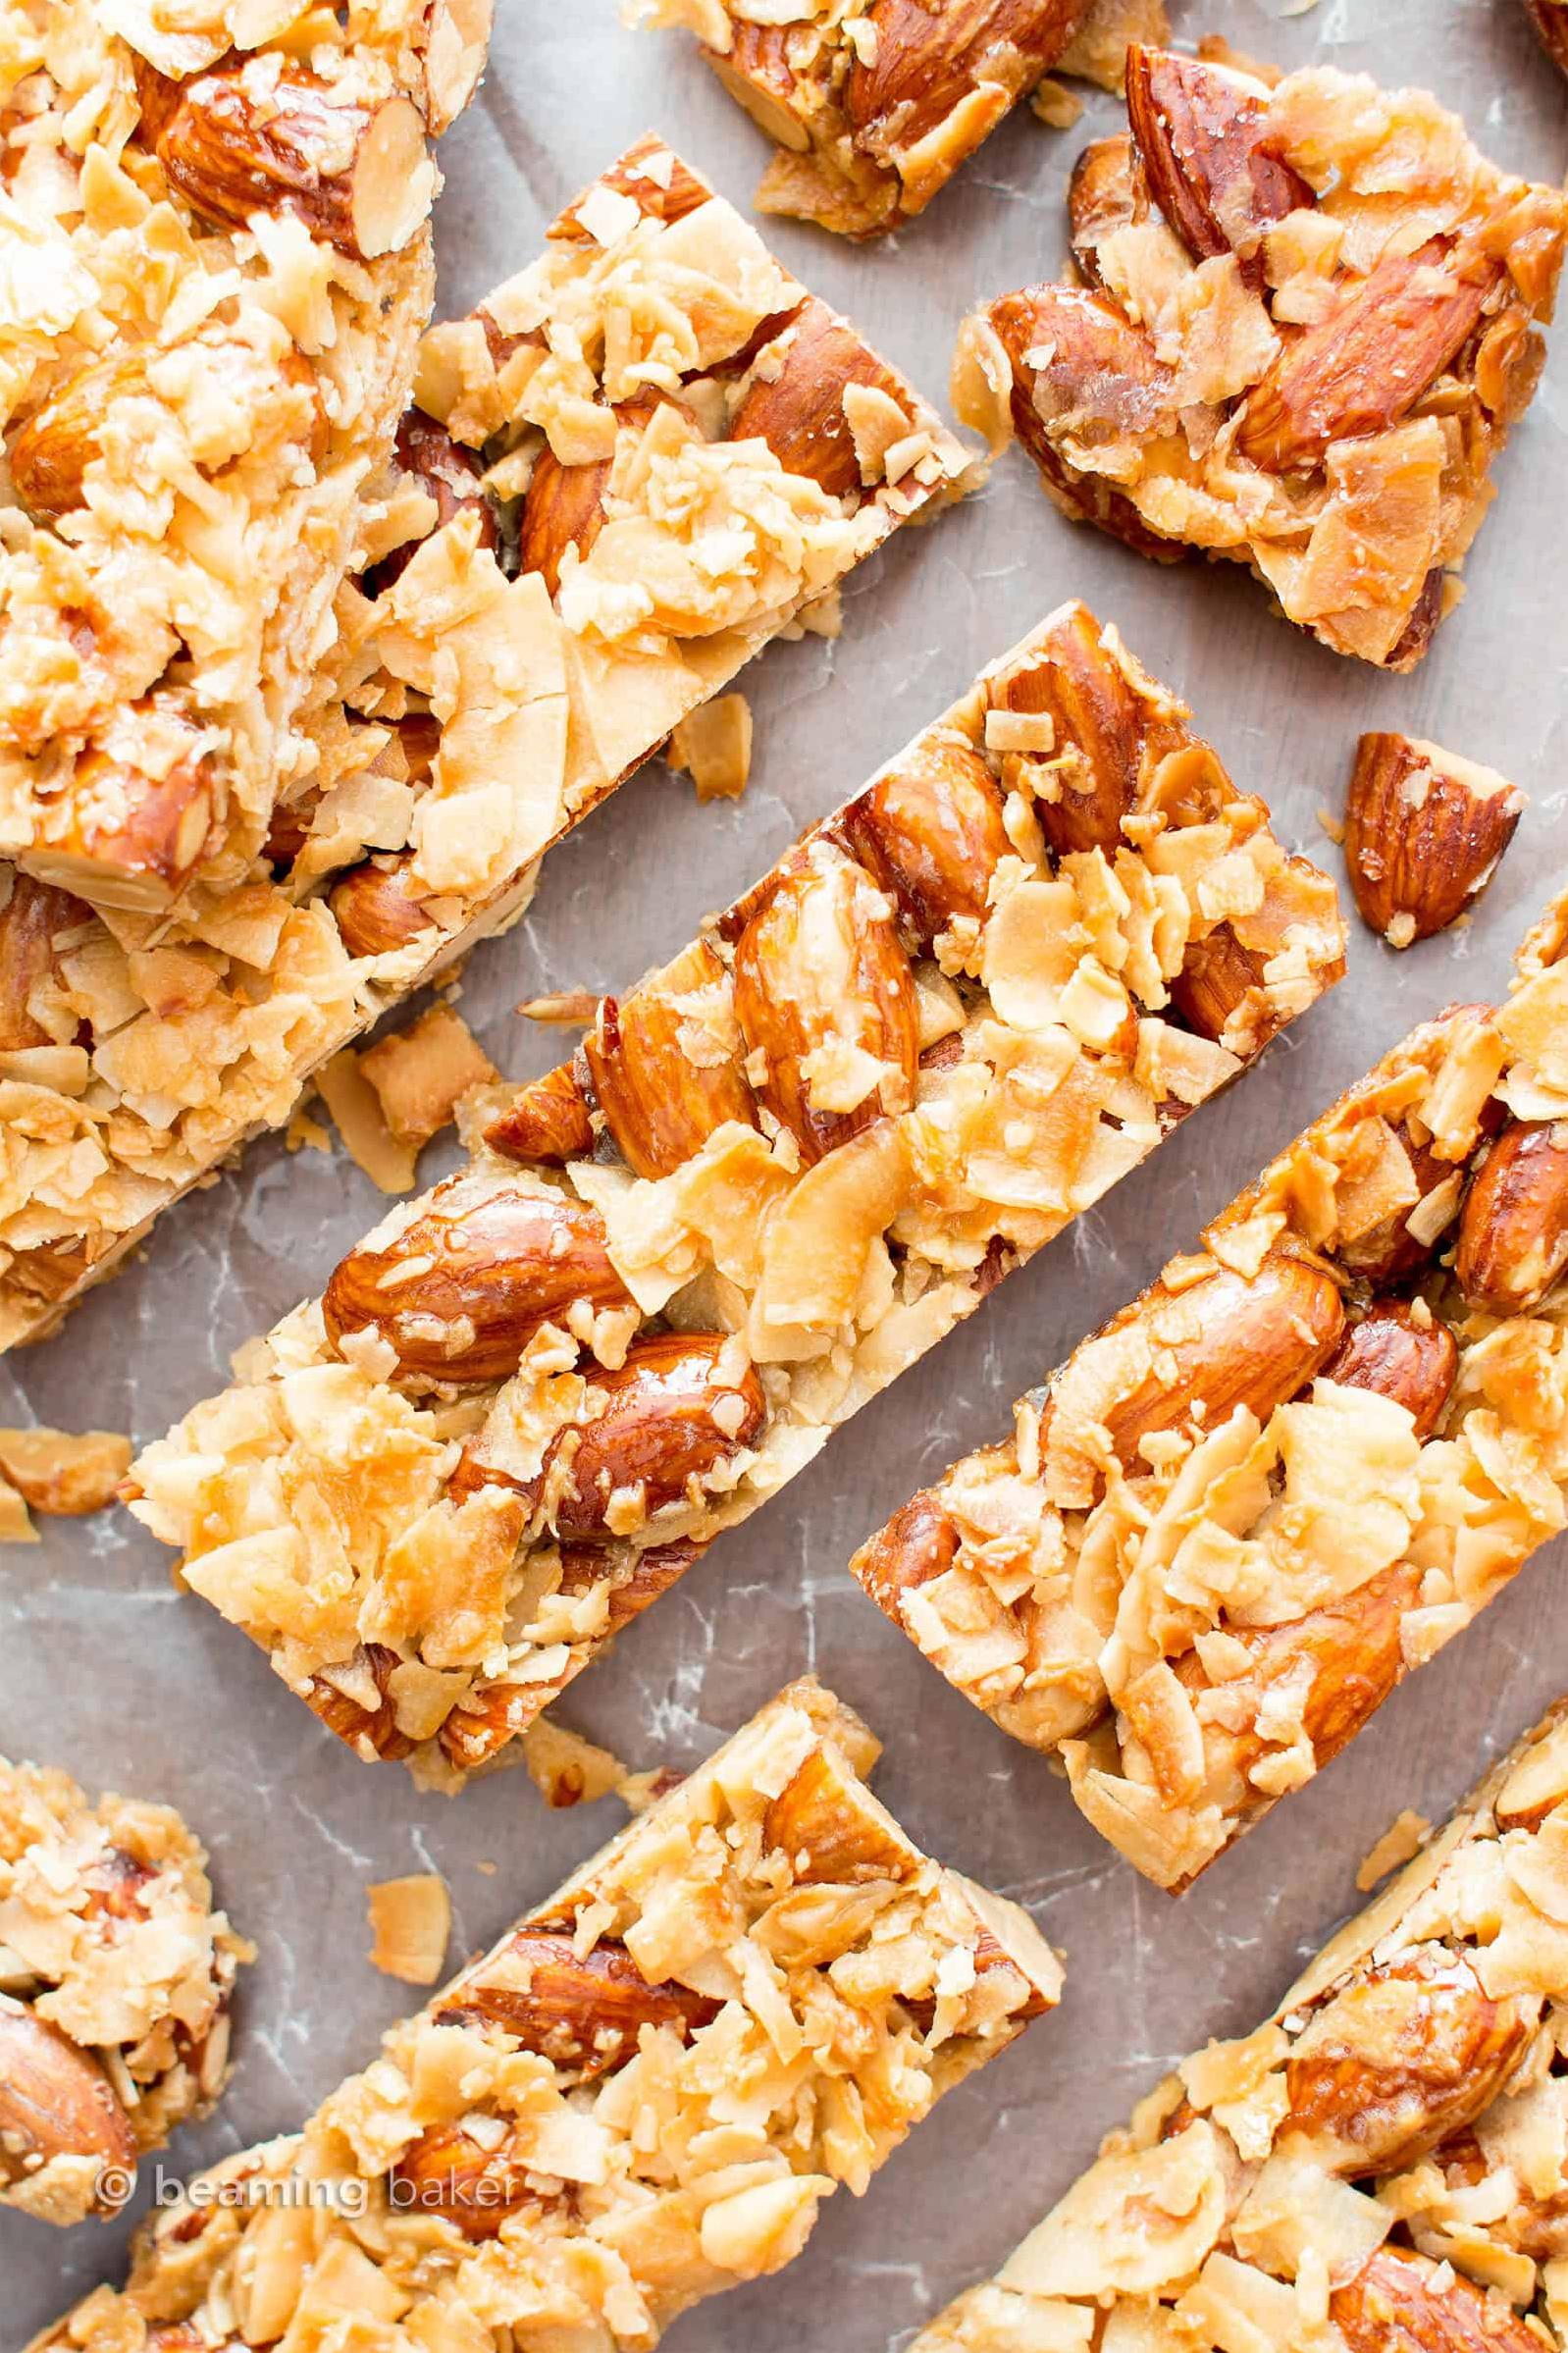
Unlike most store-bought bars loaded with white sugar and preservatives, these homemade bars are made with natural sweeteners like honey and brown sugar. Do you want a gluten-free delicious snack option that doesn’t taste bland or dry? These coconut bars are packed with flavor and texture from lightly toasted walnuts, unsweetened coconut flakes, and ground flax seeds.
Are you avoiding dairy products but craving something indulgent and creamy? These nut bars are perfect for you since they use coconut milk instead of regular cow’s milk. The rich consistency makes these bars melt in your mouth effortlessly.
We all crave indulgent snacks sometimes, but we also understand the importance of maintaining a healthy and balanced diet. These Coconut Nut Bars provide a perfect balance of both. You can enjoy a satisfying snack without compromising your health goals.
So what are you waiting for? Gather your ingredients, roll up your sleeves, and get ready to indulge in this scrumptious yet healthy snack. Enjoy making this tasty recipe that is easily customizable to suit your preferences. Once you try them, you’ll love them!
Ingredient List
Here’s the ingredient list for making these delectable gluten-free coconut nut bars:
Dry Ingredients
- 1/2 cup almond flour
- 2 cups unsweetened coconut flakes
- 3 tbsp ground flax seeds
- 1/4 tsp baking powder
- 1/4 tsp salt
Wet Ingredients
- 1/2 cup almond butter or any nut butter of your choice
- 6 tbsp coconut oil
- 1/2 cup honey
- 1/4 cup unsweetened canned coconut milk
- 2 large eggs, lightly beaten
Toppings
- 1 cup chopped walnuts or any nuts/seeds of your choice
- 6 tablespoons packed brown sugar
- 2 tablespoons granulated white sugar
- ½ cup unsweetened shredded coconut
- Optional – chocolate chips or any other toppings that you like
All the ingredients used in this recipe are certified as gluten-free and dairy-free. You can easily find them at your local grocery store. Make sure to use all gluten-free ingredient brands if you are celiac or gluten intolerant. These gluten-free coconut nut bars are made with natural sweeteners and superfood ingredients, making them a healthy and delicious dessert option!
The Recipe How-To
Now that we have talked about the ingredients, it is time to put them all together and make these delicious Gluten Free Coconut Nut Bars. It is important that you follow these instructions closely to ensure that your bars turn out just right.
Step 1: Preheat the oven
Before you start mixing any of the ingredients, go ahead and preheat your oven to 350°F. This will give your oven enough time to reach the desired temperature for baking.
Step 2: Mix the dry ingredients
In a large mixing bowl, combine 1 cup of almond flour, ½ cup of unsweetened shredded coconut flakes, ¼ cup of ground flax seeds, ¼ cup of chopped walnuts and ¼ teaspoon of salt. Use a whisk to mix everything thoroughly.
Step 3: Add the wet ingredients
Now it’s time to add in the wet ingredients. In a separate mixing bowl, combine 1/2 cup of almond butter, 6 tablespoons of melted coconut oil, 1/2 cup of honey or brown sugar, and 2 large eggs. Whisk until everything is well combined.
Step 4: Combine everything together
Next, pour the wet mixture into the bowl containing dry ingredients. Use a spatula or wooden spoon to fold everything together until it becomes a homogeneous batter.
Step 5: Bake in oven
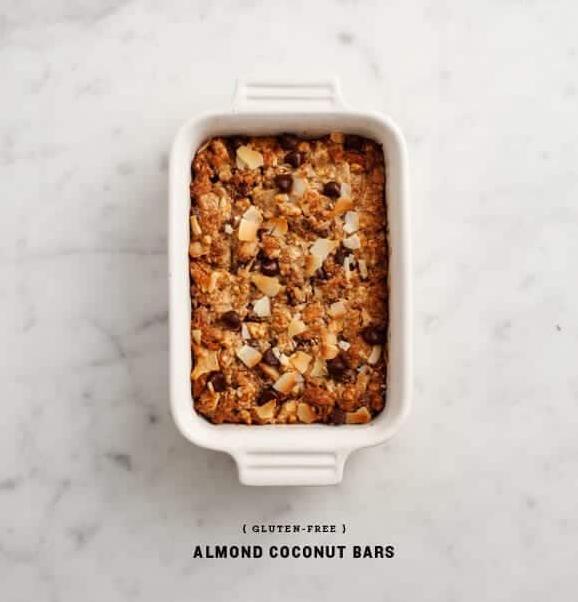
Grease an 8×8 inch baking pan with coconut oil and pour in the batter. Spread it out evenly across the pan with your spatula, and then place in oven for 20-25 minutes until golden brown on top.
Step 6: Let cool and slice
When finished, remove from oven and let cool for several minutes before slicing. Serve warm or at room temperature and enjoy these delicious and healthy gluten-free coconut nut bars!
Substitutions and Variations
Now, let’s discuss some substitutions and variations that you can make to this Gluten-Free Coconut Nut Bars recipe.
Firstly, for those who do not consume eggs or have an egg allergy, you can substitute 1/4 cup of unsweetened applesauce for 1 egg. In this way, the recipe can be made vegan.
If you are looking to reduce the overall sugar content of these bars, you can replace some or all of the brown sugar with maple syrup or honey. Both syrup and honey provide a natural sweetness that will still deliver the same flavor and texture.
For those who prefer a nut-free version of this recipe, you can use sunflower seed butter instead of almond butter. And instead of walnuts, try using pumpkin seeds or pepitas which will provide a similar crunch but without the nuts.
If you want to go one step further and make these bars paleo-friendly, simply swap out the brown sugar for coconut sugar which has a lower glycemic index.
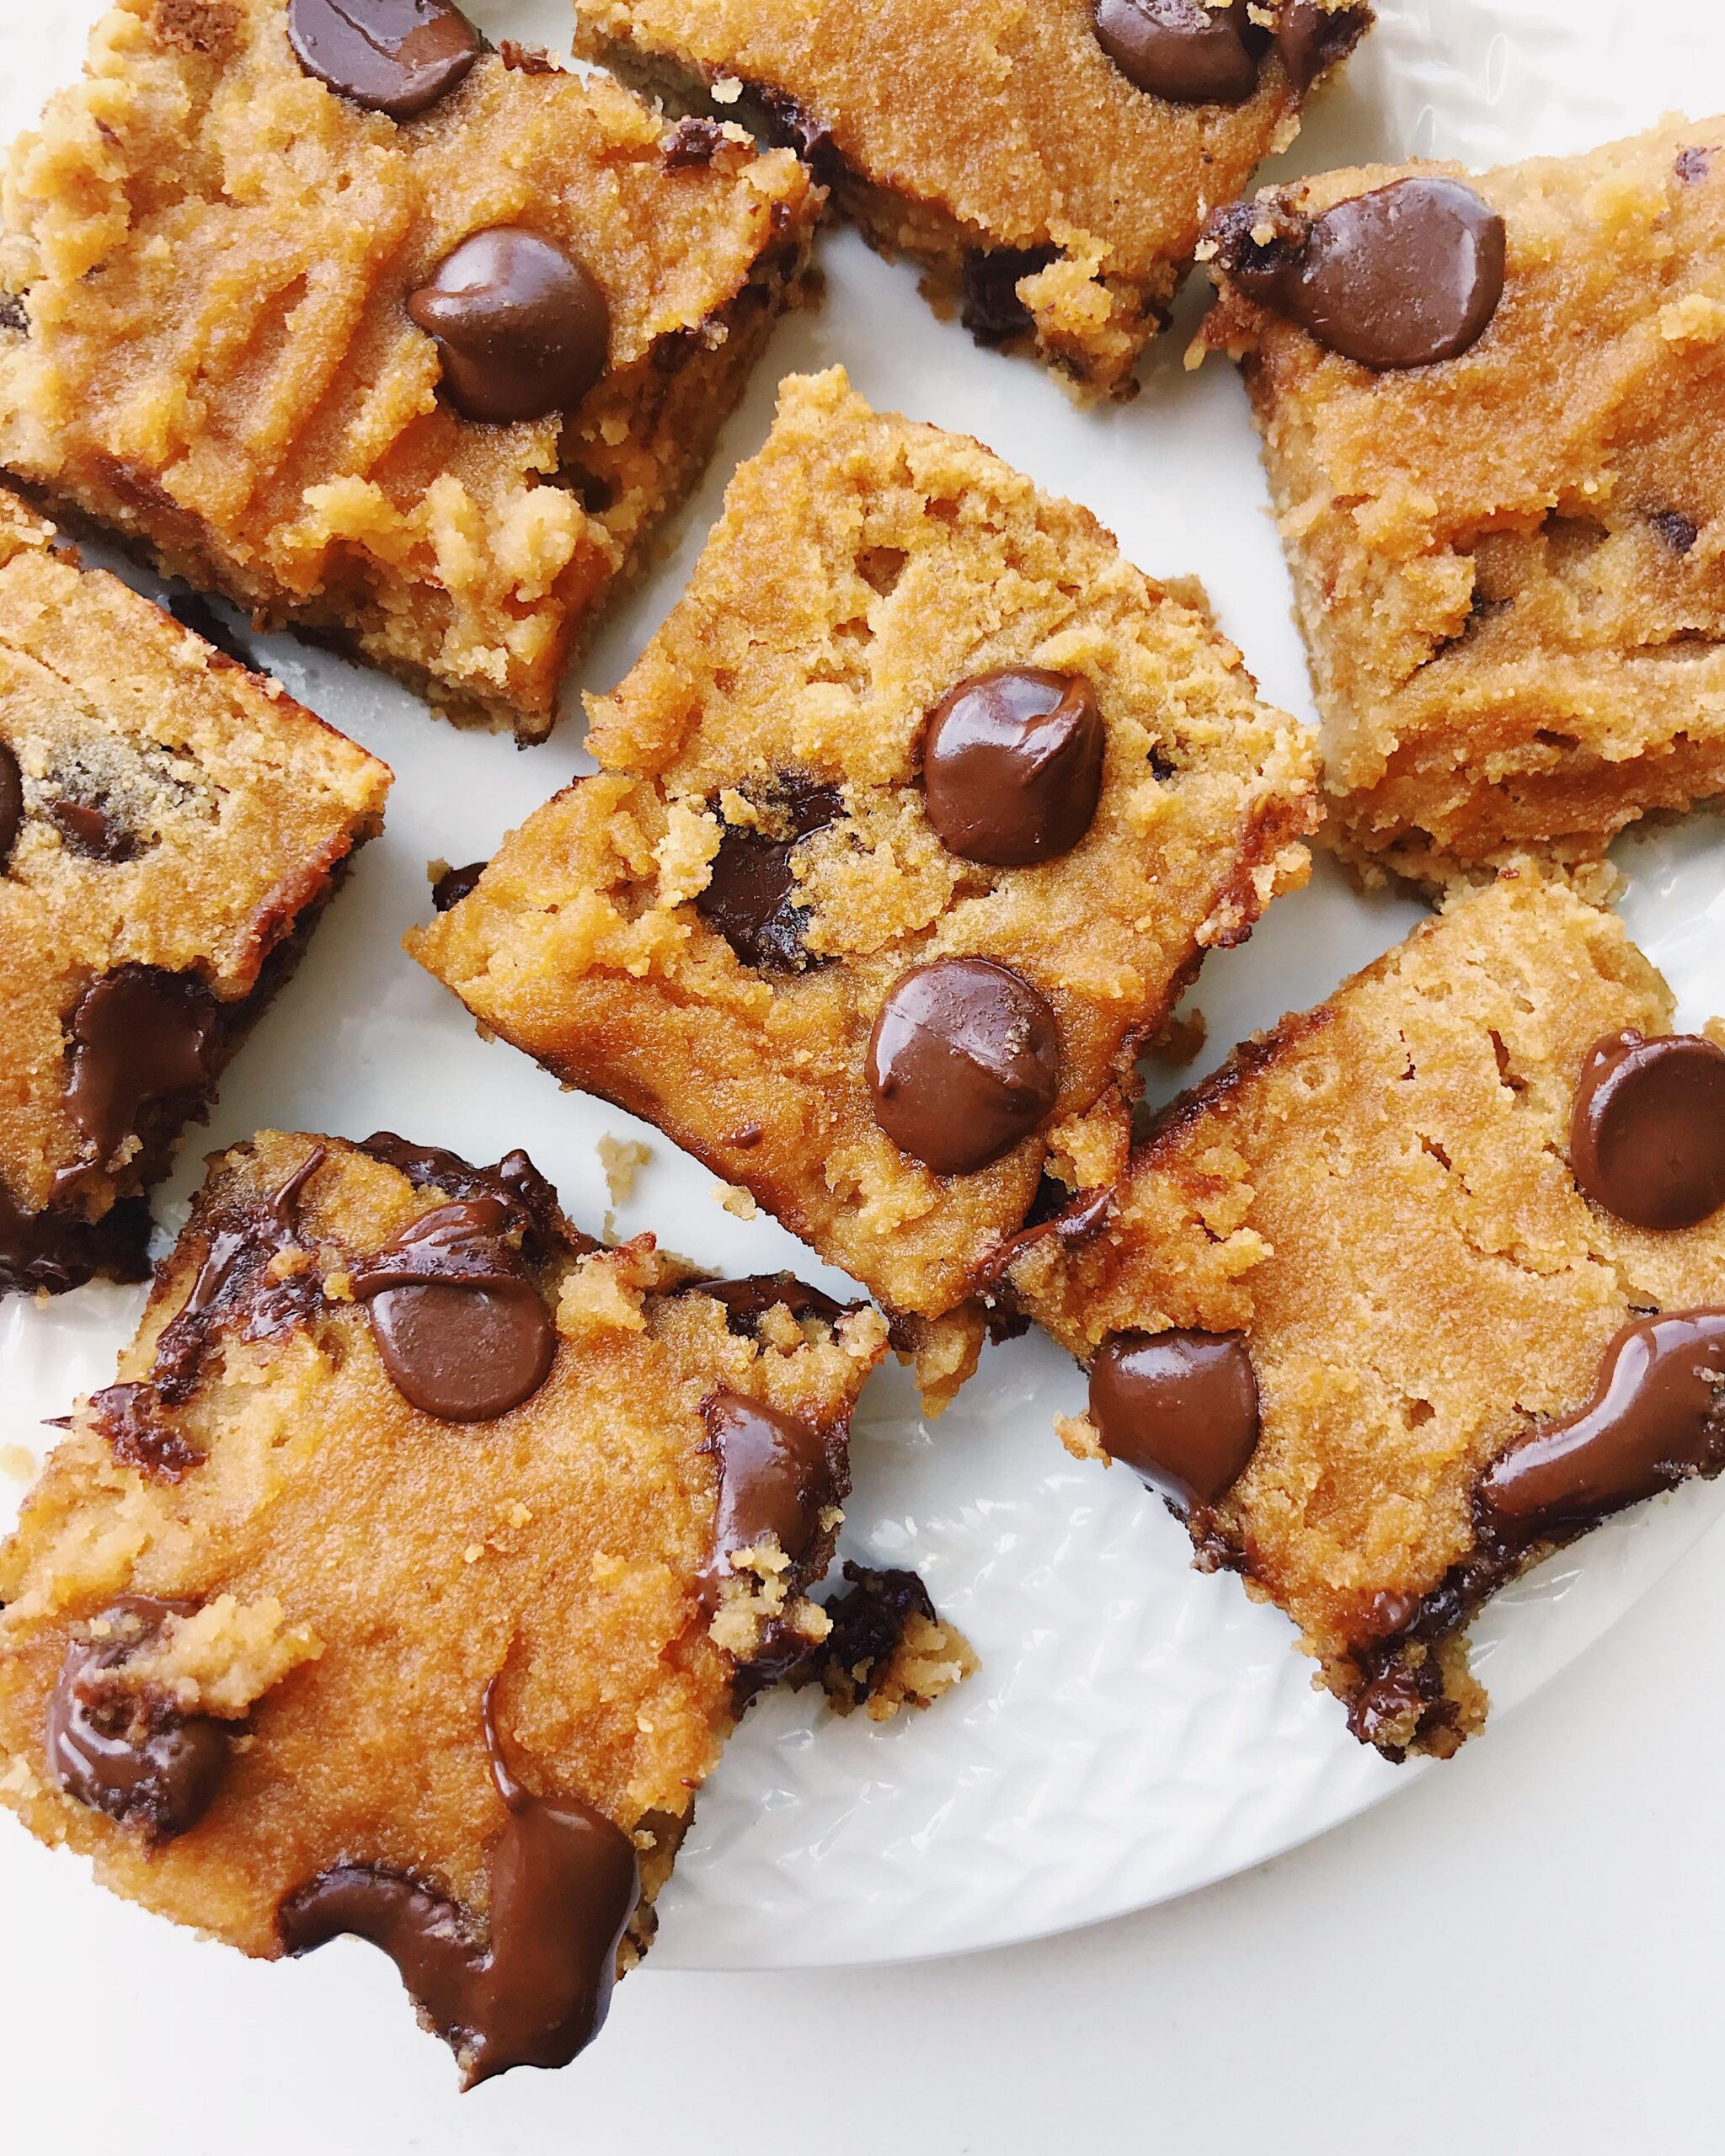
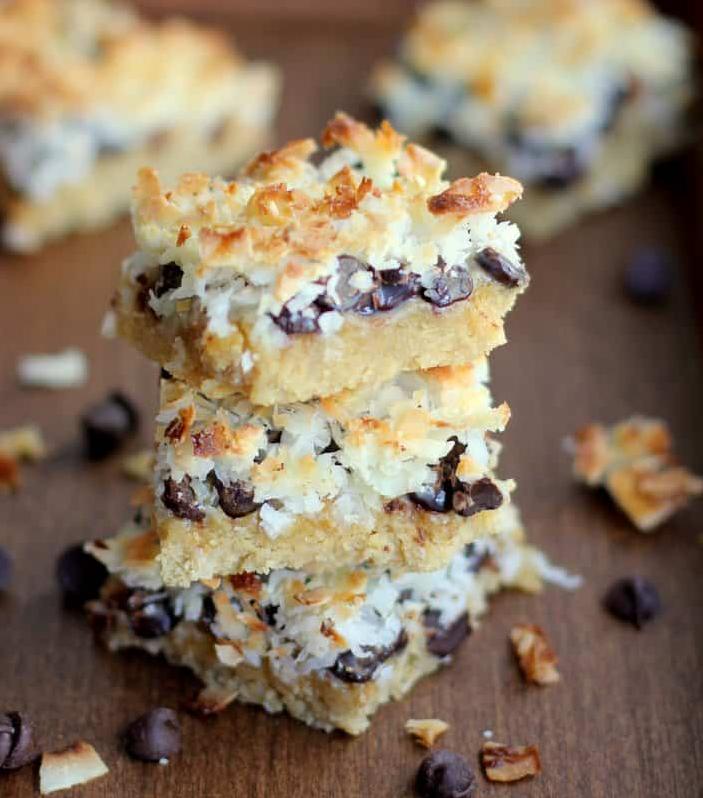
Lastly, if coconut flakes aren’t your thing, try swapping them out for dried cranberries or raisins to add a chewy texture. Or turn it into a chocolate lover’s dream by adding some dark chocolate chips on top before baking.
Overall, there are many different ways to customize these bars to suit your taste preferences and dietary restrictions. Feel free to experiment with different substitutions and variations until you find the perfect combination for you!
Serving and Pairing
One of the reasons I love this recipe is because it’s so versatile. These gluten-free coconut nut bars are perfect for breakfast, a midday snack, or a sweet dessert after dinner. You can serve them with fresh berries or fruit to give a little sweetness to every bite.
If you want to get fancy with it, try pairing these bars with a hot cup of coffee or tea. The nutty flavors and richness from the almond butter complements the smoothness of coffee perfectly. Whenever I need a pick-me-up throughout the day, I grab one of these bars and start sipping on my morning brew.
Another option is to crush them up into small pieces and use them as toppings for your favorite yogurt bowl or ice cream sundaes. The crunchiness of the walnuts adds an interesting texture to your chosen treat, and the coconut and almond butter flavors blend well with just about any topping.
Whether you choose to eat these coconut nut bars as is, crumble them up as toppings, or pair them with your favorite beverage or yogurt bowl, their sweet and nutty flavor will keep you coming back for more.
Make-Ahead, Storing and Reheating
Are you always on the go or looking for ways to save time in the kitchen? These Gluten Free Coconut Nut Bars can be made ahead of time and stored for a quick snack or breakfast throughout the week.
To make ahead, simply follow the recipe instructions and allow the bars to cool completely. Once cooled, wrap them up tightly with plastic wrap or store in an airtight container in the fridge. These bars are best consumed within 3-5 days from being stored.
For reheating, pop them in the microwave for 10-15 seconds or place them back into a preheated oven at 350°F and heat for 5-8 minutes until warm. You can also enjoy these bars as a refreshing snack straight out of the fridge.
These versatile bars can also be frozen for future cravings! Before freezing, let them cool completely and cut them into squares. Place each bar into a zip-lock bag and label with the date before transferring to the freezer. To reheat from frozen, simply remove them from the bag and let them defrost overnight in the refrigerator before reheating using your preferred method above.
So go ahead, make a batch of these Gluten Free Coconut Nut Bars in advance, store or freeze them, and enjoy a healthy snack that is full of wholesome ingredients even when you are crunched for time!
Tips for Perfect Results
Now, let’s talk about some tips that can help you get the best possible results while baking these Gluten-Free Coconut Nut Bars.
1. To add an extra crunch to your bars, lightly toast the walnut and coconut flakes in a dry skillet over medium heat until fragrant. This will intensify their flavor and add more texture to the bars.
2. Use room temperature eggs and butter in this recipe. When eggs are at room temp, they blend better with other ingredients, making the mixture smoother. On the other hand, using softened butter makes it easier to cream it with sugar.
3. You can try substituting brown sugar with coconut sugar or maple syrup, which offer more nutrients than white sugar and have a lower glycemic index.
4. Don’t skip the baking powder in this recipe as it makes a significant difference to the final texture of the bars giving them, a slightly fluffy texture.
5. If you don’t have almond butter on hand or have allergies to almonds, peanut butter or cashew butter can be used as an alternative.
6. Dipping these bars in melted chocolate before serving is optional but adds a layer of richness that takes them to the next level.
7. If your gluten-free flour mix doesn’t include xanthan gum – an important binding agent – make sure you add it separately to the recipe in 1/4 tsp portions, until reaching 1 tsp total for every cup of flour used.
8. Letting the bars chill for at least 30 minutes and up to an hour will help you cut them into neat and tidy slices without any crumbling.
Follow these tips and have fun making these delicious Gluten-Free Coconut Nut Bars!
Bottom Line
: As a nutritionist and food blogger, I believe that eating healthy doesn’t mean you have to sacrifice taste. The Gluten-Free Coconut Nut Bars recipe is proof of that. With its delicious combination of almonds, walnuts, coconut and chocolate, this recipe is not only gluten-free, it’s also dairy-free and full of healthy ingredients. Perfect as a snack or dessert, these bars are easy to make and can be stored for later consumption without losing their flavours.
In addition to being a treat for your taste buds, these bars are also packed with nutrients that your body needs to function properly. The almonds and walnuts provide healthy fats, while the flax seeds offer fibre and protein. The coconut adds a delicious flavour as well as vitamins and minerals such as iron and potassium.
Lastly, this recipe is versatile enough to allow for substitutions and variations according to your preferences. It can be made vegan by replacing the eggs with flax eggs, or low carb by using sugar substitutes instead of honey. You can even top it with your favourite fruits to make it more colourful and nutritious.
So what are you waiting for? Try out this amazing Gluten-Free Coconut Nut Bars recipe today and indulge in its sweet goodness guilt-free. Your body will thank you for it!
Gluten Free Coconut Nut Bars Recipe
Ingredients
- 1 cup gluten-free flour
- 2 tablespoons ground flax seeds
- 1/2 cup butter, softened
- 3 tablespoons white sugar
- 2 eggs
- 1 cup walnuts, chopped
- 1/2 cup shredded coconut
- 1 1/2 cups brown sugar
Instructions
- Preheat oven to 350 degrees.
- Sift the flour into a medium bowl.
- Whisk in the ground flax seed.
- With the back of a fork, blend in the butter.
- Add the white sugar, continuing to blend with the back of a fork until butter is in tiny pieces.
- Lightly spray an 8-inch square pan with non-stick spray.
- Pat the pastry onto the bottom of the pan.
- In the same bowl, whisk the eggs until frothy.
- Stir in the walnuts, coconut and brown sugar.
- Spoon the egg mixture over the pastry.
- Bake for 30 minutes.
- When cook, but into 16 squares.
- If desired, sift confectioners' sugar over the top of the cooled bars.