Bake the Perfect Gluten-Free Sandwich Bread Today!
My dearest readers, I am delighted to share with you today a recipe for gluten-free sandwich bread. As a nutritionist and food blogger, I understand the importance of healthy eating and how it can transform our lives.
Nowadays, we all seem to be searching for alternatives to traditional bread that are gluten-free, dairy-free and organic. Unfortunately, not many options provide the required texture or flavor. This is why I am ecstatic to share this recipe with you – a recipe that has managed to satisfy both my own needs and those of my clients.
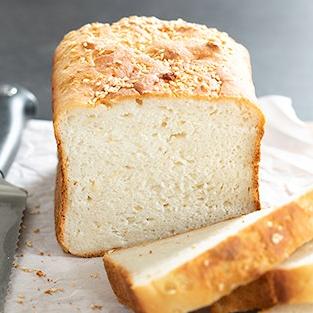
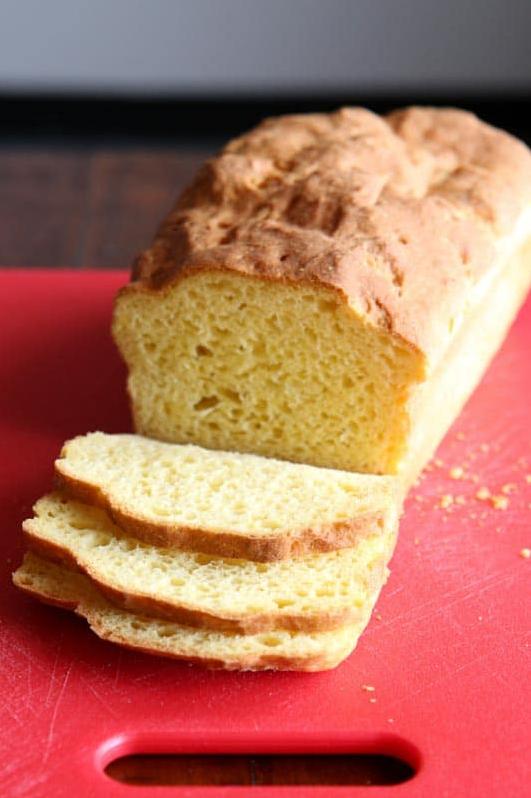
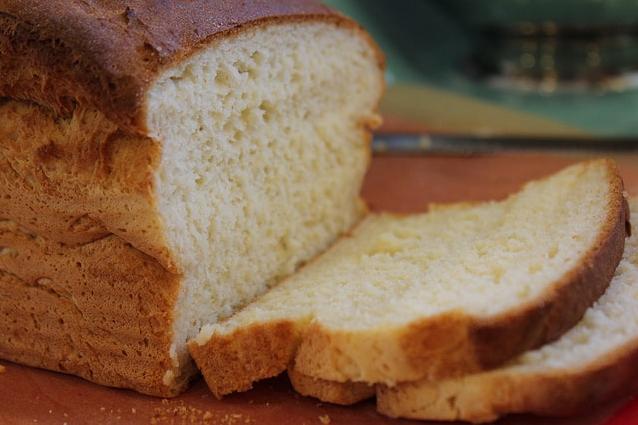
This sandwich bread is soft, spongy and foolproof. It will certainly make you forget that it is gluten-free. The bread is not only vegan but also contains healthy ingredients such as coconut oil, flax seed meal and almond flour. The use of psyllium husk powder makes this bread vegan while creating a perfect balance between moisture and structure in each slice.
This recipe uses easy-to-find ingredients that are affordable and healthy alternatives to wheat flour. With a few common kitchen staples such as coconut milk, active dry yeast and xanthan gum, you can whip up this delicious sandwich bread without any difficulty.
I promise that once you have tasted this bread, every other gluten-free bread option will fall short in comparison. Trust me when I say that baking your own gluten-free sandwich bread is worth the time and effort because everyone deserves an incredible loaf of homemade bread. So let’s get started on this journey together!
Why You’ll Love This Recipe
Dear Readers,
Are you tired of searching for a gluten-free sandwich bread recipe that is both easy to make and tastes delicious? Look no further! This gluten-free sandwich bread recipe is sure to become a favorite in your household.
What makes this recipe so special, you ask? Well, for starters, it’s made with healthy, wholesome ingredients like coconut oil, almond flour, flaxseed meal, and xanthan gum. This means that not only is it gluten-free, but it’s also dairy-free and vegan-friendly! Whether you have dietary restrictions or just want to eat healthier, this recipe is the perfect choice.
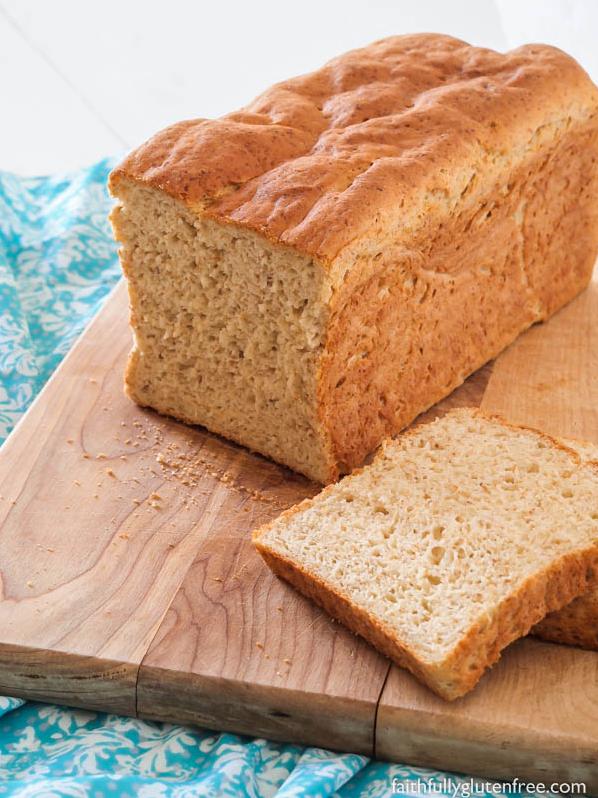
But what really sets this recipe apart is its texture. One problem with many gluten-free bread recipes is that they can be dry and crumbly. Not so with this bread! The combination of flours and xanthan gum addition makes this bread soft, light and fluffy – ideal for making the best GF sandwiches.
And don’t worry if you’ve never baked gluten-free before. This recipe ingredient list is simple and the instructions are easy to follow. It uses standard staples found in any GF baker’s pantry – think sugar, salt, instant yeast and all-purpose gluten-free flour blend. Plus, I have included some tips to ensure that each loaf comes out perfect every time!
So whether you’re gluten-intolerant or simply looking for ways to incorporate healthier ingredients into your diet, you’ll love this Gluten-Free Sandwich Bread Recipe. Give it a try and taste the difference for yourself!
Happy Baking!
Yours Sincerely,
Nutritionist Cum Food blogger
Ingredient List
Dry Ingredients:
– 3 cups gluten-free all-purpose flour blend (King Arthur Flour recommended)
– 2 teaspoons instant dry yeast
– 1 tablespoon xanthan gum
– 1½ teaspoons baking powder
– 1 teaspoon psyllium husk powder
– 1 teaspoon salt
– ¾ cup ground flaxseed meal
Wet Ingredients:
– 2 cups warm water
– 3 tablespoons granulated sugar
– 3 tablespoons coconut oil, melted and cooled slightly
– ½ cup coconut milk
– 1 egg (to make vegan omit the egg & add extra tablespoon of psyllium husk)
Optional Additions:
– 1/4 cup almond flour
– 1/4 cup brown rice flour
Note: For best results, use the recommended flour blends and other ingredients specified in the recipe, as they provide the necessary structure, taste, and texture for the bread.
The Recipe How-To
Now that we have gathered all of the ingredients, let’s start making this gluten-free sandwich bread! In this portion of the article, I will be giving you step-by-step instructions on how to make it.
Step 1: Combine ingredients
First things first, we need to combine dry ingredients in a large mixing bowl. Combine 3 cups brown rice flour, 3 cups Bob’s Red Mill gluten-free all-purpose flour, 1 cup almond flour, 1 cup flaxseed meal, 4 teaspoons xanthan gum, 2 teaspoons instant dry yeast, and 1 tablespoon of baking powder. Mix all of these together until they are well combined.
Step 2: Warm water
Next, we need to warm some water. We will use a total of 2 and 1/2 cups of warm water, so go ahead and measure that out.
Step 3: Add wet ingredients
In another large mixing bowl, add psyllium husk powder (4 tablespoons) to the warm water and mix them together.
Step 4: Add blended mixture
Then add our blended mixture of 1/2 cup coconut oil, 2 cups coconut milk, and granulated sugar (3 tablespoons). Whisk them all together until everything is combined.
Step 5: Combine dry and wet mixture
Slowly add our blended wet mix into the dry ingredient bowl while mixing well with a mixer. This is when our bread dough is starting to form. Mix until everything combines smoothly, making sure there are no clumps left.
Step 6: Let dough rest
Once all ingredients are mixed properly into dough by mixer, shape into a ball and put it into a greased baking-pan. Leave it for an hour under room temperature to let it rise.
Step 7: Pre-heat the oven
Preheat the oven to 375°F while waiting for the dough.
Step 8: Baking
Once the dough has risen larger than its original size, put it into the pre-heated oven for 50-60 minutes.
Step 9: Check if it’s done
Insert a toothpick or cake tester and make sure it comes out clean, then remove it from the oven.
Step 10: Cool down
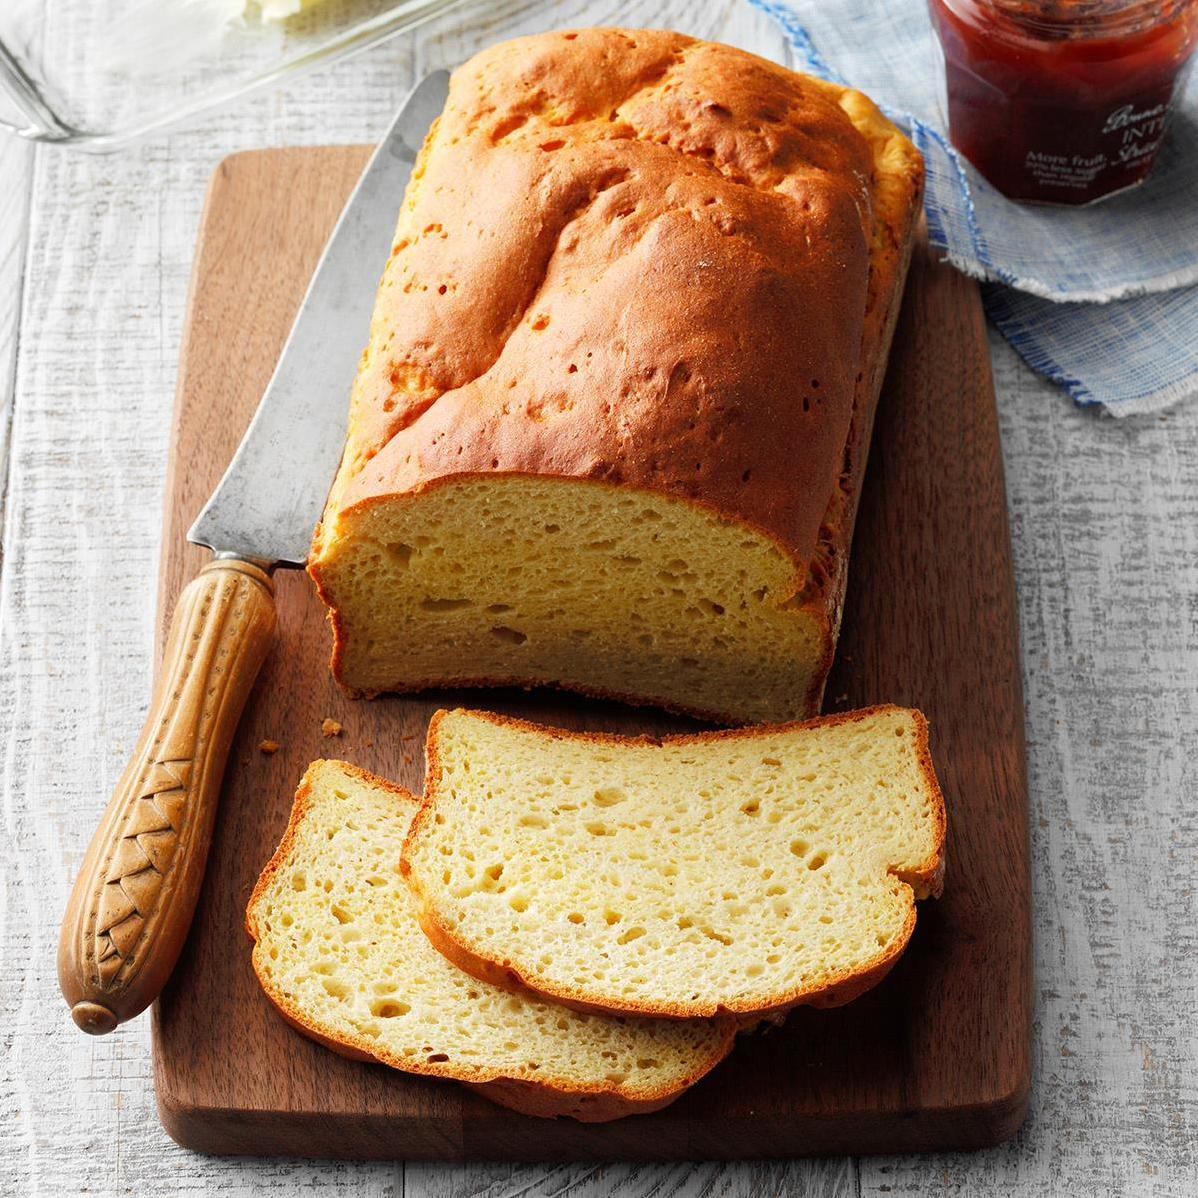
Let it cool down for at least 15-20 minutes before slicing or moving to a wire rack.
That’s it! Follow these steps and we will have a loaf of freshly baked and healthy gluten-free sandwich bread ready, with an amazing aroma that will make you want to eat it right away.
Substitutions and Variations
My dear readers, I know that sometimes you may not have all the ingredients on hand for a recipe or you want to put your own spin on a classic recipe. Fear not! There are several substitutions and variations you can make to this gluten-free sandwich bread recipe.
Firstly, let’s talk about flour. In this recipe, I use a gluten-free flour blend that includes rice flour, brown rice flour, and xanthan gum. If you don’t have these flours on hand, feel free to substitute with another gluten-free flour blend of your choice. Almond flour is also a great option as it adds a nutty flavor and soft texture to the bread.
For those who are vegan or allergic to dairy products, replace the butter with coconut oil and the milk with coconut milk or soy milk. This will give the bread a rich tropical flavor and healthy fats.
If you want to add some additional nutrients to your bread, add 1 cup of ground flaxseed meal to the dry ingredients before mixing in the wet ingredients. This will increase fiber content and is especially helpful for those following a gluten-free diet.
Finally, if you want to switch up the flavor profile of your sandwich bread, try adding some baking powder and substituting some of the water with soda water. This will give the bread an airy texture and slightly tangy taste.
Remember, cooking is all about experimentation and having fun in the kitchen. Don’t be afraid to get creative with your substitutions and see what works best for you!
Serving and Pairing
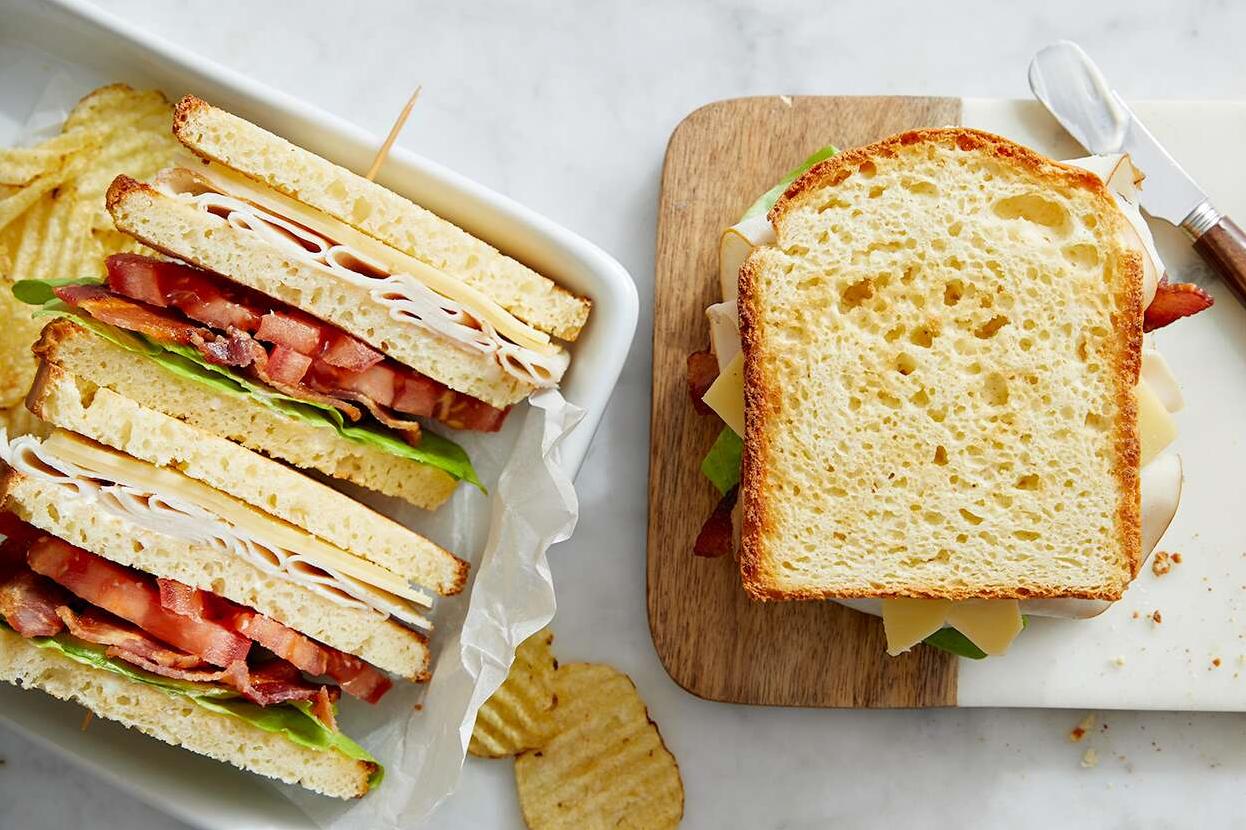
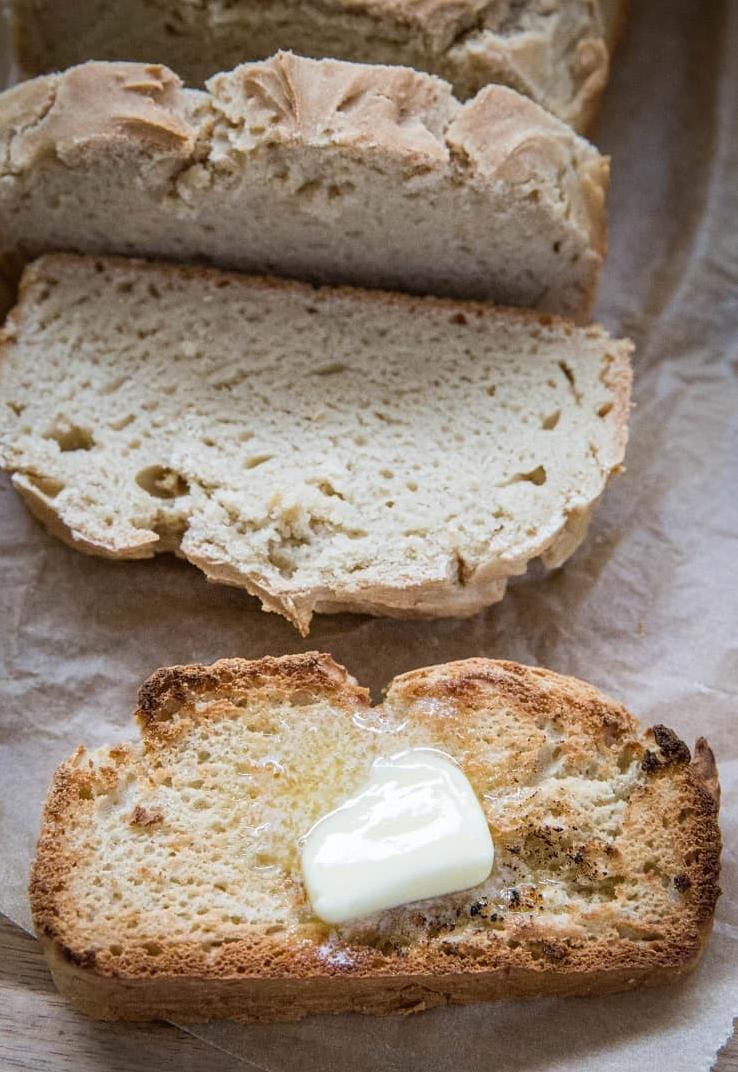
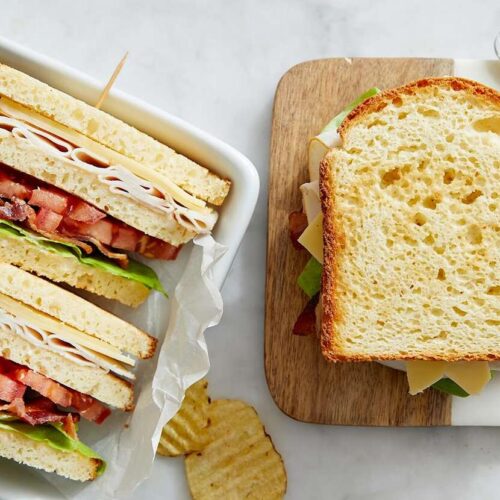
When it comes to serving this delicious gluten-free sandwich bread, the options are endless. You can slice it thick and enjoy as a classic sandwich, or toast it and pair with your favorite dips or spreads. I personally love to make a hearty grilled cheese sandwich with this bread, using dairy-free cheese and plenty of fresh vegetables.
For a breakfast treat, try slicing the bread thin and making French toast with a dairy-free “egg” mixture. Top with fresh fruit and maple syrup for a sweet and satisfying morning meal. The soft texture of this bread also makes it perfect for creating breadcrumbs, which can be used to coat chicken or tofu before baking.
In terms of pairing, this bread goes well with a variety of flavors. If you’re enjoying it as a savory sandwich, try pairing with a crisp pickle or side salad. For a sweet breakfast, add fresh berries or sliced bananas to your French toast or top with almond butter and honey.
Whether you’re looking for a hearty lunchtime treat or an indulgent weekend brunch staple, this gluten-free sandwich bread is sure to impress. So grab your ingredients and start baking – your taste buds will thank you!
Make-Ahead, Storing and Reheating
When it comes to make-ahead and storing this delicious gluten-free sandwich bread recipe, I have a few tips up my sleeve. Firstly, make sure you let the bread cool completely before slicing it, otherwise, it may not hold its shape when you cut it. Once it has cooled down entirely, you can wrap it in plastic wrap and store it at room temperature for up to 3 days.
If you want to store it for longer than that, you can freeze the bread. For best results, I suggest pre-slicing the loaf and then packaging each slice in airtight freezer bags or containers. Defrost only as many slices as you need at a time and let them come back to room temperature before enjoying.
When reheating the bread, you can either toast it or warm it up in the oven. To toast the bread, simply place each slice in your toaster and cook until heated through and crispy on the outside. Alternatively, to reheat the whole loaf, preheat your oven to 350°F (180°C) and wrap the loaf in foil, leaving a small opening at the top for steam to escape. Bake the bread for 10-15 minutes or until heated through.
These tips will help keep your gluten-free sandwich bread fresher for longer and ensure that each slice tastes just as good as when you first baked it.
Tips for Perfect Results
Now that we have gone through the recipe how-to, it’s time to share some tips for perfect results. When baking gluten-free bread, it’s important to understand that the dough may behave differently than regular wheat dough. But, with these tips, you’ll be able to make a perfect gluten-free sandwich bread that is soft, fluffy and delicious.
1. Use room temperature ingredients: Ensure that all your ingredients, particularly the non-dairy milk and eggs, are at room temperature before starting. This helps in producing a consistent texture while baking.
2. Knead the dough well: Gluten-free bread dough needs thorough kneading to create the right structure and texture. Knead the dough for at least 10 minutes with a stand mixer or by hand.
3. Don’t over-rise the dough: Gluten-free bread rises more quickly than traditional wheat bread. Therefore, keep an eye on the dough during rising time and don’t let it over-rise, or it may collapse during baking.
4. Use a thermometer: It can be hard to know when gluten-free bread is cooked through because it doesn’t brown in the same way as wheat-based bread. Use a thermometer to ensure that the internal temperature of the bread reaches 200°F.
5. Store in airtight container: Once cooled completely, store your gluten-free sandwich bread in an airtight container at room temperature for up to 3 days, or wrap tightly in plastic wrap and freeze for up to 3 months.
By following these tips, you will have great success making this gluten-free sandwich bread at home!
Bottom Line
In conclusion, this gluten-free sandwich bread recipe is not only easy to make but also tasty and healthy. By using gluten-free flour, coconut oil, and coconut milk, you can create a delicious loaf of bread that is safe for those with gluten intolerance or celiac disease. With the addition of flaxseed meal and xanthan gum, this recipe will produce a soft and airy bread that can be paired with your favorite sandwich fillings.
By following the tips and recommendations provided in this article, you are sure to have perfect results every time. You can even experiment with substitutions and variations to create the perfect loaf for your taste preferences. This recipe is also great for meal prep as it can be stored in the fridge or freezer for later use.
Overall, this recipe is a must-try for anyone looking to incorporate healthy gluten-free bread into their diet. Not only is it delicious, but it’s also a great way to take care of your health while still enjoying one of life’s simple pleasures – bread. Give it a try and let us know in the comments below what you think!
Gluten Free Sandwich Bread Recipe
Ingredients
- 1/4 cup flax seed meal, plus
- 2 tablespoons flax seed meal
- 1/2 cup water, plus
- 1 tablespoon water
- 3 cups king arthur gluten-free multi-purpose flour
- 3 tablespoons sugar
- 2 teaspoons instant yeast
- 1 1/4 teaspoons salt
- 1 1/4 teaspoons xanthan gum
- 1 cup warm coconut milk
- 1/4 cup coconut oil
Instructions
- Mix flax meal and water in a small bowl and let sit for 10 minutes.
- Mix flour, sugar, yeast, salt and xanthan gum in a large bowl.
- Drizzle in the milk, beating the entire time.
- Add the coconut oil and mix until thoroughly blended.
- Beat in the flax mixture, a third at a time, beating the mixture thoroughly between each additino. Scrape the bottom and sides of the bowl, then beat at high speed for 3 minutes, to make a very smooth, thick batter.
- Cover the bowl and let rise for 1 hour.
- Scrape down the bottom and sides of the bowl, gently deflating the batter in the process.
- Grease an 8 1/2" by 4 1/2" loaf pan.
- Scoop the dough into the pan. Press it level, using a spatula or your wet fingers.
- Cover with greased plastic wrap, and set in a warm place to rise until the loaf barely crowns above the rim of the 8 1/2" x 4 1/2" pan, approximately 45-60 minutes.
- Bake the bread at 350 degrees for 38 to 42 minutes, until golden brown.
- Remove the bread from the oven, turn it out of the pan, and cool on a rack.