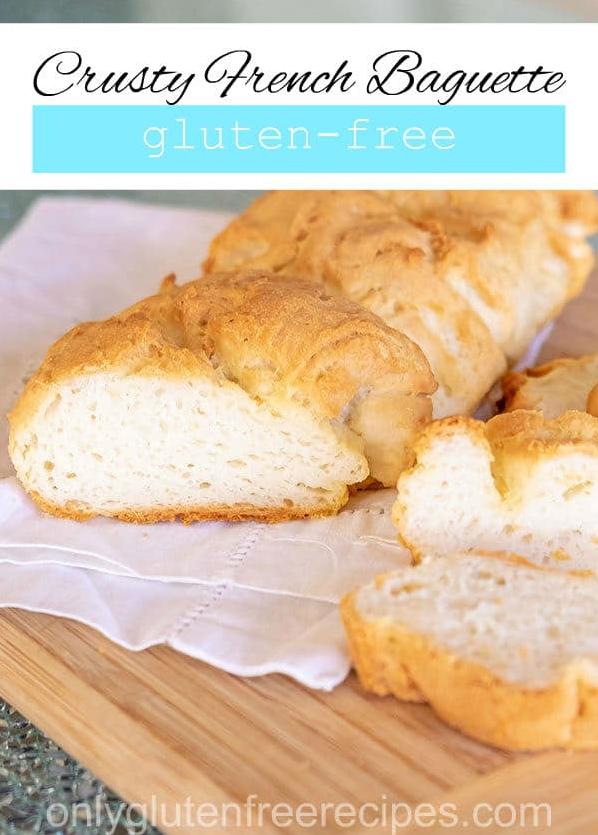
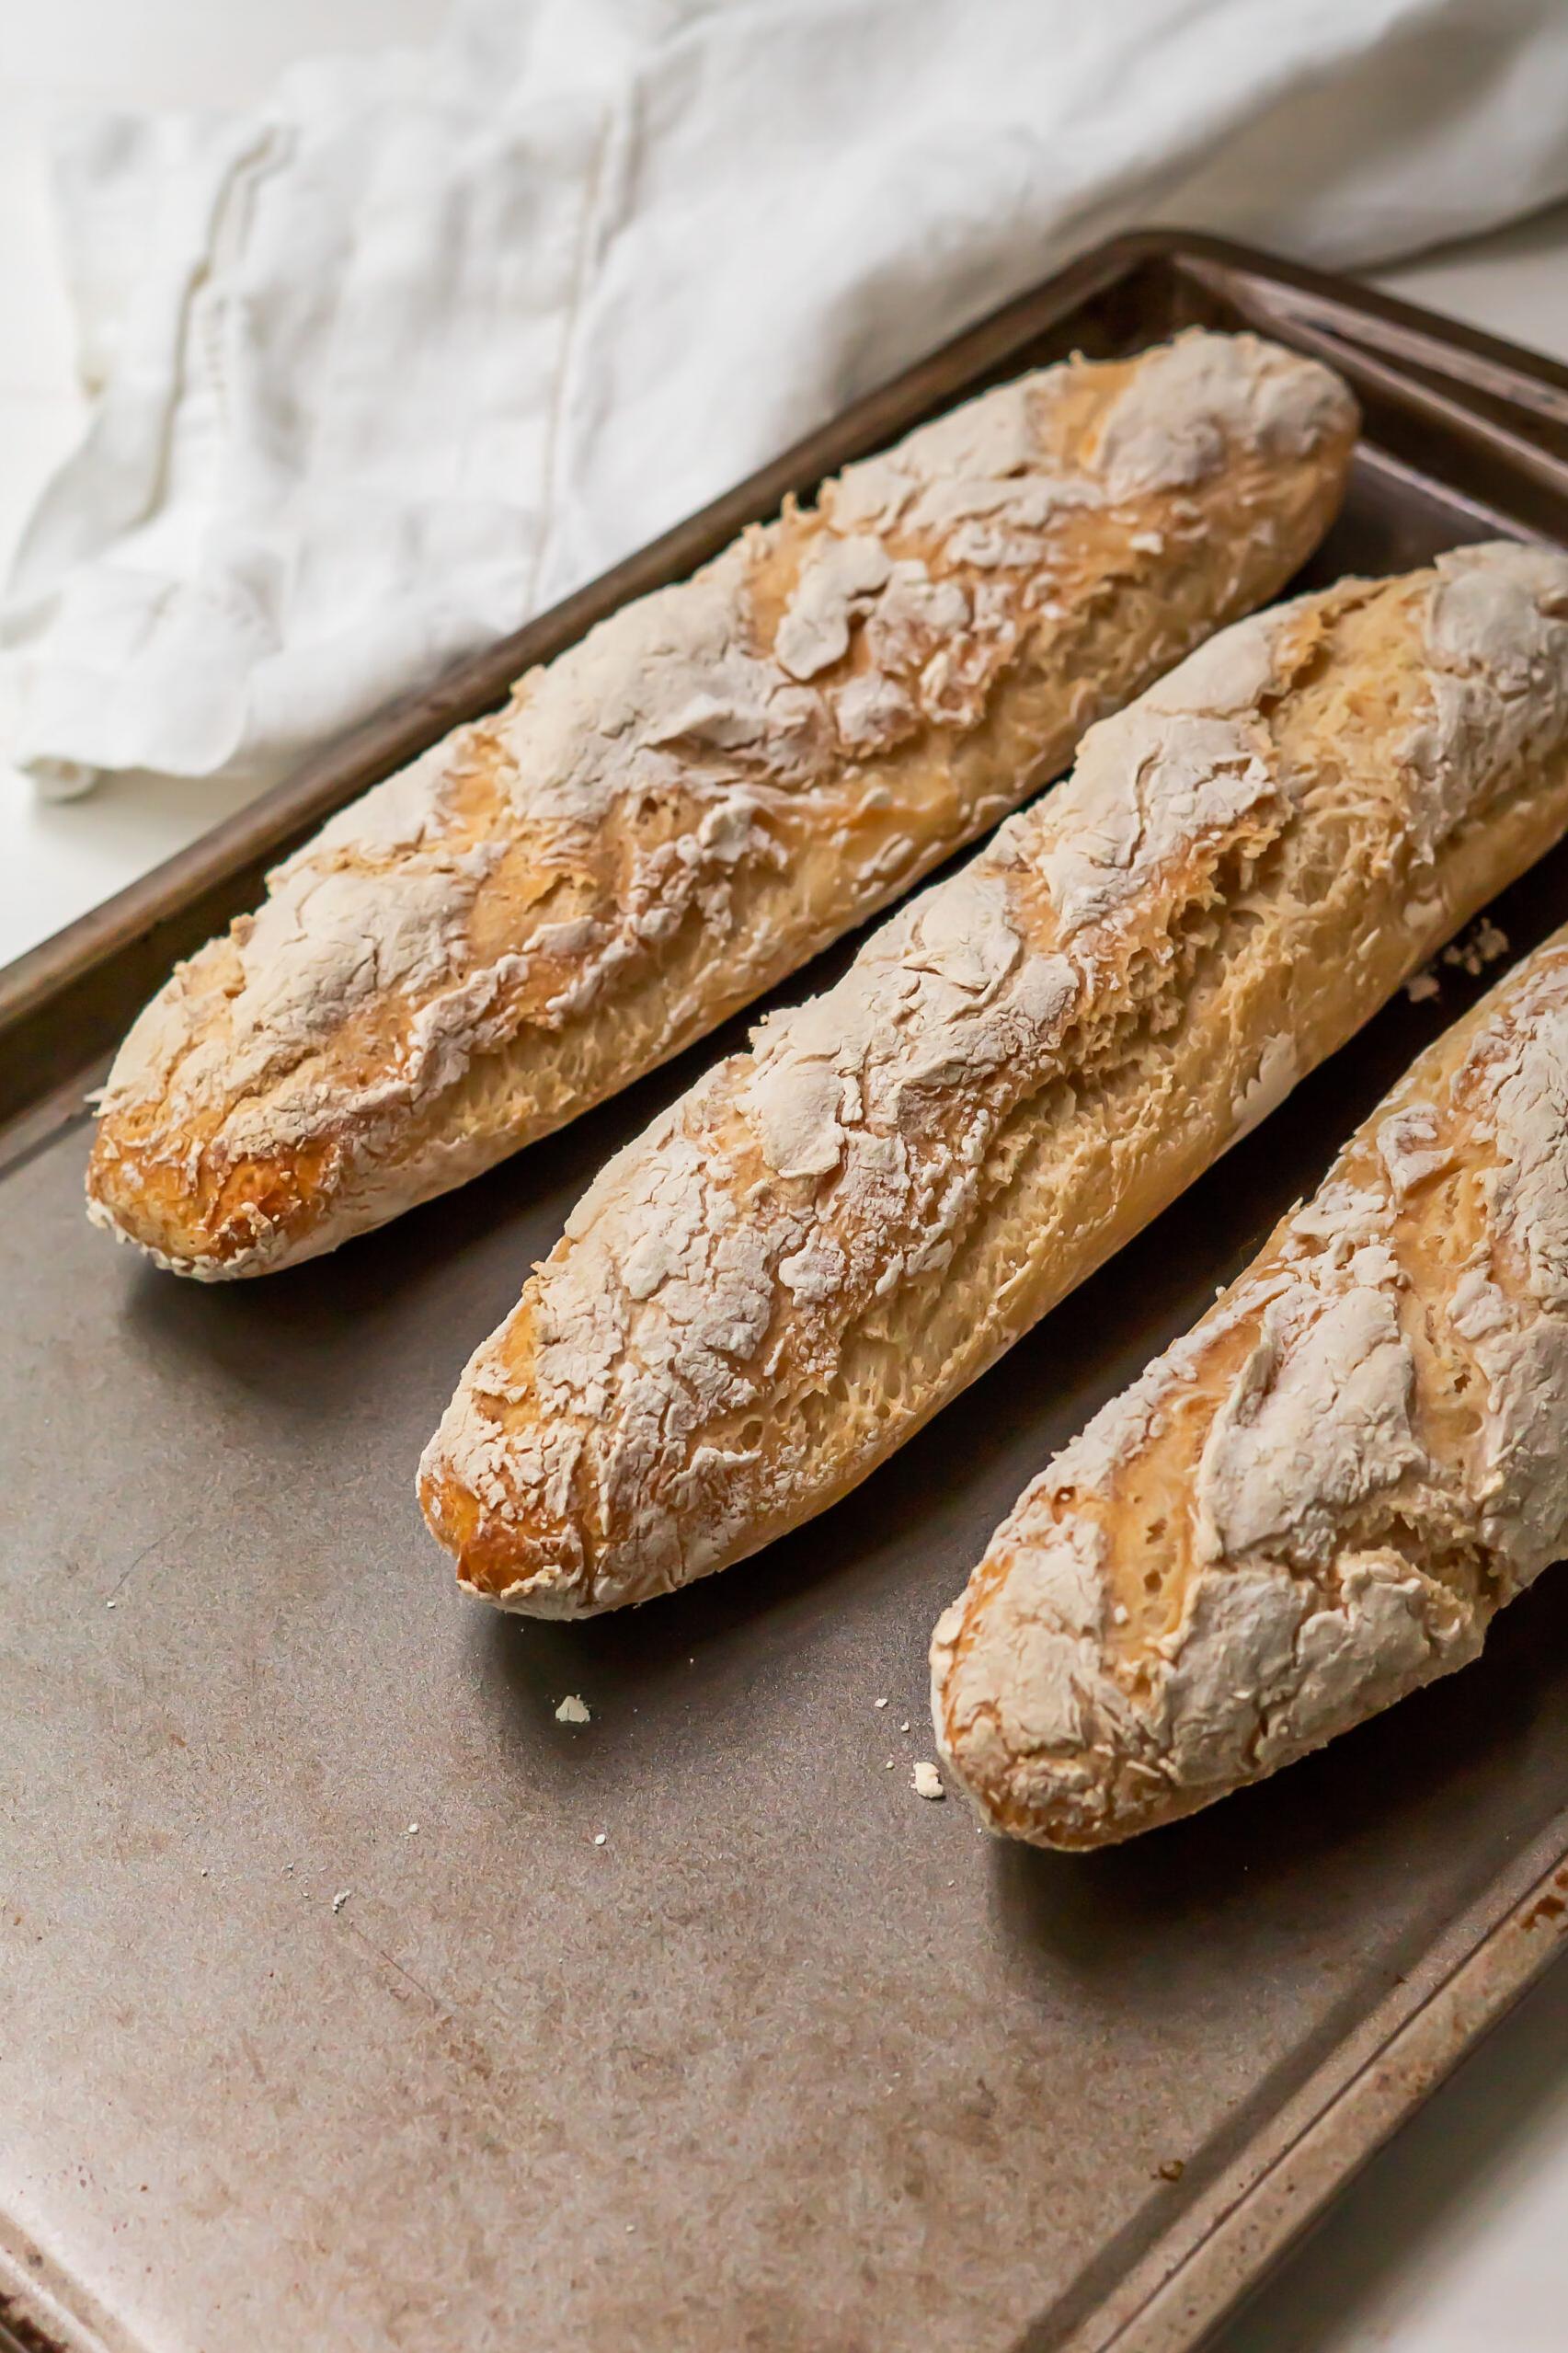
Gluten-Free and Delicious: Crusty French Bread Recipe
Are you in search of a gluten-free bread recipe that is both delicious and easy to make? Look no further than this Gluten Free Crusty French Bread Variation Recipe!
There’s nothing quite like the smell of freshly baked bread wafting through your home. Now, with this recipe, you can experience that heavenly aroma and satisfy your cravings for crusty French bread without worrying about any dietary restrictions.
Many people who are allergic or intolerant to gluten, dairy or other ingredients typically found in bread may feel trapped, as they cannot enjoy these beloved baked goods. That’s where this recipe comes in – it’s guaranteed to be tasty and accommodating for those with certain dietary needs.
Moreover, homemade bread is healthier, more affordable, and more rewarding than purchasing store-bought alternatives. It is a source of pride and satisfaction to bake your own loaf of bread from scratch.
So put on your apron and follow these step-by-step instructions to create a mouth-watering crusty French bread that will leave everyone asking for seconds!
Why You’ll Love This Recipe
Are you looking for a gluten-free and dairy-free variation of crusty French bread that is crispy on the outside and soft on the inside? Then you’ll love this gluten-free crusty French bread recipe that I’m about to introduce to you.
Firstly, this recipe uses xanthan gum, which adds a chewy texture to the bread that’s often missing in gluten-free bread. Additionally, the use of white wine vinegar and active dry yeast makes the dough rise higher, leading to an airy and fluffy structure.
Secondly, this recipe isn’t only gluten-free and dairy-free; it’s also free from refined sugar! Instead, it uses natural sugar from eggs and warm water, making it a healthier option than traditional French bread recipes.
Thirdly, the bread ingredients are accessible and easy to find in most grocery stores or online. You can easily adapt this recipe to suit your dietary preferences by substituting ingredients like butter with vegan butter or egg with flax egg.
Lastly, this bread recipe can be customized according to your liking. You can make petite pains or regular-sized loaves; you can sprinkle sesame seeds or any seeds of your choice on top before baking; you can even make a homemade gluten-free sourdough by using this recipe as a starter.
In conclusion, this gluten-free crusty French bread variation is perfect for those who want to enjoy bread without sacrificing their dietary preferences. Trust me; once you try this recipe, you’ll never look back at conventional French bread recipes.
Ingredient List
Let’s dive into the ingredient list for this delicious gluten-free crusty French bread recipe. You’ll be amazed at how easy it is to find and use these ingredients to create a loaf of bread that is free of gluten, dairy and full of flavor. In addition to featuring 2 cups of rice flour, this recipe includes tapioca flour, cornstarch, and xanthan gum – all essential ingredients for the perfect texture of French bread. Here’s everything you will need:
For a 500 g (1 lb) loaf:
Ingredients Set 1
- 2 cups (300 g) white rice flour
- 1 cup (120 g) tapioca starch (flour)
- 1/2 cup (70 g) cornstarch (or potato starch)
- 1 tablespoon (10 g) + 1 teaspoon (5 g) active dry yeast
- 4 teaspoons (16 g) sugar (or honey)
- 2 teaspoons (6 g) salt
- 2 teaspoons (6 g) xanthan gum
Ingredients Set 2
- 1 cup warm water
- 1 tablespoon white wine vinegar or apple cider vinegar
- 3 tablespoons butter or vegan alternative
- 1 egg for bread wash
Note: You can convert grams to ounces by using an appropriate metric converter.
The Recipe How-To
Now that you know the composition of our Gluten-Free Crusty French Bread, let’s move on to the recipe steps. This bread recipe is perfect if you’re looking for an easy homemade bread recipe that doesn’t require a bread machine or any special tools.
Preparation Time:
- 10 minutes
Cooking Time:
- 35-40 minutes
Ingredients:
Ingredients Set 1:
- 1 cup warm water
- 2 teaspoons active dry yeast
- 1 tablespoon sugar
Ingredients Set 2:
- 2 cups white rice flour
- 1 cup tapioca flour
- 3 teaspoons xanthan gum
- 1 tablespoon baking powder
- 1 tablespoon milk powder
- 1 teaspoon salt
- 2 tablespoons white wine vinegar
- 1 egg
Additional Ingredients:
- A little bit of butter to grease baking sheet.
- Cornstarch to dust your dough surface.
Step-by-step Recipe:
Here’s a step-by-step guide on how to make our delicious Gluten-Free Crusty French Bread recipe.
Step #1: Proof the Yeast
First, place the active dry yeast in one cup of warm water and add a tablespoon of sugar. Wait for around five minutes until it gets activated and is submerged in bubbles.
Tip: Remember to use warm water instead of hot water so that it won’t kill your yeast.
Step #2: Prepare Your Flour Blend
Next, prepare your gluten-free flour blend. On a separate mixing bowl, whisk together the white rice flour, tapioca flour, xanthan gum, salt, baking powder, and milk powder.
Step #3: Combine the Ingredients
Combine both mixtures by adding beaten egg into set ingredient #2. Mix and fold it into set ingredient #1 until it turns into a dough.
Tip: Make sure to divide your dough evenly into two parts to create two french bread loaves.
Step #4: Knead and Let the Dough Rise
Knead your dough, put it inside a bowl, and cover it with a damp towel to let your gluten-free bread rise for about 40-60 minutes.
Tip: You can put it inside an oven with minimal warmth or on top of your fridge if you want an area with heat.
Step #5: Preheat Oven
Preheat your oven to 400°F.
Step #6: Bake Your Bread
Grease baking sheets with a little bit of butter before placing them inside the oven. Sprinkle cornstarch flour onto your dough’s surface before putting in on heated sheets. Place your french bread loaf onto the greased baking sheet and put it inside your preheated oven for 35-40 minutes.
Tip: These gluten-free baguette recipes can be challenging to get crisp-crusted, but it’s important that you let them bake until golden
Substitutions and Variations
When it comes to making gluten-free bread, it can be challenging to find the right combination of ingredients that will produce the desired texture and flavor. Fortunately, there are many ingredients and variations you can make to suit your taste or dietary needs.
For example, if you’re looking for a low-carb option, you can replace the rice flour with almond flour or coconut flour. You could also add some chopped nuts or seeds for an extra crunch.
If you’re looking for a vegan option, simply replace the egg with a flax egg or applesauce. This will also make the recipe dairy-free.
Another variation is to use different types of starches in place of tapioca starch. You could try potato starch, arrowroot powder, or even cassava flour – which will give your bread a slightly sweeter taste.
For those who enjoy experimenting with flavors, try adding herbs or spices to your bread dough before baking. Rosemary, thyme or garlic would pair perfectly with this crusty French bread recipe.
Lastly, if you prefer a smaller loaf size, you can divide the dough into equal parts and create petit pains – perfect for afternoon tea sandwiches.
Overall, don’t be afraid to get creative with this recipe! The possibilities are endless when it comes to making delicious gluten-free bread.
Serving and Pairing
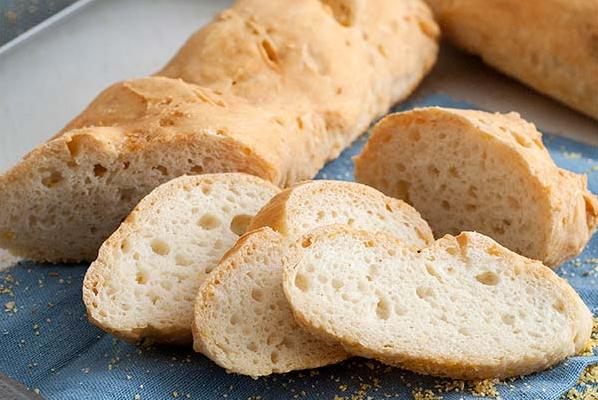
Now that you have made this delicious gluten-free French baguette, it’s time to enjoy it in all its crusty glory. This versatile bread can be served alongside a range of dishes, making it perfect for every meal, from breakfast to dinner.
For breakfast, you can slice the bread and spread butter or jam on top or use it as the base for a delicious avocado toast. For lunch, this bread works wonders as a sandwich component or simply served with soup, especially if it’s a chilly day. For dinner, French bread pairs perfectly with pasta dishes or any meal that involves dipping.
This bread is best enjoyed fresh out of the oven with a luscious glass of white wine or red wine if you prefer. The acidity in the wine compliments the bread’s natural flavor and adds depth to your dining experience. You can also pair this artisan bread with cheese platters; brie or camembert both make excellent choices.
If you’re planning to make crostini’s at your next party, free crunchy French bread makes the perfect base for endless topping combinations such as roasted tomatoes and pesto or smoked salmon and cream cheese.
In summary, this delicious gluten-free French baguette is not only delectable but also versatile. It pairs well with a range of dishes and beverages making it an ideal choice for every meal time of day!
Make-Ahead, Storing and Reheating
There’s nothing better than a freshly baked crusty French bread straight from your oven, but sometimes you don’t have the time or energy to bake it right before serving. Fortunately, this gluten-free crusty French bread variation recipe is perfect for those who like to plan ahead.
You can make the dough ahead of time and store it in the fridge for up to 5 days, giving you the option of baking fresh bread whenever you want or need it. To do this, simply follow the instructions until the dough is ready to rise. Instead of allowing it to rise at room temperature, place it in an airtight container and store it in the fridge until you are ready to bake.
If you want to store your baked bread, let it cool completely and then wrap it tightly in foil or plastic wrap. You can keep it at room temperature for up to 3 days or freeze it for longer storage.
Reheating the bread is also super easy. Preheat your oven to 350°F and reheat the bread on a baking sheet for 10-15 minutes, or until warmed through. You can also use a toaster oven or microwave, but be sure to wrap the bread in damp paper towels first to prevent it from drying out.
Another great way to enjoy leftover bread is by making breadcrumbs. Dry out your leftover slices in the oven and then pulse them in a food processor until they are small crumbs. Use them as a coating for chicken or fish, sprinkle them on top of casseroles or salads, or use them as a topping for mac and cheese.
With these tips and tricks, you’ll never have to waste any of your delicious gluten-free crusty French bread again!
Tips for Perfect Results
When it comes to baking gluten-free bread, there are a few tricks that will help you achieve perfect results. Here are some tips to ensure your crusty French bread turns out just how you want it:
Firstly, make sure to combine the dry ingredients thoroughly. This will ensure even distribution of ingredients in the bread dough. Use a whisk or sifter to mix your flours, xanthan gum, salt, and baking powder.
Secondly, measure all your ingredients precisely using measuring cups and spoons. A slight variation in measurement can result in a different texture or density.
Thirdly, using a stand mixer with a dough hook attachment can make things easier for you instead of hand kneading. The dough hook ensures that every part of the dough is kneaded evenly.
Fourthly, don’t overwork the dough when kneading. Overworking can cause the loaf to become tough and dense. Instead, aim for a smooth and elastic texture before you let it rise.
Fifthly, make sure your dough has ample time to rise before going into the oven. This helps with creating those air pockets that give French bread its signature look and texture.
Sixthly, create steam within your oven while baking for an extra crisp crust. Place an oven-proof dish filled with water on the bottom rack of your oven or spritz some water onto the loaf before baking.
Finally, let your baked bread rest for at least 10 minutes before slicing into it. This allows it to cool slightly and settle down, creating a perfect crumb structure.
By following these tips, you’ll have success in creating an artisan gluten-free French bread that will please even the most discerning palette.
FAQ
As with any recipe, there are bound to be some questions that come up along the way. To make sure you have all the information you need to make this gluten-free crusty French bread variation recipe a success, I’ve compiled some of the most frequently asked questions and provided detailed answers below in item (9) FAQ. So, let’s dive in!
What is the secret to getting gluten-free bread to rise?
Here’s a neat trick for getting your yeast breads to rise perfectly: First, preheat your oven to 200º F and then turn it off once it’s reached the desired temperature. Next, place your un-raised bread inside the warm oven with a greased piece of parchment paper on top and a bowl of water to create a moist environment. This will help your bread to rise exactly as directed.
Why add apple cider vinegar to gluten-free bread?
When making gluten-free dough, utilizing an acid such as apple cider vinegar can make it fluffier. A maximum of 4 Tbsp of acid for every 500 g of flour can be added without concerns about affecting the flavor. For an even lighter texture, a packet of baking powder or cream of tartar baking powder can also be mixed into 500 g of flour alongside the acid.
Does xanthan gum help gluten-free bread rise?
When blending the different components of your recipe, a chemical reaction occurs, producing carbon dioxide which is then released. This gas needs to be trapped inside the mixture to help it rise, similar to how gluten works. As such, xanthan gum comes in handy in ensuring that the air stays intact within the dough, giving you a light and well-structured bread, rather than a heavy and flat result.
How do you keep gluten-free bread from falling apart?
When it comes to gluten-free bread, it’s best to store it in the refrigerator or freezer to keep it fresh. Unlike regular wheat bread, which can stay good at room temperature, gluten-free bread needs a cooler environment. It’s recommended to slice the bread while it’s still warm and transfer it to one or two plastic bags, so it stays moist and delicious for longer.
Bottom Line
In conclusion, this gluten-free crusty French bread recipe is simply one of the best you’ll find out there. It has all the great features of a French baguette–a crunchy exterior with a soft, chewy inside that makes for a delicious sandwich or an appetizer, and it is perfect for anyone who craves the taste and texture of good bread without the gluten.
With a blend of rice flour, tapioca starch, and xanthan gum, this recipe is inadvertently dairy-free too. You can make it ahead of time, store it in an airtight container or freeze it, and enjoy it any time you want to have a taste of freshly made bread at home.
So, don’t let your gluten-free diet deprive you of enjoying one of life’s simple pleasures–homemade bread. This recipe is simple enough that even beginners can get excellent results in no time. Try it out today and breathe some life back into your meals.
Gluten Free Crusty French Bread Variation Recipe
Ingredients
- 1 1/2 cups rice flour
- 1/2 cup tapioca starch
- 1/2 cup cornstarch
- 1/2 cup acorn flour
- 1 tablespoon xanthan gum
- 1/2 tablespoon salt
- 1 egg
- 3 egg whites
- 2 tablespoons sugar
- 1 1/2 cups lukewarm water
- 2 tablespoons active dry yeast
- 2 tablespoons butter, melted
- 1 teaspoon white wine vinegar or 1 teaspoon rice wine vinegar
Instructions
- In the bowl of your mixer, place all dry ingredients (flours, salt, gum, etc) , except for those used in step 2 and blend on low for about 1 minute to fully integrate all ingredients (or you could sift it, but this is the lazy way).
- While you're sifting, mix yeast and sugar into the lukewarm water in a mug or bowl. If after 5-10 minutes your mixture is not foaming, your yeast is dead. Start again. You should smell yeast and have something that looks like beer head on the top of your water. You absolutely cannot make this bread rise without yeast, so this is not a step to skip.
- Add the butter and vinegar to the mixer, fully integrating before you begin to add your eggs. I usually add the whole egg and while it's mixing, separate the whites into a separate bowl and then dump all three in at once. Last, but not least, add the yeast slurry (but only if it's properly proofed! See step 2).
- Mix on medium-low until everything is integrated. I like to beat for an additional minute or two on high to be sure that everything's nice and slapped around. This is also where I add any herbs or seasonings I want to integrate into the batter (frequently 1 tbsp of garlic granules, 2 teaspoons rosemary and 1 tbsp black pepper, but use what you like).
- Now, this is where you have a decision to make. This recipe makes great rolls, ok buns and wonderful bread.
- For rolls: Find two muffin pans. Fill the cups about half way until you run out of batter. You won't probably get two dozen, but you'll get something like 18 or so.
- For buns: Using a Texas muffin pan, fill each slot equally.
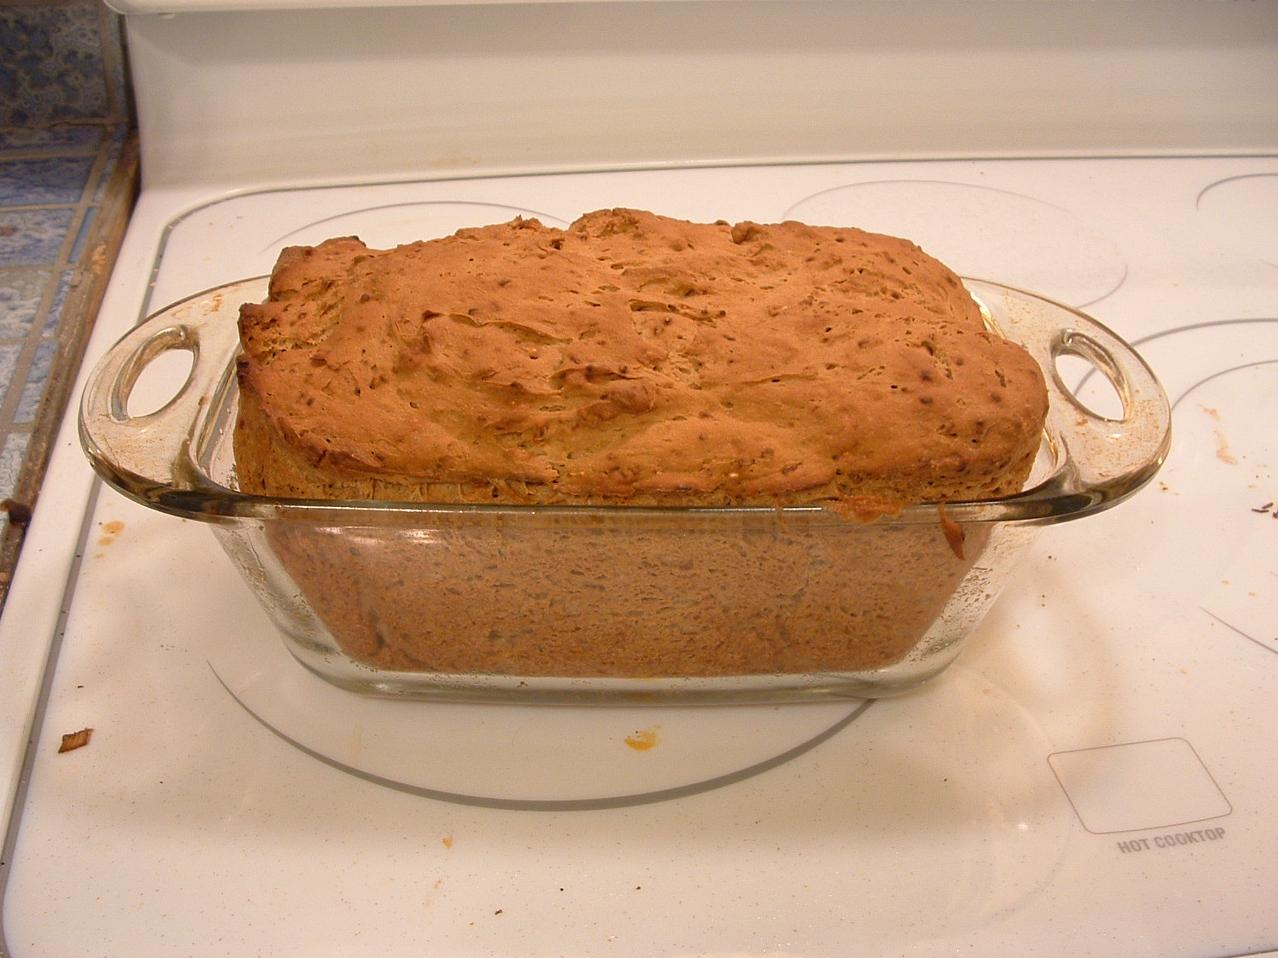
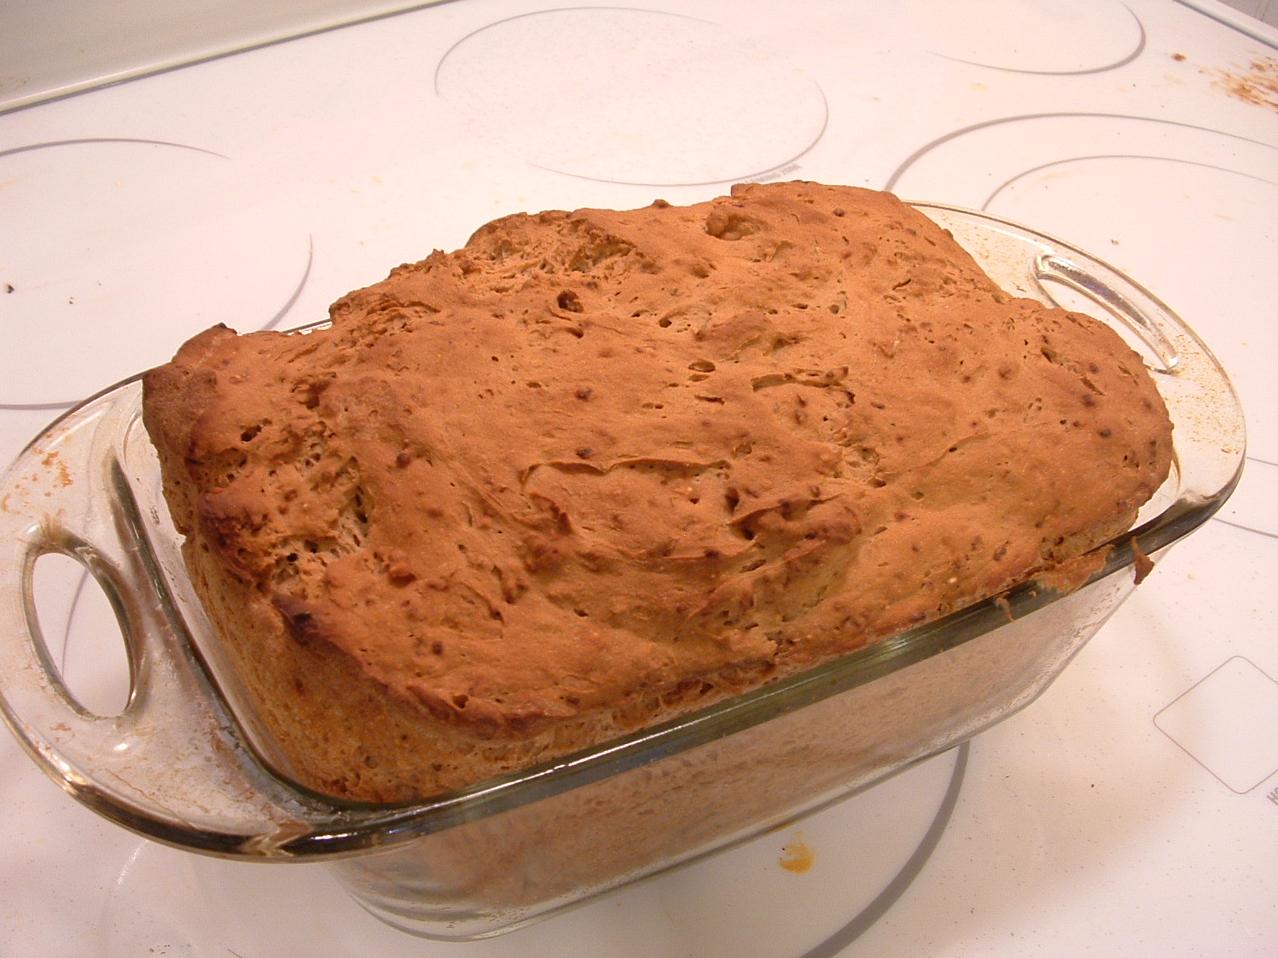
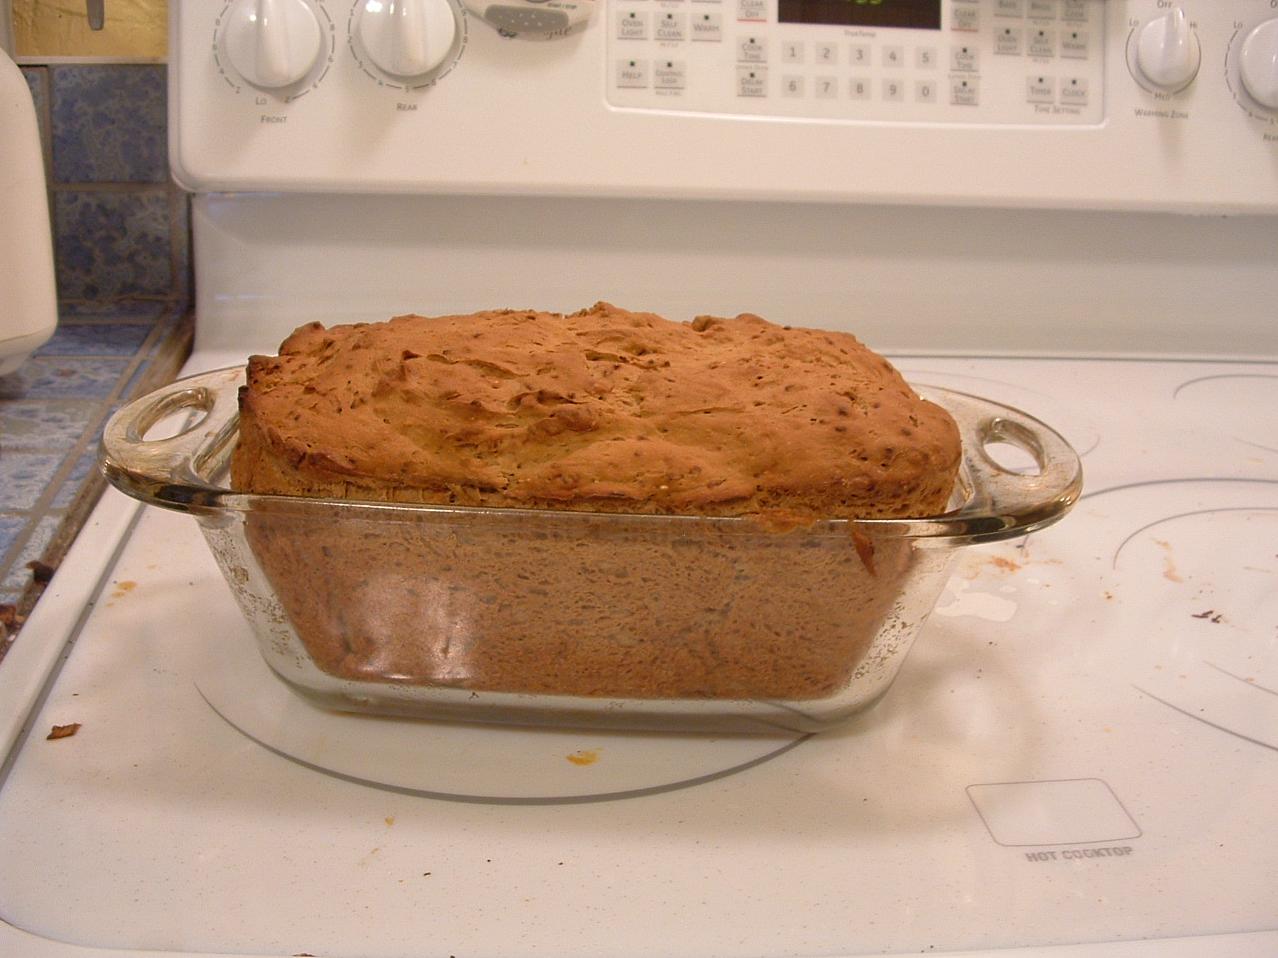
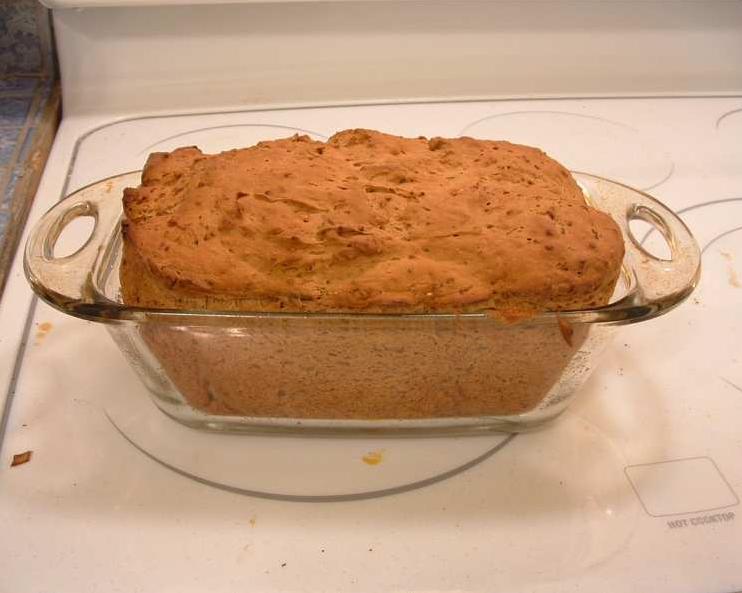
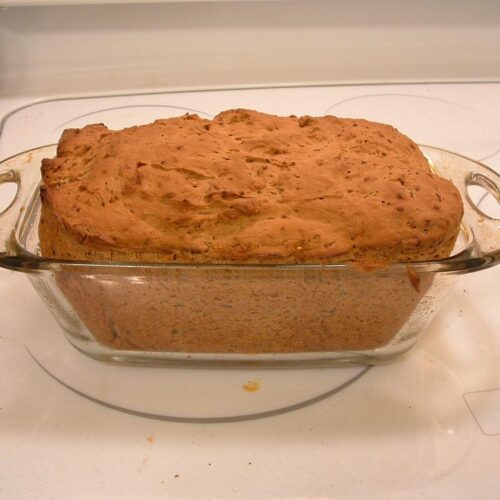
- For bread: Scoop all the dough into a regular loaf pan. The loaf usually draws up a little for me during baking, making it really easy to get out.
- Whatever you choose, allow the dough to rise at least an hour. I've left for the grocery and come back as many as 3 hours later and still had a really great rise. Cover loosely with cellophane to keep bugs and things out. 🙂 After you've given it proper rise time, sprinkle with a topping (if you like) and insert into a 400°F oven.
- Bake rolls for about 25 minutes and then check for doneness, buns for about 30 and check and bread for 45 minutes. If the bread has a hollow sound when you thump it, it's done. It will be really crusty (and that's the way we like it).