Yummy Gluten-Free Clover Rolls: A Recipe to Treasure!
Welcome to my kitchen, where gluten-free and dairy-free meals reign supreme! As a nutritionist and food blogger, I’m passionate about creating healthy and delicious recipes that everyone can enjoy. Today, I’m excited to share with you my recipe for Gluten-Free Clover Rolls.
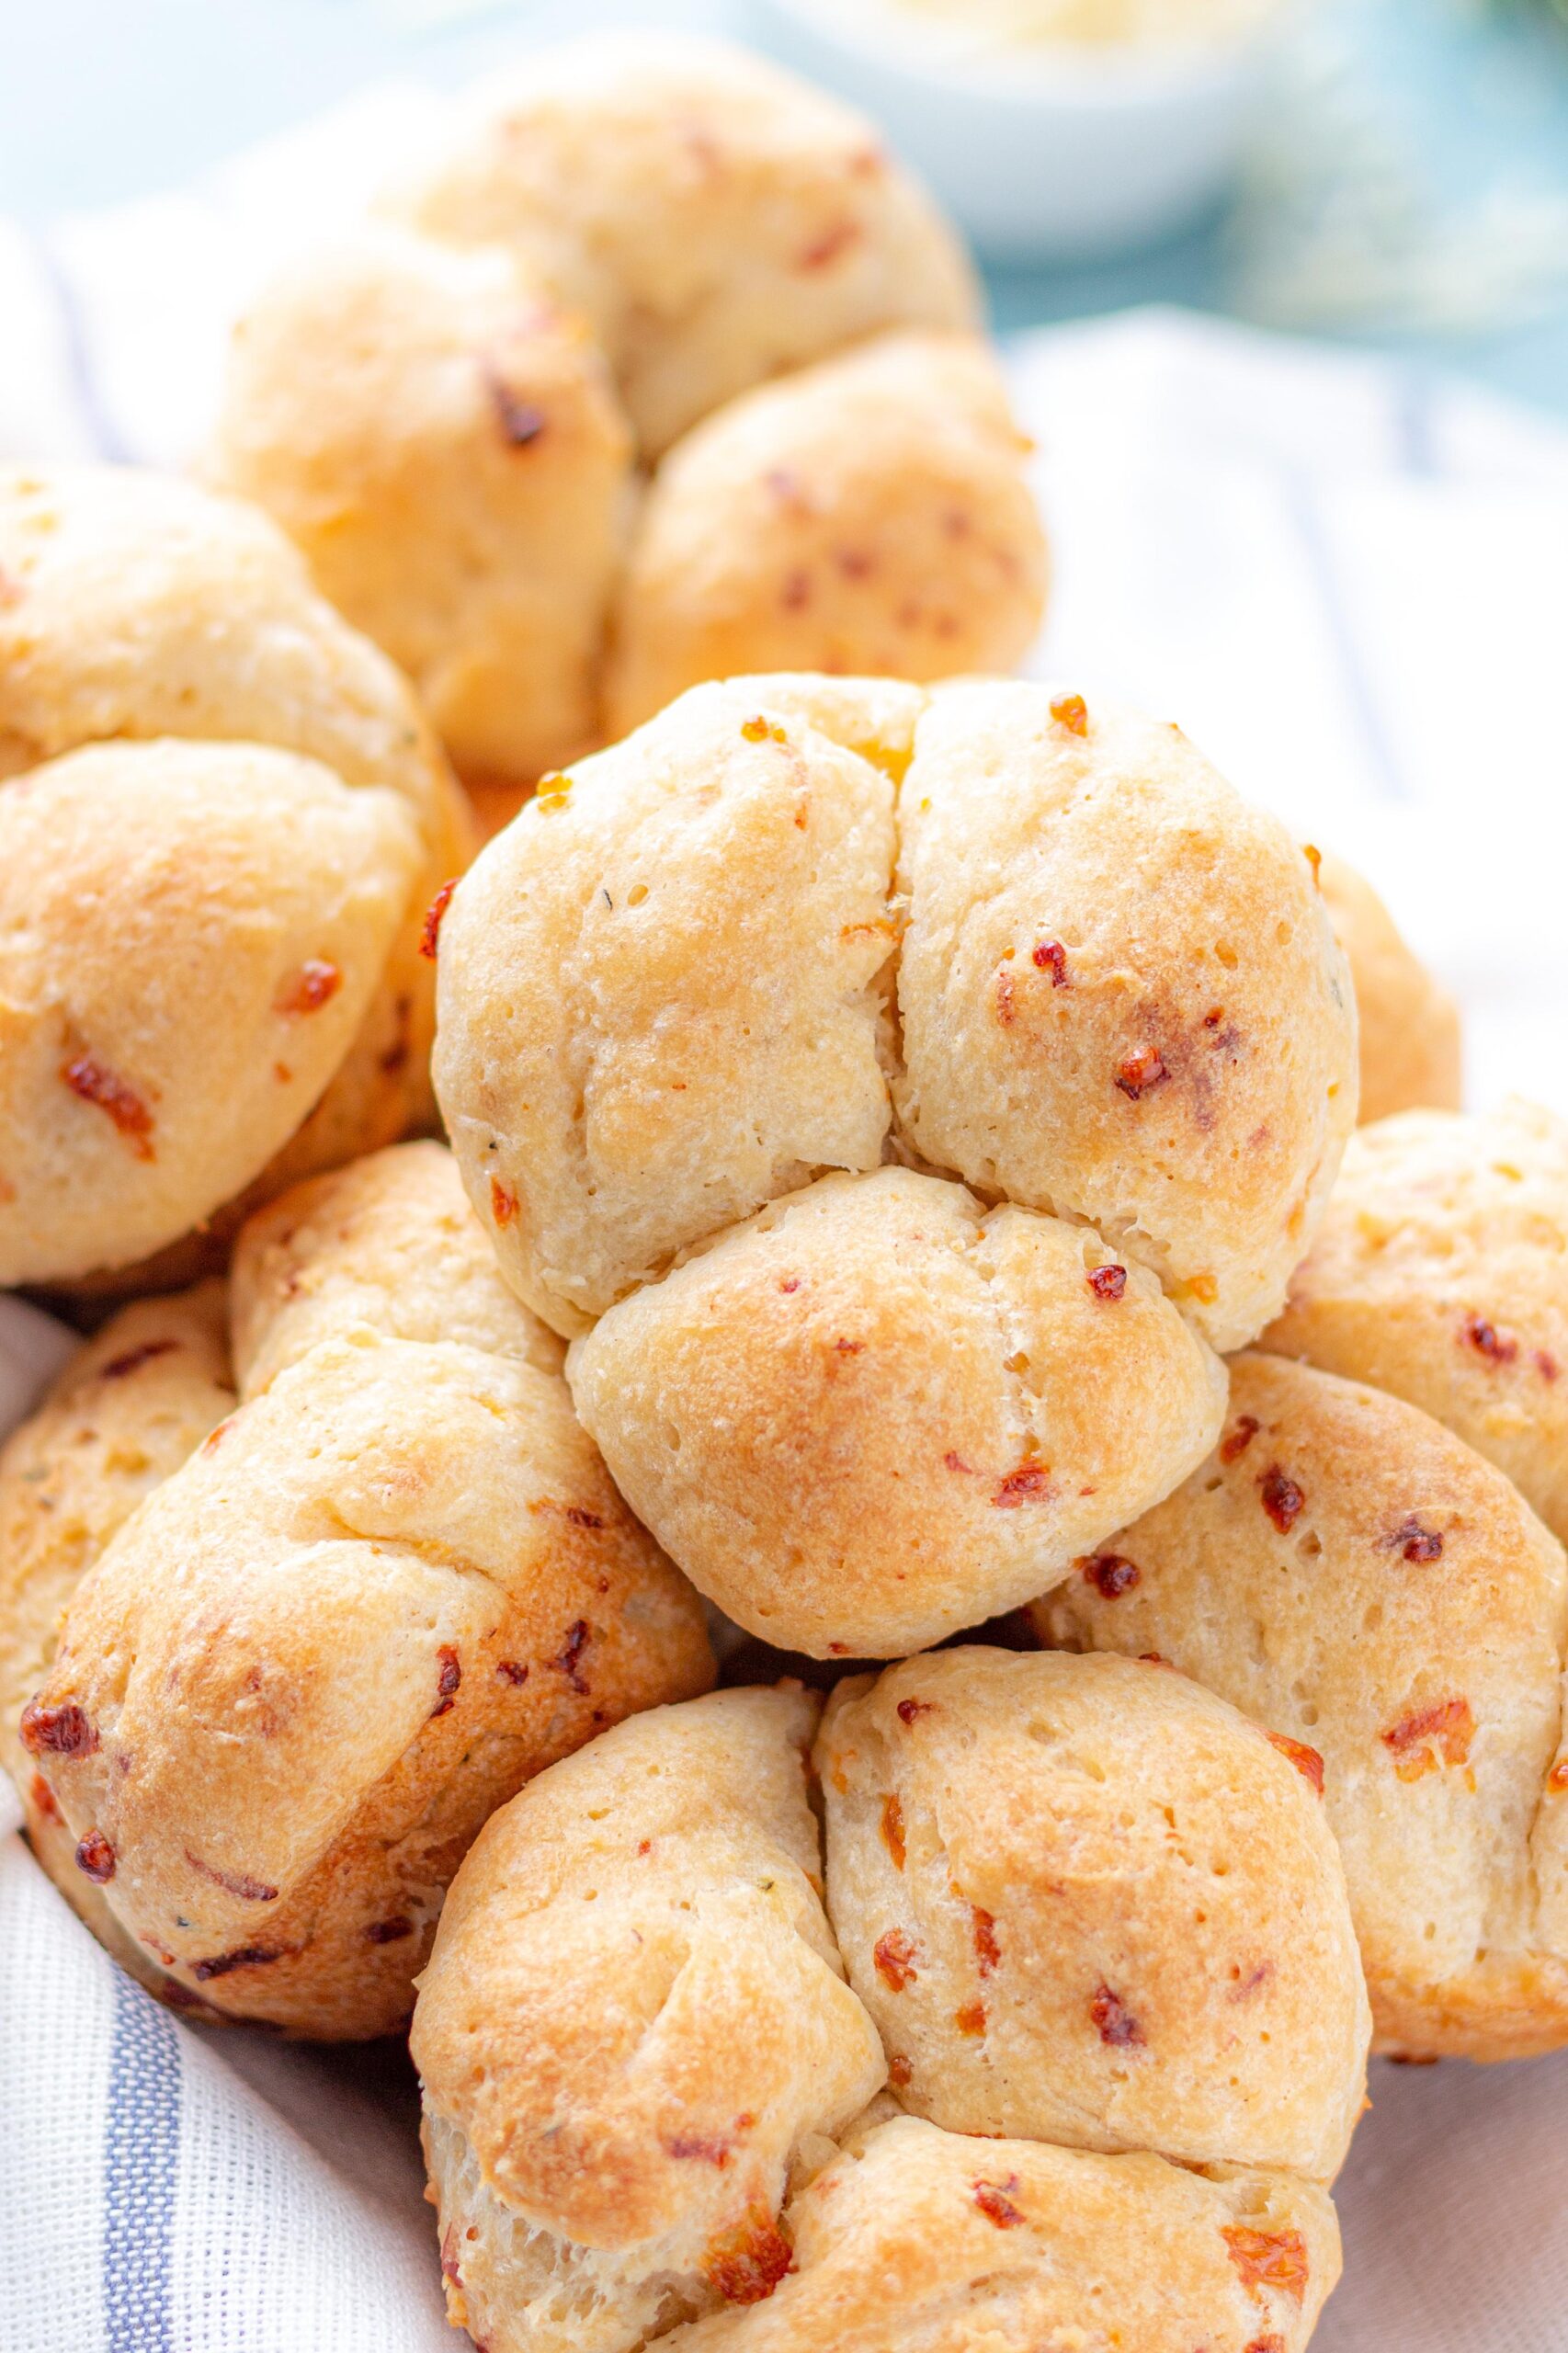
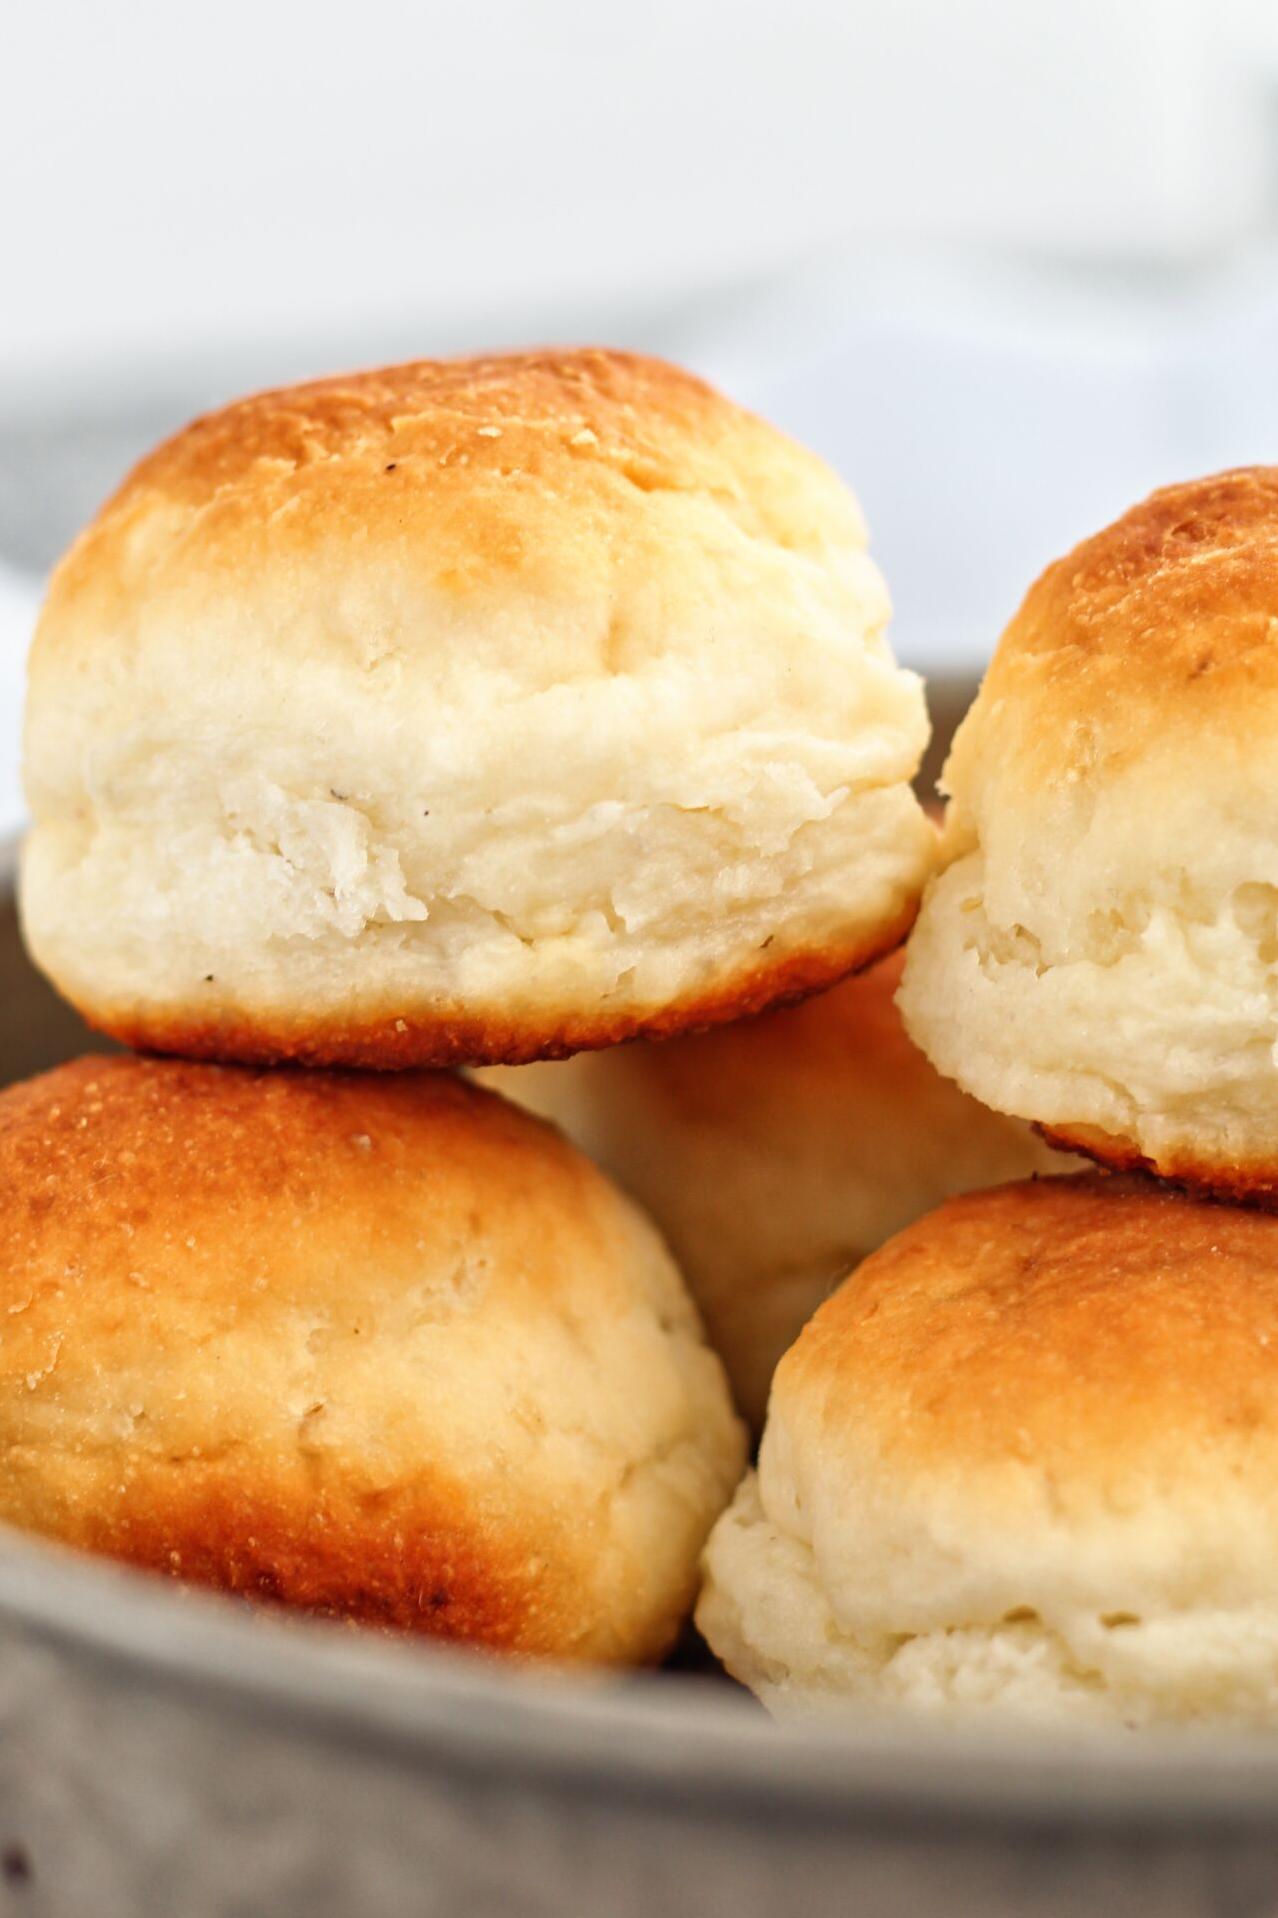
These soft and fluffy dinner rolls are perfect for any occasion, whether it’s a special holiday gathering or a cozy family dinner. Made with gluten-free flour and xanthan gum, this fool-proof recipe is easy to make and yields pillowy soft rolls that are perfect for pulling apart.
But why go gluten-free? Well, many people suffer from gluten intolerance or celiac disease, which means they have to avoid gluten at all costs. Besides, even those with no specific health issues may benefit from a gluten-free diet as it has been linked to numerous health benefits like improving digestion and reducing inflammation. Thankfully, with the available ingredients in the market like almond flour, rice flour, tapioca flour, xanthan gum among others you don’t have to miss out on your favorite meals even when avoiding gluten.
So join me in the kitchen as we whip up the most delicious Gluten-Free Clover Rolls that even your neighbors won’t believe are gluten-free 🙂
Why You’ll Love This Recipe
Hey there foodies, are you ready to experience the softest, fluffiest, and most pillowy gluten-free clover rolls ever? Then you’re in for a treat.
This recipe is absolutely fool-proof and comes with easy to follow instructions that even a beginner can nail, guaranteeing deliciousness every step of the way.
But wait, there’s more! These gluten-free cloverleaf rolls aren’t just made using gluten-free flour, they’re also completely dairy-free, making them the perfect option for those who want to indulge in bread without worrying about dietary restrictions. The magic ingredient that creates the perfect texture is xanthan gum – it binds the ingredients together and gives you the soft squishy rolls you’ve been craving.
The recipe ingredients also include rice flour and almond flour – an excellent alternative to gluten-filled wheat flour. Not only do these ingredients make the rolls taste fantastic, but they’re also packed with nutrients that will keep your body energized!
So whether you have gluten or dairy allergies or just want a healthier option for your dinner rolls, this recipe is definitely worth trying. Once you taste this warm basket of pull-apart dinner rolls fresh out of the oven, you’ll wonder how you ever lived without them! Trust me; these rolls will satisfy your cravings and leave you wanting more.
Ingredient List
Let’s talk about the ingredients for these Gluten Free Clover Rolls! Here’s what you’ll need:
Dry Ingredients:
- 2 cups of gluten-free purpose flour (I recommend Bob’s Red Mill or King Arthur Flour)
- 3/4 cup of almond flour
- 1/4 cup of tapioca flour
- 1/2 tsp of baking powder
- 1 1/2 tsp of xanthan gum (you can substitute with guar gum or psyllium husk)
- 1 tbsp of cane sugar
- 1 teaspoon of salt
- 1 packet (or 2 teaspoons) of active dry yeast
Wet Ingredients:
- 1 cup warm water
- 3 tablespoons of butter (or dairy-free option)
- 1 egg
- 1 tablespoon vinegar (white or apple cider)
Note that this recipe is not only gluten-free but also dairy-free! Feel free to substitute with your favorite non-dairy butter.
The Recipe How-To
Step 1: Making the Dough
For these gluten-free clover rolls, I begin by combining all of my dry ingredients. In a large mixing bowl, I whisk together 2 cups of gluten-free purpose flour, 1/2 cup of almond flour, 1/2 cup of tapioca flour, 3 tablespoons of cane sugar, 1 tablespoon of instant yeast, and 1 teaspoon of xanthan gum.
I then mix together my wet ingredients in a separate bowl. In a microwave-safe measuring cup, I combine 3/4 cup warm water with 1/2 stick (4 tablespoons) of melted unsalted butter, 1 large egg, and 1 teaspoon apple cider vinegar.
Gradually, I pour the liquid mixture into the dry ingredients while stirring with a wooden spoon until a sticky dough forms.
Step 2: Kneading and Rising
Using my hands, I knead the dough for a few minutes until it becomes smooth and elastic. If the dough is too sticky, sprinkle some extra gluten-free flour to work with it better and knead until fully incorporated.
I then shape the dough into a ball shape and place it back into my mixing bowl after coating it lightly with neutral oil. Cover the dough with plastic wrap or damp kitchen towel in room temperature for at least 60 minutes to let it rise until doubled in size.
Step 3: Forming The Clover Rolls
Preheat oven to 375 F.
After the dough rises for an hour, I sprinkle my working surface with gluten-free flour and rice flour so that the dough doesn’t stick while forming cloverleaf rolls.
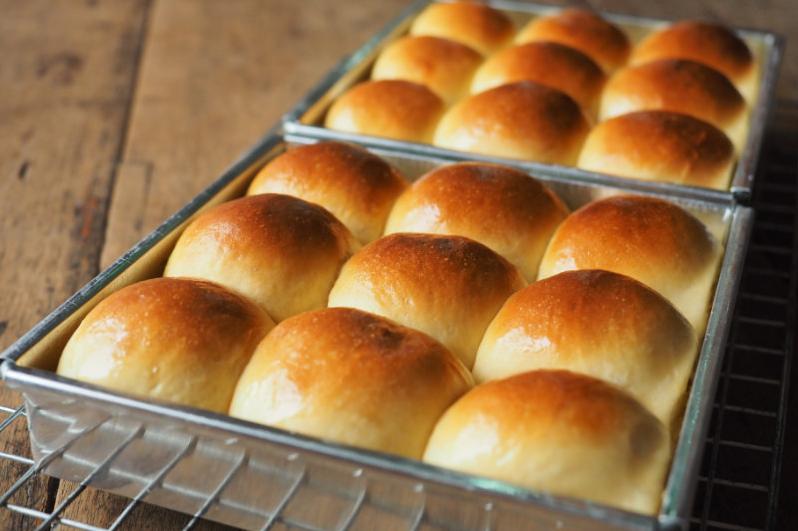
Then, take half portion of the rise dough on this floured surface and make roughly equal portions making about 22-24 small balls (~ 20 g each). Place them on oven-safe baking muffin tins to make symmetric small balls.
Step 4: Second Rise and Baking
Cover the tray again with plastic wrap or damp kitchen towel and set aside for another 30 minutes in a warm spot in your kitchen until the rolls rise again to about double in size.
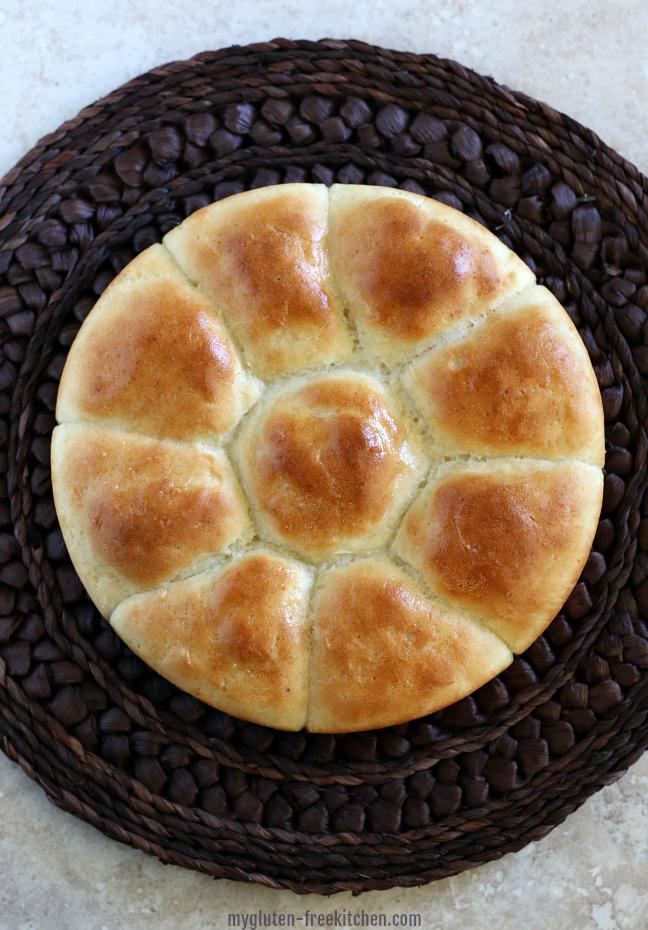
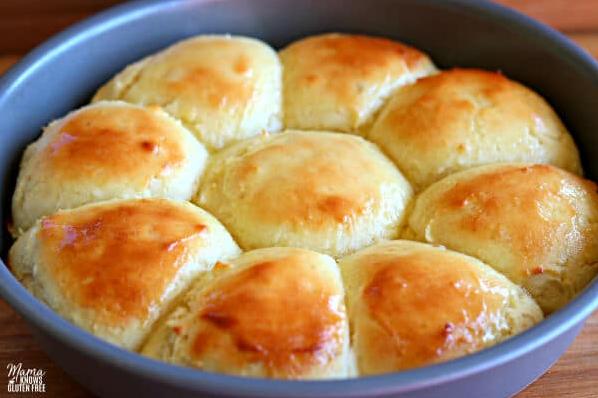
Finally, place the tray in preheated oven and bake for about 15-20 minutes until you see golden brown on top. Once removed from the oven, set aside to cool a bit before taking them out of the tray.
Serve these pillowy soft gluten-free clover rolls warm at your dinner table!
Substitutions and Variations
Let’s say you don’t have all the ingredients to make these gluten-free clover rolls. Fear not! There are plenty of substitutions and variations you can try.
Flour alternatives:
If you don’t have gluten-free all-purpose flour, you can try using a mixture of rice flour and tapioca flour. These two flours create a really light and fluffy texture that’s almost comparable to wheat flour.
Another great alternative is almond flour, which adds an extra nutty flavor to the rolls.
Gum alternatives:
Xanthan gum and guar gum are typically used in gluten-free baking to replace the elasticity found in gluten. However, if you have trouble finding these gums, psyllium husk powder works great as a substitute.
Butter substitutes:
These clover rolls call for butter, but if you’re looking for a dairy-free option, feel free to use vegan butter or coconut oil instead.
Egg substitutes:
This recipe calls for one egg, but if you’d like to make it vegan, you can replace the egg with 1/4 cup of applesauce or mashed bananas.
Sugar alternatives:
Cane sugar is used in this recipe, but feel free to use any natural sweetener like honey or maple syrup instead.
Variations:
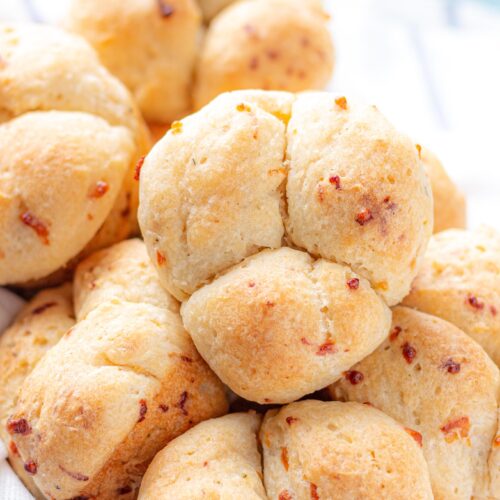
If you want to spice things up a bit, add some garlic powder or fresh rosemary on top before baking for an herby twist on classic dinner rolls.
You can also turn these cloverleaf rolls into pull-apart garlic bread by brushing them with melted butter or olive oil mixed with garlic and herbs before baking.
No matter what substitutions or variations you try, this gluten-free cloverleaf rolls fool-proof recipe will still result in soft squishy and pillowy soft dinner rolls that are sure to impress your family and guests.
Serving and Pairing
Now that you have these beautiful, pillowy soft Gluten-Free Clover Rolls in your hands, what’s the best way to serve and enjoy them? Trust me when I say the possibilities are endless!
First and foremost, these dinner rolls pair perfectly with just about any meal. From a hearty soup to a juicy steak, from a classic pasta dish to Thanksgiving dinner – these versatile rolls are sure to complement any cuisine.
If you want to add some extra flavor to your meal, try brushing the rolls with garlic butter or herbs before baking, or adding cheese or olives to the dough for delicious variations. Looking for a sweet treat? Add some raisins or dried cranberries to the dough or brush some honey on top after baking, and turn these rolls into a dessert!
For an easy and quick appetizer or snack, slice the rolls and serve them with your favorite dips and spreads – from hummus to guacamole, from butter to jam. Or simply enjoy them warm from the oven with a touch of butter – it doesn’t get much better than that!
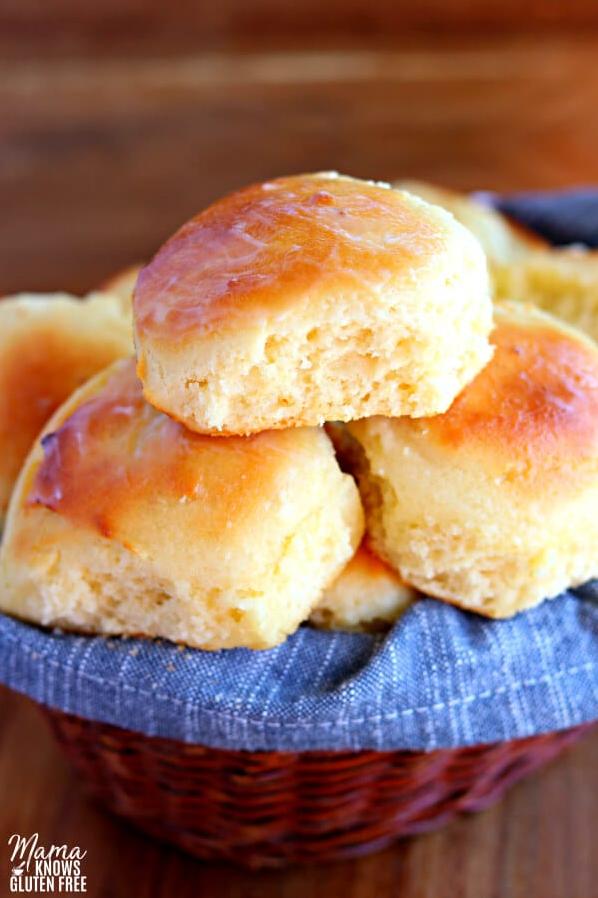
These Gluten-Free Clover Rolls are also great for potlucks and gatherings. Simply arrange them on a platter or basket and watch them disappear before your eyes. And let’s not forget about leftovers – they make perfect sliders for lunch boxes or picnic baskets.
So go ahead and get creative with these soft and fluffy rolls – the sky’s the limit!
Make-Ahead, Storing and Reheating

Let’s be real, sometimes we don’t have time to cook from scratch every day. That’s why these Gluten-Free Clover Rolls are perfect for meal prep! You can make the dough ahead of time, store it in the fridge overnight and bake it fresh when you’re ready for dinner.
To make-ahead and store the dough, simply cover it tightly with plastic wrap or transfer it to an airtight container and place it in the refrigerator. The dough will keep in the fridge for up to 24 hours without any issues.
If you want to store the rolls once they’re baked, let them cool completely and place them in an airtight container or sealable plastic bag. You can store them at room temperature for up to 3 days, but believe me, they won’t last that long!
If you have leftover rolls or want to reheat any baked rolls, simply wrap them in foil and heat them in a preheated oven at 350°F for about 10 minutes until they’re warmed through. Alternatively, you can wrap them in a damp paper towel and microwave them for a quick reheat.
These gluten-free clover rolls are worth saving and reheating because they stay pillowy soft and squishy even after being stored or reheated- it’s like having freshly baked rolls all over again!
Remember: Make-ahead, store, and reheat. Go ahead! These rolls are dairy-free and vegan-free options that always turn out soft & fluffy, making meal preparation easy-peasy!
Tips for Perfect Results
Now that we have all the ingredients set, it’s time to dive into the tips that will help you achieve the perfect gluten-free clover rolls.
1. Use Xanthan Gum or Guar Gum
Adding a binder like xanthan gum or guar gum helps create that soft and squishy texture to gluten-free bread. Don’t go overboard with your measurement, though. Too much can cause the bread to become too thick and gummy.
2. Measure Flour Accurately
Measuring the flour accurately is essential in achieving the right consistency of the dough. You can start by using a measuring cup specifically for flour and spoon it into the cup, then level with the back of a knife.
3. Handle The Dough Gently
Gluten-free dough is generally more fragile than regular wheat dough; therefore, you need to handle them gently. Be careful not to put too much pressure or knead the dough too much, as this can cause tough bread.
4. Let The Dough Rest
Once your gluten-free clover rolls are shaped, let them rest before baking them. This step relaxes the gluten structures making it puff up evenly.
5. Bake in a High Temperature
Set your oven at 425°F (220°C) to get a golden brown color and crispy crust on your dinner rolls. This higher temperature also ensures they cook through evenly without becoming dry.
By following these tips and tricks, you’ll end up with pillowy-soft gluten-free cloverleaf rolls that are just as good as any wheat-based rolls out there!
FAQ
Before you dive into making these delicious gluten-free clover rolls, let’s take a moment to answer some commonly asked questions to ensure your baking success. From substitution options to storage recommendations, we’ve got you covered in this FAQ section. Let’s get started!
What is the secret to getting gluten-free bread to rise?
If you’re looking to make your yeast breads rise before baking, there’s a method worth trying out. Start by preheating your oven to 200º F and then switch it off once it reaches the temperature. Make sure to place an un-raised bread on top of an oiled parchment paper, and add a bowl of water to the oven to create an environment for the bread to rise. Follow the recipe instructions for the amount of time needed for your bread to rise.
Will yeast work with gluten-free flour?
In summary, Gluten-Free All-Purpose Flour is perfect for recipes that require yeast because you can manage the quantity of xanthan gum incorporated and the combination of polished starches provides diverse texture possibilities.
What holds gluten-free bread together?
When it comes to gluten-free bread, gums are often used to help with the texture and structure. Two common types of gums used are xanthan gum and guar gum. Xanthan gum is made from a type of bacteria called Xanthomonas campestris. During production, the bacteria is allowed to ferment on a sugar, creating a gel which is then dried and ground into a powder.
How do you make gluten free dough stick together?
When preparing gluten-free dishes, it’s important to incorporate a binder to replace the gluten protein. Commonly used binders are xanthan gum, guar gum or psyllium husk powder. Other options like flaxmeal, chia seeds or sweet rice flour (also known as Mochiko) can also be used to assist with binding.
Bottom Line
In conclusion, the Gluten-Free Clover Rolls recipe is a must-try for all gluten-free food lovers out there. It’s a fool-proof recipe that promises soft, squishy, and pull-apart dinner rolls that are perfect for any occasion, and also come with a dairy-free option.
By using high-quality gluten-free flours, xanthan gum, and other ingredients, these cloverleaf rolls deliver the same texture and flavor as their gluten-containing counterparts. Additionally, making this gluten-free dinner rolls recipe is easier than you might think!
I hope this article provided you with helpful tips and tricks to make your baking experience go smoothly. Whether you’re looking for an easy lunchtime snack or a delicious addition to your next dinner party, this gluten-free cloverleaf rolls recipe will surely impress everyone who tries it.
Give this recipe a try and share it with your family and friends! They won’t believe that they’re gluten-free! Trust me; you won’t regret it!
Gluten Free Clover Rolls Recipe
Ingredients
- 165 g gluten, free all purpose flour about 1 1/4 cup
- 2 tablespoons almond flour
- 1 teaspoon baking powder
- 1/2 teaspoon salt
- 3/4 teaspoon xanthan gum
- 1/4 cup sugar
- 2 teaspoons yeast
- 1/2 cup water, warm
- 3 tablespoons butter, melted
- 1 egg
- 1 teaspoon vinegar
Instructions
- In a large bowl combine flours, baking powder, salt, xanthan gum, sugar and yeast. Whisk well to combine all dry ingredients.
- In a small bowl whisk together water, butter, egg and vinegar.
- Pour the liquid ingredients into the dry ingredients.
- With a hand mixer or electric mixer beat mix for 2 minutes on medium. Be sure to scrape bottom and around bowl to make sure all ingredients are combined well. It will be thick and sticky but should not climb the beaters or you may need more liquid 1 tablespoon water at a time.
- Spray a muffin pan with nonstick spray or grease with butter.
- Scoop three tablespoons of dough individually into each muffin pan trying to form three balls to make the clover shape. You can use a wet knife or spatula to shape it into smooth balls.
- Allow to rise for 40-45 minutes if you use instant yeast or at least an hour if you used active dry yeast.
- Preheat oven last 15 minutes of rising to 350 degrees.
- Bake for 20 minutes or until 200 degrees.
- Allow to cool in pan, it will help them stay moist longer, it will also soften the rolls. If you prefer a drier crust, remove immediately.