Delicious Thin Pizza Crust Recipe: Perfect for Any Occasion
Are you craving pizza but following a gluten-free diet? Don’t worry, I’ve got you covered! As a nutritionist and food blogger, I’m always on the lookout for healthy and delicious recipes that cater to everyone’s dietary needs. Today, I’m excited to share with you my go-to recipe for a thin crust pizza that is gluten-free and dairy-free.
This crust recipe is made with a flour blend that includes brown rice flour, potato starch, and almond flour, which gives it the perfect chewy-crispy texture. And the best part? It’s incredibly easy to make! With just a few simple steps, you’ll have a homemade gluten-free pizza that rivals any restaurant in town.
Not only is this crust recipe perfect for those who are sensitive to gluten, but it’s also low-carb and vegan-friendly. Plus, it’s versatile and can be customized with your favorite toppings, making it ideal for a family pizza night or even as an appetizer for your next party.
So what are you waiting for? Let’s get cooking and indulge in some delicious gluten-free pizza!
Why You’ll Love This Recipe
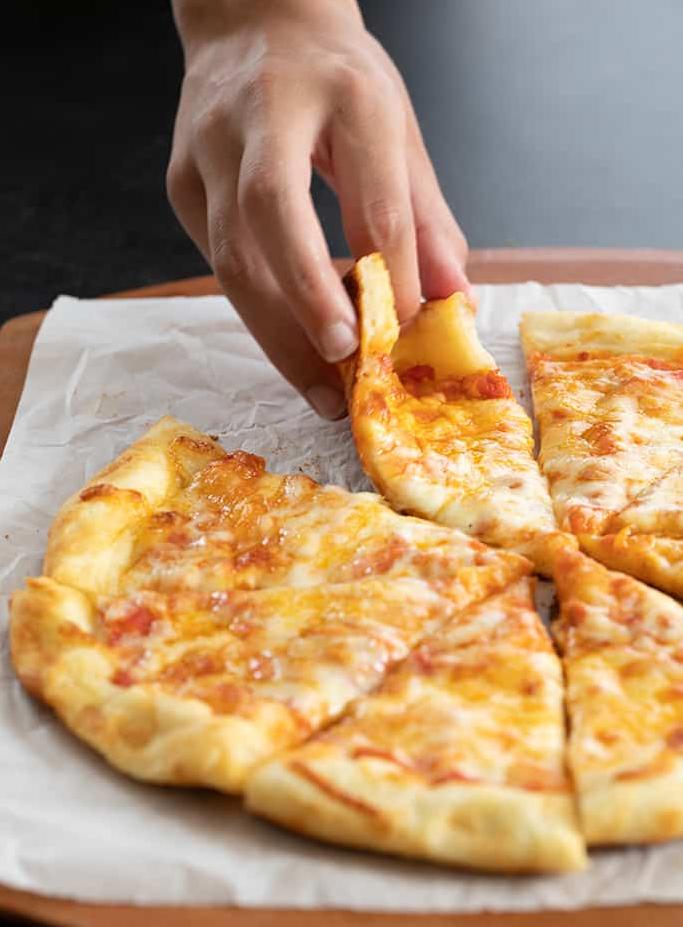
Picture this: you’re sitting at the dinner table, surrounded by your family and friends, and a piping hot pizza gets placed in front of you. You take your first bite into the thin and crispy crust, and your taste buds are hit with an explosion of flavors. But wait; something is different about this pizza- it’s gluten-free!
Yes, my dear readers. The perfect gluten-free pizza crust does exist, and I’m here to introduce you to it. This thin crust pizza recipe will blow your mind and satisfy your cravings without leaving your stomach feeling heavy and bloated.
But why should you love this recipe? Well, for starters, it is incredibly easy to make. With simple ingredients that can be found in most grocery stores, anyone can whip up this delicious gluten-free crust in no time.
Additionally, this crust is incredibly versatile. Top it off with whatever toppings you prefer- from classic cheese pizza to vegetable-loaded options, the choice is yours. And let’s not forget about the fact that it is also dairy-free- perfect for those who are lactose intolerant or following a vegan lifestyle.
What sets this crust apart from others on the market is its ability to be both chewy and crispy- the perfect combination for any pizza lover. With a blend of flours like brown rice flour, almond flour, tapioca starch, and potato flour, this crust has the ultimate texture that will make every bite worth savoring.
But don’t just take my word for it- give this recipe a try for yourself. You’ll see why it has become one of my all-time favorites and why it will quickly become yours too!
Ingredient List
Before you get started, make sure you have everything you need to create the perfect gluten-free thin pizza crust.
Gluten-Free Purpose Flour Blend
- 2 cups (240g) gluten-free purpose flour blend
- I recommend using King Arthur Flour Measure-for-Measure Flour or Bob’s Red Mill Gluten-Free 1-to-1 Baking Flour. If you are trying to avoid grains and are looking for a low carb pizza crust, almond flour makes a great alternative.
Multipurpose Starches
- 2/3 cup (80g) tapioca starch
- 1/3 cup (40g) potato starch
Brown Rice Flour and Cornmeal
- 2/3 cup (80g) brown rice flour
- 1/4 cup (35g) cornmeal
Instant Yeast
- 2 teaspoons (8g) instant yeast
- Don’t confuse this with active-dry yeast – they do not have the same measurements!
Salt and Sugar
- 1 teaspoon (6g) salt
- 1 tablespoon (14g) sugar
Shortening
- 2 tablespoons (28g) vegetable shortening
-If you want to make it dairy-free, use Crisco, Nutiva or Spectrum Organic Shortening!
Water
- 3/4 cup +2 tablespoons (210ml) lukewarm water
-Make sure the temperature is just right — not too hot nor too cold!
Now that we’ve got all that out of the way, let’s dive into the recipe!
The Recipe How-To
Step 1: Activate Yeast
First things first, activate the yeast to ensure it does its job in making your dough rise. Mix 1 tablespoon of sugar with 2 teaspoons of active dry yeast in a bowl. Pour in 1 cup of warm water (about 110°F) and let it sit for about 5-10 minutes until it becomes frothy.
Step 2: Mix the Dry Ingredients
In a separate large mixing bowl, add 2 cups of gluten-free flour blend (you can use King Arthur Gluten-Free Measure for Measure Flour or Bob’s Red Mill Gluten-Free Flour), 2/3 cup of brown rice flour, 1/4 cup of potato starch, 1/4 cup of tapioca starch, 2 teaspoons of garlic powder, and 1 teaspoon of salt. Mix them well.
Step 3: Combine Wet and Dry Ingredients
Stir the activated yeast mixture into the dry ingredients using a spatula until combined. Then add in 3/4 cup lukewarm water (about 105°F) and 3 tablespoons olive oil. Mix with a spatula until a sticky dough forms.
Step 4: Knead the Dough
Turn the dough out onto a lightly floured surface (Note: you can use gluten-free flour or cornmeal to keep dough from sticking). Knead until smooth for at least 3-5 minutes (use a timer).
Step 5: Let the Dough Rise
Coat the mixing bowl with non-stick spray or olive oil and put dough inside. Cover it with a damp towel or cling film and leave it somewhere warm for an hour to rise (Note: The rise time will vary depending on temperature).
Step 6: Preheat Oven
Preheat your oven to maximum heat – this could be around 475°F – 30 minutes before you start baking. Preheat either a pizza baking stone or pizza pan, if using, in the oven.
Step 7: Prepare the Pizza Dough
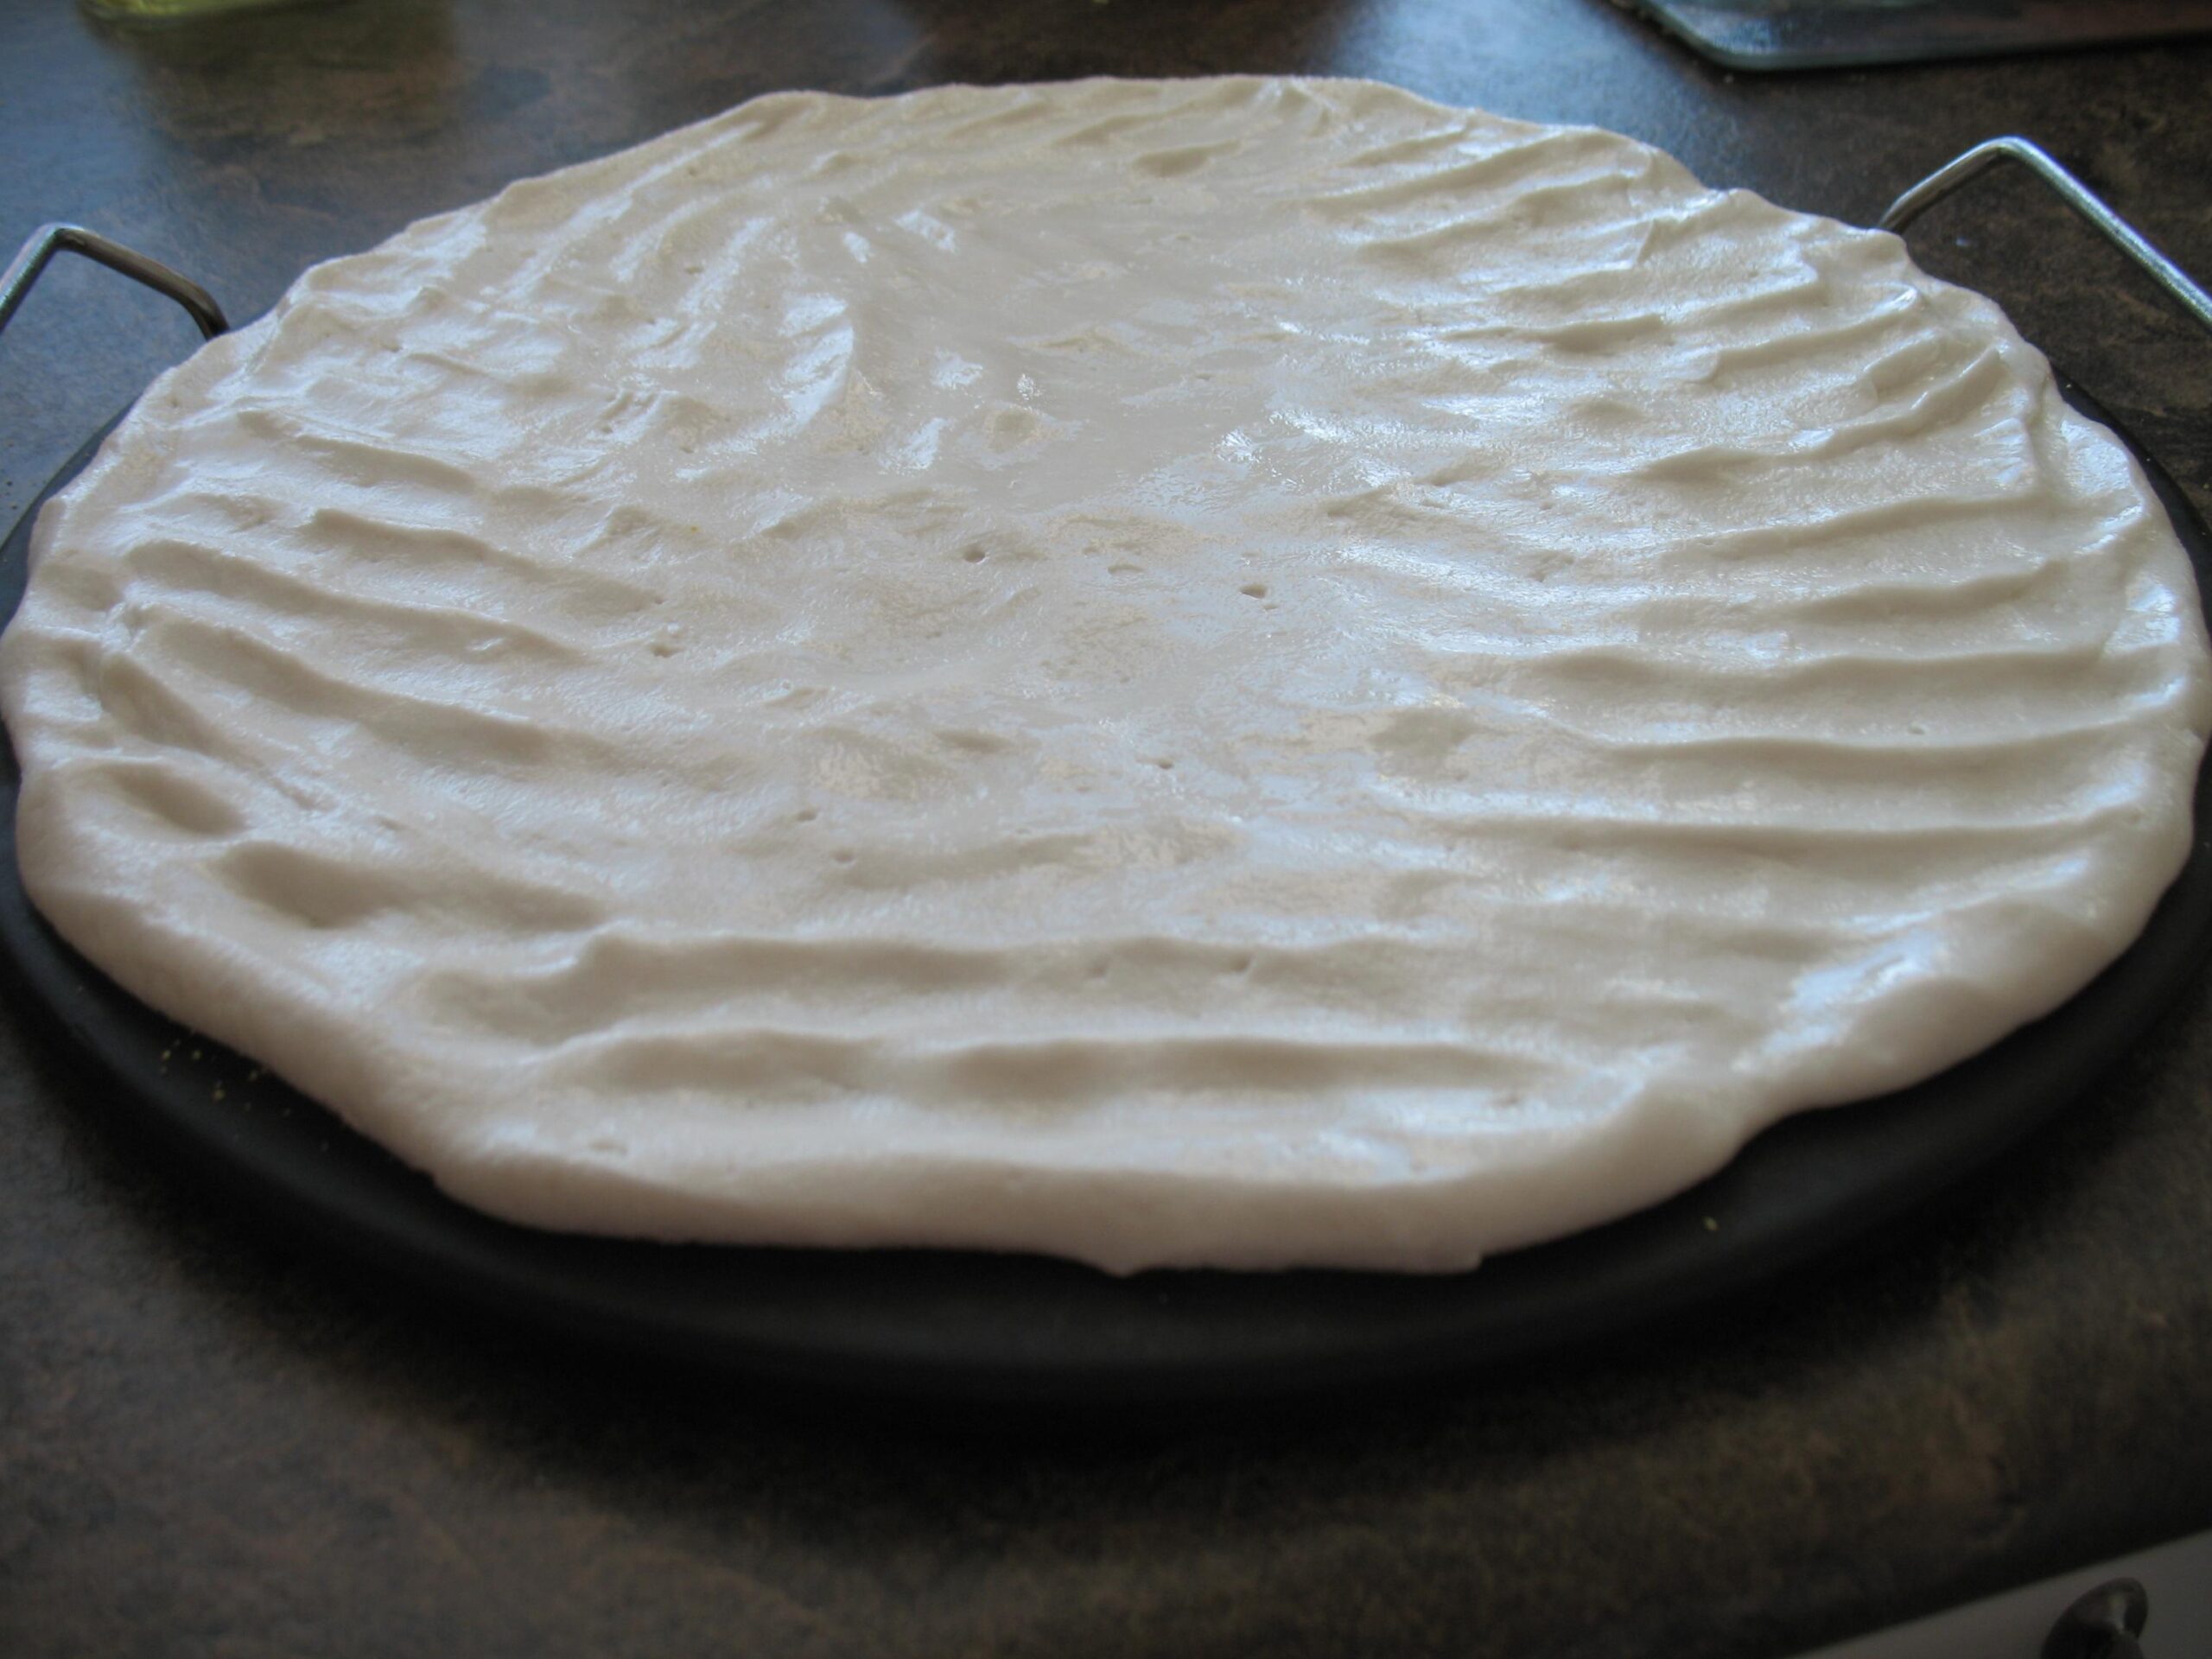
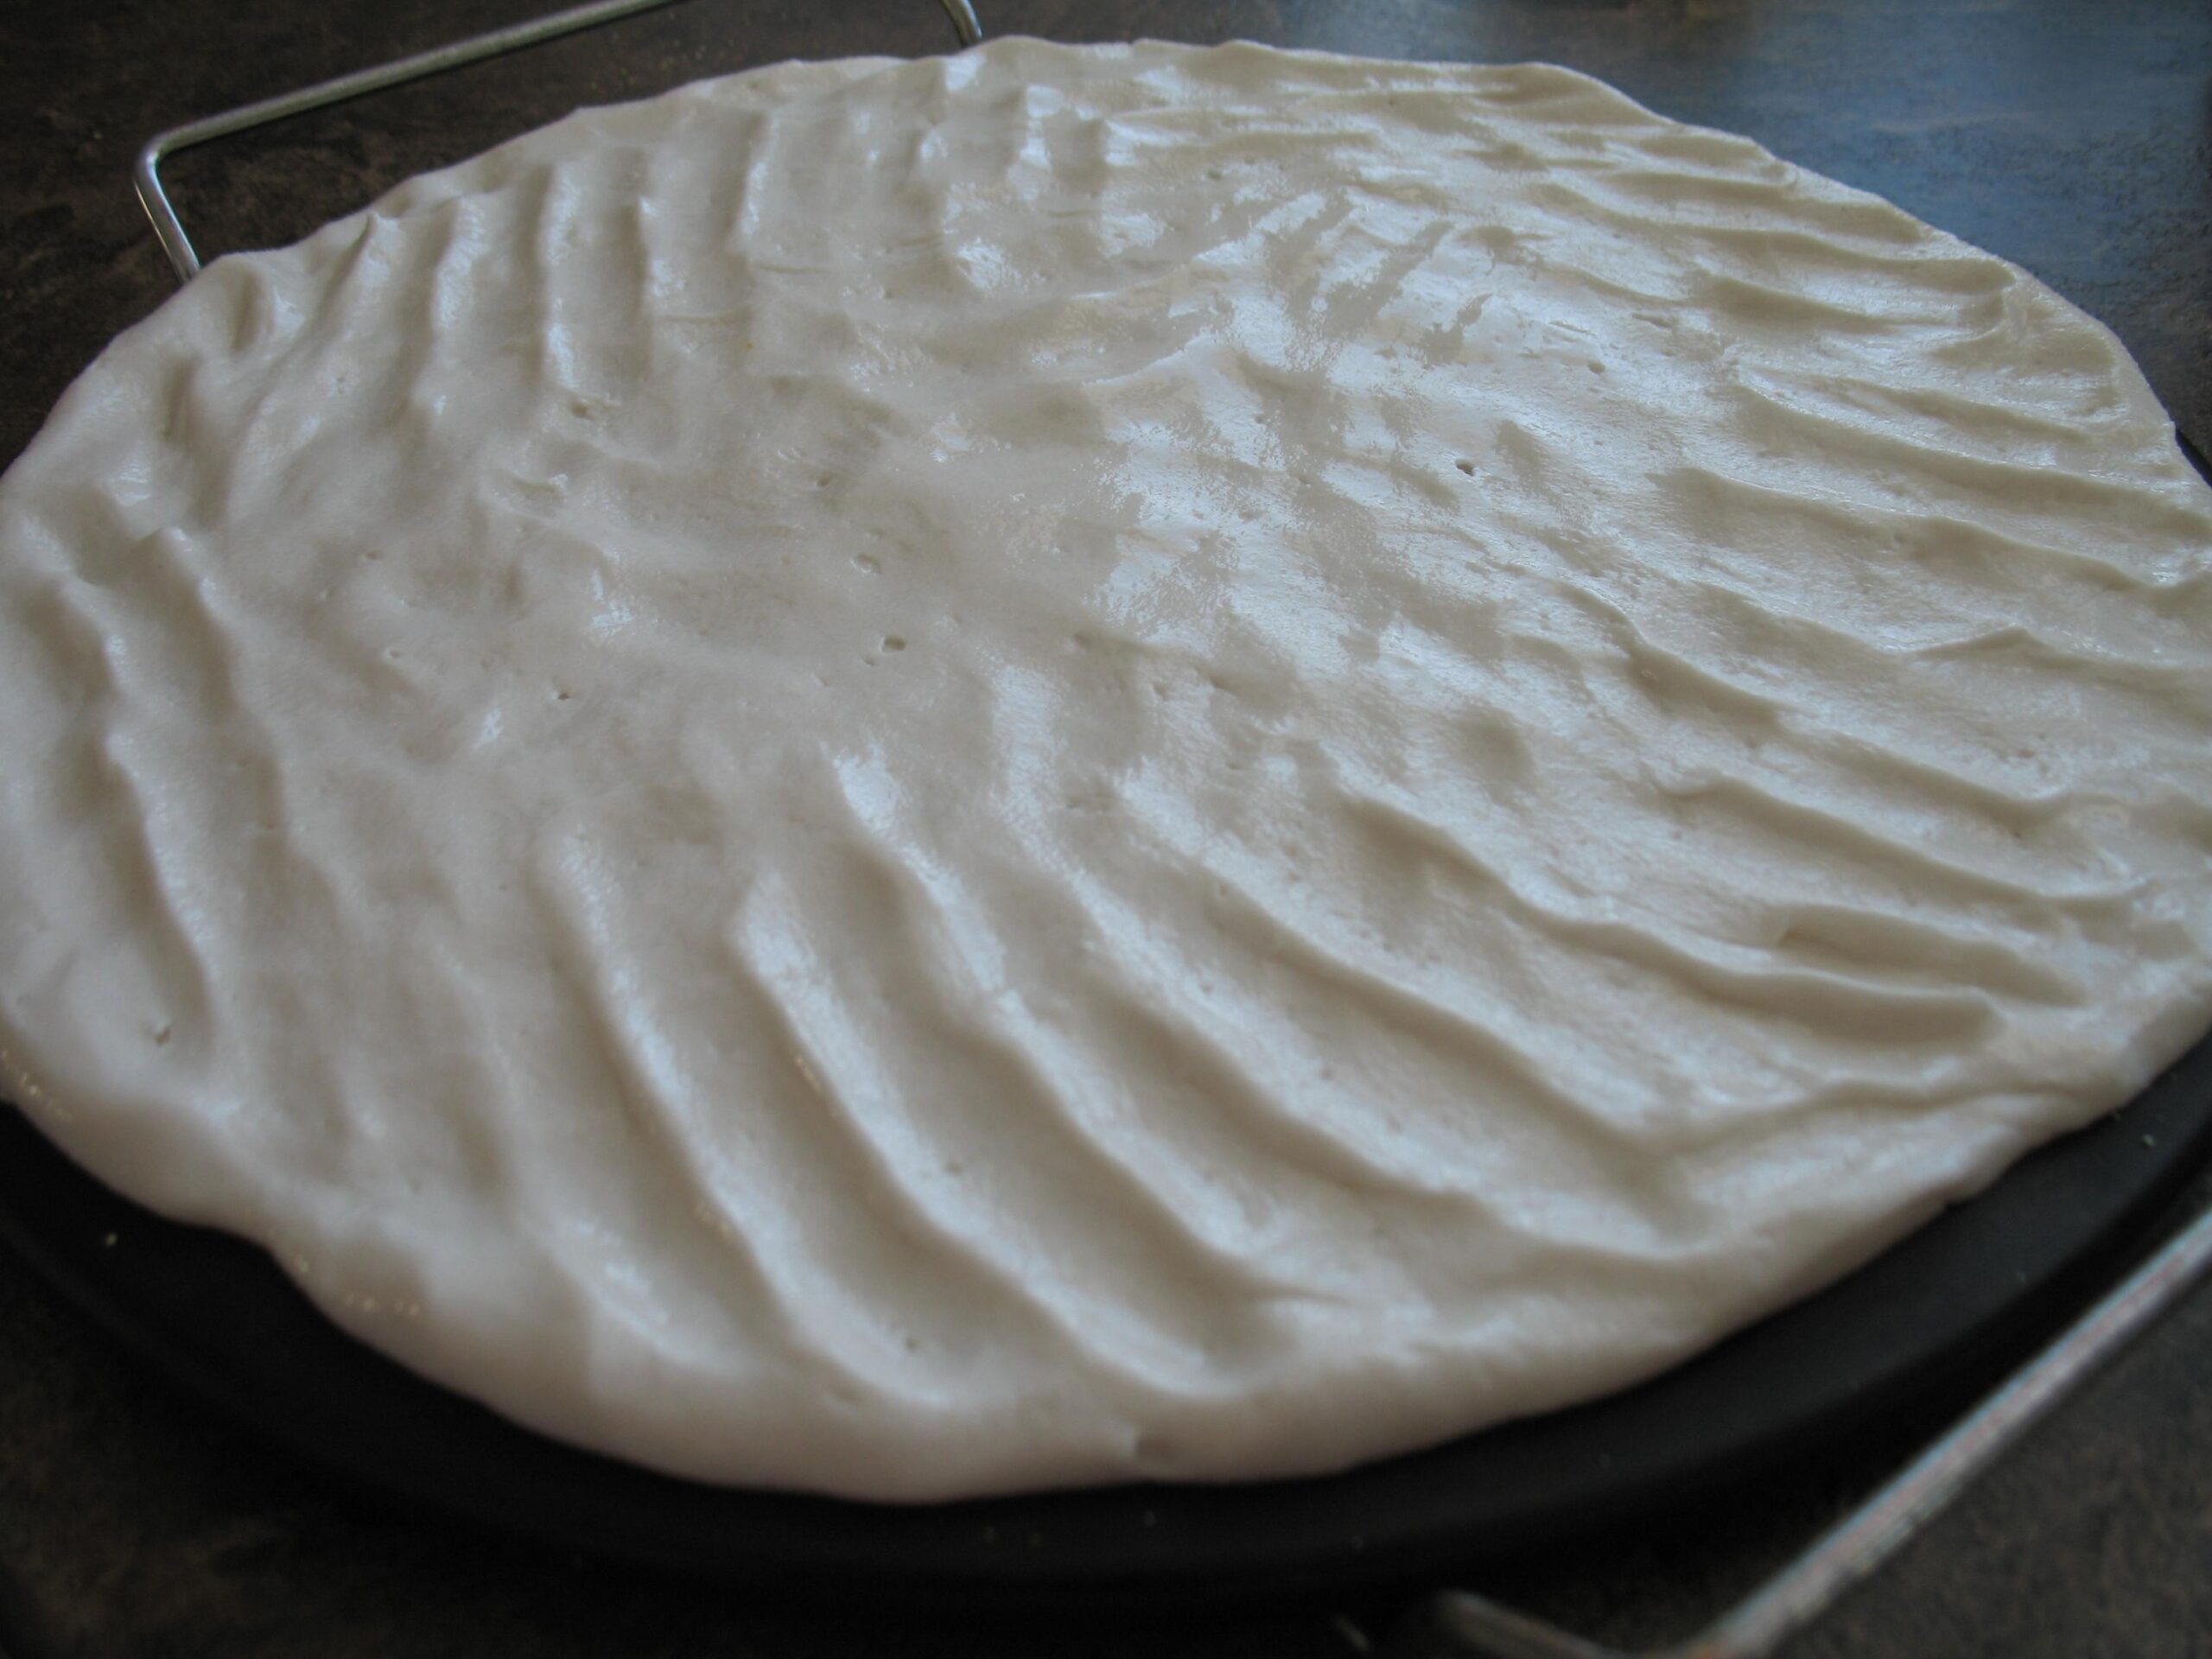
Now the dough should have doubled in size. Gently flatten it out into a disk shape with your hands, then place it on a sheet of cornmeal or free flour-dusted parchment paper. Using your fingers or a rolling pin, shape the dough into a thin crust pizza (Note: thickness should be about ¼ inch). If using a metal pan, carefully transfer your pizza dough to the pan.
Step 8: Add Toppings
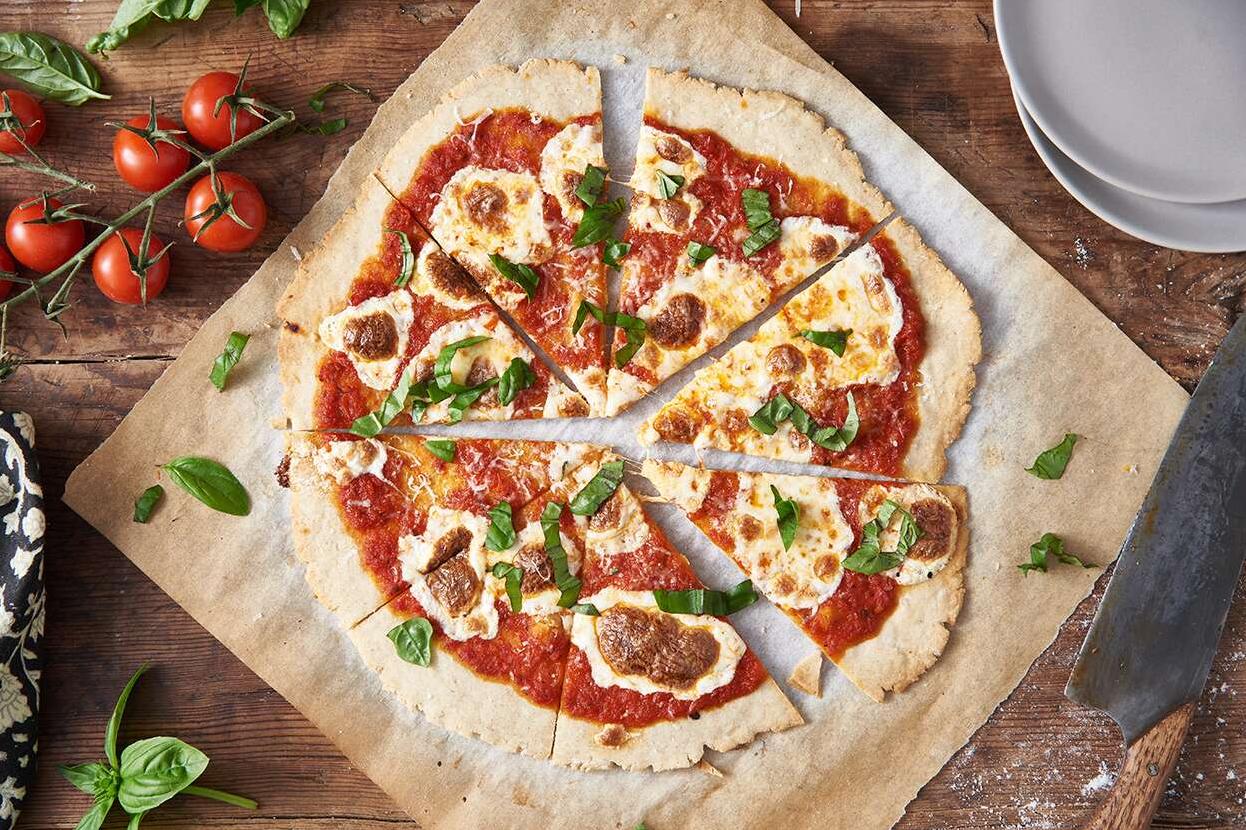
Add your preferred toppings, such as tomato sauce, olives, basil leaves and cheeses (Note to Dairy Free folks: You can use dairy-free cheese as an option). Do not overload with too much of toppings.
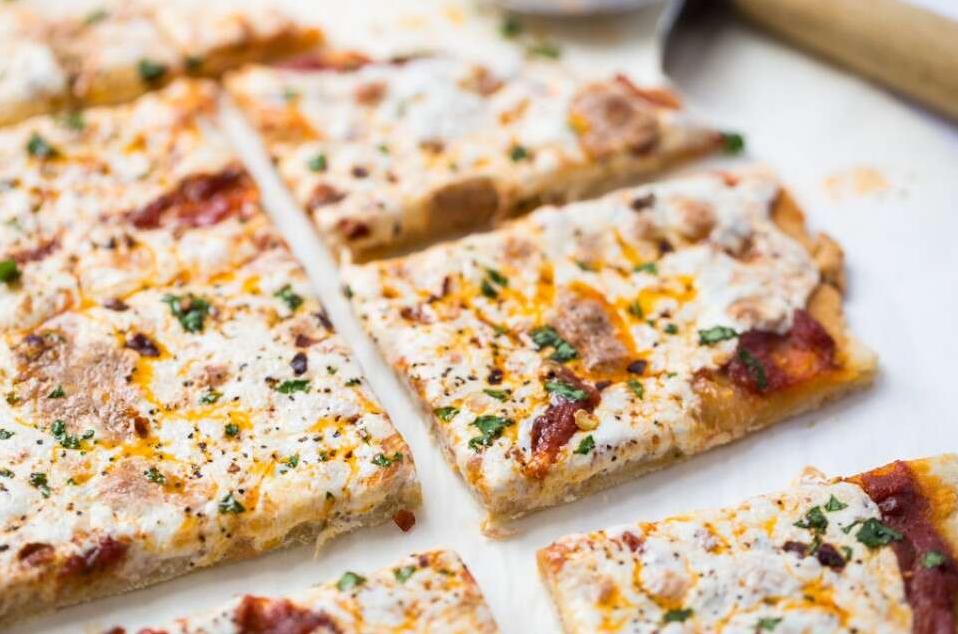
Step 9: Bake in Oven
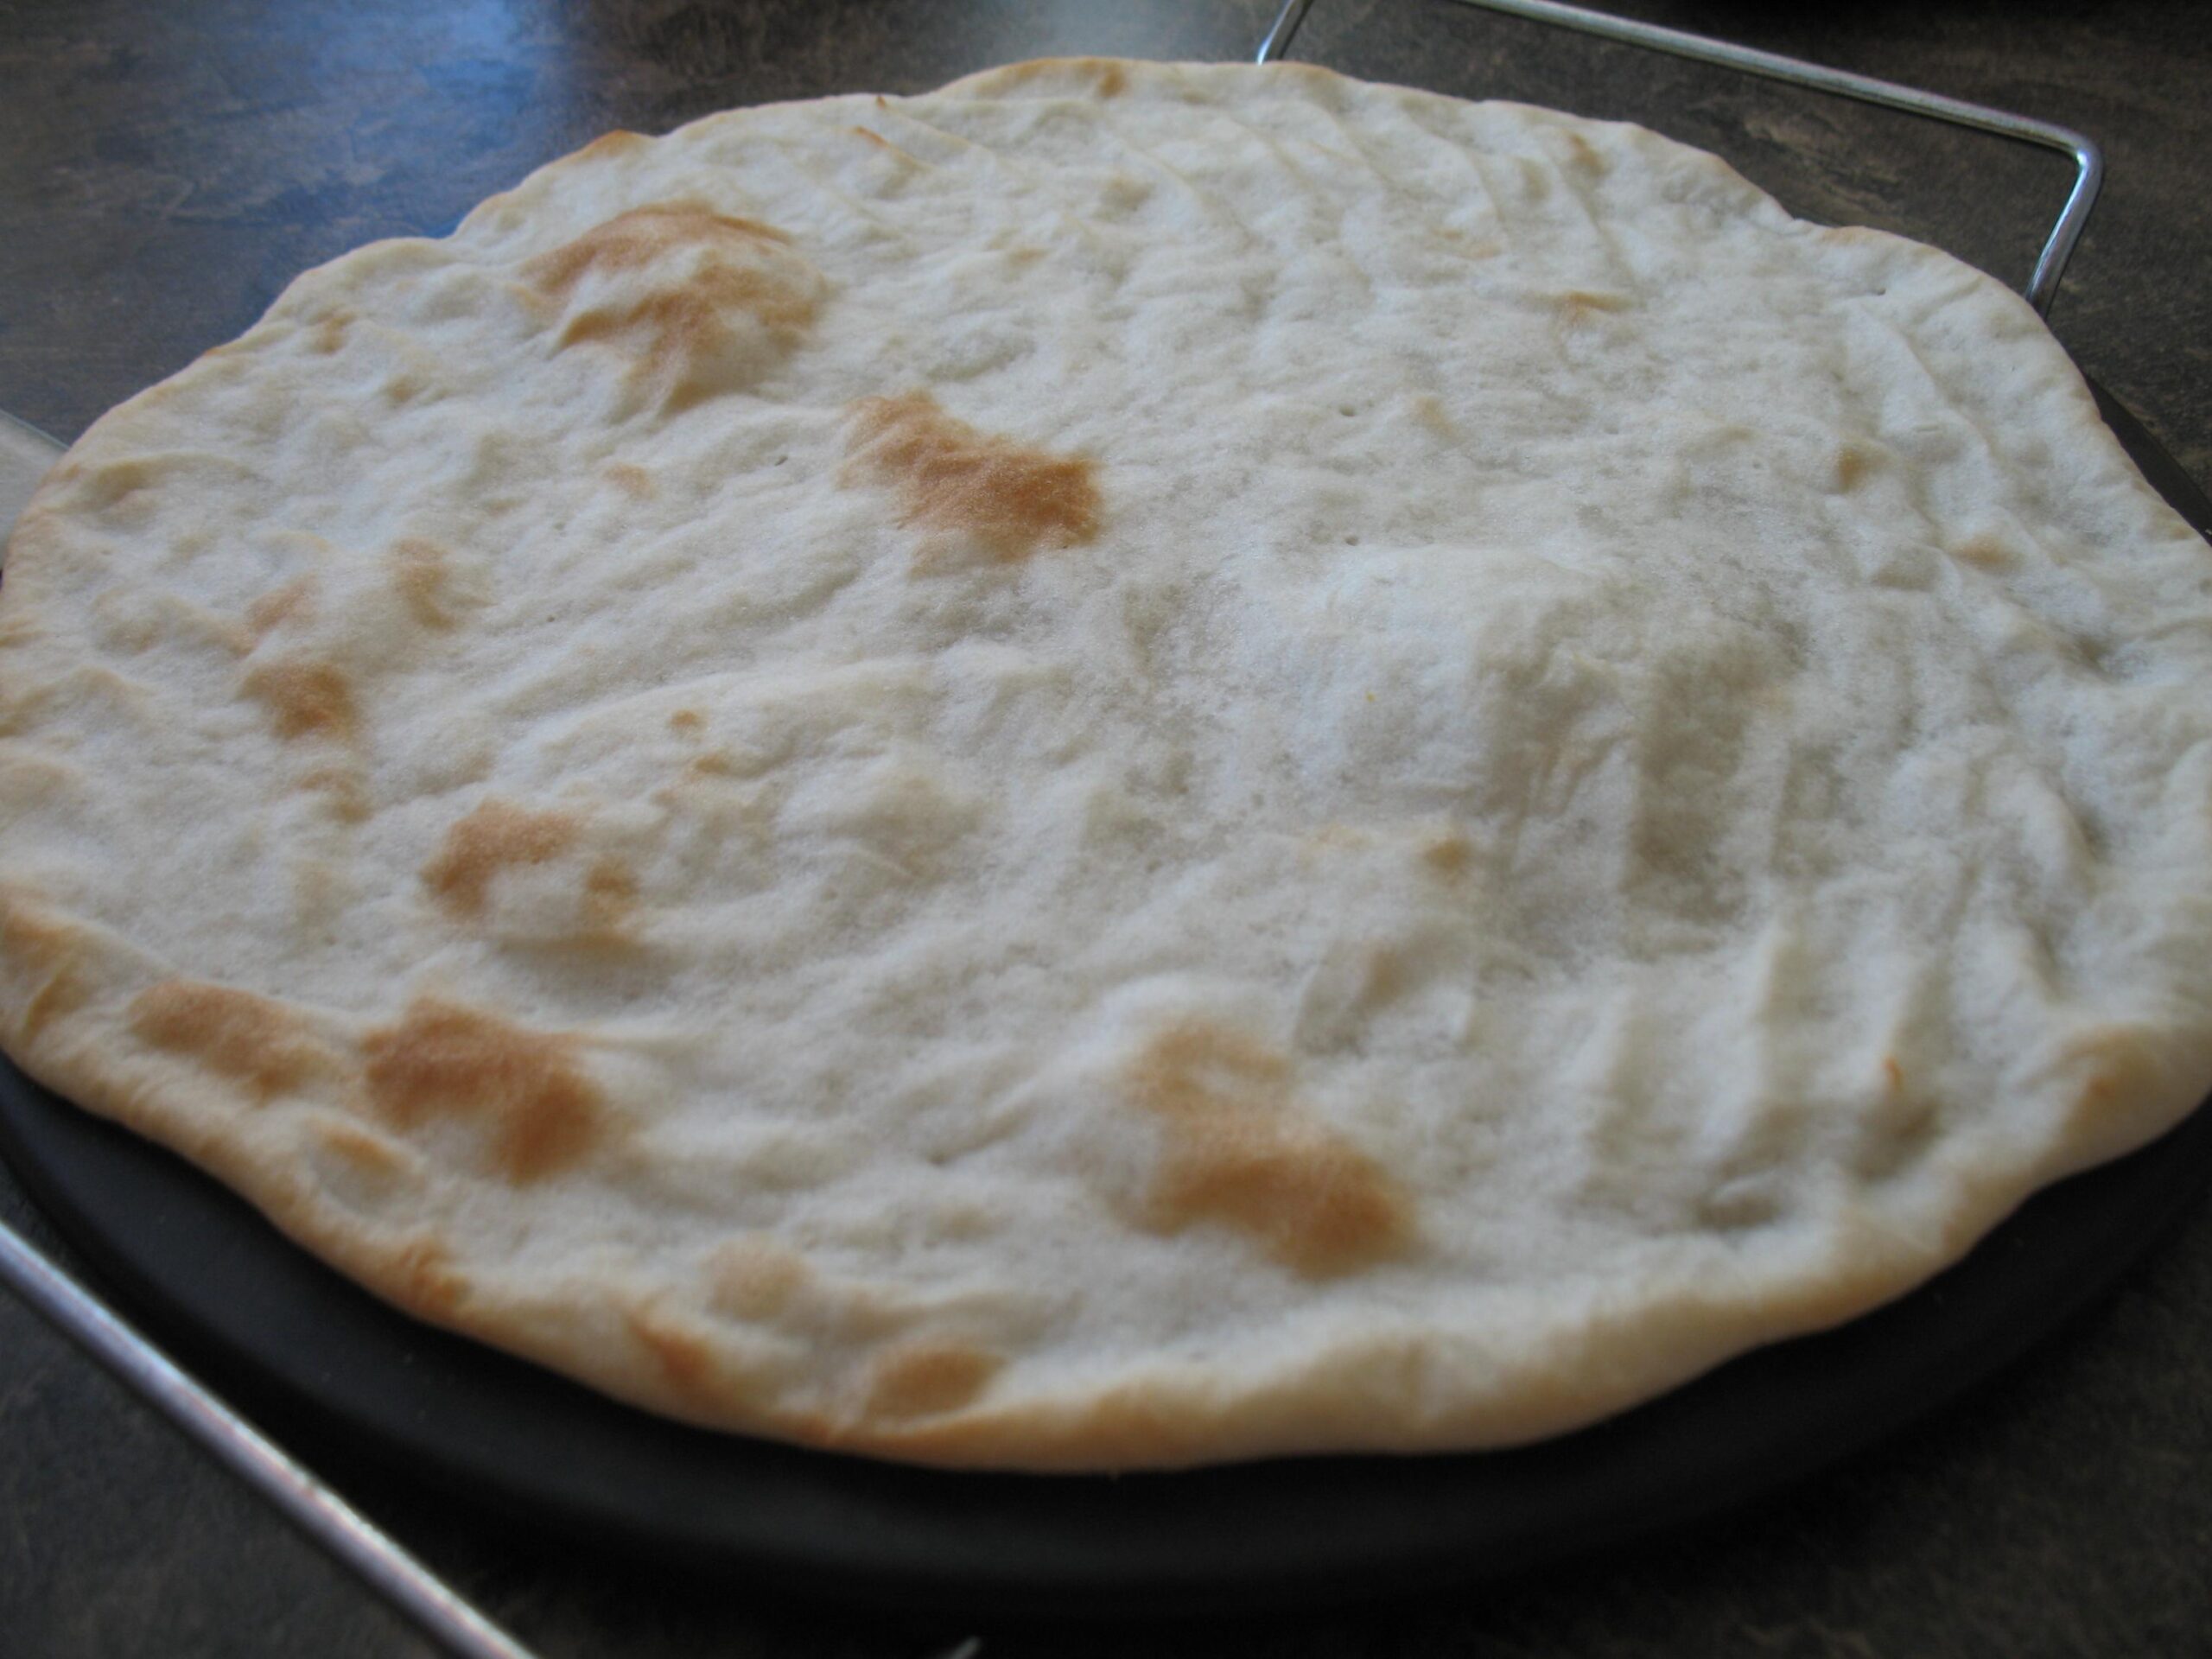
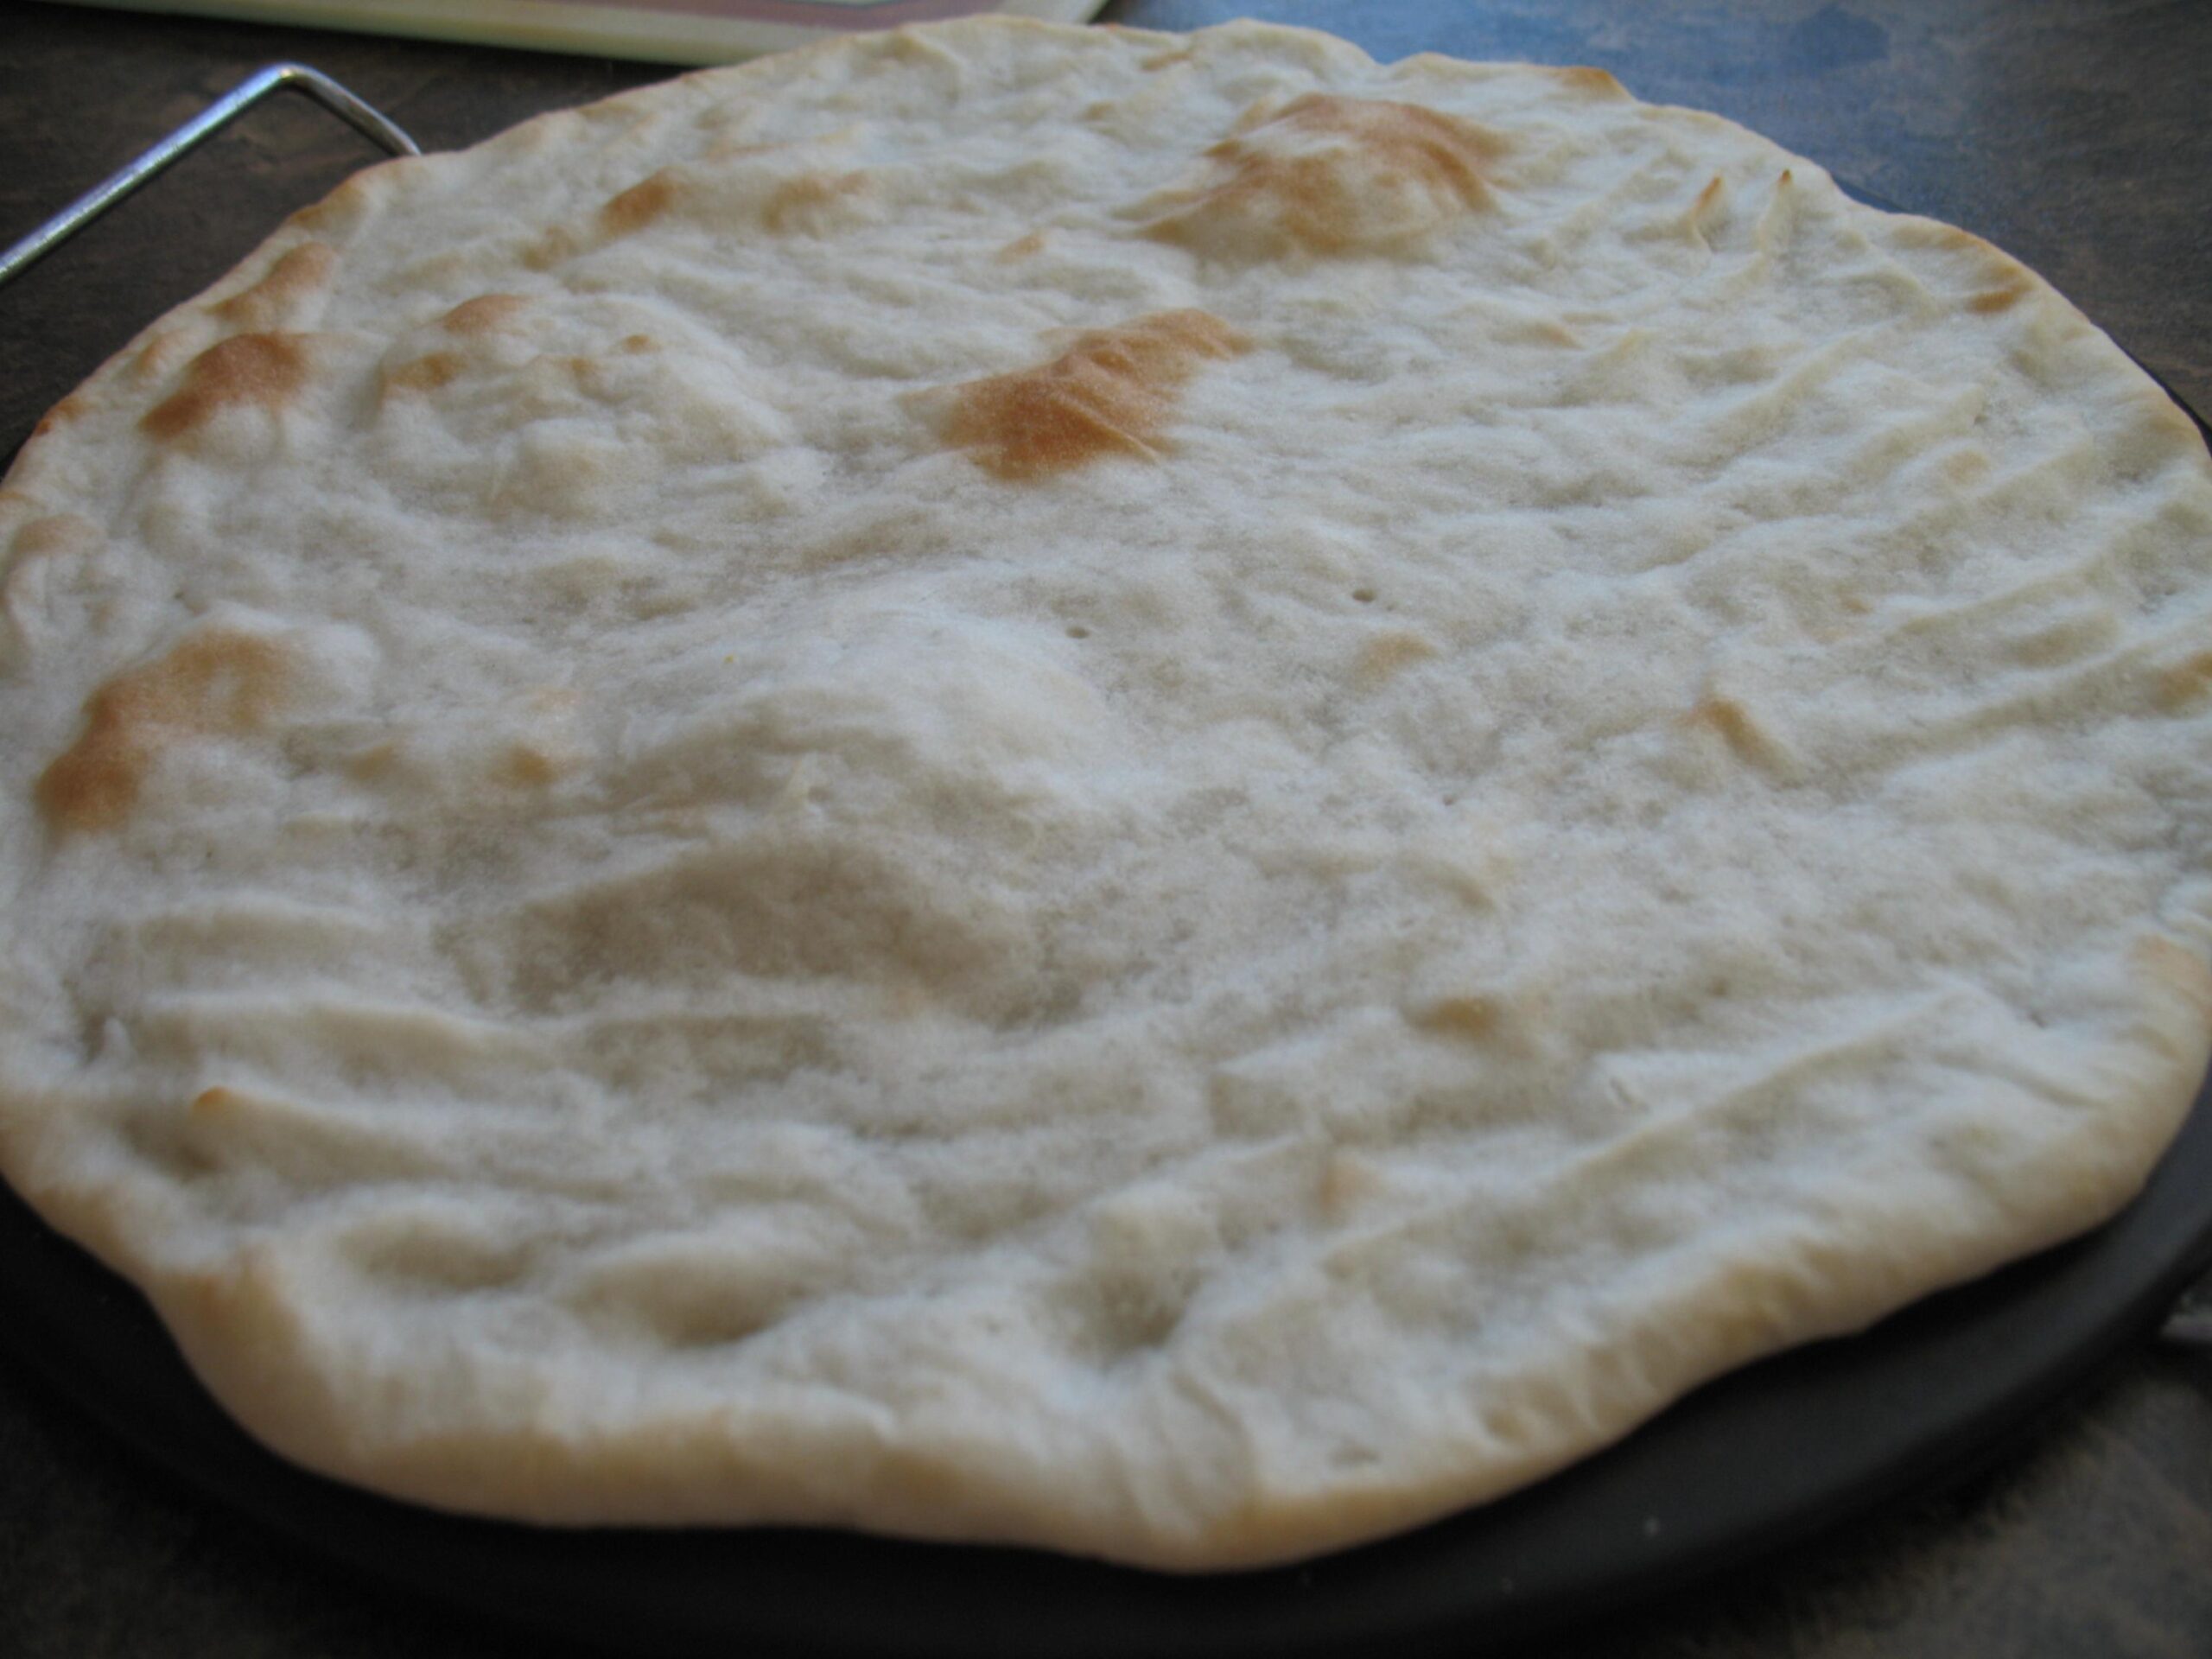
Place the prepared pizza on hot baking stone or pan and bake for 10-12 minutes until edges become golden brown and cheese is bubbly or to your desired
Substitutions and Variations
I know that not everyone will have access to the exact ingredients listed in the recipe, whether it’s because of dietary restrictions or simply a lack of availability. That’s why I’ve included some substitute options that you can try out and still get that same delicious taste with some variation.
For those looking for a low carb or keto option, you can replace the rice flour and potato flour with 2 cups of almond flour and 2/3 cup tapioca starch. This change will give you a crust that is a bit nuttier in taste, but still crispy on the outside and chewy on the inside.
If you’re looking for a dairy-free option, you can skip the cheese and use toppings like fresh herbs, vegetables, cherry tomatoes and olive oil. Alternatively, you can use vegan cheese which can be found at most health food stores.
For those who want a no-yeast option, substitute 1 teaspoon of baking powder for every 1/2 teaspoon of yeast. This swap will give your crust a slightly different texture but still just as delicious.
Another variation is using a gluten-free pizza crust mix instead of making one from scratch. There are many pre-made mixes available online or at grocery stores if you’re short on time or prefer convenience.
Additionally, feel free to play with different types of flour blends instead of relying solely on gluten-free all-purpose flour. I recommend using King Arthur Gluten-Free measure-for-measure flour to achieve the closest possible result to the original recipe. You can also try substituting brown rice flour for white rice flour or potato starch with tapioca starch as they’ll provide different results.
Try out these substitutions and variations and see what works best for your taste buds. Remember that there are countless ways to make pizza crust deliciously gluten-free!
Serving and Pairing
Alright, folks. You’ve made a delicious gluten-free thin pizza crust and now it’s time to serve it up! There are endless possibilities when it comes to pizza toppings, but I want to give you some tried and true pairing options that will make your taste buds dance.
First up, let’s talk about pairing with wines. When it comes to pizza, nothing is better than a nice glass of red wine to complement the flavors. I suggest pairing this thin crust with a light-bodied red wine such as Pinot Noir or Chianti. The acidity in these wines helps to cut through the richness of the toppings and cheese.
If you’re keeping things alcohol-free, then you can’t go wrong with a refreshing iced tea or lemonade.
Now, let’s talk about toppings. This is where you can really get creative! If you’re in the mood for traditional pizza toppings, then go for tomato sauce, mozzarella cheese, and maybe some pepperoni or sausage. If you’re feeling adventurous, then try some non-traditional flavors such as pesto sauce with roasted vegetables like bell peppers and mushrooms or even a fig and prosciutto combo.
Another way to serve this crust is to turn it into a low-carb pizza by using almond flour instead of regular flour and topping it with cheese, veggies or even some dairy-free fake cheese if you prefer vegan options!
Finally, if you’re serving this as a side dish, consider pairing it with a soup like tomato soup or split pea for some added warmth in winter months.
So there you have it – plenty of options for serving and pairing your gluten-free thin pizza crust. Experimenting with different flavor combinations is half the fun of making homemade pizza, so don’t be afraid to get creative!
Make-Ahead, Storing and Reheating
Making gluten-free pizza crust can take some time, so it’s always a good idea to make a batch ahead of time if you’re planning on having pizza over the next few days. Once you’ve made the crust, you can store it in the fridge for up to 3 days or freeze it for later use.
To store the crust in the fridge, wrap it tightly in plastic wrap or aluminum foil and place it in an airtight container. When you’re ready to use it, let it come to room temperature before starting to assemble your pizza.
If you want to freeze the crust, wrap it tightly in plastic wrap and then aluminum foil. Make sure to label it with the date and keep it in the freezer for up to three months. When you’re ready to use it, let it defrost at room temperature for 30 minutes before starting to assemble your pizza.
To reheat leftover pizza, preheat your oven to 375 degrees Fahrenheit (190C) and place the slices of pizza directly on the rack. Cook for about 5-7 minutes or until heated through. For a crispier crust, place a piece of parchment paper on a baking sheet, then place your slices on top and bake for 10-15 minutes.
You can also heat up slices of pizza in a skillet over medium heat. Place your cold slice in the skillet, cover with a lid and cook for about 5-7 minutes or until heated through.
When reheating gluten-free pizza crust, be careful not to overcook or burn it as it can become tough and chewy instead of crispy. With these storage tips and reheating options, you can enjoy delicious homemade gluten-free pizza whenever you want!
Tips for Perfect Results
When it comes to making the perfect gluten-free, thin pizza crust, there are a few tips that will help ensure your dough comes out chewy and crispy rather than hard and flat.
Firstly, weigh your ingredients using an accurate kitchen scale. Gluten-free flours can be finicky, and measuring them by volume can lead to inconsistencies in the recipe. Using a scale ensures that you use precisely the amount needed for the best results.
Next, for a chewier crust, use flour blends that contain brown rice flour or almond flour. Both of these flours are excellent for adding texture to your crust.
It is essential to give your gluten-free dough time to rest before rolling it out onto your pizza pan. The resting time of around 10 minutes will allow the dough to absorb any excess moisture and make it easier to work with.
When rolling out the pizza dough, using a bit of cornmeal will prevent the dough from sticking onto the rolling surface, ensuring a crispier crust bottom. Also, make sure to roll the dough very thin as this helps to achieve a crispy base.
To keep your pizza toppings from making the crust soggy, you should pre-bake your gluten-free pizza crust for three to four minutes before loading up with toppings. Doing so creates a barrier between the crust and toppings.
Finally, when baking your fresh gluten-free pizza in the oven, position it on a lower oven rack as this spot will allow more heat underneath, creating an even crispiness across the base.
Follow these tips, and you’ll achieve perfect results every time you whip up this thin gluten-free pizza crust recipe.
FAQ
Now that you know all the steps to make this delicious Gluten Free – Thin Pizza Crust recipe, let’s answer some Frequently Asked Questions (FAQ) to help you troubleshoot common issues and make the most out of your pizza-making experience.
What gluten-free flour is good for pizza?
When it comes to creating a gluten-free pizza crust, I have found that using a blend of all-purpose flour works best. Almond flour is also a great addition to this recipe as it not only adds texture but also enhances browning. I personally love adding a bit of almond flour to gluten-free baked goods as it contains extra protein and fat, which not only adds flavor to the crust but also provides a golden hue to it.
Why is gluten-free pizza crust so thin?
The secret to achieving the thin and crispy crust of gluten-free bread lies in the perfect combination of starch and protein, which is carefully added in both types of gluten-free bread.
What flour is best for thin crust pizza?
When it comes to making a delectable crust, there are a few flour options to consider. Opting for Caputo 00 Flour is a wise decision due to its lower amount of gluten; however, bread flour and all purpose flour are viable substitutes. Keep in mind that using bread or all-purpose flour may result in a slightly puffier crust, but the end result will remain toothsome, crunchy and utterly delightful.
What is most gluten-free pizza crust made of?
When it comes to preparing gluten-free pizza, a blend of gluten-free flours and starches such as almond flour, rice flour, potato starch and tapioca starch are often used. These are then mixed alongside wet ingredients like oil and flavorings such as salt and sugar. In addition, some recipes also utilize yeast to give the dough a lift.
Bottom Line
In conclusion, this gluten-free thin pizza crust recipe is one of my favorite recipes to create a delicious and healthy pizza that anyone can enjoy. With the right ingredients and technique, you can achieve a crispy and chewy texture that will make your taste buds dance.
With the various substitutions and variations that are available, you can customize this recipe to fit your dietary needs and preferences. From almond flour to potato starch, there are plenty of options for you to choose from according to what suits you best.
So why settle for mediocre pizza when you can make the best gluten-free thin crust pizza in town? Not only is this recipe easy to follow, but it’s also dairy-free, vegan, and low-carb.
I urge you to try this recipe and am confident that you will be amazed at how delicious it tastes. Trust me, nothing beats the satisfaction of making your own pizza crust from scratch!
Gluten Free - Thin Pizza Crust Recipe
Ingredients
- 1 1/2 teaspoons yeast
- 1 teaspoon sugar
- 1 cup tepid water (divided)
- 2/3 cup rice flour
- 1/2 cup potato starch
- 1 tablespoon potato flour
- 1 1/2 teaspoons shortening
- cornmeal
- garlic powder (optional)
- italian seasoning, blend (optional)
Instructions
- Preheat oven to 450 degrees.
- Combine yeast, sugar and 1/2 cup of water.
- Let rise till doubled in size.
- Combine flours, shortening and optional seasonings.
- Combine with risen yeast and remaining 1/2 cup of water.
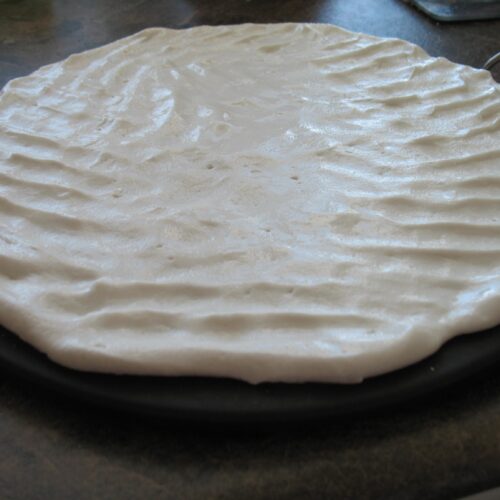
- With oiled fingers, spread dough on pizza stone sprinkled with cornmeal.
- Bake in oven for 15 minutes.
- Remove and add pizza toppings; Return to oven and bake 10 minutes more.
- ***Be generous with the flours as you measure and DO NOT BE AFRAID OF THE DOUGH BEING RUNNY! THIS WILL PRODUCE A SOFTER, LIGHTER CRUST *** (I have been known to even add more water that was is called for).